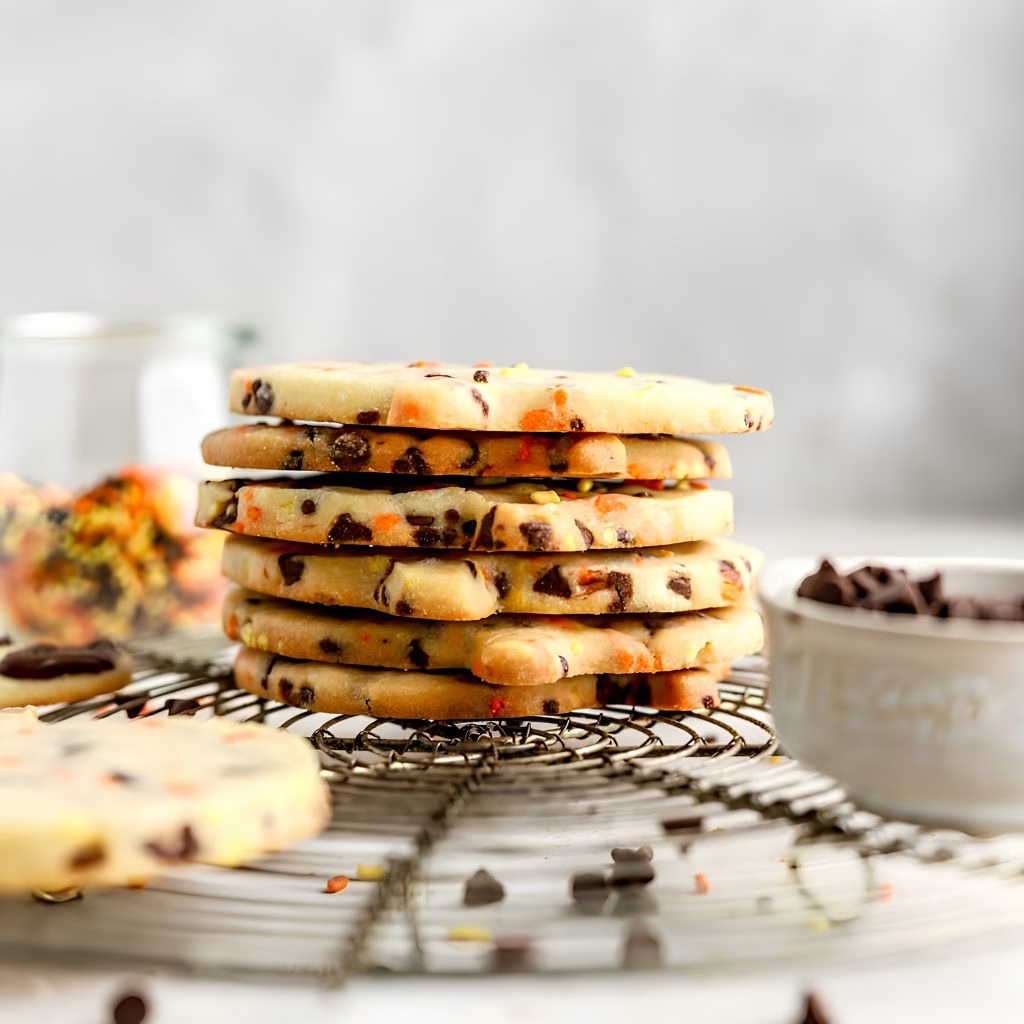
I have made a lot of Halloween treats over the years, but this Halloween Shortbread Cookies Recipe is the one I keep coming back to every single October. I love how buttery and crumbly these cookies turn out, with just the right amount of chocolate and sprinkles tucked into every bite.
If you have tried my ghost meringue cookies recipe before, you already know how much I enjoy a good spooky-season baking project, and this one is even easier to pull off.
I first started making these when I wanted a Halloween cookie that felt a little more grown-up than sugar cookies recipe halloween versions, and shortbread fit the bill perfectly. Whether you are baking with kids or packing a Halloween cookie tray for a party, I think you are going to love how simple and satisfying this one is.
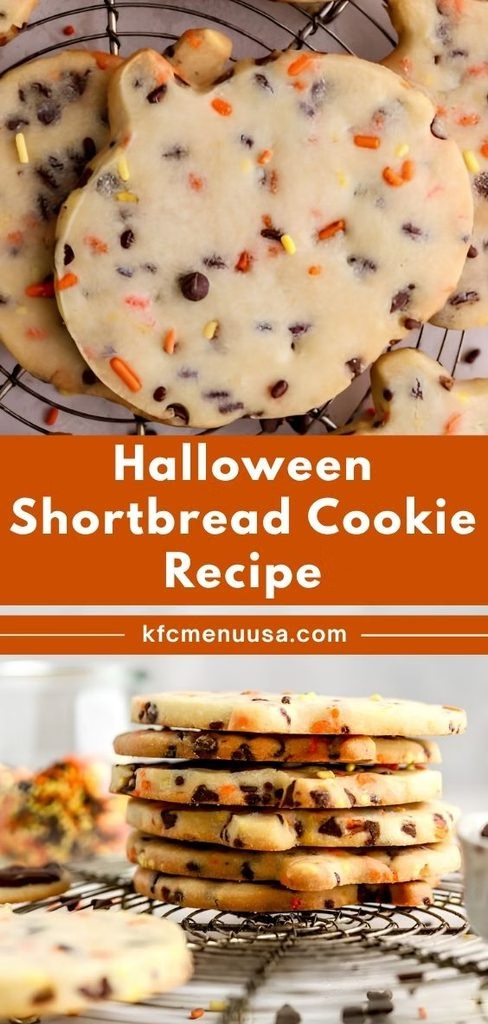
Cooking Time
- Prep Time: 20 minutes (plus 2 hours 20 minutes chilling)
- Cooking Time: 10-12 minutes
- Total Time: About 3 hours
Ingredients
- Unsalted butter, 1 cup (2 sticks), room temperature – this is what gives the cookies their rich, melt-in-your-mouth texture
- Powdered sugar, 1 cup – creates that soft, tender shortbread crumb instead of a crisp cookie
- Vanilla extract, 1 teaspoon – use a good quality one since it is the main flavor note here
- Egg yolk, 1 large – adds richness and helps hold the dough together
- All-purpose flour, 2 1/2 cups – forms the structure, so spoon and level it instead of scooping straight from the bag
- Salt, 1/2 teaspoon – balances the sweetness and rounds out the buttery flavor
- Mini chocolate chips, 1/2 cup – semi-sweet mini chips distribute more evenly through the dough than regular size
- Halloween sprinkles, 3 tablespoons – choose jimmies rather than nonpareils so the colors do not bleed into the dough
Note: This recipe makes about 24 cookies, depending on the size of your cutter.
Equipment You Need
- Electric mixer or stand mixer – for creaming the butter and sugar until fluffy
- Large mixing bowl – to hold and mix the cookie dough
- Rolling pin – for rolling the dough to an even thickness
- Parchment paper – keeps the dough from sticking while rolling and baking
- Cookie cutters – for cutting out fun Halloween shapes
- Baking sheets – to hold the cookies while they bake
- Wire cooling rack – lets the cookies cool evenly without getting soggy on the bottom
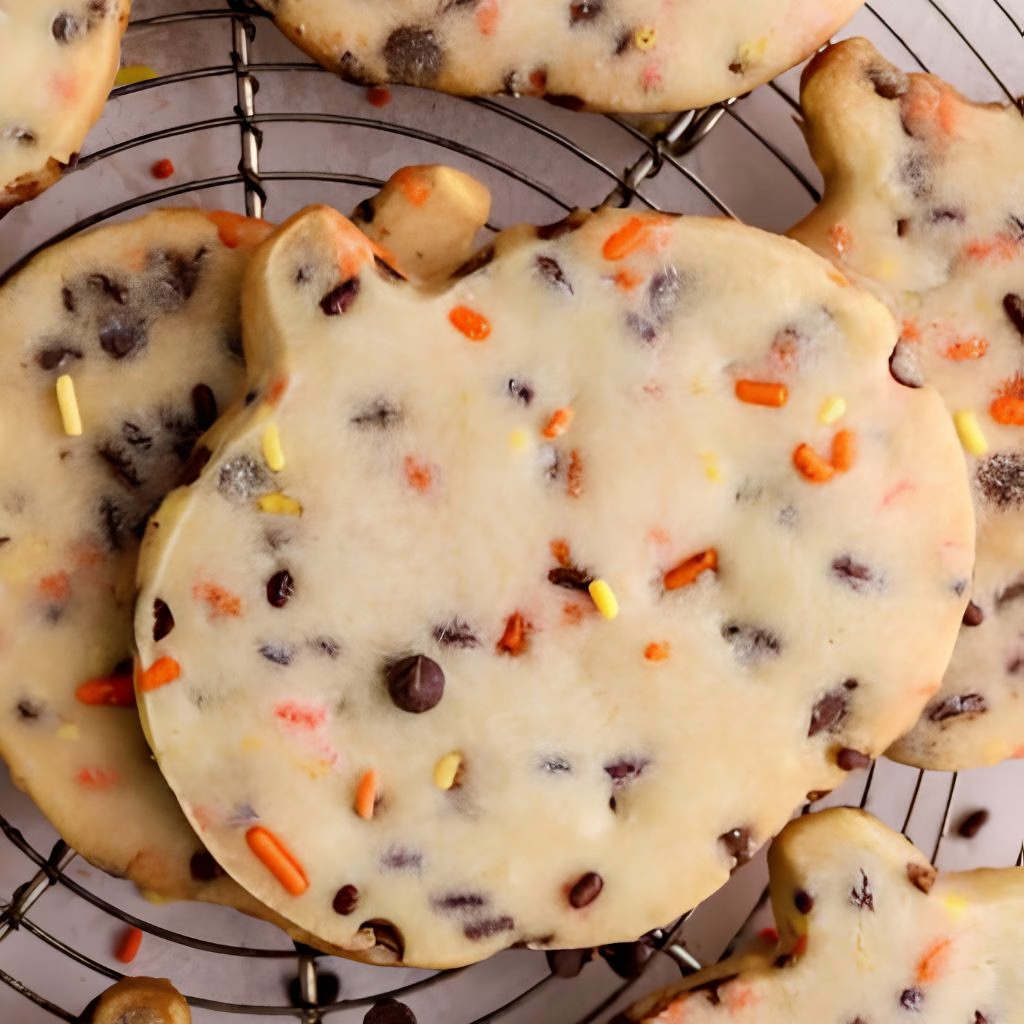
How to Make Halloween Shortbread Cookies Recipe?
Making this Halloween butter cookies recipe really comes down to a few simple stages: mixing the dough, chilling it, cutting the shapes, and baking. None of the steps are complicated, but the chilling time is what gives these cookies their clean edges and sturdy shape once baked.
Cream the Butter and Sugar
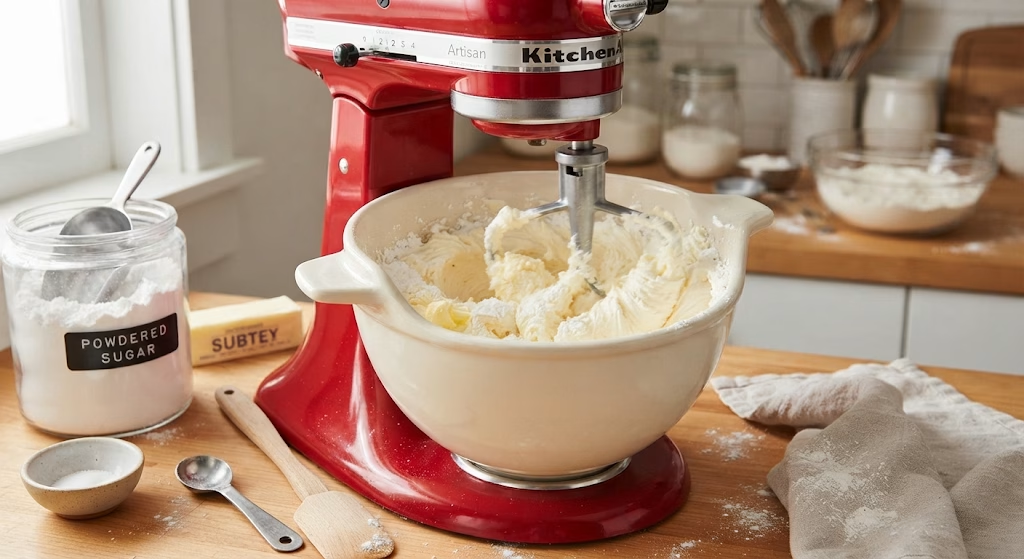
I start by beating the butter and powdered sugar together in a large mixing bowl until the mixture turns light and fluffy. This usually takes about three minutes on medium speed. Getting plenty of air into the butter here helps the finished cookies stay tender instead of dense.
Add the Vanilla and Egg Yolk
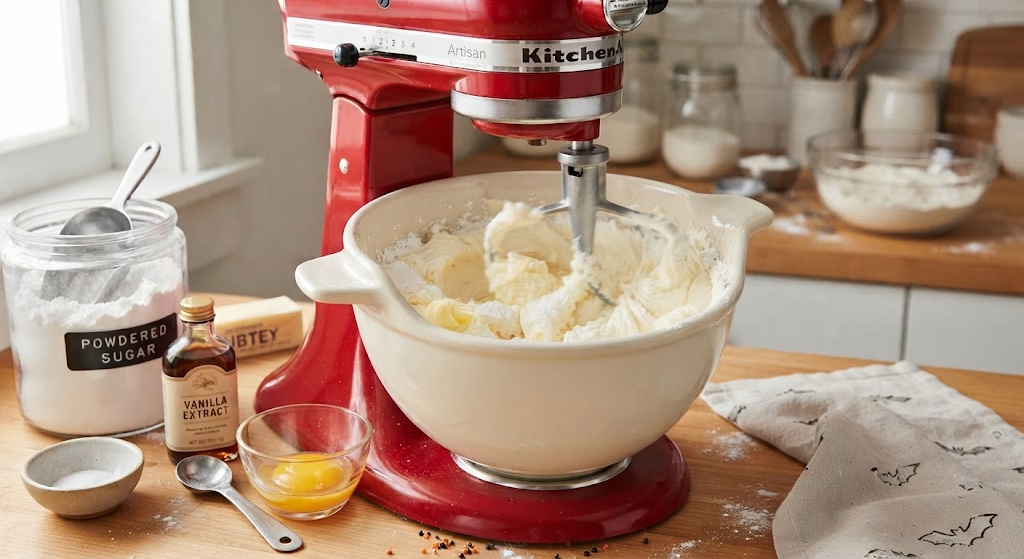
Next, I beat in the vanilla extract followed by the egg yolk, mixing just until everything is fully incorporated. The egg yolk adds richness without making the dough too wet, which keeps these Halloween inspired cookies sturdy enough to hold their shape.
Mix in the Flour and Salt
I turn the mixer down to low and slowly add the flour and salt, mixing only until the dough just comes together. Overmixing at this stage is the easiest way to end up with tough cookies, so I stop as soon as I no longer see streaks of flour.
Fold in the Chocolate Chips and Sprinkles
Using a spatula, I fold in the mini chocolate chips and most of the sprinkles, saving a small amount of sprinkles to press onto the tops later. This step is quick, and it is where the dough really starts to look festive for Halloween.
Roll and Chill the Dough
I divide the dough in half and roll each portion between sheets of parchment paper to about a quarter inch thick. Once rolled, I place both portions on a baking sheet, cover them, and chill for two hours until firm enough to cut cleanly.
Cut Out the Cookies
After chilling, I lift the parchment paper onto the counter and cut the dough into Halloween shapes using my favorite cookie cutters. I place the cut shapes back on a lined baking sheet and chill them for another 20 minutes before baking.
Bake and Cool
I bake the cookies at 350°F for 10 to 12 minutes, just until the edges turn lightly golden. Once out of the oven, I let them rest on the baking sheet for 10 minutes before moving them to a wire rack to cool completely.
Additional Tips for Making This Recipe Better
I have made this shortbread halloween biscuits recipe enough times to pick up a few tricks along the way.
- I always make sure my butter is truly room temperature before creaming, since cold butter never gets that same fluffy texture.
- I roll the dough out before chilling it, which saves me from wrestling with a hard, cold block of dough later.
- I dust my rolling pin lightly with flour if the dough starts sticking, but I try not to add too much extra flour.
- I like to save a few whole sprinkles to press gently onto the cut cookies right before baking for extra color.
- I keep a close eye on the oven during the last two minutes, since shortbread can go from golden to overbaked quickly.
Common Mistakes to Avoid
Over the years, I have made just about every shortbread mistake there is, so let me save you the trouble.
- Skipping the chill time: I once tried to skip chilling to save time, and the cookies spread and lost their shape in the oven.
- Overmixing the dough: I learned that mixing too long after adding the flour makes the cookies dense and a little tough.
- Using cold butter: I have tried rushing softened butter in the microwave, and it always throws off the texture of the dough.
- Rolling unevenly: I try to roll the dough to a consistent quarter inch, since uneven thickness means some cookies bake faster than others.
- Overbaking for color: I used to wait for a deep golden color, but I have found the edges just need to barely turn golden for the best texture.
How to Serve Halloween Shortbread Cookies?
I love arranging these cookies on a black or orange platter for a simple but festive presentation. A light drizzle of melted chocolate over the top adds a nice finishing touch, and a few extra Halloween sprinkles scattered around the plate make the whole display feel more festive.
These cookies also work well stacked in clear treat bags tied with orange ribbon if you are sending them home with trick-or-treaters or packing them for a school party. I sometimes serve them alongside warm apple cider or hot cocoa, which makes for a cozy fall spread. If you want more spooky options on the table, my kids-halloween-cookie-recipe pairs nicely with these for a bigger cookie tray.
Variations
This shortbread recipe halloween base is easy to adjust depending on what you have on hand or what flavors you are craving.
- Candy corn shortbread cookies: Fold in chopped candy corn instead of chocolate chips for a sweeter, more traditional Halloween flavor.
- Ghost cookie recipe twist: Skip the sprinkles and dip half of each cookie in white chocolate for a simple ghost-inspired look.
- Dairy-free version: Swap the butter for a plant-based butter alternative that works in a 1:1 ratio for baking.
- Nut-free swap: Leave out any nut-based mix-ins and stick with chocolate chips and sprinkles for classroom-safe treats.
- Spiced version: Add a half teaspoon of cinnamon or pumpkin spice to the dough for a warmer, fall-inspired flavor.
- Extra chocolate: Double the mini chocolate chips and skip the sprinkles for a more chocolate-forward cookie.
Nutritional Information
Here is a general idea of what one cookie looks like nutritionally, though your exact numbers will vary based on size and mix-ins.
- Calories: Around 140 per cookie
- Protein: About 1-2 grams per cookie
- Carbohydrates: Roughly 15-17 grams per cookie
- Fat: Approximately 8 grams per cookie
Make Ahead and Storage
You can make the dough up to three days ahead of time and keep it wrapped tightly in the refrigerator until you are ready to roll and cut the cookies.
Once baked, these cookies stay fresh for about five days when stored in an airtight container at room temperature.
For longer storage, the baked cookies freeze well for up to two months, and the unbaked dough can also be frozen in a wrapped disc for up to three months before thawing in the fridge overnight.
Why You’ll Love This Recipe?
There are a handful of reasons this halloween inspired cookies recipe has become a regular in my fall baking rotation.
- Easy to prepare: The dough comes together with simple pantry staples and no special techniques, so it is beginner friendly.
- Great texture: The buttery, tender crumb of shortbread feels a little more special than a standard sugar cookie.
- Fun for decorating: The dough holds cutout shapes well, which makes it perfect for cookie cutters and Halloween designs.
- Freezer friendly: Both the dough and the baked cookies freeze nicely, so you can prep ahead of a busy party season.
- Easy to customize: You can swap mix-ins or add spices to make the recipe your own without changing the base method.
FAQs
Can I make these cookies without a mixer?
Yes, you can cream the butter and sugar by hand with a wooden spoon, though it will take a little longer to get that fluffy texture.
Can I use salted butter instead of unsalted?
You can, just leave out the added salt in the recipe so the cookies do not turn out too salty.
Why did my shortbread cookies spread while baking?
This usually happens when the dough was not chilled long enough before baking, so make sure to chill both before and after cutting.
Can I skip the egg yolk?
I have not tested this recipe without the egg yolk, so I cannot guarantee the texture will hold up the same way.
How far in advance can I make these for a party?
I usually bake these two to three days ahead and store them in an airtight container, which keeps them fresh and crisp for the event.

Halloween Shortbread Cookies Recipe
Ingredients
Method
- I start by beating the butter and powdered sugar together in a large mixing bowl until the mixture turns light and fluffy. This usually takes about three minutes on medium speed. Getting plenty of air into the butter here helps the finished cookies stay tender instead of dense.
- Next, I beat in the vanilla extract followed by the egg yolk, mixing just until everything is fully incorporated. The egg yolk adds richness without making the dough too wet, which keeps these Halloween inspired cookies sturdy enough to hold their shape.
- I turn the mixer down to low and slowly add the flour and salt, mixing only until the dough just comes together. Overmixing at this stage is the easiest way to end up with tough cookies, so I stop as soon as I no longer see streaks of flour.
- Using a spatula, I fold in the mini chocolate chips and most of the sprinkles, saving a small amount of sprinkles to press onto the tops later. This step is quick, and it is where the dough really starts to look festive for Halloween.
- I divide the dough in half and roll each portion between sheets of parchment paper to about a quarter inch thick. Once rolled, I place both portions on a baking sheet, cover them, and chill for two hours until firm enough to cut cleanly.
- After chilling, I lift the parchment paper onto the counter and cut the dough into Halloween shapes using my favorite cookie cutters. I place the cut shapes back on a lined baking sheet and chill them for another 20 minutes before baking.
- I bake the cookies at 350°F for 10 to 12 minutes, just until the edges turn lightly golden. Once out of the oven, I let them rest on the baking sheet for 10 minutes before moving them to a wire rack to cool completely.
Notes
- I always make sure my butter is truly room temperature before creaming, since cold butter never gets that same fluffy texture.
- I roll the dough out before chilling it, which saves me from wrestling with a hard, cold block of dough later.
- I dust my rolling pin lightly with flour if the dough starts sticking, but I try not to add too much extra flour.
- I like to save a few whole sprinkles to press gently onto the cut cookies right before baking for extra color.
- I keep a close eye on the oven during the last two minutes, since shortbread can go from golden to overbaked quickly.