I still remember the first time I roasted a batch of Hatch chiles just to throw them into cornbread, and honestly, I haven’t made a plain version since. There’s something about that smoky, slightly sweet heat mixing into a buttery, golden crumb that makes this loaf disappear within minutes at my table.
I make this Hatch Chile Cornbread Recipe in a cast iron skillet because it gives me that crackly, almost fried edge that I’m obsessed with. Whether I’m serving it alongside a pot of chili or just eating a slice warm with honey butter, this recipe never lets me down. Once you try it, I promise green chile cheese cornbread jiffy mixes will feel a little boring by comparison.

Cooking Time
- Prep Time: 15 minutes
- Cooking Time: 20 minutes
- Total Time: 35 minutes
Equipment You Need
- Cast iron skillet – gives the cornbread its crisp, golden crust
- Mixing bowls – one for dry ingredients, one for wet
- Whisk – helps combine the batter smoothly without lumps
- Rubber spatula – perfect for folding in the chiles gently
- Measuring cups and spoons – for accurate ingredient portions
- Oven mitts – that skillet handle gets seriously hot
Ingredients
- 1 cup yellow cornmeal – the base and soul of any good cornbread
- 1 cup all-purpose flour – balances the cornmeal for a tender crumb
- 1 tablespoon baking powder – gives the bread its rise and lightness
- 1/2 teaspoon baking soda – reacts with buttermilk for extra lift
- 3/4 teaspoon salt – don’t skip it, it wakes up all the other flavors
- 2 tablespoons sugar – just enough to round out the chile’s heat
- 2 large eggs – bind the batter and add richness
- 1 1/4 cups buttermilk – adds tang and keeps the crumb moist
- 1/4 cup vegetable oil or melted butter – for a soft, rich texture
- 1 cup roasted Hatch green chiles, chopped – the star ingredient, fresh-roasted is best
- 2 tablespoons oil for the skillet – heating it first is the trick to that crispy crust
Note: This recipe serves 8 people as a side dish.

How to Make Hatch Chile Cornbread Recipe?
Making this cornbread is really a two-part job: getting your skillet blazing hot while you mix a simple batter, then folding in those smoky chiles right before it hits the oven. I promise it comes together faster than you’d expect, and most of the work is just whisking and waiting.
Preheat the Oven and Skillet
Start by setting your oven to 425°F and sliding your cast iron skillet inside empty, with the 2 tablespoons of oil already poured in. Letting the skillet heat up along with the oven is what gives this cornbread its crackly, almost fried bottom crust. This step takes about 10 minutes, so use that time to prep your batter.
Mix the Dry Ingredients
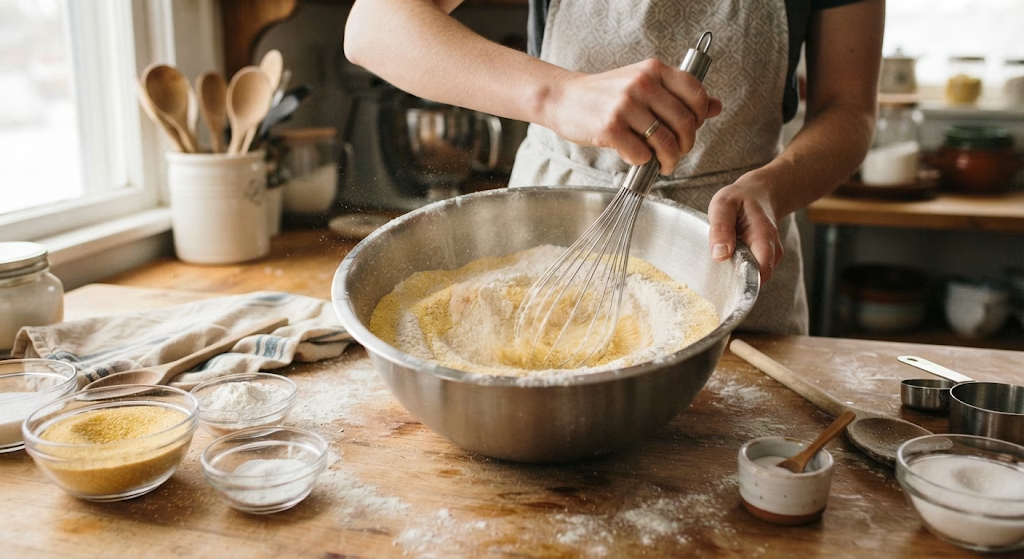
In a large mixing bowl, whisk together the cornmeal, flour, baking powder, baking soda, salt, and sugar until they’re evenly combined. Breaking up any clumps here means you won’t end up with pockets of baking soda in your finished bread. This only takes a minute or two, but it matters for texture.
Whisk the Wet Ingredients
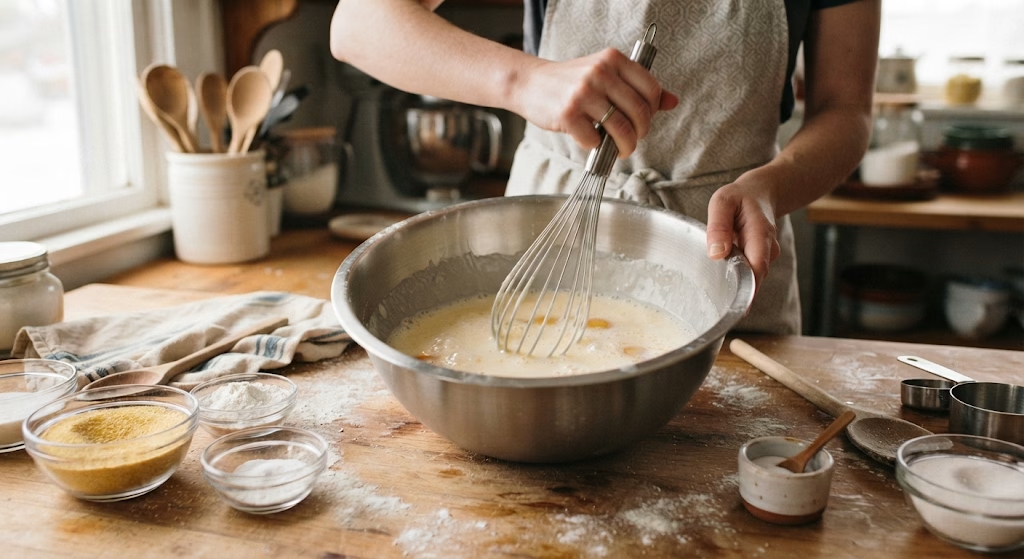
In a separate bowl, beat the eggs with the buttermilk until smooth and slightly frothy. The buttermilk is what gives this bread its subtle tang, so don’t swap it for regular milk if you can help it. Set this mixture aside while you check on your skillet.
Combine Batter Carefully
Pour the wet ingredients into the dry ingredients and stir just until no streaks of flour remain. Overmixing at this stage is the fastest way to end up with a dense, rubbery cornbread instead of a tender one. A few small lumps in the batter are completely fine and expected.
Add the Hot Oil and Chiles
Carefully pull the hot skillet from the oven and pour the sizzling oil straight into your batter, stirring quickly to combine. Then gently fold in your chopped Hatch chiles so they’re distributed evenly without deflating the batter. This hot-oil trick is the secret behind the crisp bottom crust everyone asks about.
Bake Until Golden
Pour the batter back into the same hot skillet and smooth the top with your spatula. Bake for 18 to 20 minutes, until the top turns golden brown and a knife inserted in the center comes out clean. Let it rest for five minutes before slicing so it holds together properly.
Additional Tips for Making This Recipe Better
I’ve made this cornbread more times than I can count, and here’s what actually makes a difference for me:
- I always roast my own chiles under the broiler instead of using canned ones when I have the time, and the flavor difference is huge.
- I let my buttermilk and eggs sit out for 15 minutes before mixing so the batter comes together smoother.
- I never skip preheating the skillet, since that’s really what gives me the crispy crust I love.
- I taste my roasted chiles first because Hatch heat levels vary a lot from batch to batch.
- I keep a spoon of extra oil ready in case my skillet looks dry before I pour the batter back in.
Common Mistakes to Avoid
Here are a few slip-ups I’ve personally made so you don’t have to repeat them:
- Overmixing the batter — I did this once and got a tough, dense loaf instead of a fluffy one.
- Using a cold skillet — I learned the hard way that skipping the preheat means no crispy crust at all.
- Adding chiles that are too wet — I always pat mine dry, or the batter turns soggy in the middle.
- Not letting the cornbread rest — I used to cut it too soon and it crumbled apart on the plate.
- Forgetting to taste the chiles first — I once used an extra-hot batch and it overpowered the whole dish.
How to Serve Hatch Chile Cornbread?
I love slicing this straight out of the skillet into wedges, the same way you’d cut a pie, so everyone gets a bit of that crispy edge. A pat of melting butter and a light drizzle of honey turns each piece into something a little special. For presentation, I’ll sometimes sprinkle a few extra roasted chile strips and a pinch of coarse salt on top right before serving.
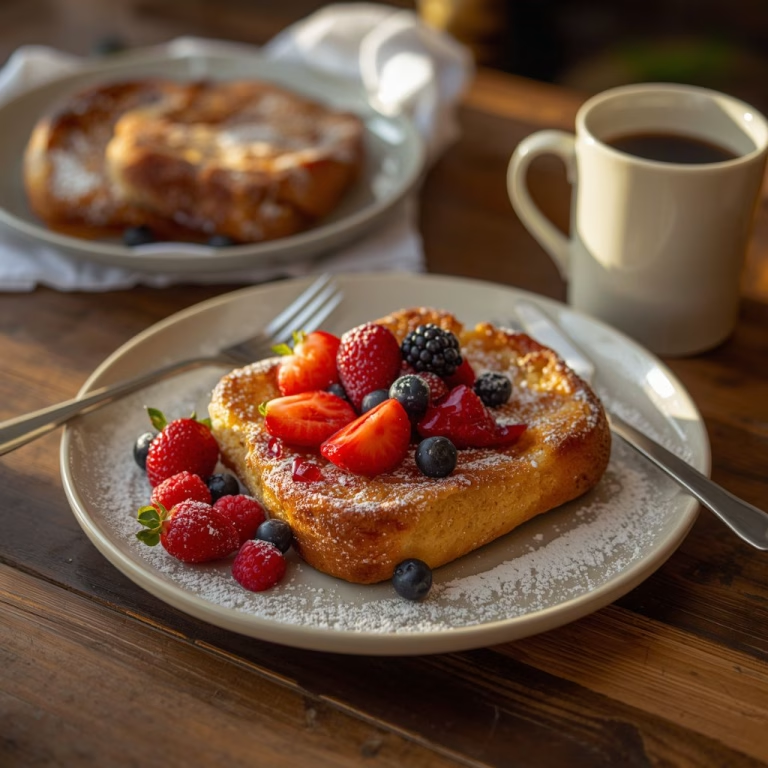
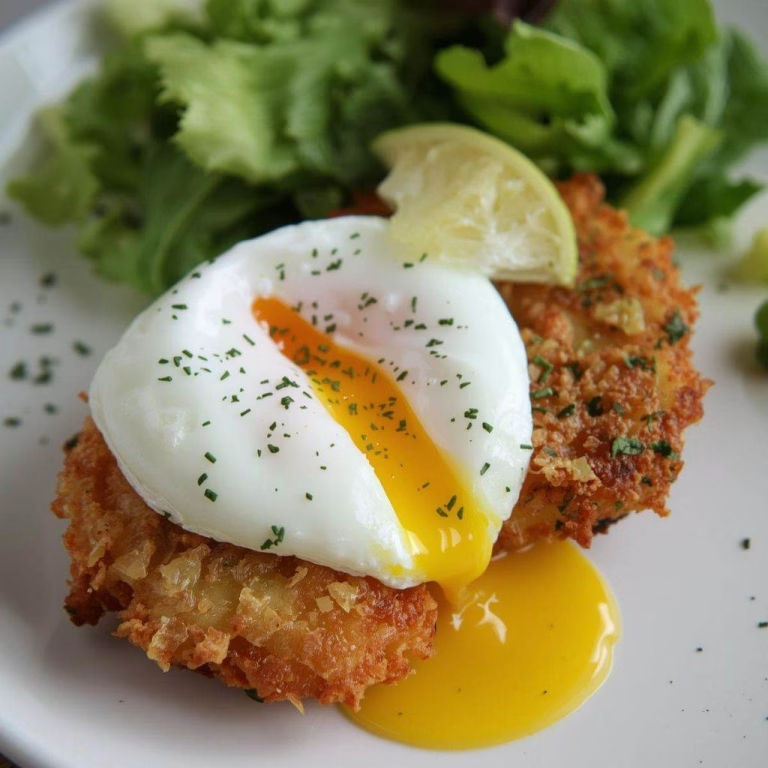
It pairs beautifully with a big pot of chili, and if you’re building out a full Southwestern spread, my cornbread also works wonderfully next to a bowl of homemade queso dip as a starter. Leftover slices also make a great base for breakfast, especially topped with a fried egg.
Variations
- Swap in green chile cheese cornbread jiffy mix as your base if you’re short on time, then stir in the roasted chiles yourself.
- Make it dairy-free by using a plant-based buttermilk substitute and swapping butter for oil.
- Try a jiffy green chile cornbread shortcut using boxed mix doctored up with sour cream and extra chiles for moisture.
- Turn this into green chile cornbread muffins by dividing the batter into a greased muffin tin and baking for 15 minutes.
- Stir in a can of creamed corn for a cornbread with green chilies and creamed corn version that’s extra moist.
- Add a cup of shredded cheddar or pepper jack for a cheesier, richer bite.
- Go sugar-free by leaving out the sugar entirely if you prefer a more savory, traditional Texan style.
Nutritional Information
Here’s a rough idea of what one serving of this cornbread looks like:
- Calories: 220 kcal
- Protein: 6g
- Carbohydrates: 27g
- Fat: 9g
Make Ahead and Storage
You can mix the dry ingredients up to two days ahead and store them in an airtight container at room temperature. This saves time on busy nights when you just need to add the wet ingredients and chiles before baking.
Once baked, this cornbread stays fresh for about 3 days when stored in an airtight container at room temperature, or up to a week in the refrigerator. Reheat individual slices in a warm oven or skillet for a few minutes to bring back that crisp edge.
For longer storage, wrap cooled slices tightly in plastic wrap and freeze for up to 2 months. Thaw at room temperature and warm briefly in the oven before serving for the best texture.
Why You’ll Love This Recipe?
This cornbread has earned a permanent spot in my regular rotation, and here’s why I think you’ll feel the same:
- It’s genuinely easy to make — the whole process takes about 35 minutes from start to finish, no special skills required.
- It’s endlessly versatile — I can turn it into muffins, add cheese, or mix in creamed corn depending on my mood.
- It works for so many diets — with a couple of small swaps, it’s easily adaptable to dairy-free or sugar-free needs.
- The flavor is fully customizable — I can control the heat level by choosing milder or spicier Hatch chiles.
- It’s a crowd-pleaser every single time — I’ve never brought this to a gathering without someone asking for the recipe.
FAQs
Can I use canned green chiles instead of fresh Hatch chiles?
Yes, one 4-ounce can of chopped green chiles with its juices works well if fresh or roasted chiles aren’t available.
Can I make an easy green chili cornbread using a box mix?
Absolutely, green chili cornbread with box mix is a great shortcut — just stir in your roasted or canned chiles before baking.
Why did my cornbread turn out dense instead of fluffy?
This usually happens from overmixing the batter, so stir only until the dry and wet ingredients are just combined.
Can I make this into muffins instead of a skillet loaf?
Yes, divide the batter into a greased muffin tin and bake at 425°F for about 15 minutes for green chile cornbread muffins.
How spicy is this cornbread?
It depends entirely on your chiles, since Hatch heat levels vary widely, so I always recommend tasting a small piece before mixing them in.

Hatch Chile Cornbread Recipe
Ingredients
Method
- Start by setting your oven to 425°F and sliding your cast iron skillet inside empty, with the 2 tablespoons of oil already poured in. Letting the skillet heat up along with the oven is what gives this cornbread its crackly, almost fried bottom crust. This step takes about 10 minutes, so use that time to prep your batter.
- In a large mixing bowl, whisk together the cornmeal, flour, baking powder, baking soda, salt, and sugar until they’re evenly combined. Breaking up any clumps here means you won’t end up with pockets of baking soda in your finished bread. This only takes a minute or two, but it matters for texture.
- In a separate bowl, beat the eggs with the buttermilk until smooth and slightly frothy. The buttermilk is what gives this bread its subtle tang, so don’t swap it for regular milk if you can help it. Set this mixture aside while you check on your skillet.
- Pour the wet ingredients into the dry ingredients and stir just until no streaks of flour remain. Overmixing at this stage is the fastest way to end up with a dense, rubbery cornbread instead of a tender one. A few small lumps in the batter are completely fine and expected.
- Carefully pull the hot skillet from the oven and pour the sizzling oil straight into your batter, stirring quickly to combine. Then gently fold in your chopped Hatch chiles so they’re distributed evenly without deflating the batter. This hot-oil trick is the secret behind the crisp bottom crust everyone asks about.
- Pour the batter back into the same hot skillet and smooth the top with your spatula. Bake for 18 to 20 minutes, until the top turns golden brown and a knife inserted in the center comes out clean. Let it rest for five minutes before slicing so it holds together properly.
Notes
- I always roast my own chiles under the broiler instead of using canned ones when I have the time, and the flavor difference is huge.
- I let my buttermilk and eggs sit out for 15 minutes before mixing so the batter comes together smoother.
- I never skip preheating the skillet, since that’s really what gives me the crispy crust I love.
- I taste my roasted chiles first because Hatch heat levels vary a lot from batch to batch.
- I keep a spoon of extra oil ready in case my skillet looks dry before I pour the batter back in.