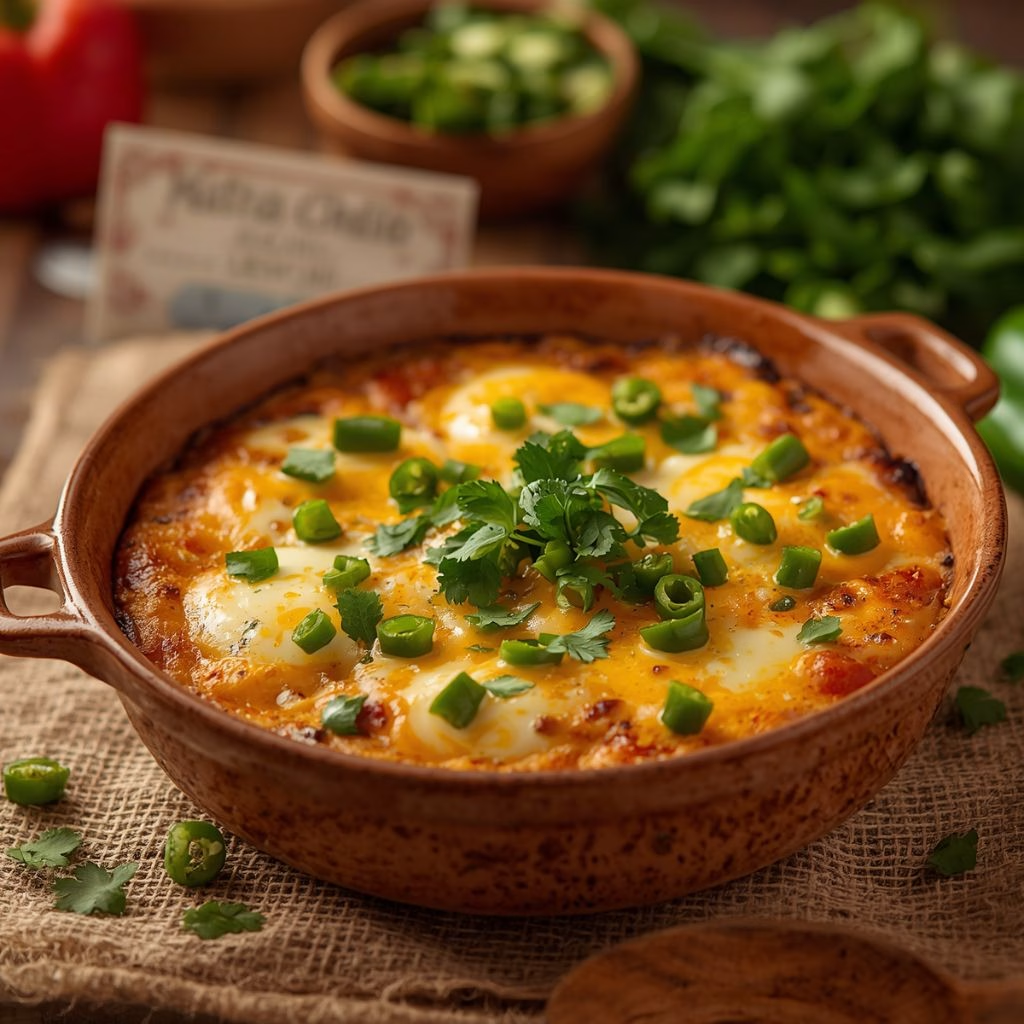
I still remember the first time I got my hands on real New Mexico Hatch chiles I knew right away they belonged in a breakfast casserole. I roasted a few, folded them into eggs, potatoes, and melty Monterey Jack, and slid the whole thing into the oven.
What came out was smoky, creamy, and just spicy enough to wake everyone up at the table. I’ve made this dish more times than I can count since then, and I’m sharing every trick I picked up along the way so yours turns out just as good.

Cooking Time
- Prep Time: 20 minutes
- Cooking Time: 45 minutes
- Total Time: 1 hour 5 minutes
Equipment You Need
- 9×13-inch baking dish – holds the casserole and lets it bake evenly
- Large frying pan – for softening the onion, potatoes, and chiles before baking
- Large mixing bowl – to whisk the eggs, milk, and sour cream together
- Whisk – blends the egg mixture smoothly with no streaks
- Wooden spoon or spatula – for stirring the veggies without scratching your pan
- Cooking spray or pastry brush – to grease the dish so nothing sticks
- Sharp knife and cutting board – for dicing onion, potatoes, and chiles
Ingredients
- 10 large eggs – the base of the casserole; go for the freshest eggs you can find for the best color and flavor
- 1 cup whole or 2% milk – keeps the eggs light instead of dense
- 1 cup sour cream – this is the secret to a rich, creamy texture and mellows out the chile heat
- 4 medium Hatch chiles, roasted, peeled, and chopped – the whole reason for this dish; fresh roasted ones beat canned every time
- 2 medium russet potatoes (about 1 pound), diced small – adds heartiness so this feels like a full meal
- 1 small onion, diced – builds a sweet, savory base flavor
- 1 tablespoon vegetable oil – for sautéing the onion and potatoes until golden
- 1 teaspoon kosher salt, divided – seasons every layer, not just the eggs
- 1 cup shredded Monterey Jack cheese – buy a block and shred it yourself for the meltiest results
- Cooking spray, for the baking dish – prevents sticking and makes cleanup easy
- 1 avocado, sliced, for serving – adds cool creaminess against the smoky eggs
- ¼ cup fresh cilantro, chopped, for serving – a bright, herby finishing touch
Note: This recipe serves 8, so it’s perfect for a family brunch or a weekend gathering with friends.
How to Make Hatch Chile Egg Casserole Recipe?
I promise this casserole is far easier than it looks once it’s baked and bubbling on your table. It comes together in three simple stages: cooking the vegetables, mixing the eggs, and baking everything low and slow. Once you’ve done it once, you’ll have the rhythm down for good.
Preheat and Prep the Dish
Set your oven rack in the middle position and heat it to 375°F. While it warms up, coat your 9×13-inch baking dish with cooking spray or a light layer of oil. This keeps the eggs from clinging to the sides once they puff up in the oven.
Sauté the Onion, Potatoes, and Chiles
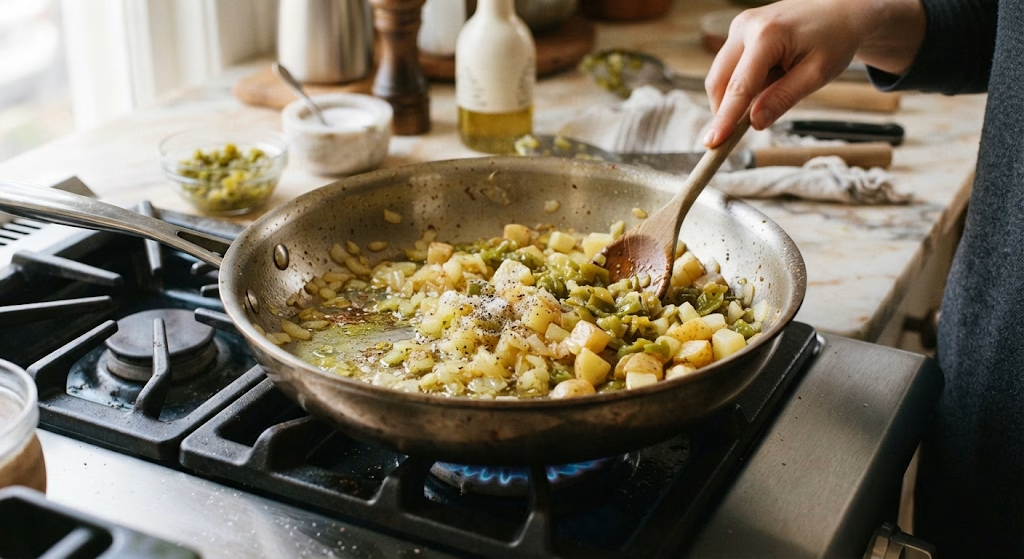
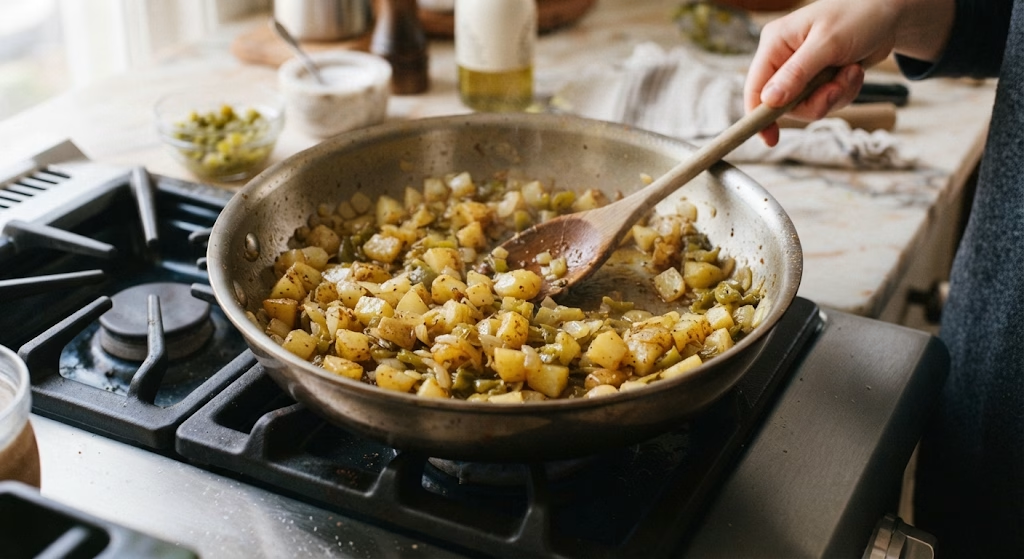
Warm the oil in a large frying pan over medium heat until it shimmers. Add the onion and cook for about 5 minutes, stirring often, until it turns soft and translucent. Stir in the diced potatoes and chopped Hatch chiles, then season with half the salt so the vegetables start absorbing flavor right away.
Cook Until the Potatoes Soften
Keep cooking the mixture, stirring occasionally, for about 10 to 12 minutes until the potatoes are fork-tender but not falling apart. This step matters because raw potatoes will stay crunchy even after baking, so don’t rush it. Once they’re tender, remove the pan from the heat and let it cool slightly.
Whisk the Egg Mixture
In a large bowl, whisk together the eggs, milk, sour cream, and the remaining salt until completely smooth. The sour cream is what gives this casserole its signature creaminess, so don’t skip it or swap it for plain yogurt if you can help it. Whisk until there are no streaks of egg white left.
Combine and Assemble
Spread the cooked potato, onion, and chile mixture evenly across the bottom of your prepared baking dish. Pour the egg mixture over the top, then sprinkle the shredded Monterey Jack cheese evenly across the surface. Give the dish a gentle shake so everything settles into place.
Bake Until Set
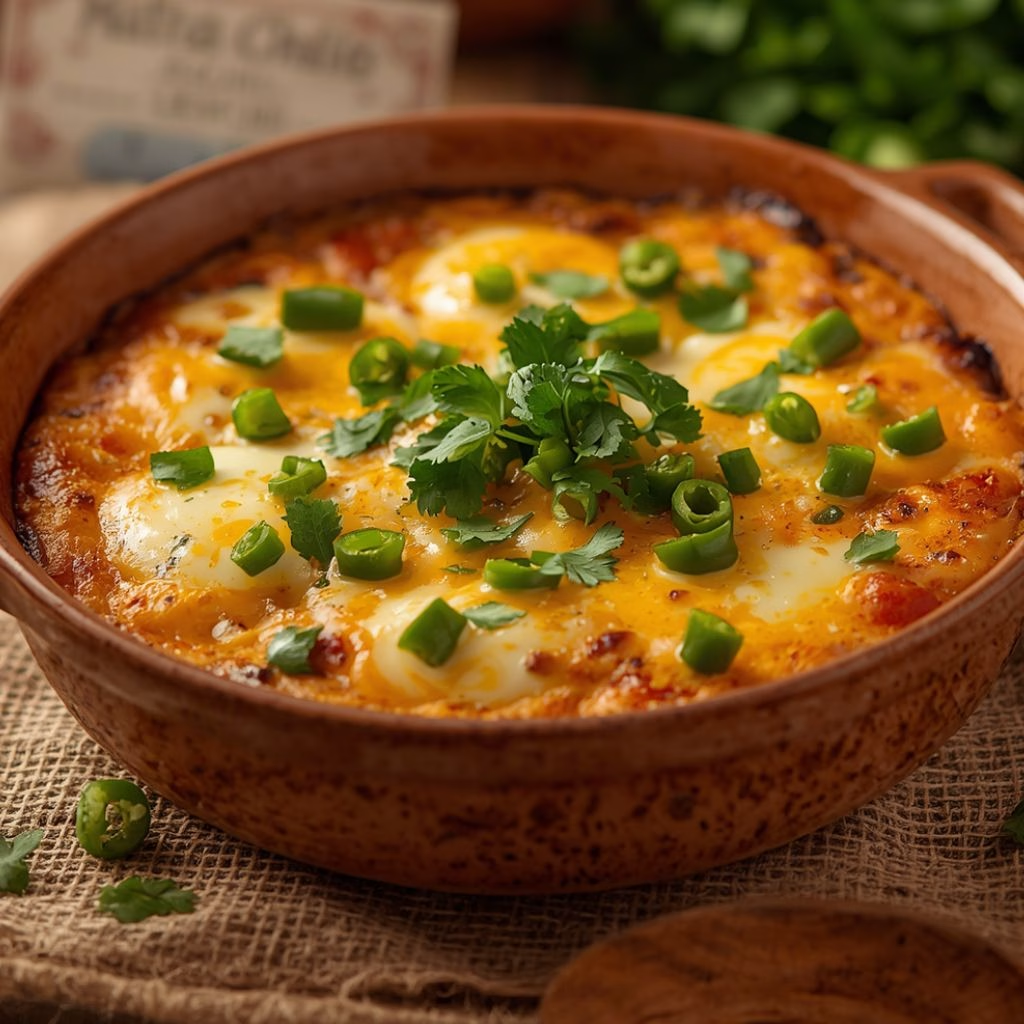
Slide the dish into the oven and bake for 30 to 35 minutes, or until the eggs are puffed, golden on top, and set in the center. You can test doneness by inserting a knife in the middle it should come out clean, without a wet egg clinging to it.
Rest Before Serving
Let the casserole rest for about 5 minutes once it comes out of the oven. This short rest allows the eggs to firm up slightly, so your slices hold together instead of falling apart when you serve them.
Additional Tips for Making This Recipe Better
I’ve made this casserole enough times to know exactly where it can go wrong, and where a small tweak makes it so much better.
- I always roast my own chiles when Hatch season hits, since the smoky char you get from a stovetop or broiler roast can’t be replicated with canned chiles.
- I let my eggs sit out for about 15 minutes before mixing, because room-temperature eggs blend more evenly and bake up fluffier.
- I dice my potatoes small and uniform so they cook through at the same rate as everything else.
- I shred my own cheese instead of buying pre-shredded bags, since the anti-caking coating on packaged cheese keeps it from melting as smoothly.
- I cover the dish loosely with foil for the first 20 minutes if my oven runs hot, so the top doesn’t brown before the center sets.
Common Mistakes to Avoid
I’ve made a few of these mistakes myself, so I like sharing them so you can skip the learning curve.
- I once used raw, unroasted chiles straight from the store, and the casserole tasted grassy instead of smoky. I always roast and peel them first.
- I undercooked the potatoes before serving, which left the middle of the casserole crunchy give them a full 10 minutes in the pan before assembling.
- I’ve overbaked it while multitasking in the kitchen, which dried out the eggs and pulled the dish the moment a knife came out clean.
- I skipped greasing the dish once, thinking the eggs wouldn’t stick, and I regretted every scraped-out bite always sprayed or oil the dish first.
- I’ve added the cheese too early in a hot pan before baking, which caused it to clump instead of melting evenly across the top.
How to Serve Hatch Chile Egg Casserole?
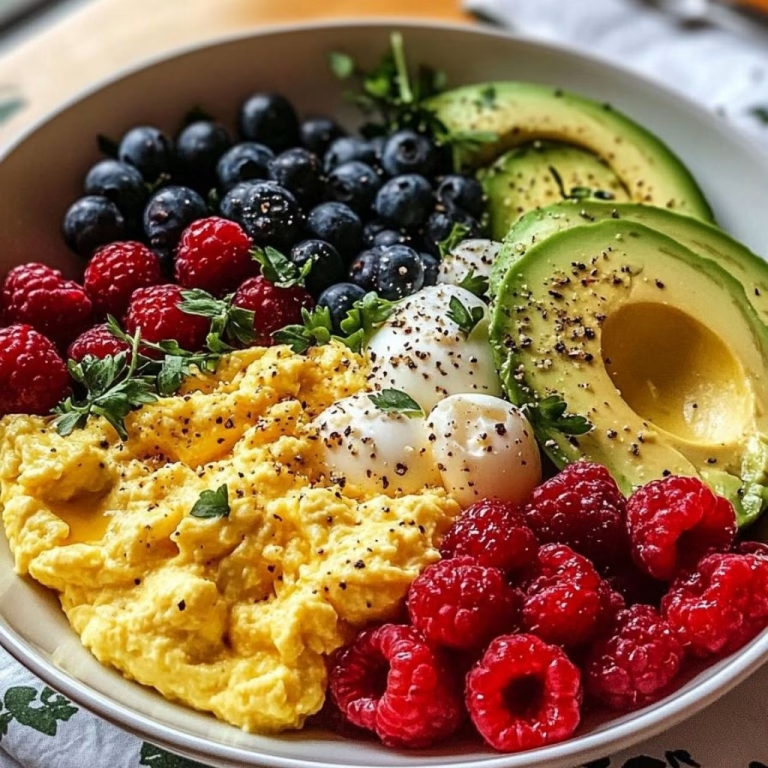
I like cutting this casserole into neat squares once it’s rested, then plating each piece with a few slices of avocado fanned on the side and a scattering of fresh cilantro over the top. A dollop of extra sour cream or a spoonful of salsa verde adds a nice tang, and warm corn tortillas on the side turn it into more of a full spread.
If you’re hosting brunch, this pairs beautifully with a simple green salad or fresh fruit to balance out the richness. For something heartier alongside it, I sometimes bring out a tray of crispy hash browns, similar to the ones in this hash brown breakfast casserole, since the crunchy texture contrasts nicely with the soft baked eggs.
Variations
This casserole is forgiving, so I’ve played around with it plenty of times to fit different diets and cravings.
- Dairy-free: swap the milk for unsweetened oat milk, use a dairy-free sour cream alternative, and pick a plant-based shredded cheese.
- No cottage cheese needed: some versions of green chile egg bakes add cottage cheese for extra protein, but sour cream alone keeps this one plenty creamy.
- Bread-based: layer torn bread cubes or day-old bread at the bottom of the dish for a strata-style texture instead of potatoes.
- Hash brown swap: use frozen shredded hash browns instead of diced potatoes for a quicker prep, similar to a Bisquick-style green chili egg bake.
- Extra protein: stir in cooked, crumbled chorizo or breakfast sausage along with the vegetables for a heartier dish.
- Spicier kick: add a diced jalapeño or a pinch of cayenne if your Hatch chiles are on the mild side.
- Veggie boost: toss in a handful of fresh spinach or diced bell pepper with the onions for extra color and nutrients.
If you love pairing eggs with fresh vegetables, you might also enjoy a spinach and cheese quiche, which uses a similar creamy egg base with a different flavor direction.
Nutritional Information
Here’s a general breakdown per serving, based on 8 servings from this recipe:
- Calories: about 220 kcal
- Protein: about 11 g
- Carbohydrates: about 14 g
- Fat: about 13 g
Make Ahead and Storage
You can assemble this casserole the night before, cover it tightly, and refrigerate it unbaked, then bake it fresh the next morning for an easy holiday or brunch prep. Leftovers keep well in an airtight container in the fridge for up to 4 days, and I like reheating individual portions in the microwave for about 1 to 2 minutes or in a 350°F oven for 10 minutes until warmed through. To freeze, wrap baked and cooled portions tightly in foil or freezer bags, and they’ll keep well for up to 2 months; thaw overnight in the fridge before reheating.
Why You’ll Love This Recipe?
This casserole has earned a permanent spot in my breakfast rotation, and here’s why I think it’ll earn one in yours too.
- It’s easy to prepare ahead: I can assemble it the night before and just pop it in the oven the next morning, which makes hosting brunch so much less stressful.
- It feeds a crowd: with 8 generous servings, it’s ideal for family gatherings, potlucks, or holiday mornings when everyone’s hungry at once.
- It’s naturally gluten-free: since there’s no flour or bread in the base recipe, it works well for guests with gluten sensitivities.
- It’s endlessly customizable: I can swap in different cheeses, proteins, or vegetables depending on what’s in my fridge that week.
- It captures Hatch chile season perfectly: the smoky, roasted flavor only comes around once a year, so this recipe makes the most of it while it lasts.
FAQs
Can I use canned green chiles instead of fresh Hatch chiles?
Yes, canned diced green chiles work in a pinch, though you’ll lose some of the signature smoky flavor that fresh roasted Hatch chiles bring.
Can I make this casserole ahead of time?
Absolutely assemble it the night before, refrigerate it covered, and bake it fresh the next morning for a stress-free brunch.
What can I use instead of sour cream?
Full-fat Greek yogurt is the closest substitute and keeps the same creamy texture without changing the flavor too much.
Is this recipe spicy?
It depends on the heat level of your Hatch chiles, since they range from mild to quite hot, so taste a small piece before adding them all in.
Can I add meat to this casserole?
Yes, cooked breakfast sausage, bacon, or chorizo all work well stirred in with the sautéed vegetables before baking.

Hatch Chile Egg Casserole Recipe
Ingredients
Method
- Set your oven rack in the middle position and heat it to 375°F. While it warms up, coat your 9×13-inch baking dish with cooking spray or a light layer of oil. This keeps the eggs from clinging to the sides once they puff up in the oven.
- Warm the oil in a large frying pan over medium heat until it shimmers. Add the onion and cook for about 5 minutes, stirring often, until it turns soft and translucent. Stir in the diced potatoes and chopped Hatch chiles, then season with half the salt so the vegetables start absorbing flavor right away.
- Keep cooking the mixture, stirring occasionally, for about 10 to 12 minutes until the potatoes are fork-tender but not falling apart. This step matters because raw potatoes will stay crunchy even after baking, so don’t rush it. Once they’re tender, remove the pan from the heat and let it cool slightly.
- In a large bowl, whisk together the eggs, milk, sour cream, and the remaining salt until completely smooth. The sour cream is what gives this casserole its signature creaminess, so don’t skip it or swap it for plain yogurt if you can help it. Whisk until there are no streaks of egg white left.
- Spread the cooked potato, onion, and chile mixture evenly across the bottom of your prepared baking dish. Pour the egg mixture over the top, then sprinkle the shredded Monterey Jack cheese evenly across the surface. Give the dish a gentle shake so everything settles into place.
- Slide the dish into the oven and bake for 30 to 35 minutes, or until the eggs are puffed, golden on top, and set in the center. You can test doneness by inserting a knife in the middle it should come out clean, without a wet egg clinging to it.
- Let the casserole rest for about 5 minutes once it comes out of the oven. This short rest allows the eggs to firm up slightly, so your slices hold together instead of falling apart when you serve them.
Notes
- I always roast my own chiles when Hatch season hits, since the smoky char you get from a stovetop or broiler roast can’t be replicated with canned chiles.
- I let my eggs sit out for about 15 minutes before mixing, because room-temperature eggs blend more evenly and bake up fluffier.
- I dice my potatoes small and uniform so they cook through at the same rate as everything else.
- I shred my own cheese instead of buying pre-shredded bags, since the anti-caking coating on packaged cheese keeps it from melting as smoothly.
- I cover the dish loosely with foil for the first 20 minutes if my oven runs hot, so the top doesn’t brown before the center sets.