I first fell in love with hatch chiles at a backyard cookout, and I honestly couldn’t stop dipping chips into this salsa. I made a batch for a party not long ago, and it vanished before I even finished plating the pulled pork tacos I’d planned to serve it with.
Once you roast these New Mexico beauties and blend them with juicy tomatoes, onion, garlic, and lime, you get a smoky, tangy salsa unlike anything from a jar. I promise this Hatch Chile Salsa Recipe is one of those dishes I keep coming back to every August when hatch season rolls around. Let me walk you through exactly how I make it at home.
Cooking Time
- Prep Time: 15 minutes
- Cook Time: 25 minutes
- Total Time: 40 minutes (plus 2 hours chilling)
Equipment You Need
- Baking sheet – for roasting the peppers, tomatoes, onion, and garlic evenly
- Oven – to char the skins and deepen the flavor of the vegetables
- Food processor or blender – to blend everything into a smooth, cohesive salsa
- Mixing bowl with lid – for chilling and storing the finished salsa
- Sharp knife and cutting board – for slicing peppers, tomatoes, and onion
- Tongs – for safely flipping hot peppers on the baking sheet
Ingredients
- 6-8 fresh hatch chile peppers – the star of the recipe; look for firm, glossy skins with no soft spots
- 4 medium heirloom tomatoes – bring natural sweetness and body to the salsa
- 1 medium white onion – adds a mellow, savory backbone once roasted
- 4 cloves garlic, unpeeled – roasting mellows the sharpness into something rich and nutty
- 2 tablespoons fresh lime juice – brightens the whole salsa; skip the bottled stuff if you can
- 1/4 cup fresh cilantro, chopped – use fresh leaves only, dried cilantro won’t give the same punch
- 1 teaspoon salt, or to taste – season gradually and taste as you go
- 1 tablespoon olive oil – helps everything roast evenly without sticking
Note: This recipe makes about 3 cups of salsa, enough to serve 8-10 people as an appetizer.
How to Make Hatch Chile Salsa Recipe?
This salsa comes together in two simple stages: roasting and blending. I always roast everything on one pan to save on cleanup and to let the flavors mingle in the oven. Once that’s done, the food processor does the rest of the work for you.
Prep the Vegetables
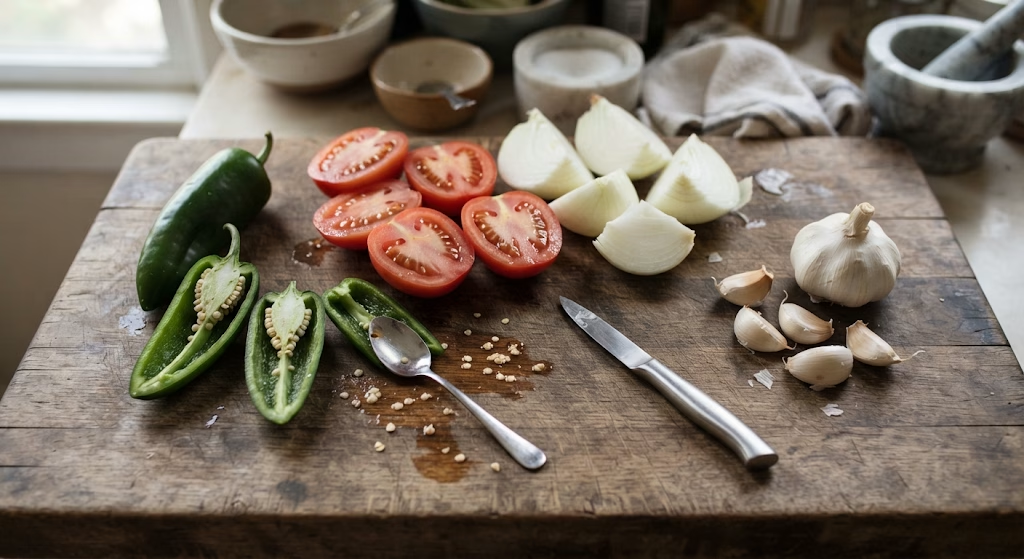
Slice your hatch chiles and tomatoes in half lengthwise, then scoop out the pepper seeds if you want a milder salsa. Cut the onion into large chunks so it roasts without turning mushy. Leave the garlic cloves in their skins for now, since roasting them whole keeps them from burning.
Roast Everything Together
Preheat your oven to 350°F and arrange the peppers, tomatoes, onion, and garlic cut-side up on a baking sheet. Drizzle everything lightly with olive oil so the skins char nicely instead of drying out. Roast for 20-25 minutes, until the pepper skins are blistered and blackened in spots.

Cool and Peel
Once out of the oven, let everything rest for about 10 minutes until it’s cool enough to handle safely. Peel the charred skins off the hatch chiles and tomatoes, then discard them, since this step is what gives the salsa its silky texture. Squeeze the softened garlic cloves out of their papery skins directly into your food processor.
Blend It All Together
Add the roasted peppers, tomatoes, onion, and garlic into the food processor along with the lime juice, cilantro, and salt. Pulse a few times for a chunkier texture, or blend longer if you prefer a smoother, restaurant-style salsa. Taste and adjust the salt or lime as needed before moving on.
Chill and Serve
Transfer the salsa into a covered bowl and refrigerate for at least 2 hours before serving. This resting time lets the smoky, roasted flavors fully develop and meld together. Serve it cold or at room temperature alongside your favorite dish.
Additional Tips for Making This Recipe Better
I’ve made this salsa more times than I can count, and here’s what actually makes a difference for me.
- I always roast my peppers a little longer than the recipe says if I want extra smoky depth, since a deeper char means better flavor.
- I like to use a mix of medium and hot hatch chiles when I want more of a kick without overpowering the tomatoes.
- I never skip the resting time in the fridge, because the salsa genuinely tastes better once the flavors have had a chance to sit.
- I taste as I go and add lime juice in small splashes, since it’s much easier to add more than to fix an overly tart batch.
- I keep a few extra roasted chiles on hand in the freezer so I can whip up a second batch without starting from scratch.
Common Mistakes to Avoid
I’ve made a few of these mistakes myself over the years, so I like sharing them so you can skip the trial and error.
- I once forgot to peel the tomato skins, and it left the salsa with an odd, chewy texture I didn’t love.
- I’ve rushed the roasting step before, and the peppers ended up more steamed than charred, which really dulls the smoky flavor.
- I learned the hard way that using frozen hatch chiles without thawing and draining them first waters down the whole salsa.
- I’ve over-blended a batch before, and it turned into more of a sauce than a chunky salsa, so I stick to short pulses now.
- I’ve added too much salt early on and had to rebalance everything with extra lime and tomatoes, so I always season last.
How to Serve Hatch Chile Salsa
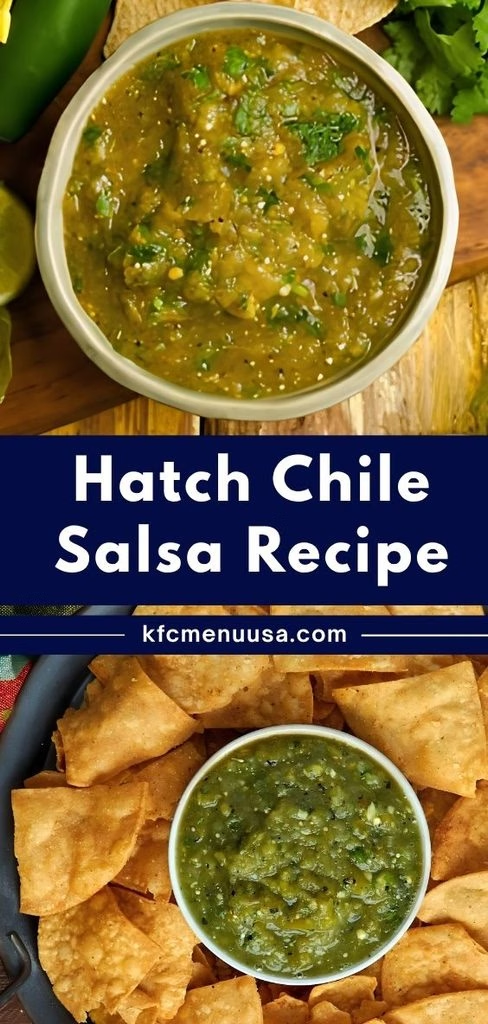
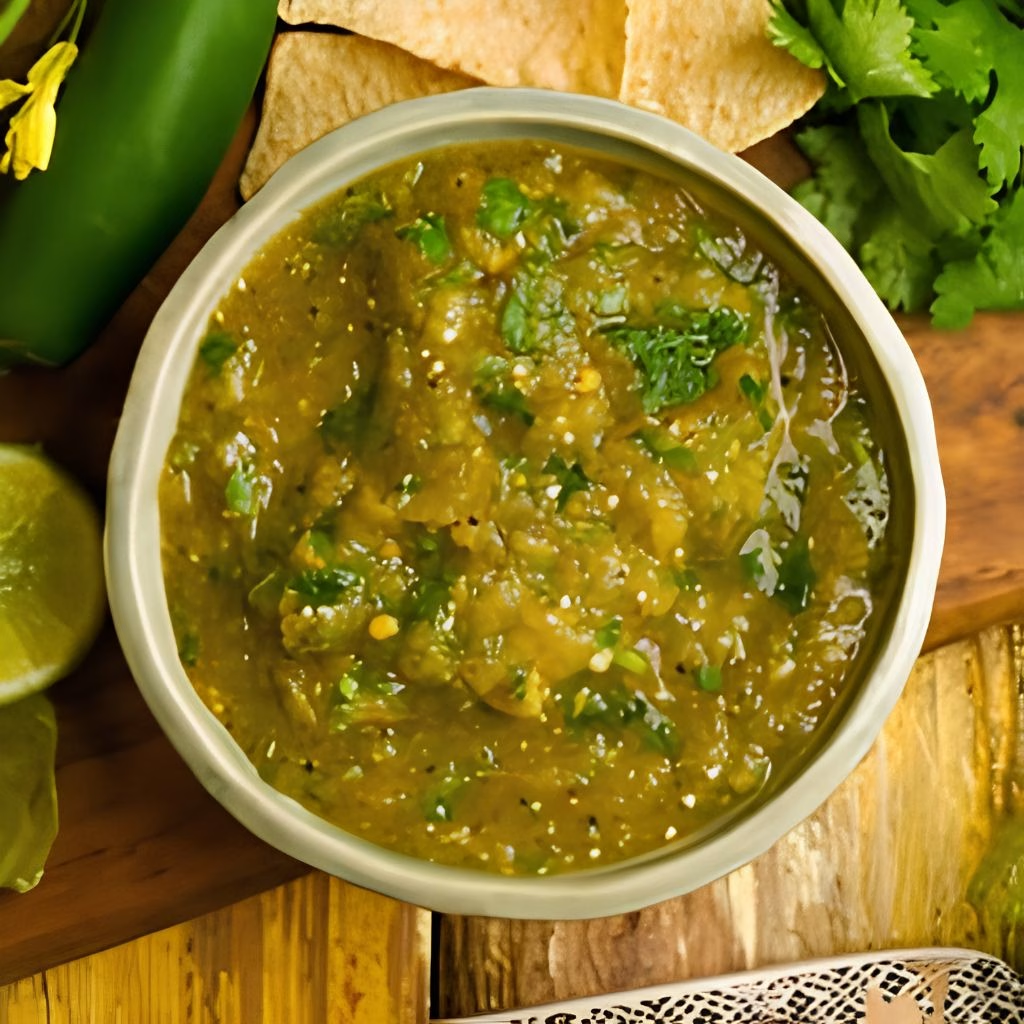
I love setting this salsa out in a wide, shallow bowl so the color really pops against a plate of warm, crispy tortilla chips. A few fresh cilantro leaves and a lime wedge on the side make it look like something straight out of a restaurant.
It’s also fantastic spooned over grilled chicken, fish tacos, or scrambled eggs for breakfast. If you’re hosting a taco night, I’d pair it with a batch of homemade guacamole for a colorful, crowd-pleasing spread of dips.
Variations
- Swap the tomatoes for tomatillos if you want a tangier, more traditional hatch green chile salsa no tomatillos twist in reverse, leaning into a brighter acidity.
- Add a splash of smoked paprika or grill the vegetables instead of roasting for a smoked hatch salsa recipe with even deeper flavor.
- Stir in diced avocado right before serving for a creamier, richer texture that works well as a dip.
- Use fire-roasted canned tomatoes in the off-season when fresh hatch organic salsa ingredients aren’t as easy to find.
- Skip the cilantro if you’re not a fan, and add a bit of fresh oregano instead for a different herby note.
- For a low-sodium version, cut the added salt in half and let the lime juice do more of the flavor work.
Nutritional Information
Here’s a general idea of what you’re getting per serving of this fresh chile salsa, though exact values will vary based on your specific ingredients.
- Calories: 35 kcal
- Protein: 1g
- Carbohydrates: 7g
- Fat: 1g
Make Ahead and Storage
This salsa actually tastes better the next day, so it’s a great one to make ahead for parties or meal prep. Store it in an airtight container in the refrigerator, where it will stay fresh for up to 5 days.
If you want to freeze it, leave a little headspace in the container since salsa expands slightly as it freezes, and it will keep well for up to 3 months. Thaw it overnight in the fridge and give it a good stir before serving, since some separation is completely normal.
Why You’ll Love This Recipe?
I keep coming back to this hatch chile salsa recipe every summer, and here’s why I think you’ll love it just as much as I do.
- It’s incredibly easy to make: with just one baking sheet and a food processor, there’s barely any cleanup involved.
- It’s naturally packed with flavor: roasting brings out a smoky sweetness you simply can’t get from raw ingredients.
- It’s easy to customize: you can make it as mild or as fiery as you like depending on the chiles you choose.
- It works for so many meals: from tacos to eggs to grilled meats, this salsa fits into almost any dish.
- It’s a fantastic make-ahead option: it stores beautifully, so it’s perfect for parties, potlucks, or busy weeknights.
If you’re planning a bigger spread, this salsa pairs really nicely alongside a batch of loaded nachos for game day, since the smoky heat cuts right through all that melted cheese.
FAQs
Can I use canned hatch chiles instead of fresh?
Yes, canned or frozen roasted hatch chiles work well when fresh ones aren’t in season, just be sure to drain them thoroughly first.
Is this a hatch chile salsa recipe for canning?
This particular version is meant for fridge storage, but you can process it in a water bath following standard tested canning guidelines if you’d like to can it.
How spicy is hatch chile salsa?
It depends entirely on the chiles you use, since hatch peppers range from mild to quite hot, similar in spirit to a best green chili salsa recipe you’d find in New Mexico.
Can I make this salsa without a food processor?
Yes, you can finely chop everything by hand for a chunkier, more rustic texture similar to a traditional pico de gallo.
Does this taste like 505 green chili salsa?
It’s similar in spirit with that roasted, smoky green chile flavor, though this homemade version lets you control the heat and freshness completely.

Hatch Chile Salsa Recipe
Ingredients
Method
- Slice your hatch chiles and tomatoes in half lengthwise, then scoop out the pepper seeds if you want a milder salsa. Cut the onion into large chunks so it roasts without turning mushy. Leave the garlic cloves in their skins for now, since roasting them whole keeps them from burning.
- Preheat your oven to 350°F and arrange the peppers, tomatoes, onion, and garlic cut-side up on a baking sheet. Drizzle everything lightly with olive oil so the skins char nicely instead of drying out. Roast for 20-25 minutes, until the pepper skins are blistered and blackened in spots.
- Once out of the oven, let everything rest for about 10 minutes until it’s cool enough to handle safely. Peel the charred skins off the hatch chiles and tomatoes, then discard them, since this step is what gives the salsa its silky texture. Squeeze the softened garlic cloves out of their papery skins directly into your food processor.
- Add the roasted peppers, tomatoes, onion, and garlic into the food processor along with the lime juice, cilantro, and salt. Pulse a few times for a chunkier texture, or blend longer if you prefer a smoother, restaurant-style salsa. Taste and adjust the salt or lime as needed before moving on.
- Transfer the salsa into a covered bowl and refrigerate for at least 2 hours before serving. This resting time lets the smoky, roasted flavors fully develop and meld together. Serve it cold or at room temperature alongside your favorite dish.
Notes
- I always roast my peppers a little longer than the recipe says if I want extra smoky depth, since a deeper char means better flavor.
- I like to use a mix of medium and hot hatch chiles when I want more of a kick without overpowering the tomatoes.
- I never skip the resting time in the fridge, because the salsa genuinely tastes better once the flavors have had a chance to sit.
- I taste as I go and add lime juice in small splashes, since it’s much easier to add more than to fix an overly tart batch.
- I keep a few extra roasted chiles on hand in the freezer so I can whip up a second batch without starting from scratch.