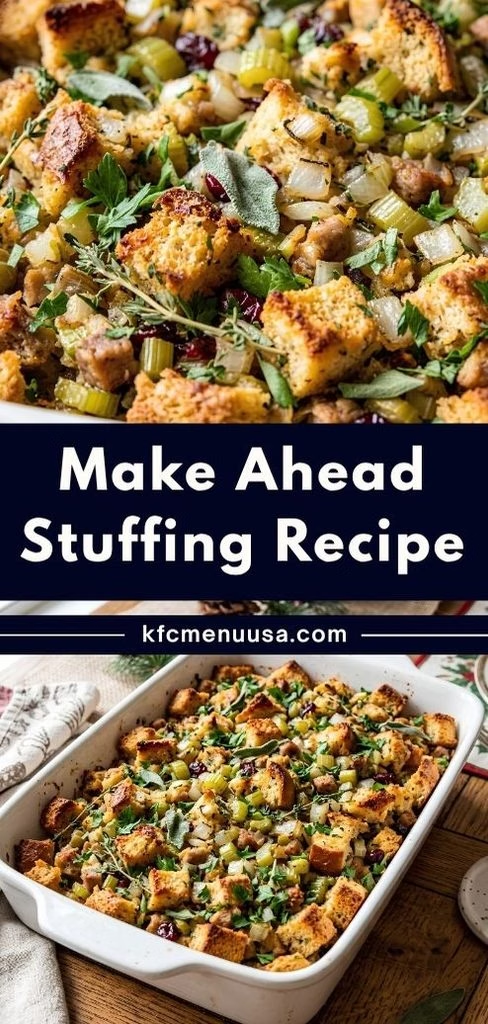
I still remember the first Thanksgiving I tried to cook everything at once, and let’s just say the stuffing was an afterthought that came out of the oven lukewarm and sad. That’s the year I started making my stuffing ahead of time, and honestly, I’ve never looked back.
This Make Ahead Stuffing Recipe has saved my holiday mornings more times than I can count. I get to spend less time stressing over the stove and more time actually enjoying my family. Once you try assembling this the night before, you’ll wonder why you ever did it any other way.
Cooking Time
- Prep Time: 20 minutes
- Cook Time: 50 minutes
- Total Time: 1 hour 10 minutes (plus chilling or freezing time if making ahead)
Ingredients
- ½ cup unsalted butter, plus extra for greasing the dish – this is the flavor backbone, so don’t skimp on it
- 1 cup finely chopped onion – adds a sweet, savory base once sautéed
- 1 cup chopped celery – gives that classic stuffing crunch and aroma
- 3 large eggs – helps bind everything together so it holds its shape when sliced
- 2 ½ cups chicken broth – use low-sodium so you control the final seasoning
- 1 teaspoon salt – adjust to taste depending on how salty your broth is
- ½ teaspoon black pepper – freshly cracked makes a noticeable difference
- ¼ cup fresh parsley, minced – brightens up the richness of the butter
- 1 teaspoon dried sage – the herb that makes stuffing taste like stuffing
- ½ teaspoon dried thyme – pairs beautifully with the sage and poultry flavors
- ½ teaspoon dried marjoram – a subtle, slightly sweet herb note most people miss
- 1 (1-pound) loaf French or sourdough bread, cubed and dried overnight – stale bread soaks up flavor without turning mushy
Note: This recipe serves about 10 people as a side dish (roughly 1 cup per serving).
Equipment You Need
- Large skillet – for sautéing the onion, celery, and herbs in butter
- 9×13-inch baking dish – holds the assembled stuffing for baking or freezing
- Large mixing bowl – for combining the egg mixture with the bread cubes
- Whisk – to blend the eggs and broth smoothly
- Aluminum foil – keeps the stuffing covered while it chills, freezes, or bakes
- Measuring cups and spoons – for accurate seasoning and liquid ratios
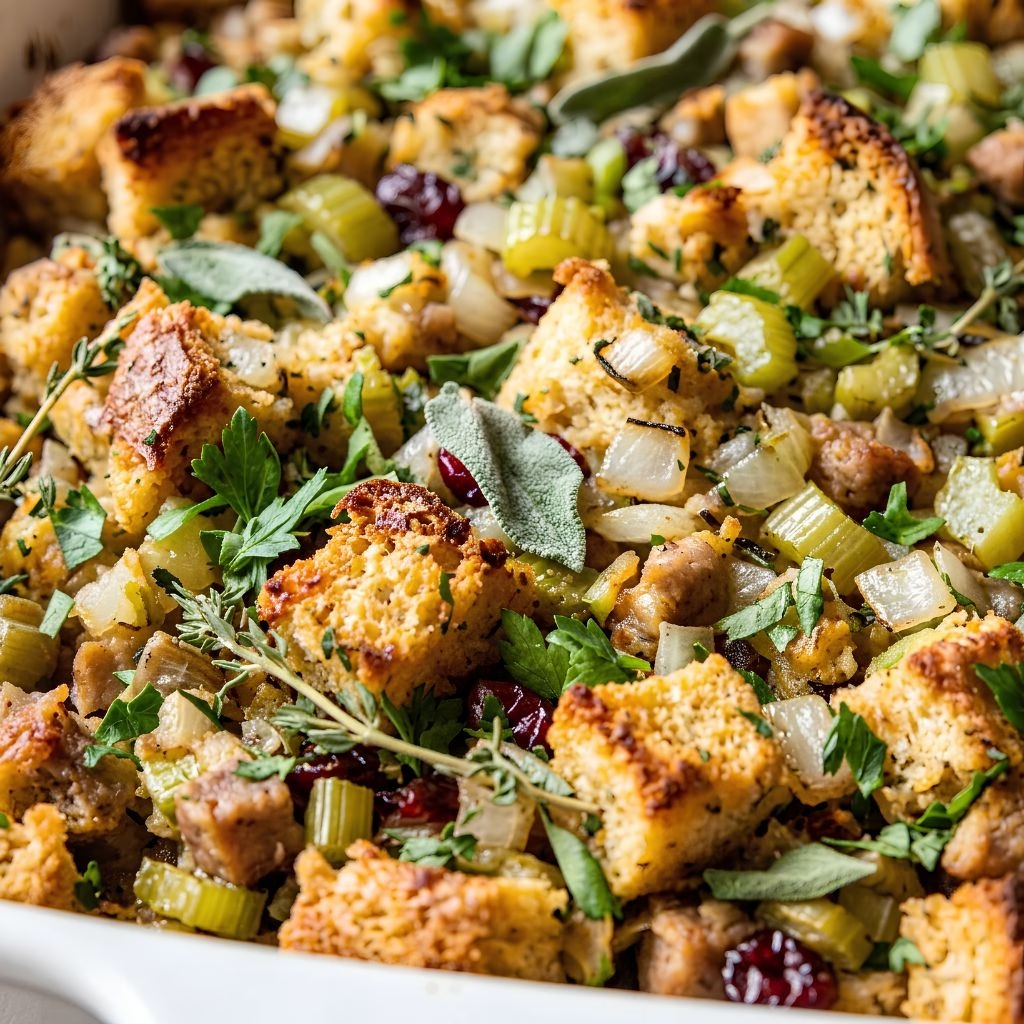
How to Make a Make Ahead Stuffing Recipe?
This stuffing comes together in two easy stages: you build the flavor on the stovetop, then let the fridge or freezer do the rest of the work for you. Nothing about this process is complicated, and most of it can be done the day before you need it. Here’s exactly how I put mine together every single time.
Dry Out Your Bread
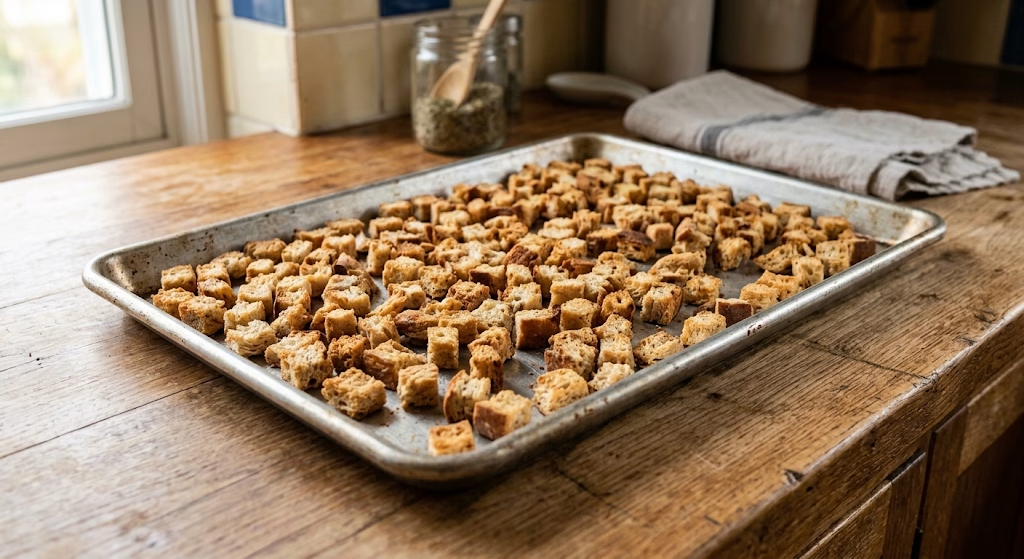
Cut your loaf into half-inch cubes and leave them out on the counter overnight, uncovered, so they turn stale and sturdy. If you’re short on time, spread them on a baking sheet and bake at 300°F for about 30 minutes until they feel crisp and dry. Dry bread is non-negotiable here, since fresh bread turns to mush once it absorbs the broth.
Sauté the Vegetables
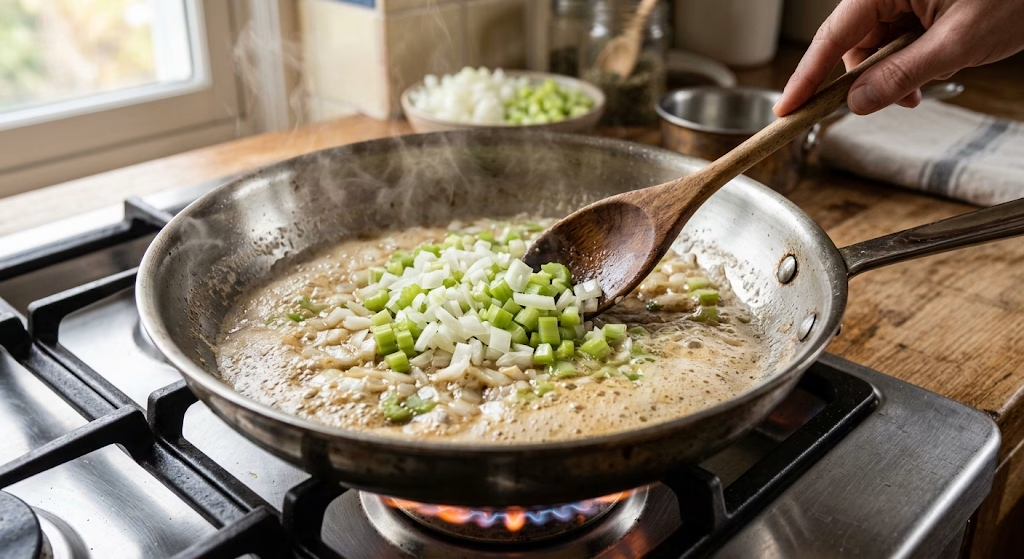
Melt the butter in a large skillet over medium-high heat until it starts to foam and smells nutty. Add the chopped onion and celery, stirring often, and cook for about 7 to 8 minutes until they turn soft and translucent. This step builds the savory base that flavors every single bite of the finished stuffing.
Add the Herbs
Once the vegetables are tender, stir in the parsley, sage, thyme, and marjoram directly into the skillet. Cook for about 30 seconds, just until the herbs become fragrant and the kitchen smells incredible. Pull the skillet off the heat right away so the herbs don’t scorch or turn bitter.
Whisk the Wet Ingredients
In a large bowl, whisk the eggs until smooth, then pour in the chicken broth along with the salt and pepper. Whisk everything together until it’s fully combined and slightly frothy. This mixture is what moistens the bread and holds the whole dish together once baked.
Combine Everything
Pour the buttery vegetable and herb mixture into the bowl with the eggs and broth, stirring well to combine. Add the dried bread cubes and gently toss everything together until each piece is evenly coated. Work carefully here so you don’t crush the bread cubes into crumbs.
Assemble and Chill or Freeze
Transfer the mixture into a buttered 9×13-inch baking dish, spreading it into an even layer. Cover tightly with foil and either refrigerate for up to 24 hours or freeze for longer storage. This is the exact point where you get to walk away and let your future self handle the baking.
Bake When Ready
When you’re ready to serve, preheat your oven to 400°F and keep the dish covered with foil. Bake for about 25 minutes if refrigerated, or closer to 45 minutes if frozen, until mostly heated through. Remove the foil and bake for another 10 to 20 minutes until the top turns golden and crispy.
Additional Tips for Making This Recipe Better
I’ve made this stuffing more times than I can count, and these small tweaks have made a real difference for me.
- I always dry my bread the night before instead of rushing it in the oven, because it gives a much better texture.
- I like adding an extra splash of broth right before baking if the mixture looks even slightly dry.
- I never skip tasting the broth mixture before combining it with the bread, since that’s my only chance to adjust the salt.
- I cover the dish loosely with foil for the first half of baking so the top doesn’t dry out too fast.
- I let the stuffing rest for about 10 minutes after baking so it sets and is easier to serve neatly.
Common Mistakes to Avoid
I’ve made a few of these mistakes myself over the years, so learn from my trial and error.
- I used fresh, soft bread once and ended up with soggy stuffing. I always use bread that’s stale or oven-dried.
- I didn’t whisk my eggs and broth well enough one year, and the stuffing baked unevenly mixed it thoroughly before pouring it over the bread.
- I overcrowded my baking dish once, which meant the center never crisped up and spread the mixture in an even, not overly thick, layer.
- I forgot to cover the dish while freezing it, and the top freezer burn always wraps it tightly in foil or plastic before freezing.
- I baked it straight from the freezer without adjusting the time, and the center stayed cold, always add extra baking time for frozen stuffing.
How to Serve Make Ahead Stuffing Recipe?
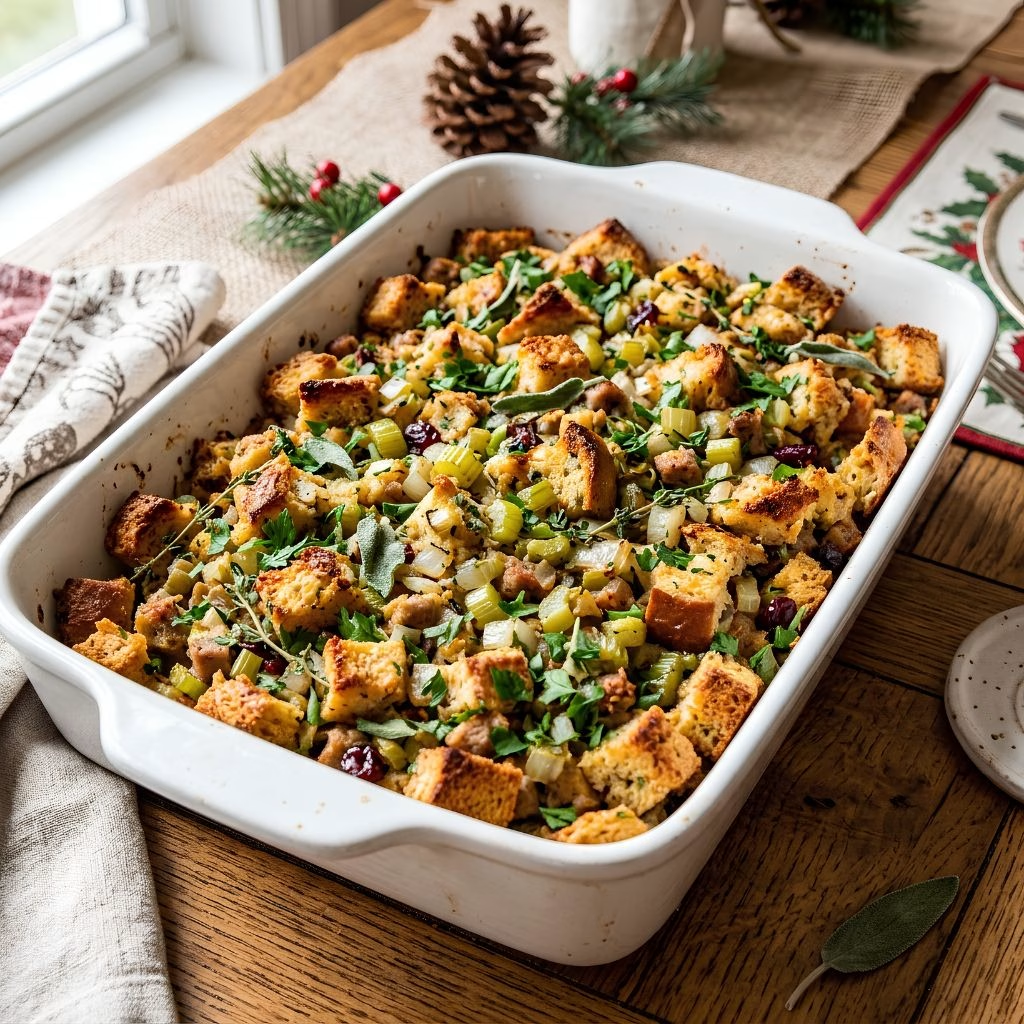
Once baked, I like to scoop the stuffing into a warm serving dish and sprinkle a little extra chopped parsley on top for color. A light drizzle of warm gravy right before serving makes it look (and taste) even more inviting. It pairs beautifully next to roasted turkey, glazed ham, or even a simple roast chicken for smaller gatherings.
For a cozy, rustic presentation, serve it straight from the baking dish with a wooden spoon so everyone can help themselves family-style. If you’re planning a full holiday spread, this stuffing sits perfectly alongside a comforting mashed potatoes recipe for that classic, complete dinner plate.
Variations
- Swap the chicken broth for vegetable broth to make this stuffing fully vegetarian.
- Use gluten-free bread cubes if you need a gluten-free version without losing the texture.
- Add cooked sausage or crumbled bacon for extra richness and protein.
- Toss in dried cranberries or chopped apples for a touch of sweetness.
- Mix in toasted pecans or walnuts for crunch and a nuttier flavor profile.
- Replace butter with a plant-based alternative for a dairy-free option.
Nutritional Information
Here’s a general breakdown per serving, so you know roughly what you’re working with.
- Calories: about 241 kcal
- Protein: about 7g
- Carbohydrates: about 24g
- Fat: about 13g
Make Ahead and Storage
Refrigerating: Once assembled, cover the unbaked stuffing tightly with foil and refrigerate for up to 24 hours before baking. This is the easiest option if you plan to serve it the next day.
Freezing: Wrap the unbaked, assembled stuffing tightly and freeze for up to one month for the best flavor and texture. Bake it straight from frozen, adding extra time until it’s heated through.
Leftovers: Store any baked, cooled leftovers in an airtight container in the fridge for up to 4 days. Reheat covered in a 350°F oven until warmed through, adding a splash of broth if it looks dry.
Why You’ll Love This Recipe?
This stuffing has earned a permanent spot on my holiday table, and here’s why I think you’ll feel the same way.
- Genuinely make ahead: You can prep this a full day in advance, or even freeze it weeks ahead, so your holiday morning stays calm and manageable.
- Classic, comforting flavor: The combination of butter, herbs, and savory broth tastes exactly like the stuffing everyone grew up loving.
- Easy to customize: Whether you want it vegetarian, nuttier, or a little sweeter, this base recipe adapts to whatever you’re craving.
- Feeds a crowd: With about 10 generous servings, it’s sized perfectly for a holiday gathering or a big family dinner.
- Freezer-friendly: Because it holds up so well in the freezer, you can make double batches and always have one ready to go.
FAQs
Can you make stuffing ahead of time and reheat?
Yes, you can fully bake the stuffing, refrigerate it, and then reheat it covered in a 350°F oven until warmed through.
Why can’t you make stuffing ahead of time and leave it unbaked at room temperature?
Because the mixture contains eggs and broth, it needs to stay refrigerated or frozen to prevent bacterial growth before baking.
Can you make stuffing ahead of time and freeze it?
Absolutely, you can freeze the unbaked, assembled stuff tightly wrapped for up to a month and bake it directly from frozen.
How do you reheat make ahead stuffing without drying it out?
Keep it covered with foil while reheating and add a small splash of broth to restore moisture before it goes back in the oven.
Can I use cornbread instead of French bread in this recipe?
Yes, cornbread works well as a substitute and adds a slightly sweeter, more textured twist to the classic recipe. If you love playing with cornbread-based sides, it’s worth exploring a hearty cornbread recipe for your next holiday menu too.

Make Ahead Stuffing Recipe
Ingredients
Method
- Cut your loaf into half-inch cubes and leave them out on the counter overnight, uncovered, so they turn stale and sturdy. If you’re short on time, spread them on a baking sheet and bake at 300°F for about 30 minutes until they feel crisp and dry. Dry bread is non-negotiable here, since fresh bread turns to mush once it absorbs the broth.
- Melt the butter in a large skillet over medium-high heat until it starts to foam and smells nutty. Add the chopped onion and celery, stirring often, and cook for about 7 to 8 minutes until they turn soft and translucent. This step builds the savory base that flavors every single bite of the finished stuffing.
- Once the vegetables are tender, stir in the parsley, sage, thyme, and marjoram directly into the skillet. Cook for about 30 seconds, just until the herbs become fragrant and the kitchen smells incredible. Pull the skillet off the heat right away so the herbs don’t scorch or turn bitter.
- In a large bowl, whisk the eggs until smooth, then pour in the chicken broth along with the salt and pepper. Whisk everything together until it’s fully combined and slightly frothy. This mixture is what moistens the bread and holds the whole dish together once baked.
- Pour the buttery vegetable and herb mixture into the bowl with the eggs and broth, stirring well to combine. Add the dried bread cubes and gently toss everything together until each piece is evenly coated. Work carefully here so you don’t crush the bread cubes into crumbs.
- Transfer the mixture into a buttered 9×13-inch baking dish, spreading it into an even layer. Cover tightly with foil and either refrigerate for up to 24 hours or freeze for longer storage. This is the exact point where you get to walk away and let your future self handle the baking.
- When you’re ready to serve, preheat your oven to 400°F and keep the dish covered with foil. Bake for about 25 minutes if refrigerated, or closer to 45 minutes if frozen, until mostly heated through. Remove the foil and bake for another 10 to 20 minutes until the top turns golden and crispy.
Notes
- I always dry my bread the night before instead of rushing it in the oven, because it gives a much better texture.
- I like adding an extra splash of broth right before baking if the mixture looks even slightly dry.
- I never skip tasting the broth mixture before combining it with the bread, since that’s my only chance to adjust the salt.
- I cover the dish loosely with foil for the first half of baking so the top doesn’t dry out too fast.
- I let the stuffing rest for about 10 minutes after baking so it sets and is easier to serve neatly.