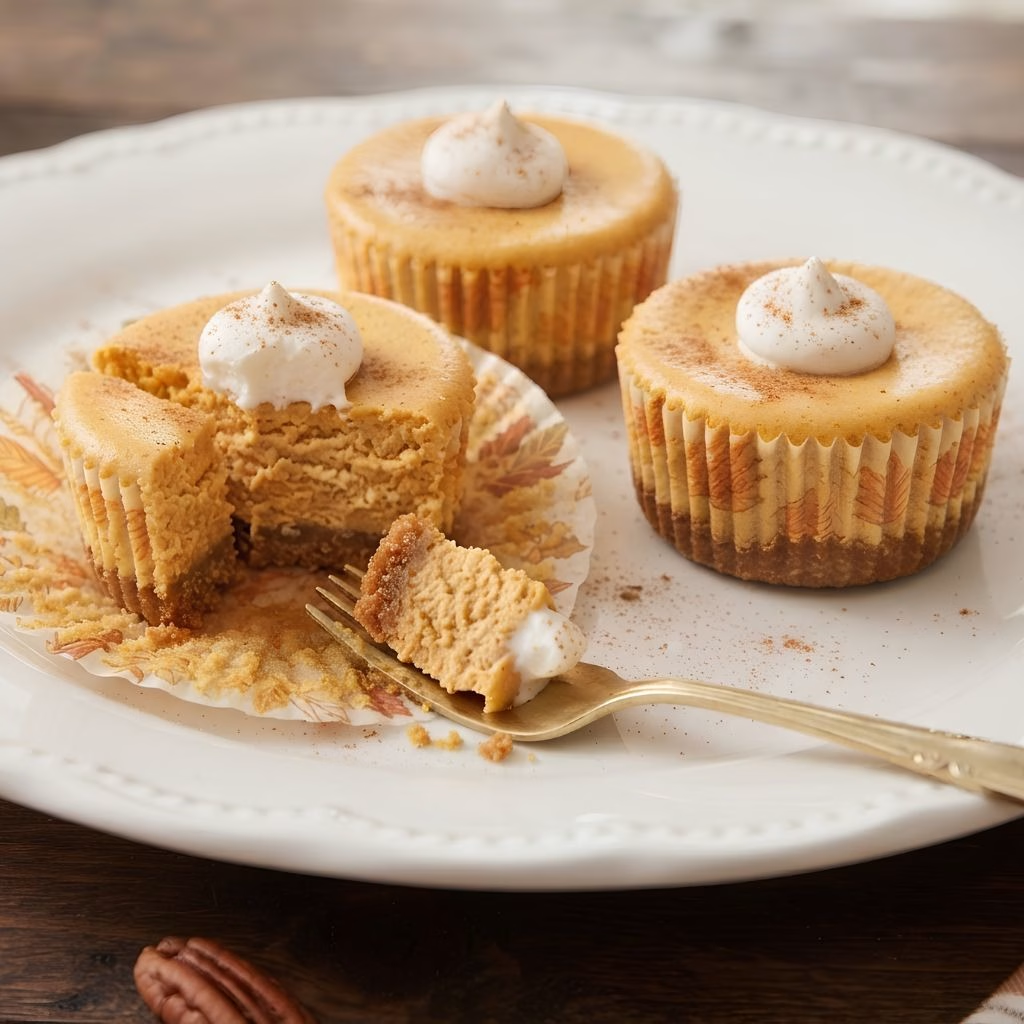
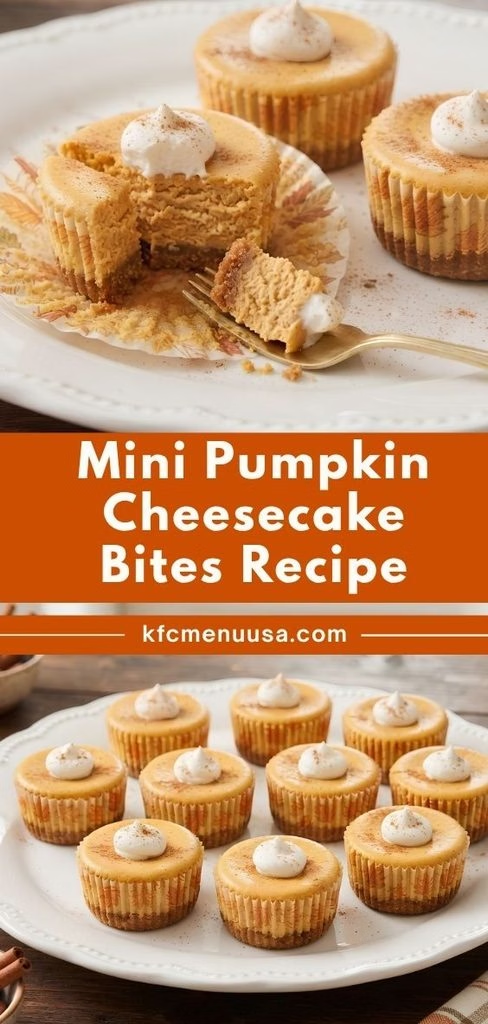
I made a batch of this Mini Pumpkin Cheesecake Bites Recipe last weekend, and honestly, I couldn’t stop popping them one after another. I’ve always loved pumpkin cheesecake, but slicing a full cake always felt like a hassle for casual get-togethers.
That’s why I started making these bite-sized versions instead: no springform pan drama, no worrying about clean slices. I promise once you try this recipe, it’ll become your go-to fall dessert too.
Cooking Time
- Prep Time: 20 minutes
- Cook Time: 18-20 minutes
- Chill Time: 3 hours (or overnight)
- Total Time: About 3 hours 40 minutes
Ingredients
- 1 ½ cups graham cracker crumbs – forms the buttery base; crush fresh crackers for the best texture
- ¼ cup granulated sugar – adds a touch of sweetness to the crust
- 6 tablespoons unsalted butter, melted – binds the crumbs together so the crust holds its shape
- 16 oz cream cheese, softened – the heart of the filling; let it sit out for 30 minutes so it blends smooth
- ½ cup brown sugar – gives the filling a warm, caramel-like sweetness
- ¼ cup granulated sugar – balances the brown sugar for a rounded flavor
- 1 cup pumpkin puree – use pure pumpkin, not pumpkin pie filling, for the best flavor
- 2 large eggs, room temperature – helps the filling set without cracking
- 1 teaspoon vanilla extract – rounds out the spices with a subtle depth
- 1 ½ teaspoons pumpkin pie spice – the key to that cozy fall flavor
- ¼ teaspoon salt – enhances every other flavor in the filling
- Whipped cream, for topping – adds a light, creamy finish to each bite
Note: This recipe makes about 18-20 mini cheesecake bites, enough to serve a small gathering.
Equipment You Need
- Muffin tin – holds the individual cheesecake bites while baking
- Cupcake liners – makes removing each bite quick and mess-free
- Hand mixer or stand mixer – gets the cream cheese filling silky smooth
- Mixing bowls – one for the crust, one for the filling
- Rubber spatula – scrapes down the bowl so nothing gets left unmixed
- Cooling rack – lets the bites cool evenly before they go into the fridge
How to Make Mini Pumpkin Cheesecake Bites Recipe?
This recipe comes together in three simple stages: build the crust, mix the filling, then bake and chill. None of the steps are difficult, and you don’t need any fancy baking skills to get it right.
Prep the Muffin Tin
I always start by lining my muffin tin with paper liners since it makes cleanup and removal so much easier. Preheat your oven to 325°F while you get everything else ready. This step takes barely a minute but saves a lot of frustration later.

Make the Graham Cracker Crust
Combine the graham cracker crumbs, sugar, and melted butter in a bowl until the texture looks like wet sand. Press about a tablespoon of this mixture firmly into the bottom of each liner. I use the back of a spoon to pack it down evenly.

Pre-Bake the Crust
Pop the muffin tin into the oven and bake the crusts for about 5 minutes. This little step firms them up so they don’t turn soggy once the wet filling goes on top. Let them cool slightly while you make the filling.
Beat the Cream Cheese
In a large bowl, beat the softened cream cheese until it’s completely smooth and lump-free. This usually takes about 2 minutes on medium speed. Scrape down the sides of the bowl so nothing gets left behind.
Add Sugar and Pumpkin
Mix in the brown sugar, granulated sugar, and pumpkin puree until fully combined. The mixture should look creamy and uniform in color. Don’t rush this part, as a smooth base means a smoother finished bite.
Mix in Eggs and Spices
Add the eggs one at a time, beating gently after each addition. Stir in the vanilla, pumpkin pie spice, and salt last. Mixing on low speed here helps avoid adding too much air, which can cause cracks.
Fill the Crusts
Spoon or pipe the filling over each pre-baked crust, filling each liner almost to the top. I like using a piping bag for neat, even portions, but a spoon works just as well.
Bake the Bites
Bake for 18-20 minutes, or until the centers are just slightly jiggly. They’ll continue to set as they cool, so don’t wait for them to look completely firm in the oven.
Cool and Chill
Let the bites cool at room temperature for about 30 minutes, then transfer them to the fridge for at least 3 hours. Chilling is what gives them that dense, creamy cheesecake texture.
Additional Tips for Making This Recipe Better
I’ve made this recipe more times than I can count, and here’s what’s worked best for me:
- I always bring my cream cheese to room temperature first, since cold cream cheese leaves lumps no matter how long I mix it.
- I like using a piping bag for the filling because it keeps my liners clean and my portions even.
- I’ve found that resisting the urge to peek in the oven keeps the temperature steady and prevents sinking centers.
- I give my bites the full chill time, even if I’m tempted to cut it short the texture really does depend on it.
- I sometimes swap half the granulated sugar for extra brown sugar when I want a deeper, more caramelized flavor.
Common Mistakes to Avoid
- I once used cold eggs straight from the fridge, and my filling turned lumpy always let eggs sit out for a bit first.
- I overbaked a batch early on thinking they needed to look fully set, and they ended up dry and cracked.
- I skipped pre-baking the crust once, and it turned soggy under the wet filling.
- I overmixed the batter after adding the eggs, which trapped air and caused cracks as the bites cooled.
- I tried removing the liners too soon after baking, and the bites fell apart letting them chill fully first makes all the difference.
How to Serve Mini Pumpkin Cheesecake Bites?
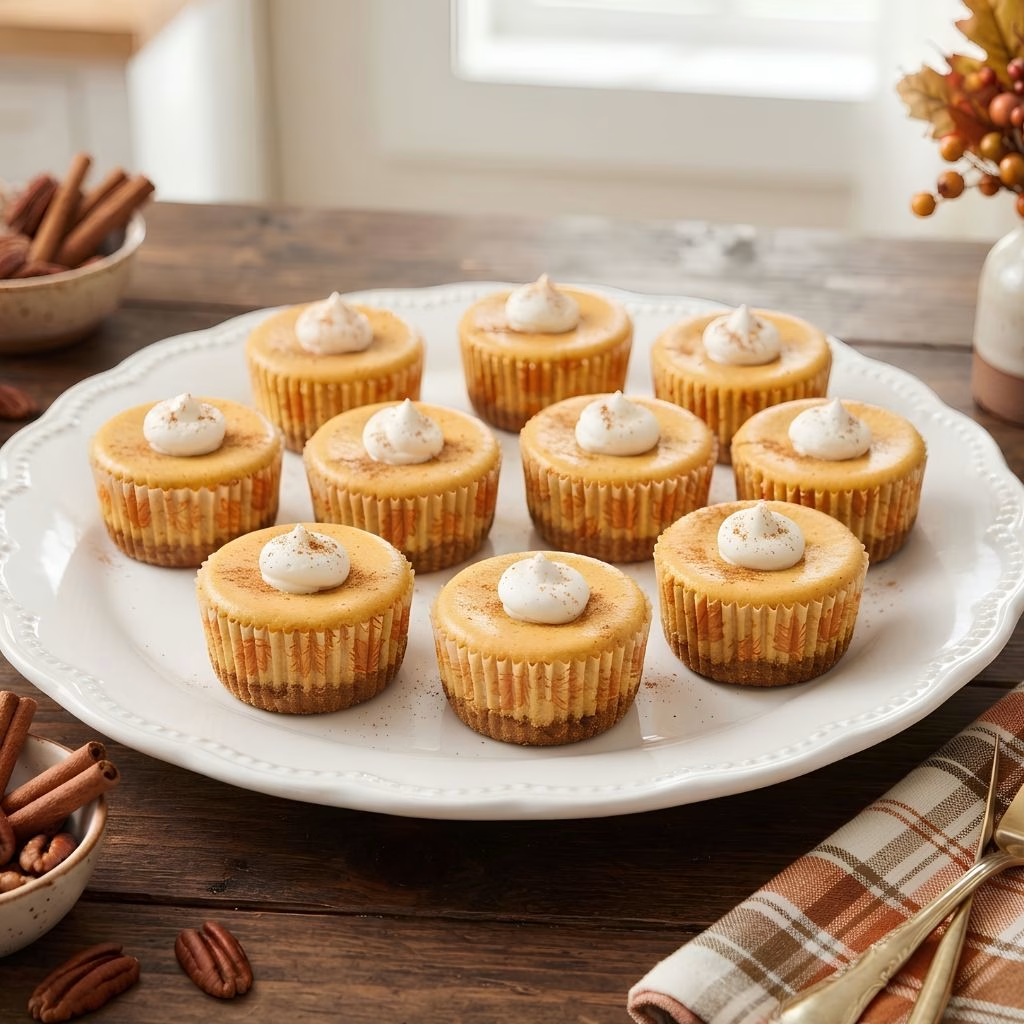
These little bites look gorgeous on a rustic wooden board or a tiered dessert stand for holiday parties. I like topping each one with a swirl of whipped cream and a light dusting of cinnamon right before serving.
A drizzle of caramel sauce or a few crushed pecans on top also adds a nice crunch and extra flavor. If you’re hosting a bigger fall spread, these pair beautifully alongside other seasonal favorites. I often serve mine next to a batch of pumpkin pie for guests who can’t decide between the two.
Variations
- Mini pumpkin cheesecake no-bake: skip the oven entirely and set the filling with a bit of gelatin or extra chilling time instead.
- Mini pumpkin cheesecake swirl: marble in some plain cheesecake batter before baking for a pretty two-tone effect.
- Mini pumpkin cheesecake with gingersnap crust: swap the graham crackers for crushed gingersnaps for a spicier, more robust base.
- Crustless mini pumpkin cheesecake: leave out the crust altogether for a lighter, gluten-free-friendly option.
- Philadelphia mini pumpkin cheesecakes: stick with block-style Philadelphia cream cheese for the creamiest, most classic texture.
- Dairy-free option: use a plant-based cream cheese alternative and coconut whipped topping.
- Sugar-free option: substitute a granulated sugar alternative that measures cup-for-cup.
Nutritional Information
Here’s a rough breakdown per cheesecake bite, based on a batch of 18:
- Calories: about 145 kcal
- Protein: about 2g
- Carbohydrates: about 13g
- Fat: about 9g
Make Ahead and Storage
You can make these mini pumpkin cheesecake bites up to 2 days in advance and keep them covered in the fridge until you’re ready to serve. They stay fresh and creamy for about 4-5 days when stored in an airtight container in the refrigerator.
For longer storage, freeze the bites (without whipped cream topping) in a single layer, then transfer to a freezer bag once solid. They’ll keep well for up to 2 months and thaw nicely in the fridge overnight.
Why You’ll Love This Recipe?
This recipe checks every box for an easy, crowd-pleasing dessert, and here’s why I keep coming back to it:
- Perfectly portioned: Each bite is pre-portioned, so there’s no cutting, slicing, or measuring servings at party time.
- Make-ahead friendly: I can prepare these days before an event and just pull them out of the fridge when guests arrive.
- Customizable: Whether I want a gingersnap crust or a dairy-free swap, this recipe adapts easily to whatever I’m craving.
- Kid and crowd approved: These disappear fast at every gathering, from casual weeknight desserts to full Thanksgiving spreads.
- Freezer friendly: I love that I can double the batch and freeze half for whenever a pumpkin craving hits later in the season.
If you’re building out a full fall dessert table, these bites also go well next to a classic cheesecake recipe for guests who want a non-pumpkin option too.
FAQs
Can I use a muffin tin without liners?
Yes, but you’ll need to grease it very well since these bites can stick without liners. I personally find liners much easier for clean removal.
Can I substitute pumpkin pie filling for pumpkin puree?
No, pumpkin pie filling already contains sugar and spices, which will throw off the recipe’s flavor balance. Stick with pure pumpkin puree.
Why did my cheesecake bites crack?
Cracks usually happen from overbaking or overmixing after the eggs go in. Baking just until the centers are slightly jiggly helps prevent this.
How long do these need to chill before serving?
I recommend at least 3 hours in the fridge, though overnight chilling gives the best texture and flavor.
Can I make these ahead for a party?
Absolutely. These bites are ideal for making 1-2 days ahead, which actually makes party prep so much easier.

Mini Pumpkin Cheesecake Bites Recipe
Ingredients
Method
- I always start by lining my muffin tin with paper liners since it makes cleanup and removal so much easier. Preheat your oven to 325°F while you get everything else ready. This step takes barely a minute but saves a lot of frustration later.
- Combine the graham cracker crumbs, sugar, and melted butter in a bowl until the texture looks like wet sand. Press about a tablespoon of this mixture firmly into the bottom of each liner. I use the back of a spoon to pack it down evenly.
- Pop the muffin tin into the oven and bake the crusts for about 5 minutes. This little step firms them up so they don’t turn soggy once the wet filling goes on top. Let them cool slightly while you make the filling.
- In a large bowl, beat the softened cream cheese until it’s completely smooth and lump-free. This usually takes about 2 minutes on medium speed. Scrape down the sides of the bowl so nothing gets left behind.
- Mix in the brown sugar, granulated sugar, and pumpkin puree until fully combined. The mixture should look creamy and uniform in color. Don’t rush this part, as a smooth base means a smoother finished bite.
- Add the eggs one at a time, beating gently after each addition. Stir in the vanilla, pumpkin pie spice, and salt last. Mixing on low speed here helps avoid adding too much air, which can cause cracks.
- Spoon or pipe the filling over each pre-baked crust, filling each liner almost to the top. I like using a piping bag for neat, even portions, but a spoon works just as well.
- Bake for 18-20 minutes, or until the centers are just slightly jiggly. They’ll continue to set as they cool, so don’t wait for them to look completely firm in the oven.
- Let the bites cool at room temperature for about 30 minutes, then transfer them to the fridge for at least 3 hours. Chilling is what gives them that dense, creamy cheesecake texture.
Notes
- I always bring my cream cheese to room temperature first, since cold cream cheese leaves lumps no matter how long I mix it.
- I like using a piping bag for the filling because it keeps my liners clean and my portions even.
- I’ve found that resisting the urge to peek in the oven keeps the temperature steady and prevents sinking centers.
- I give my bites the full chill time, even if I’m tempted to cut it short the texture really does depend on it.
- I sometimes swap half the granulated sugar for extra brown sugar when I want a deeper, more caramelized flavor.