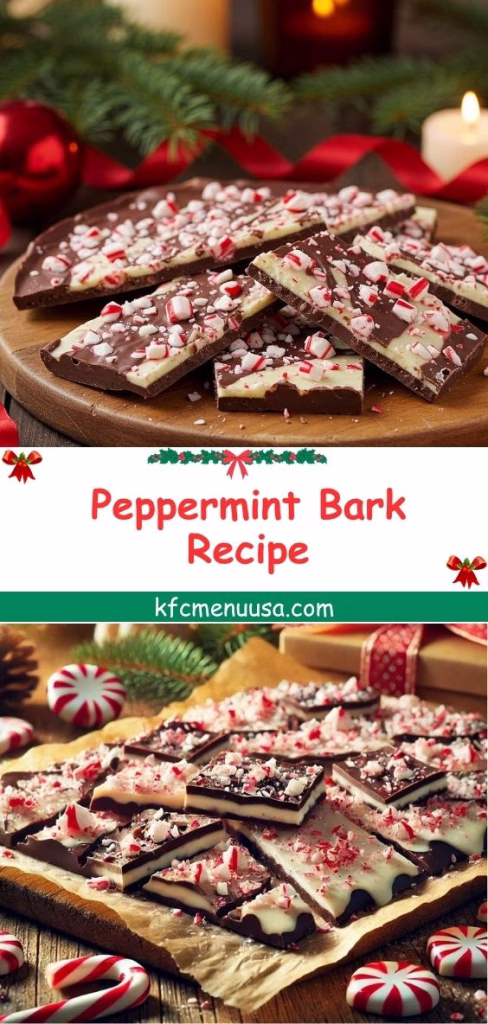
Peppermint Bark Recipe | Easy, Festive & Delicious Holiday Treat
I just made my first full batch of peppermint bark recipe this afternoon, and I can’t wait to tell you all about it. I always love how just five ingredients transform into a festive treat.
After letting it chill, I broke off a piece and bit in — crisp chocolate, cool peppermint, pure joy. Trust me, once you try this, you’ll want to make multiple batches or even explore other festive desserts like this delightful Christmas Fudge Recipe.
Ingredients
Here’s what you’ll need — and why each component matters:
- 12 ounces (≈ 339 g) white chocolate, coarsely chopped (divided) — using a bar rather than chips helps it melt smoothly.
- 6 ounces (≈ 170 g) semi-sweet (or bittersweet) chocolate, coarsely chopped — this gives the dark-contrast layer.
- 1½ teaspoons (divided) vegetable oil or coconut oil — a bit of oil helps thin the melted chocolate so it spreads easily and doesn’t become too brittle.
- ½ teaspoon (divided) peppermint extract — split between the layers to distribute the mint flavor evenly.
- 2–3 regular-sized candy canes (≈ 24–36 g total), crushed — for topping and crunch.
Note: Make several servings (about just over 1 lb of bark).

Variations
If you want to tweak this recipe:
- Dairy-free / vegan: Use dairy-free white and dark chocolate alternatives, and opt for coconut oil instead of vegetable oil.
- Sugar-free / low sugar: Seek chocolates sweetened with erythritol or monk fruit (if you can find good ones), and use sugar-free peppermint extract.
- Flavor add-ins: You could mix in a few crushed Andes mints or chopped peppermint patty pieces, or swirl in a touch of dark chocolate drizzle.
- Two-layer version: If you want to simplify, skip the middle layer and use ~8 oz of each chocolate — still delicious and easier to manage.
Cooking Time
Here’s how long everything takes:
- Prep Time: 30 minutes
- Setting / chilling Time: about 1 hour
- Total Time: ~1 hour 45 minutes (including chilling and layering)
Equipment you need
- Baking pan (8 or 9-inch square or baking sheet) — to spread the bark.
- Parchment paper or aluminum foil — lines the pan so the bark lifts out cleanly.
- Heatproof bowl or liquid measuring cup — for melting chocolate.
- Silicone spatula or spoon (and optional offset spatula) — for stirring and spreading.
- Rolling pin or meat mallet (in a sealed bag) — to crush the candy canes.
How to Make a Peppermint Bark Recipe?
Prepare your pan and layer setup
Line the bottom and sides of your chosen pan with parchment or foil, smoothing wrinkles. Choose a pan size that gives you the thickness of bark you prefer.
Bottom white chocolate layer
Melt half of the white chocolate with half the oil in 20-second microwave bursts (stirring in between) until silky. Then fold in ¼ teaspoon peppermint extract. Pour into the pan and spread to a thin, even layer. Chill for 10–15 minutes — don’t let it harden fully, or layers won’t bind.
Middle dark chocolate layer
Melt the semi-sweet chocolate with the remaining oil in the same fashion. Stir in the remaining ¼ teaspoon peppermint extract. Pour over the first layer and spread evenly. Place back in the refrigerator for another 10–15 minutes until it’s almost set.
Top white chocolate and candy cane topping
Melt the remaining white chocolate with the last oil, but don’t add peppermint to this layer. Pour it over the semi-sweet layer and smooth it. Immediately sprinkle the crushed candy canes evenly over this top layer. Then refrigerate for about 1 hour until fully set.
Cut and serve
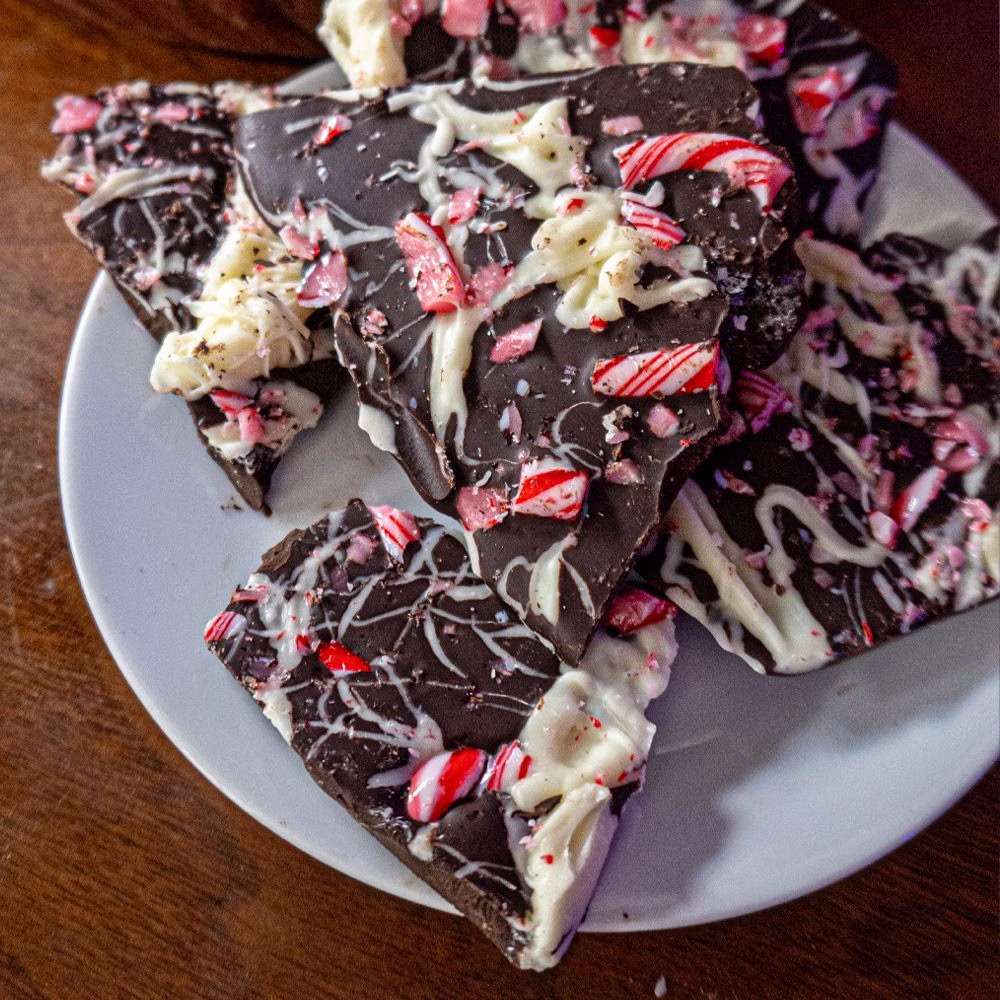
Once hardened, lift the foil or parchment out, peel it away, and break or cut the bark into your desired shapes and sizes. If it’s chilled too long, leave it 10–15 minutes at room temp so it’s easier to cut without layers separating.
Additional Tips for Making This Recipe Better
Here’s what I learned from making it myself:
- Use a spoon or offset spatula to spread quickly; sometimes tipping the pan helps the chocolate slide into corners.
- Don’t chill layers too long (10–15 minutes is perfect); if they get rock hard, new layers won’t adhere.
- Crush candy canes in a sealed plastic bag with a rolling pin — less mess, more control.
- Let the final bark sit a minute or two at room temp before cutting to reduce cracking.
How to Serve Peppermint Bark Recipe?
Serve this bark on a decorative platter or in small gift bags for holiday treats. Arrange the pieces in festive rows or scatter them with a few extra candy cane shards on top for visual appeal.
You can also layer them between parchment paper in cookie tins. A sprinkle of edible glitter or crushed red sugar around the edges adds a joyful touch. For a truly show-stopping dessert spread, pair it with a beautiful Christmas Tree Pull Apart Bread Recipe — it’s a crowd favorite for holiday gatherings.
Nutritional Information
Here’s an approximate breakdown per serving (this is approximate, based on standard ingredients):
- Calories: ~ 200–220
- Protein: ~ 2 g
- Carbohydrates: ~ 18–22 g
- Fat: ~ 14–16 g
Make Ahead and Storage
Storage
You can store peppermint bark in an airtight container in the refrigerator for up to 3 weeks. At cooler room temperatures (not too warm), it can last a few days too.
Freezing
To freeze, wrap pieces well (or the whole block) in plastic wrap and put in a freezer-safe container for up to 2 months. Thaw overnight in the refrigerator before serving.
Why You’ll Love This Recipe?
Here are some of the reasons I fell in love with this peppermint bark — and why I think you will too:
- It’s incredibly simple — just five ingredients and zero baking needed.
- The flavor is classy and balanced: creamy white chocolate, rich dark chocolate, and cool peppermint.
- It’s highly customizable — you can make dairy-free, adjust sweetness, or add extras.
- It makes a beautiful homemade gift — festive, elegant, and fun to break apart.
- When you serve it, it vanishes fast — people can’t resist that crisp bite.

Peppermint Bark Recipe
Ingredients
Method
- Line the bottom and sides of your chosen pan with parchment or foil, smoothing wrinkles. Choose a pan size that gives you the thickness of bark you prefer.
- Melt half of the white chocolate with half the oil in 20-second microwave bursts (stirring in between) until silky. Then fold in ¼ teaspoon peppermint extract. Pour into the pan and spread to a thin, even layer. Chill for 10–15 minutes — don’t let it harden fully, or layers won’t bind.
- Melt the semi-sweet chocolate with the remaining oil in the same fashion. Stir in the remaining ¼ teaspoon peppermint extract. Pour over the first layer and spread evenly. Place back in the refrigerator for another 10–15 minutes until it’s almost set.
- Melt the remaining white chocolate with the last oil, but don’t add peppermint to this layer. Pour it over the semi-sweet layer and smooth it. Immediately sprinkle the crushed candy canes evenly over this top layer. Then refrigerate for about 1 hour until fully set.
- Once hardened, lift the foil or parchment out, peel it away, and break or cut the bark into your desired shapes and sizes. If it’s chilled too long, leave it 10–15 minutes at room temp so it’s easier to cut without layers separating.
Notes
- Use a spoon or offset spatula to spread quickly; sometimes tipping the pan helps the chocolate slide into corners.
- Don’t chill layers too long (10–15 minutes is perfect); if they get rock hard, new layers won’t adhere.
- Crush candy canes in a sealed plastic bag with a rolling pin — less mess, more control.
- Let the final bark sit a minute or two at room temp before cutting to reduce cracking.