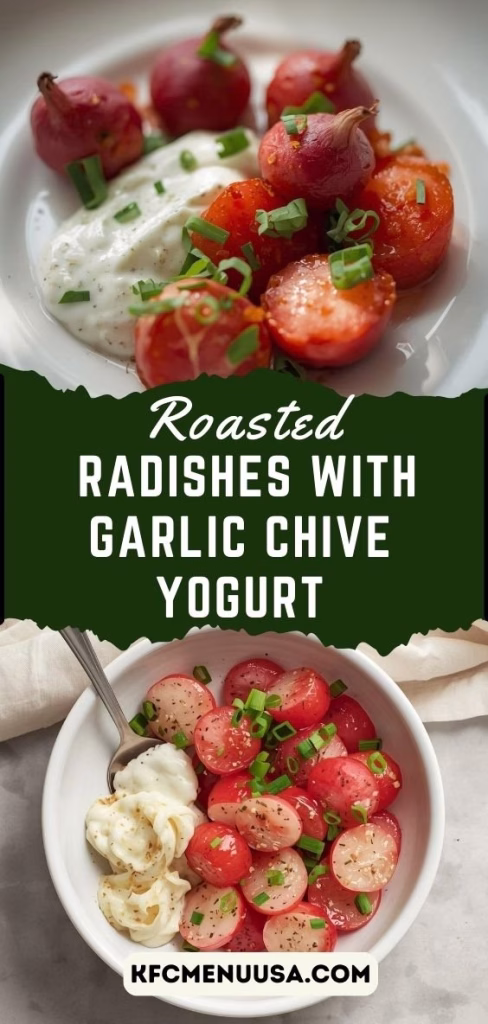
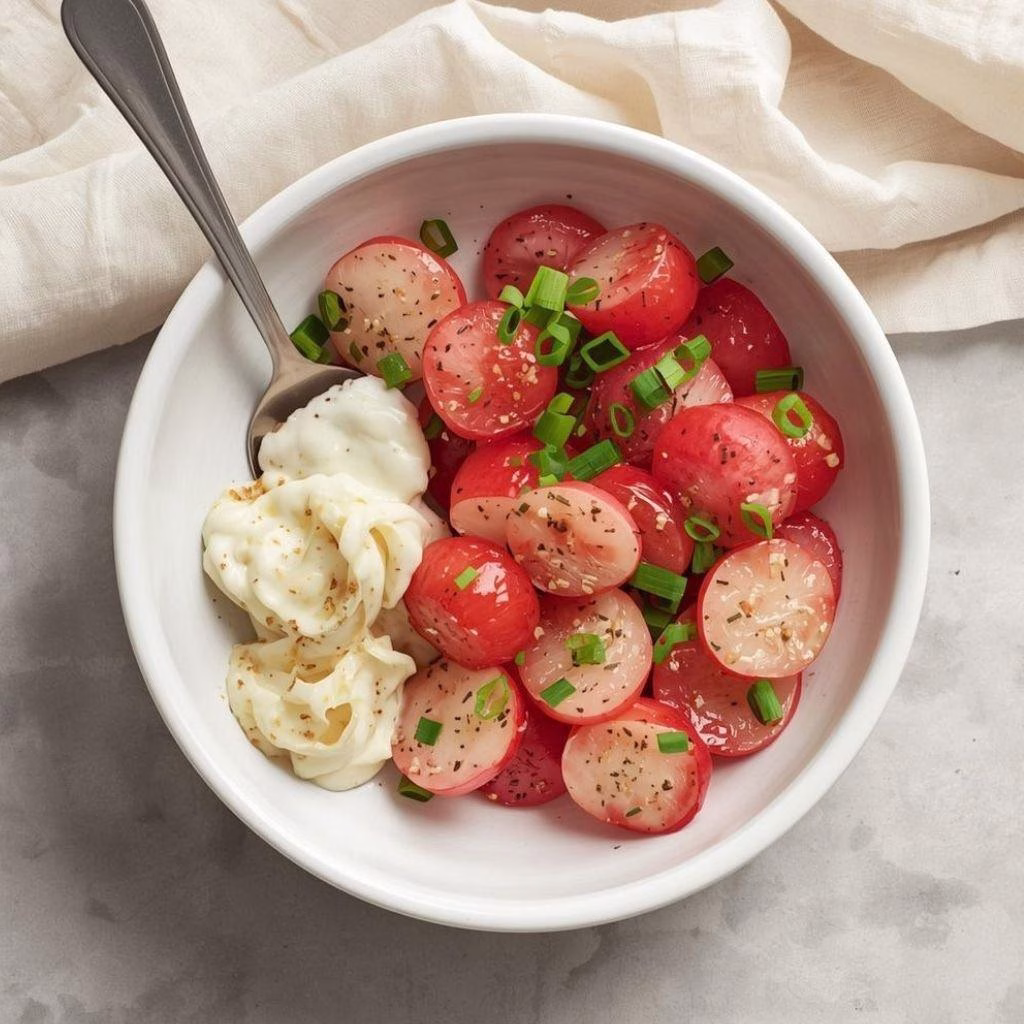
I wasn’t sure what to expect the first time I roasted radishes, but after trying this Roasted Radishes with Garlic Chive Yogurt Recipe, I was hooked. The gentle sweetness that roasting brings out in radishes surprised me.
Topped with creamy garlic chive yogurt and a hint of lemon zest, this dish quickly became a favorite in my kitchen. It’s simple yet elegant, perfect for weeknight dinners or special gatherings. Let me show you how I make this delicious side dish.
Ingredients
- Radishes – 1 lb (trimmed and halved if large)
Fresh, firm radishes work best for roasting and develop a mild, sweet flavor. - Olive oil – 1 tablespoon
Helps the radishes caramelize and turn golden in the oven. - Kosher salt – 1 teaspoon
Enhances flavor and balances the natural sweetness. - Cracked black pepper – ½ teaspoon
Adds gentle heat and depth. - Garlic powder – ¼ teaspoon
Gives flavor without overpowering the dish.
For the Garlic Chive Yogurt:
- Full-fat Greek yogurt – 1 cup (227 g)
Thick yogurt creates a creamy base that holds up well when served. - Fresh chives – ¼ cup, finely minced
Provide a fresh, mild onion flavor. - Garlic powder – ¼ teaspoon
Adds balanced savory notes. - Kosher salt – ¼ teaspoon (or to taste)
Adjust for proper seasoning. - Cracked black pepper – ¼ teaspoon (or to taste)
Adds subtle spice.
For Finishing:
- Unsalted butter – 2 tablespoons (optional)
Browning the butter adds a rich, nutty flavor. - Lemon zest – from 1 lemon
Brightens the dish with fresh citrus aroma. - Flaky sea salt – optional
Enhances texture and flavor as a final touch.
Note: This recipe serves approximately 4 people.
Variations
- Dairy-Free Option: Use unsweetened plant-based yogurt instead of Greek yogurt.
- Herb Swap: Try dill, parsley, or basil instead of chives.
- Add Heat: Sprinkle red pepper flakes into the yogurt.
- Vegan Version: Use plant-based butter or skip the brown butter.
- Extra Crunch: Add toasted seeds or nuts on top before serving.
- If you enjoy exploring more homemade recipes, you might also like the Peanut Butter Chocolate Chip Bars Recipe or the My Best Pumpkin Muffins Recipe for delicious ideas to try in your kitchen.
Cooking Time
- Prep Time: 15 minutes
- Cooking Time: 20–25 minutes
- Total Time: About 35 minutes
Equipment You Need
- Cutting board – For preparing radishes safely.
- Chef’s knife – To trim and halve radishes evenly.
- Half-sheet baking pan – For roasting in the oven.
- Parchment paper – Prevents sticking and helps with cleanup.
- Mixing bowl – For preparing the yogurt sauce.
- Skillet – Used to brown the butter (optional).
- Measuring spoons – Ensures accurate seasoning.
- Zester or microplane – For fine lemon zest.
How to Make Roasted Radishes with Garlic Chive Yogurt Recipe
Prepare the Radishes
I begin by preheating the oven to 425°F (220°C). I wash, trim, and halve the radishes if needed. Then I toss them with olive oil, salt, pepper, and garlic powder until evenly coated.
Roast Until Tender
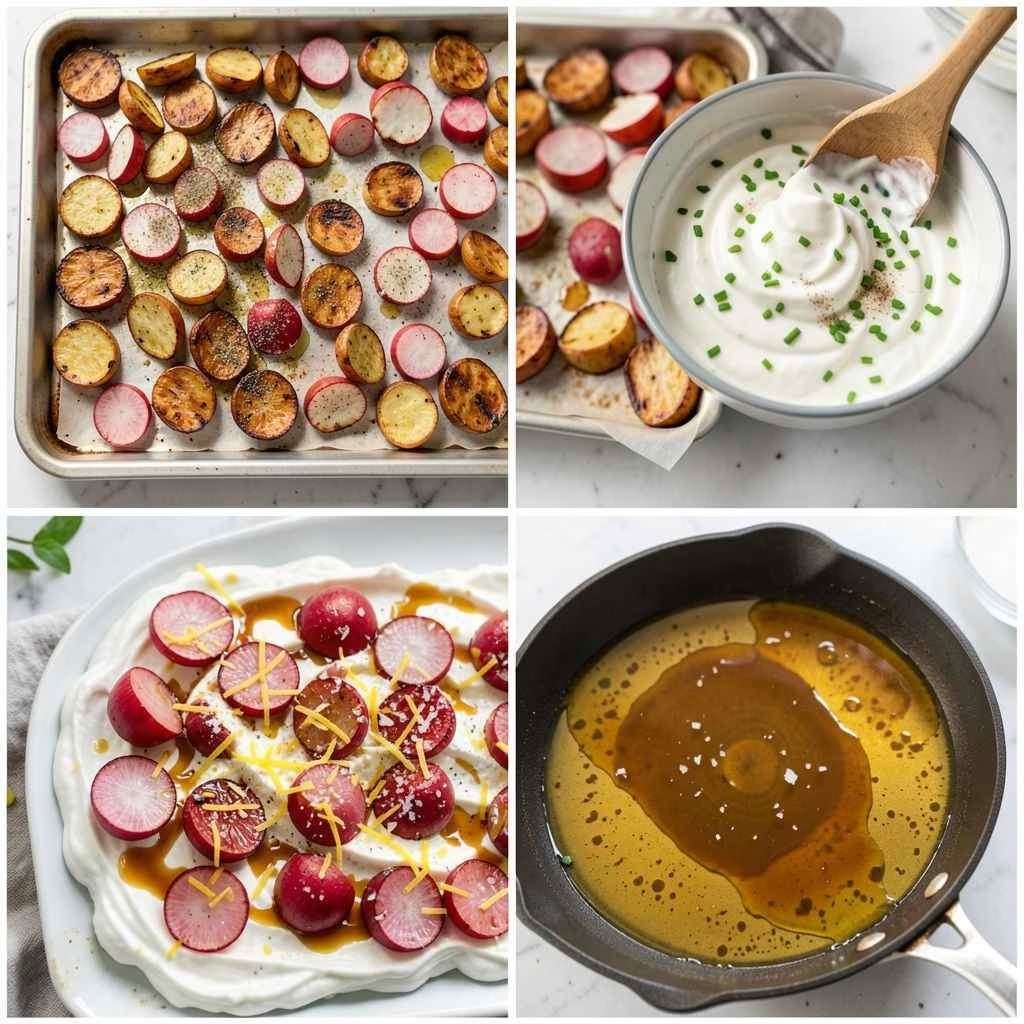
I spread the radishes on a lined baking sheet in a single layer. They roast for about 20–25 minutes until golden and slightly caramelized. I flip them halfway for even browning.
Make the Garlic Chive Yogurt
While the radishes roast, I mix Greek yogurt, minced chives, garlic powder, salt, and pepper in a bowl. I stir until smooth and creamy. Then I set it aside until ready to serve.
Prepare Brown Butter (Optional)
If using butter, I melt it in a skillet over medium heat. I let it cook until it turns golden brown and smells nutty. Then I remove it immediately to prevent burning.
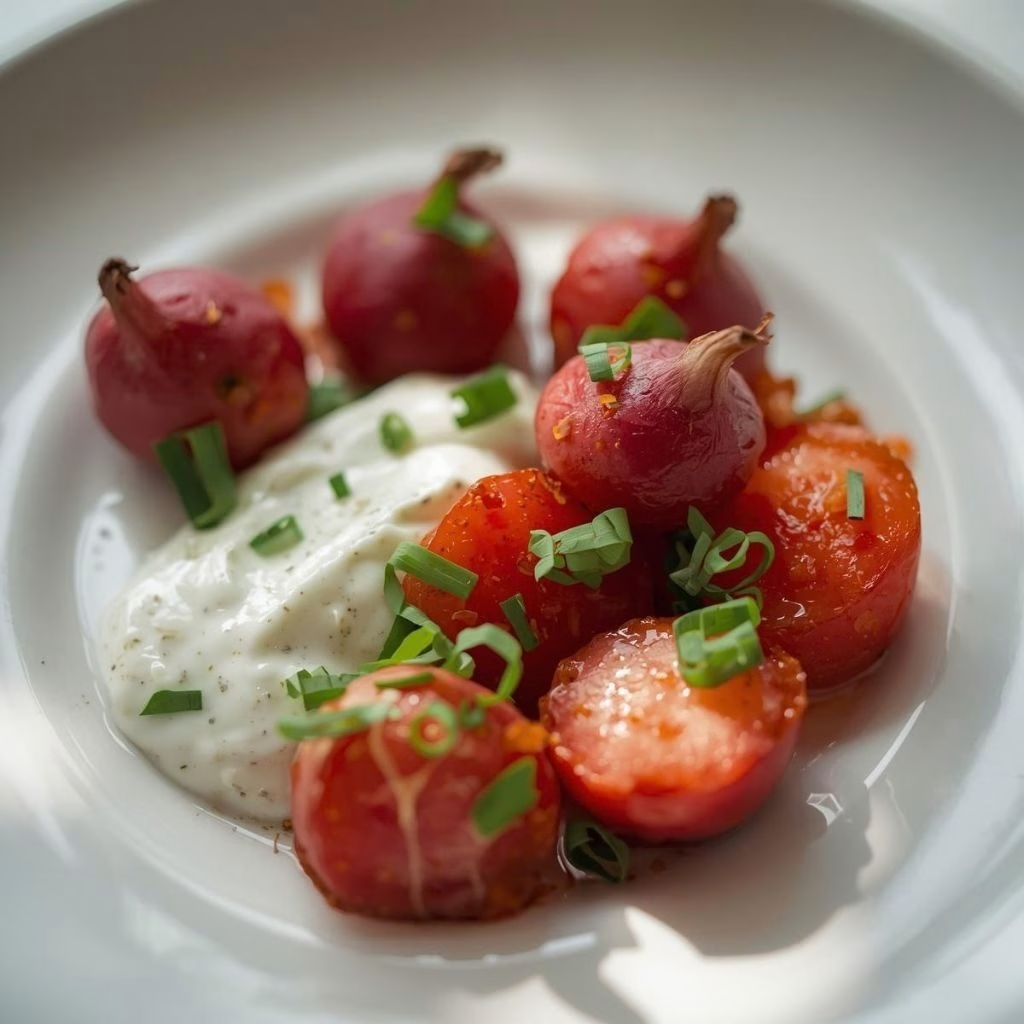
Assemble and Serve
I spread the yogurt onto a serving platter. I arrange the roasted radishes on top and drizzle with brown butter. Finally, I finish with lemon zest and flaky salt.
Additional Tips for Making This Recipe Better
- I always make sure the radishes are completely dry before roasting for better browning.
- I avoid overcrowding the pan so they roast instead of steam.
- I taste the yogurt before serving and adjust salt as needed.
- I prefer serving it warm because the flavors are richer that way.
- I sometimes double the yogurt sauce because it’s so delicious.
How to Serve Roasted Radishes with Garlic Chive Yogurt Recipe
I like serving this dish warm on a large platter for a beautiful presentation. It works perfectly as a side dish for roasted meats, grilled fish, or grain bowls. For a simple appetizer, I serve it with crusty bread or pita. Garnish with extra chives, lemon zest, and a light sprinkle of flaky salt for visual appeal.
Nutritional Information
Per serving (approximate):
- Calories: About 104 kcal
- Protein: About 6 g
- Carbohydrates: About 6 g
- Fat: About 7 g
Make Ahead and Storage
Storage
Store leftovers in an airtight container in the refrigerator. They stay fresh for up to 2–3 days. The yogurt may thicken slightly, so stir before serving.
Freezing
Freezing is not recommended because the yogurt sauce can separate and radishes may become watery.
Reheating
Reheat the radishes gently in the oven at a low temperature until warm. Add fresh yogurt and garnish again before serving for the best flavor.
Why You’ll Love This Recipe?
This recipe is simple, flavorful, and versatile.
- Easy to Prepare: Minimal ingredients and straightforward steps.
- Unique Flavor: Roasting transforms radishes into something sweet and tender.
- Healthy Option: Naturally low-carb and packed with nutrients.
- Customizable: Easy to adjust herbs, spices, and toppings.
- Elegant Presentation: Beautiful colors make it perfect for entertaining.
Roasted Radishes with Garlic Chive Yogurt Recipe
Ingredients
Method
- I begin by preheating the oven to 425°F (220°C). I wash, trim, and halve the radishes if needed. Then I toss them with olive oil, salt, pepper, and garlic powder until evenly coated.
- I spread the radishes on a lined baking sheet in a single layer. They roast for about 20–25 minutes until golden and slightly caramelized. I flip them halfway for even browning.
- While the radishes roast, I mix Greek yogurt, minced chives, garlic powder, salt, and pepper in a bowl. I stir until smooth and creamy. Then I set it aside until ready to serve.
- If using butter, I melt it in a skillet over medium heat. I let it cook until it turns golden brown and smells nutty. Then I remove it immediately to prevent burning.
- I spread the yogurt onto a serving platter. I arrange the roasted radishes on top and drizzle with brown butter. Finally, I finish with lemon zest and flaky salt.
Notes
- I always make sure the radishes are completely dry before roasting for better browning.
- I avoid overcrowding the pan so they roast instead of steam.
- I taste the yogurt before serving and adjust salt as needed.
- I prefer serving it warm because the flavors are richer that way.
- I sometimes double the yogurt sauce because it’s so delicious.