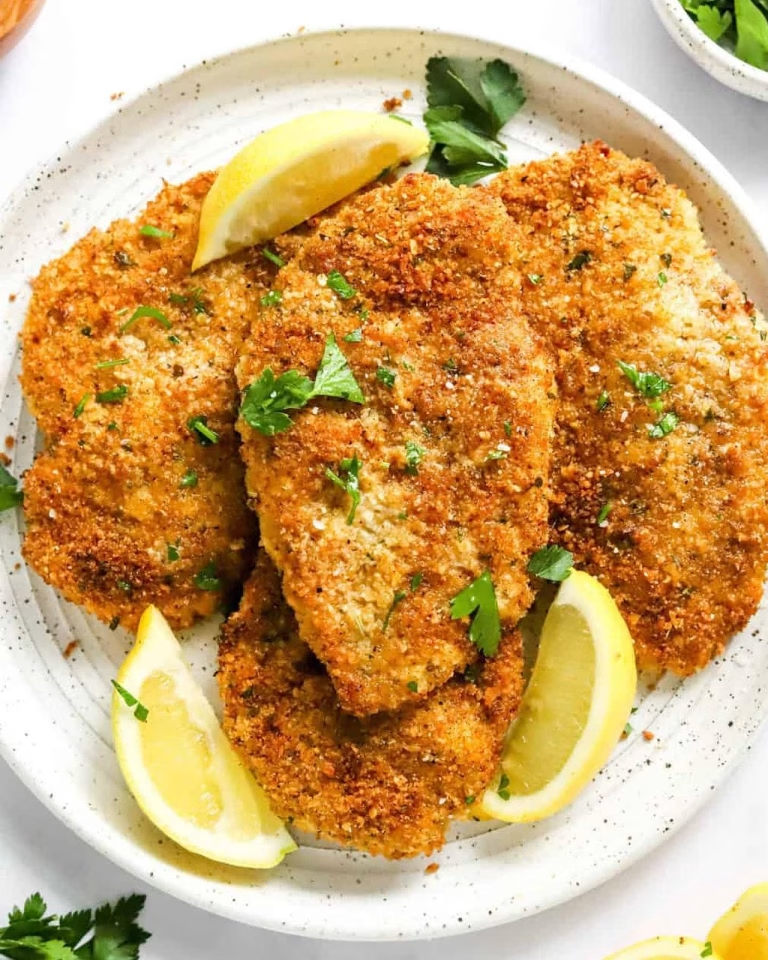
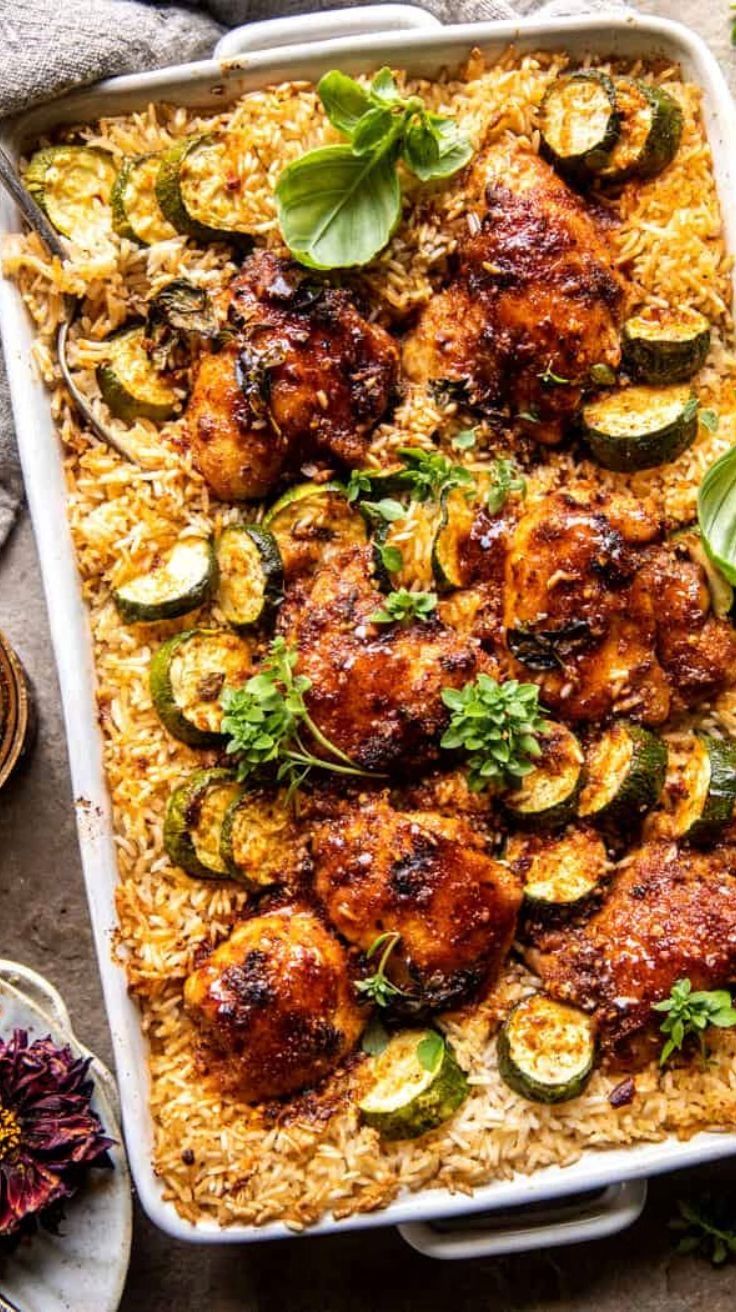
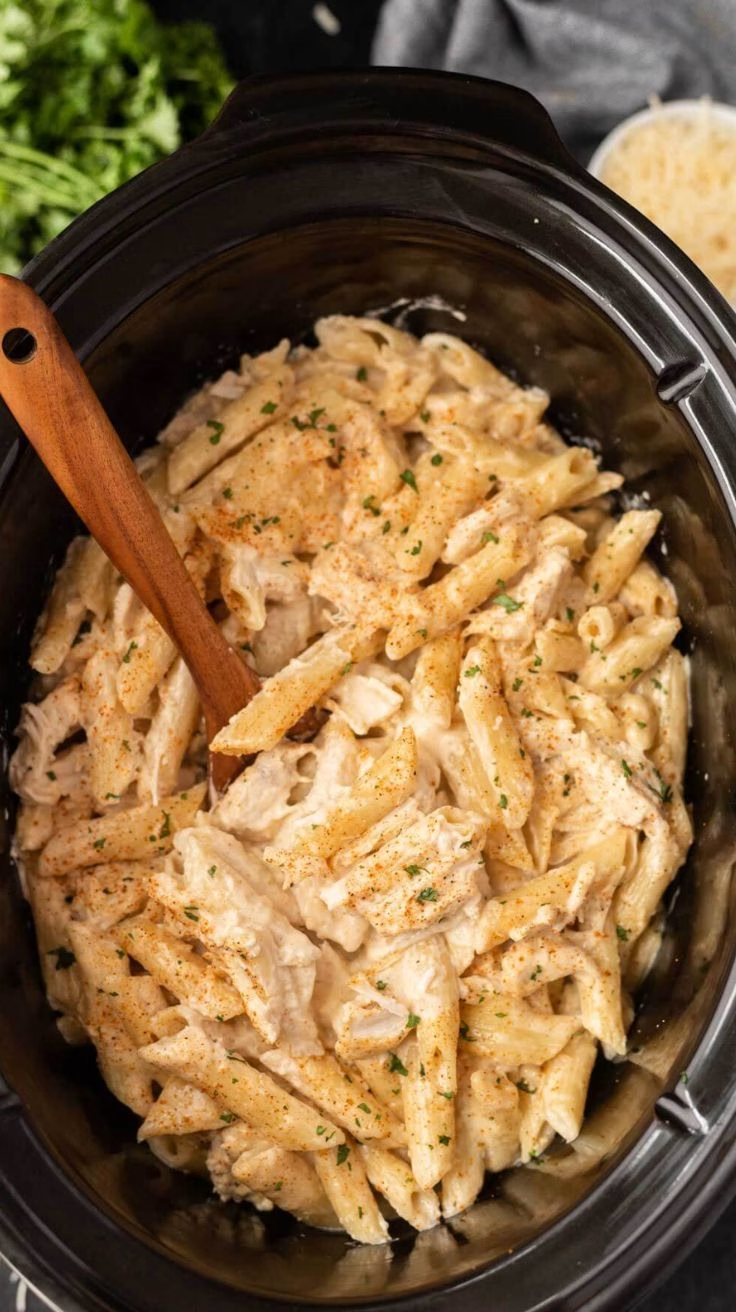
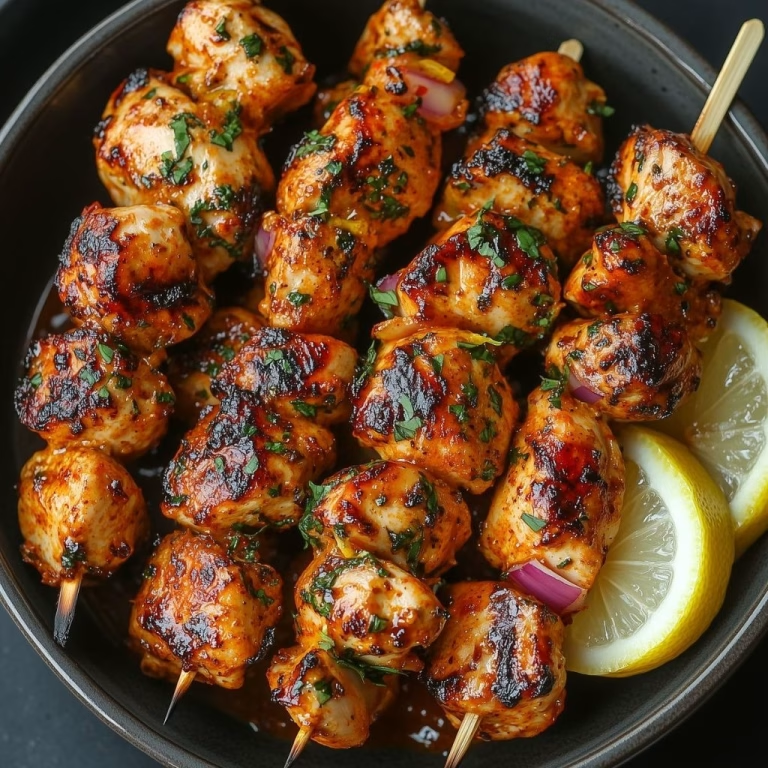
I still remember the first time I pulled this Sticky Garlic Butter Baked Chicken Drumsticks Recipe out of the oven and the whole kitchen smelled like garlic, butter, and something sweet caramelizing on the edges. I knew right away this wasn’t going to be a “just okay” chicken dinner. Me and my family finished the whole tray before I even got the rice plated.
It’s become my go-to whenever I want something that looks impressive but takes almost no effort. If you love sticky, garlicky, buttery chicken with crispy skin, you’re going to want to bookmark this one.
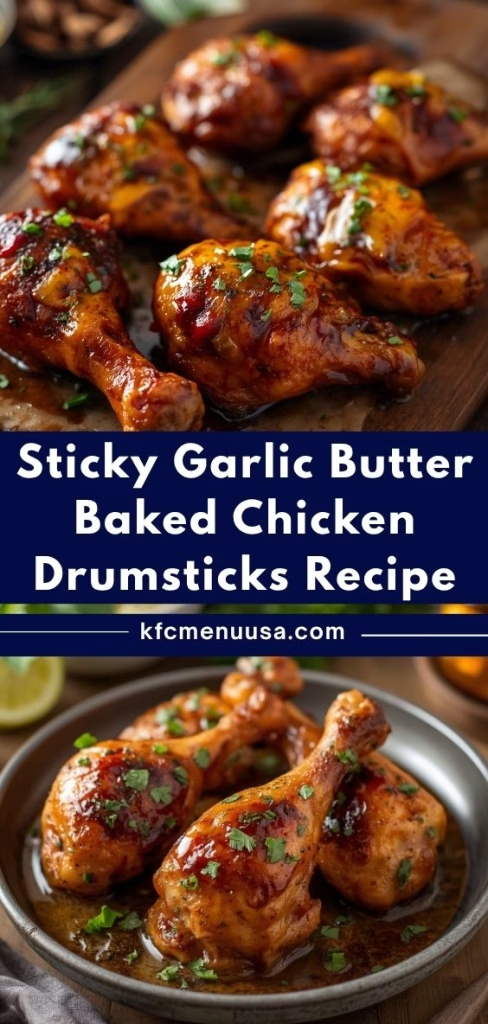
Ingredients for Sticky Garlic Butter Baked Chicken Drumsticks
- 8 chicken drumsticks, skin-on and bone-in — the skin is what crisps up and holds onto that sticky glaze, so don’t skip it
- 4 tablespoons unsalted butter, melted — using unsalted lets you control the saltiness of the glaze yourself
- 5 cloves garlic, minced fresh — fresh garlic caramelizes and turns sweet in the oven, while garlic powder just tastes flat here
- 3 tablespoons honey — this is what gives the glaze its sticky, glossy finish, so don’t swap it for a dry sweetener
- 1 tablespoon soy sauce — adds a savory backbone that balances the sweetness of the honey
- 1 tablespoon brown sugar — helps the glaze thicken and caramelize into that sticky coating
- 1 teaspoon smoked paprika — brings a warm color and a light smoky depth to the skin
- 1/2 teaspoon onion powder — rounds out the garlic flavor without overpowering it
- 1 teaspoon salt — season this before baking, not after, so it penetrates the meat
- 1/2 teaspoon black pepper — freshly cracked works best for a sharper bite
- 1 tablespoon olive oil — helps the seasoning stick to the chicken and encourages browning
- 1 tablespoon fresh parsley, chopped — for garnish, adds color and a fresh finish at the end
Note: These quantities are based on 8 medium chicken drumsticks and will comfortably serve 4 people, with about 2 drumsticks per person.
Variations
- Swap honey for maple syrup if you want a slightly earthier sweetness instead of a floral one.
- Use tamari instead of soy sauce to make this recipe gluten-free.
- Add a pinch of red pepper flakes or a teaspoon of sriracha for a spicy-sweet version.
- Replace butter with a plant-based butter alternative to make this dairy-free.
- Stir in a tablespoon of rice vinegar or lime juice for a tangier glaze.
- Sprinkle toasted sesame seeds on top for an Asian-inspired finish.
- Use chicken thighs instead of drumsticks if that’s what you have on hand; just keep an eye on the cook time. If you’re looking for another flavorful chicken dinner, Chicken Tinga Tacos Recipe is another delicious option to try.
- Cooking Time
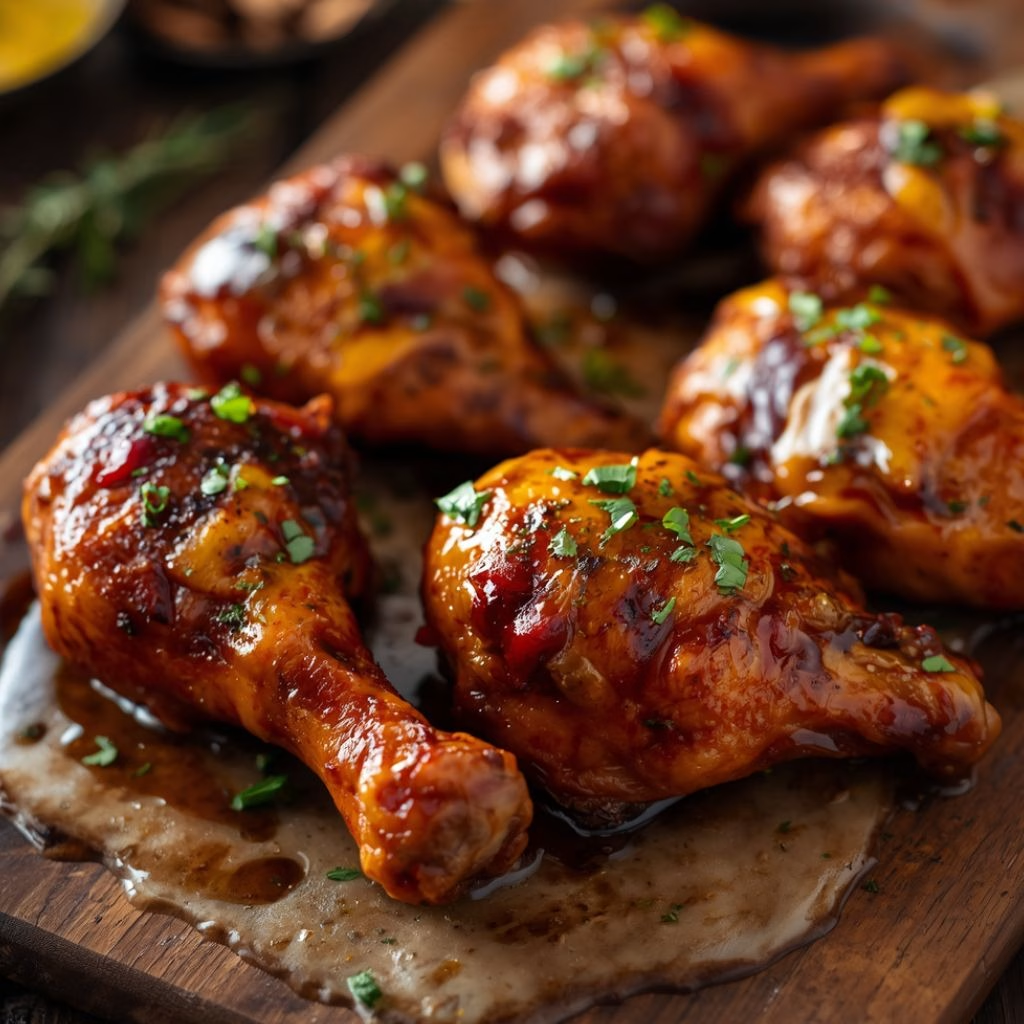
Cooking Time
- Prep Time: 10 minutes
- Cooking Time: 40 minutes
- Total Time: 50 minutes
Equipment You Need
- Baking sheet or shallow baking dish — holds the drumsticks and catches the sticky glaze as it bakes
- Aluminum foil or parchment paper — makes cleanup easy since the glaze can get sticky
- Small mixing bowl — for whisking together the garlic butter glaze
- Basting brush or spoon — for coating the chicken evenly with the glaze
- Meat thermometer — confirms the chicken has reached a safe internal temperature
- Wire rack (optional) — lifts the chicken so air circulates and the skin crisps on all sides
How to Make Sticky Garlic Butter Baked Chicken Drumsticks?
Preheat the Oven and Prep the Pan
Start by preheating your oven to 400°F so it’s fully hot by the time the chicken goes in. Line your baking sheet with foil or parchment for easier cleanup later. If you have a wire rack, set it on top of the pan for crispier skin.
Pat the Chicken Dry
Take the drumsticks and pat them dry with paper towels on all sides. This step matters more than people think, because any surface moisture will steam the skin instead of letting it crisp. A few extra seconds here makes a real difference in the final texture.
Season the Drumsticks
Place the drumsticks in a large bowl and drizzle them with olive oil. Sprinkle on the salt, pepper, smoked paprika, and onion powder, then toss everything together until each drumstick is evenly coated. This base layer of seasoning builds flavor before the glaze even goes on.
Mix the Garlic Butter Glaze
In a small bowl, whisk together the melted butter, minced garlic, honey, soy sauce, and brown sugar until fully combined. The mixture should look glossy and slightly thick. This glaze is what turns your baked chicken into something sticky and irresistible.

Coat the Chicken
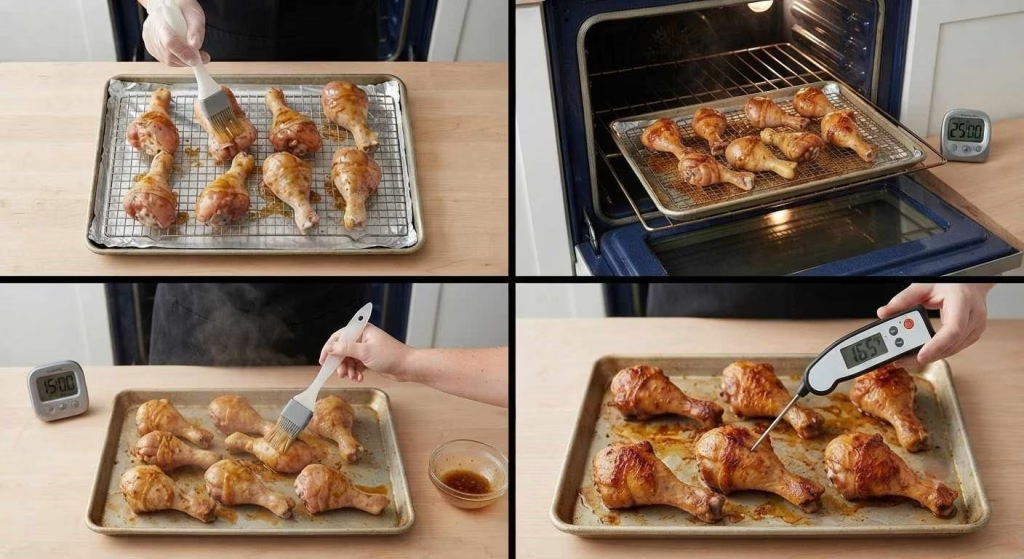
Arrange the seasoned drumsticks on the prepared baking sheet, then brush about half the garlic butter glaze generously over the top of each piece. Save the rest of the glaze for basting later in the cooking process. Make sure every drumstick gets a good coating.
Bake the Chicken
Place the pan in the oven and bake for about 25 minutes. This first stretch lets the chicken start cooking through and the skin begin to firm up. Keep the remaining glaze nearby, since you’ll need it again shortly.
Baste and Continue Baking
Pull the pan out and brush the remaining glaze over the drumsticks, then return them to the oven for another 15 minutes. Basting halfway through builds up those sticky, caramelized layers on the skin. This is the step that really makes the glaze cling.
Check for Doneness
Use a meat thermometer to check that the thickest part of the drumstick, near the bone, reads 165°F. If it’s not quite there, give it another 5 minutes and check again. Undercooked chicken near the bone is the most common mistake, so don’t skip this check.
Broil for Extra Stickiness
For an extra caramelized finish, switch the oven to broil and let the chicken sit under it for 1 to 2 minutes. Watch closely, since the honey and sugar in the glaze can go from golden to burnt quickly. This step gives you that sticky, slightly charred edge.
Rest and Garnish
Let the chicken rest for about 5 minutes once it comes out of the oven so the juices settle back into the meat. Sprinkle the chopped parsley over the top right before serving. This little touch of color makes the dish look as good as it tastes.
Additional Tips for Making This Recipe Better
I’ve made this recipe more times than I can count, and here’s what actually makes a difference:
- I always pat the chicken completely dry before seasoning, since skipping this is the number one reason skin doesn’t crisp up.
- I like to bring the drumsticks closer to room temperature for about 15 minutes before baking so they cook more evenly.
- I never add all the glaze at once, because basting in two stages builds better caramelization than dumping it on early.
- I keep a close eye during the broiling step, since the sugar in the glaze can burn in seconds if I walk away.
- I use a wire rack whenever I have one, since it keeps the bottom of the chicken from getting soggy in its own juices.
How to Serve Sticky Garlic Butter Baked Chicken Drumsticks?
I like to pile these drumsticks on a large platter and drizzle any extra glaze from the pan right over the top. A scatter of fresh parsley and a few lemon wedges on the side make the whole dish pop visually.
Serving them alongside fluffy rice, roasted vegetables, or a simple green salad rounds out the meal nicely. For gatherings, I’ll set them out with toothpicks so people can grab them straight off the platter as an appetizer. If you’re planning a seafood spread for another occasion, Easy Bubba’s Crab Stew Recipe pairs well with the same comforting, homemade style.
Nutritional Information
Here’s a general breakdown of what you can expect per serving of about 2 drumsticks, though exact numbers will vary based on your specific ingredients.
- Calories: approximately 320 kcal
- Protein: approximately 28g
- Carbohydrates: approximately 12g
- Fat: approximately 19g
Make Ahead and Storage
Make Ahead
You can season the drumsticks and mix the glaze up to a day in advance, storing them separately in the fridge until you’re ready to bake. This actually helps the seasoning penetrate the meat a little more. Just bring the chicken close to room temperature before it goes in the oven.
Refrigerating
Leftover drumsticks will keep well in an airtight container in the refrigerator for up to 4 days. Let them cool completely before sealing to avoid trapping steam and softening the skin. They reheat nicely for quick lunches during the week.
Freezing
These drumsticks freeze well for up to 3 months if stored in a freezer-safe bag or container. I recommend laying them flat and separating layers with parchment so they don’t stick together. Thaw overnight in the fridge before reheating.
Reheating
The best way to reheat these is in the oven at 375°F for about 10 to 15 minutes, which helps bring back some of the crispiness. Microwaving works in a pinch, but the skin will turn soft rather than crisp. Cover loosely with foil if the glaze starts browning too quickly.
Why You’ll Love This Sticky Garlic Butter Baked Chicken Drumsticks Recipe
There are so many reasons this recipe has stuck around in my regular dinner rotation, and I think you’ll feel the same way once you try it.
- It comes together with pantry staples, so I rarely have to make a special grocery trip just for this dish.
- The sticky glaze makes it feel like a special occasion meal, even though it’s simple enough for a weeknight.
- It’s easy to customize with spice, tang, or extra sweetness depending on what I’m in the mood for.
- Leftovers reheat beautifully, which makes it a great option for meal prep during busy weeks.
- It works for both casual family dinners and as a crowd-pleasing appetizer at parties.