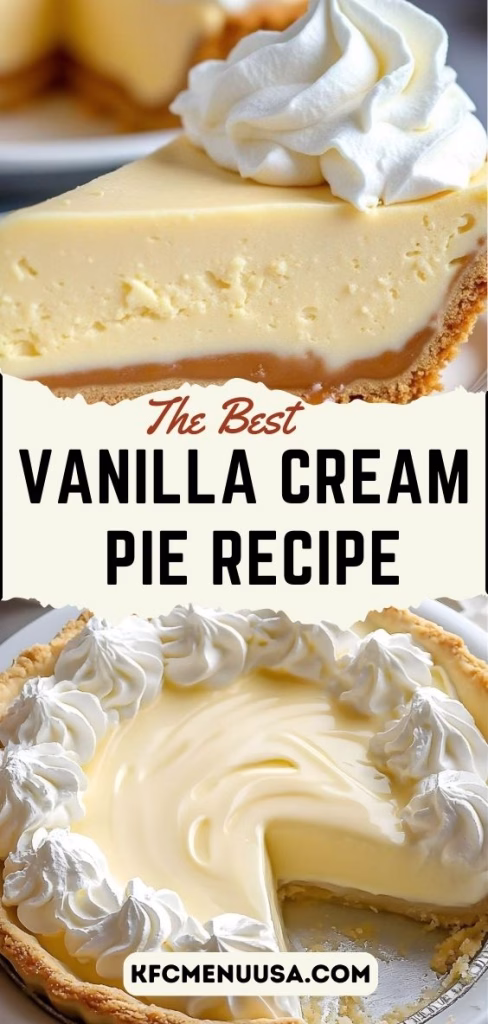
I still remember the moment I sliced into this Vanilla Cream Pie Recipe for the first time. The creamy filling held perfectly, the crust was crisp, and the vanilla aroma filled my kitchen instantly. I had just finished chilling it, and honestly, it felt like a small bakery-style win at home.
This is one of those desserts I make when I want something classic but deeply comforting. Every bite reminded me why simple, well-made recipes never go out of style. You can also enjoy a Holiday Cookies Recipe alongside it for a festive touch.
Ingredients
- Milk – 2 ½ cups: Whole milk gives the filling its rich, creamy base. Low-fat milk makes the custard thinner and less satisfying.
- Heavy cream – ½ cup: Adds silkiness and depth, making the filling smooth and luxurious rather than pudding-like.
- Granulated sugar – ¾ cup: Sweetens the custard without overpowering the vanilla flavor. White sugar keeps the color light and clean.
- Cornstarch – ¼ cup: Acts as the thickening agent that helps the custard set properly. Measure carefully to avoid a gummy texture.
- Egg yolks – 4 large: Create richness and structure in the custard. Using room-temperature yolks helps them blend smoothly.
- Unsalted butter – 2 tablespoons: Adds shine and a subtle richness while allowing better control over salt levels.
- Pure vanilla extract – 2 teaspoons: The star flavor of the pie. Pure extract gives a warm, authentic vanilla taste.
- Salt – ¼ teaspoon: Balances sweetness and enhances the overall flavor without making the pie salty.
- Pre-baked pie crust – 1 (9-inch): A fully baked crust prevents sogginess and holds the creamy filling perfectly.
Note: This recipe yields one 9-inch pie, serving approximately 8 generous slices. For lighter, minty treats, you might also enjoy a Wedding Mints Recipe as a sweet complement.
Variations
- For a dairy-free option, use full-fat coconut milk and coconut cream instead of milk and heavy cream. The pie will have a light coconut undertone that pairs beautifully with vanilla.
- For a sugar-free version, substitute granulated sugar with a heat-stable sugar alternative designed for cooking. Make sure it dissolves well to avoid graininess.
- For extra flavor, add a teaspoon of vanilla bean paste or scrape half a vanilla bean into the custard while cooking.
- Chocolate lovers can add a thin layer of melted chocolate over the crust before filling for a vanilla-chocolate twist.
Cooking Time
- Prep Time: 20 minutes
- Cooking Time: 15 minutes
- Total Time: 4 hours 35 minutes (including chilling)
Equipment You Need
- Medium saucepan – for cooking and thickening the custard evenly
- Whisk – to keep the custard smooth and lump-free
- Mixing bowls – for combining eggs and dry ingredients
- Measuring cups and spoons – for accurate ingredient portions
- Rubber spatula – for scraping every bit of custard into the crust
How to Make Vanilla Cream Pie?
Preparing the Custard Base
Start by whisking the sugar, cornstarch, and salt in a saucepan. Slowly add the milk and cream while whisking constantly. This step ensures the cornstarch dissolves completely and prevents lumps later.
Cooking the Custard
Place the saucepan over medium heat and stir continuously. After several minutes, the mixture thickens and begins to bubble gently. This indicates the cornstarch has activated and the custard is ready for eggs.
Tempering the Egg Yolks
In a bowl, whisk the egg yolks. Slowly pour a small amount of hot custard into the yolks while whisking. This warms the eggs gradually so they don’t scramble.
Combining and Thickening
Return the tempered egg mixture to the saucepan. Cook for another minute while stirring until the custard becomes thick and glossy. You’ll feel resistance when stirring, which is exactly what you want.
Adding Butter and Vanilla
Remove the pan from heat and stir in butter and vanilla extract. The butter melts instantly, adding shine, while vanilla releases its aroma at this stage.
Filling the Crust
Pour the hot custard into the pre-baked pie crust. Smooth the top with a spatula so it chills evenly and looks neat when sliced.
Chilling the Pie
Cover the surface with plastic wrap pressed directly onto the custard. Refrigerate for at least 4 hours until fully set and sliceable.
Additional Tips for Making This Recipe Better
- I always cook the custard until it visibly bubbles; stopping too early can cause a loose filling.
- I prefer straining the custard before filling the crust if I want an ultra-smooth texture.
- Letting the pie chill overnight gives me the cleanest slices and best flavor.
- I taste the custard before filling to adjust vanilla if needed, especially if using different brands.
How to Serve Vanilla Cream Pie?
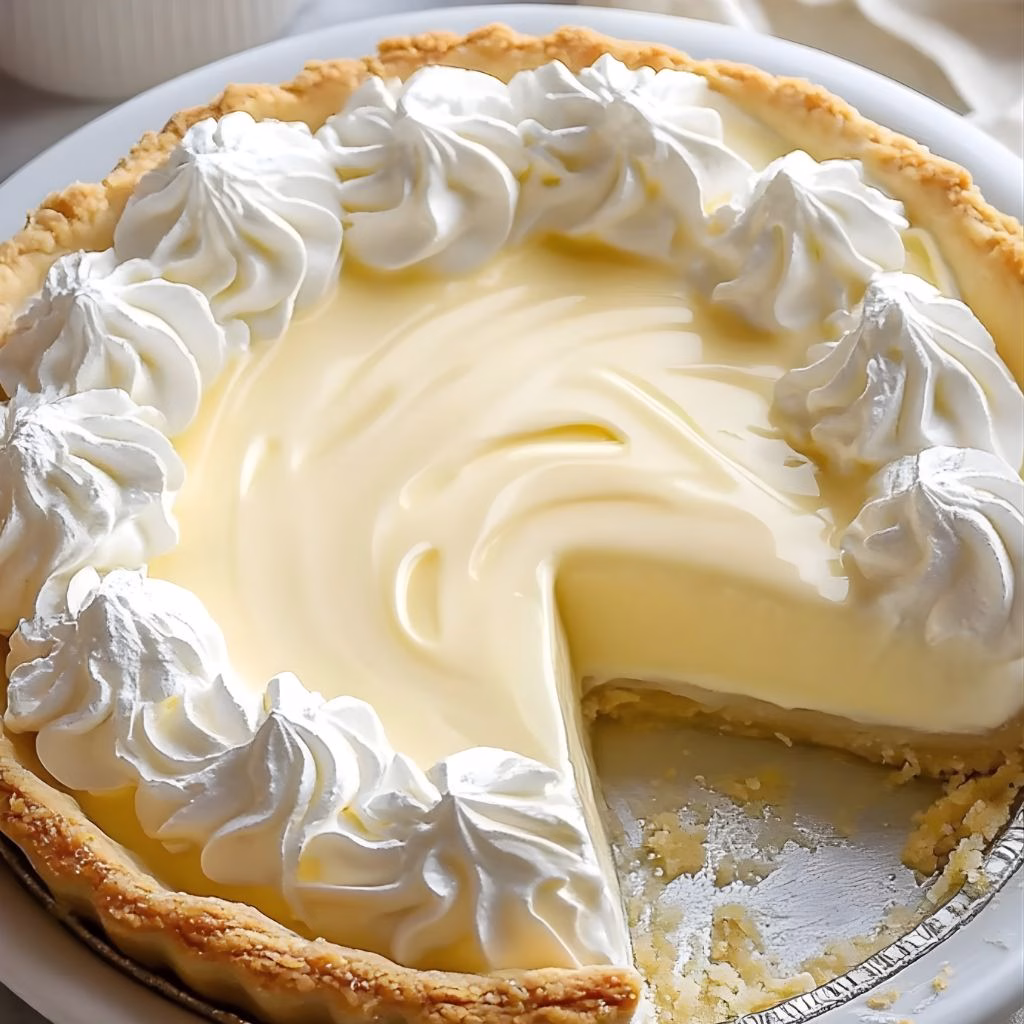
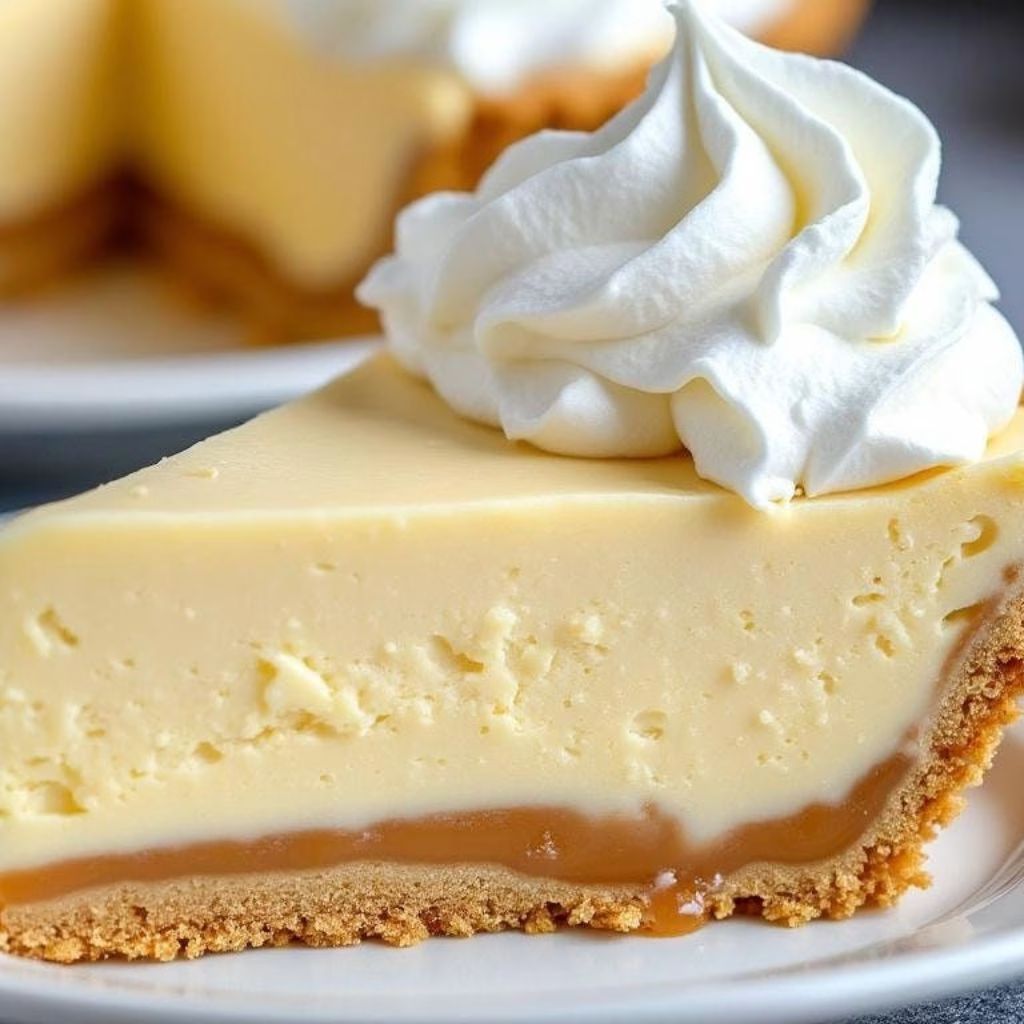
Serve chilled with a generous layer of freshly whipped cream on top. I like piping the cream around the edges for a classic look. Garnish with vanilla bean specks, white chocolate shavings, or a light dusting of powdered sugar. For special occasions, fresh berries add color and balance the richness beautifully.
Nutritional Information
- Calories: Approximately 380 per serving
- Protein: Around 6g per slice
- Carbohydrates: About 40g per serving
- Fat: Roughly 22g per slice
Make Ahead and Storage
Make Ahead
This pie is perfect for preparing in advance. I often make it a day before serving because the texture improves with extra chilling time.
Storage
Store the pie covered in the refrigerator. It stays fresh and creamy for up to 3 days without losing structure or flavor.
Freezing
Freezing is not ideal for this pie, as the custard can become watery when thawed. If needed, freeze without toppings and thaw overnight in the fridge.
Why You’ll Love This Recipe?
- It’s surprisingly easy to make, even for beginners, with simple steps and basic ingredients.
- The flavor is classic and comforting, making it perfect for any occasion.
- It’s highly customizable, allowing dairy-free or flavor-enhanced variations.
- The texture is smooth, rich, and perfectly sliceable every time.
- It feels homemade yet elegant enough for gatherings and celebrations.
Vanilla Cream Pie Recipe
Ingredients
Method
- Start by whisking the sugar, cornstarch, and salt in a saucepan. Slowly add the milk and cream while whisking constantly. This step ensures the cornstarch dissolves completely and prevents lumps later.
- Place the saucepan over medium heat and stir continuously. After several minutes, the mixture thickens and begins to bubble gently. This indicates the cornstarch has activated and the custard is ready for eggs.
- In a bowl, whisk the egg yolks. Slowly pour a small amount of hot custard into the yolks while whisking. This warms the eggs gradually so they don’t scramble.
- Return the tempered egg mixture to the saucepan. Cook for another minute while stirring until the custard becomes thick and glossy. You’ll feel resistance when stirring, which is exactly what you want.
- Remove the pan from heat and stir in butter and vanilla extract. The butter melts instantly, adding shine, while vanilla releases its aroma at this stage.
- Pour the hot custard into the pre-baked pie crust. Smooth the top with a spatula so it chills evenly and looks neat when sliced.
- Cover the surface with plastic wrap pressed directly onto the custard. Refrigerate for at least 4 hours until fully set and sliceable.
Notes
- I always cook the custard until it visibly bubbles; stopping too early can cause a loose filling.
- I prefer straining the custard before filling the crust if I want an ultra-smooth texture.
- Letting the pie chill overnight gives me the cleanest slices and best flavor.
- I taste the custard before filling to adjust vanilla if needed, especially if using different brands.