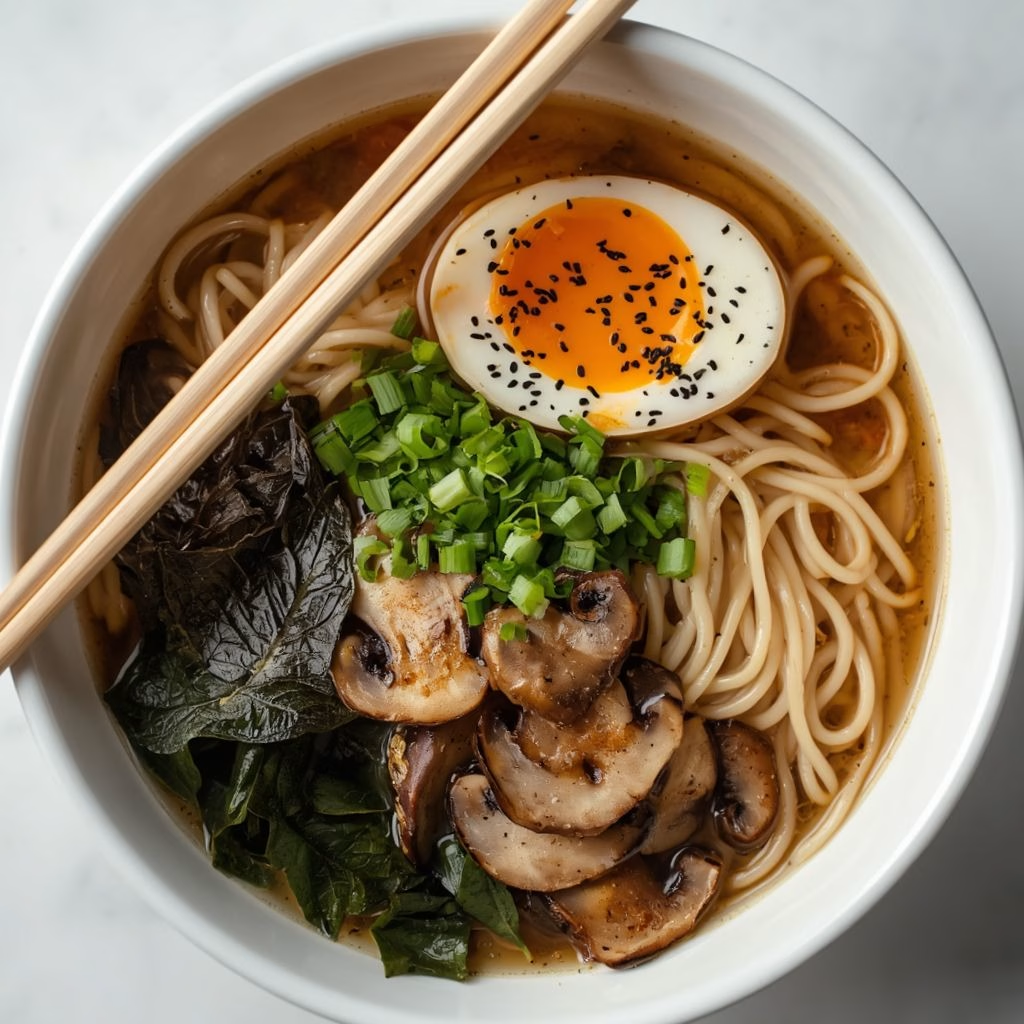
I still remember the first time I made this Vegetarian Miso Ramen Recipe at home after years of relying on instant packets. I wanted something just as fast, but way more nourishing, and this bowl delivered every single time.
Between the salty-savory miso broth, tender kale, and a jammy egg on top, it felt like restaurant-quality comfort food. I make this on busy weeknights when I want something warm but don’t want to spend an hour in the kitchen. Once you try it, I promise you’ll never look at instant ramen the same way again.

Ingredients
- 1/2 tablespoon sesame oil (or any neutral cooking oil you have on hand)
- 1 clove garlic, minced — fresh garlic gives the broth a much rounder flavor than the jarred kind
- 2 teaspoons fresh ginger, grated — skip the powdered version here since fresh ginger brings brightness that powder just can’t match
- 4 cups vegetable stock — this is the base of your broth, so use a good quality one
- 1 tablespoon tamari — a gluten-free alternative to soy sauce that still packs in that umami punch
- 2 large eggs — for the classic jammy ramen egg
- 7 oz ramen noodles (or the noodles from two packets of instant ramen, minus the flavor packet)
- 1/2 cup kale, shredded — fresh kale holds its shape and texture far better than frozen, which turns mushy in broth
- 6 shiitake mushrooms, sliced (cremini mushrooms work as a swap too)
- 2 tablespoons miso paste — the heart of this dish, so don’t skimp on quality here
- 1 green onion, sliced, for garnish
Note: These quantities make 2 generous bowls of ramen, so double or triple everything if you’re feeding more people.
Variations
- Swap the eggs for baked or pan-fried cubed tofu to make this fully vegan
- Use soba or udon noodles instead of ramen noodles if that’s what you have in your pantry
- Stir in a spoonful of chili crisp or a dash of sriracha for a spicy kick
- Add bok choy or baby spinach instead of kale for a different green
- Toss in some corn kernels or sliced carrots for extra color and crunch
- Use a low-sodium tamari or coconut aminos if you’re watching your salt intake
Cooking Time
- Prep Time: 5 minutes
- Cook Time: 10 minutes
- Total Time: 15 minutes
Equipment You Need
- Medium pot — for boiling the eggs and cooking the noodles
- Second medium pot — for building and simmering the miso broth
- Slotted spoon — to gently lower and lift the eggs from the water
- Bowl of ice water — to stop the eggs from overcooking
- Strainer — to drain the cooked noodles
- Ladle — for serving the hot broth over the noodles
How to Make Vegetarian Miso Ramen Recipe?
Here’s the good news: this whole recipe comes together in two pots working at the same time. You’ll cook the eggs and noodles in one, while the broth simmers away in the other. It sounds like a lot happening at once, but I promise it’s easier than it looks.
Step 1: Boil the Water
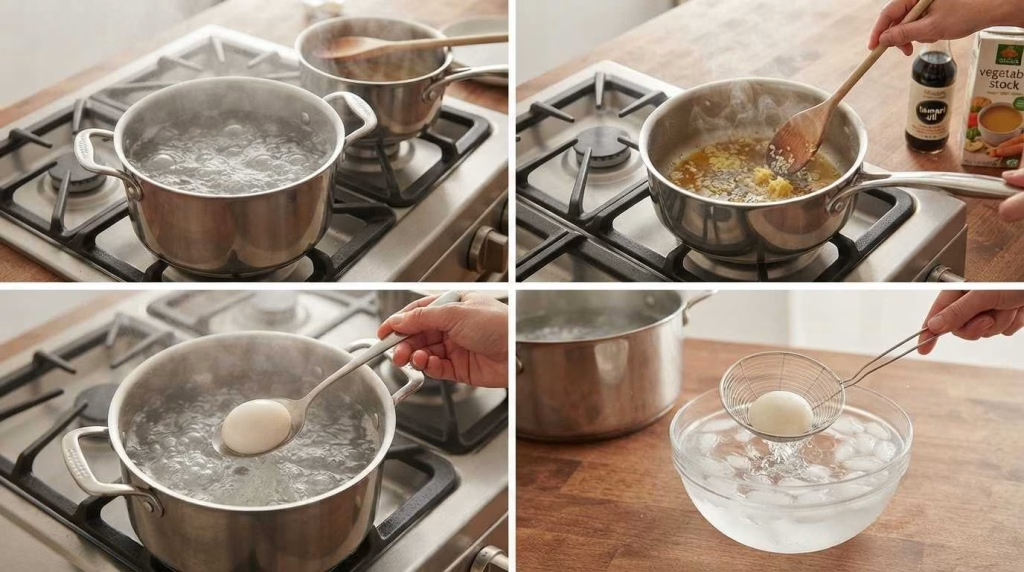
Fill a medium pot with water and set it over high heat until it comes to a rolling boil. You’ll use this same pot for both the eggs and the noodles, so no need to dirty extra dishes. While it heats up, move on to starting your broth in a second pot.
Step 2: Build the Broth Base
In your second pot, warm the sesame oil over medium heat and add the minced garlic and grated ginger. Sauté for about a minute or two, just until the kitchen smells amazing and the aromatics have softened. Pour in the vegetable stock and tamari, then let it come up to temperature.
Step 3: Cook the Eggs
Once your water is boiling, use a spoon to slowly lower each egg in, dipping it in and out a couple of times first. This little trick helps prevent the shells from cracking from the temperature shock. Let the eggs cook for six and a half minutes for that perfect jammy center.
Step 4: Shock the Eggs
As soon as the timer goes off, transfer the eggs straight into a bowl of ice water. This stops the cooking process immediately and keeps that soft, jammy yolk intact. If you prefer a firmer yolk, just leave them in the boiling water for an extra thirty seconds and skip the ice bath.
Step 5: Cook the Vegetables
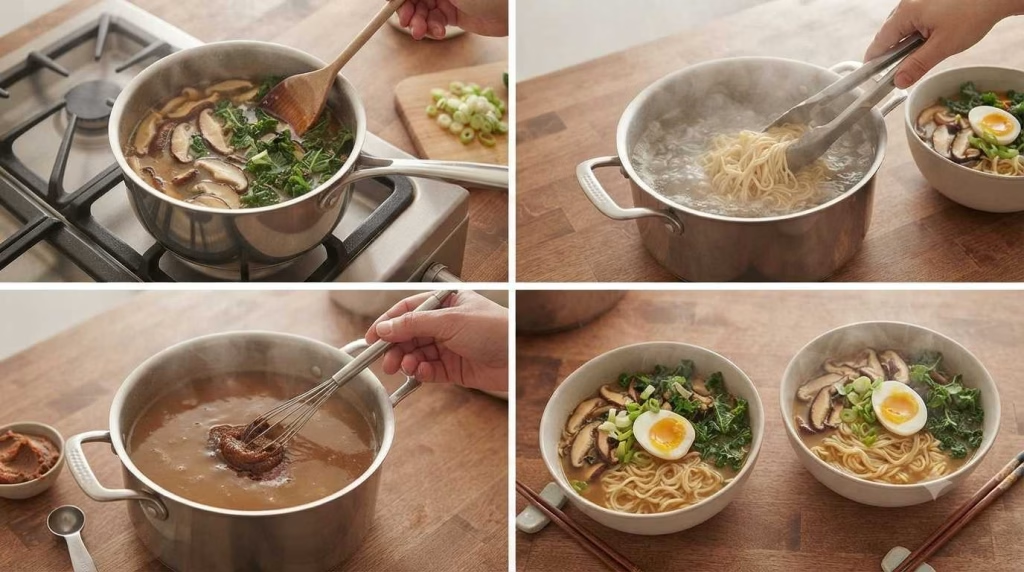
While your eggs are chilling in the ice bath, add the sliced mushrooms and shredded kale directly into your simmering broth pot. Let them cook for three to four minutes, just until the kale wilts and the mushrooms soften slightly. This is also a great moment to slice your green onion for garnish.
Step 6: Cook the Noodles
Using the same pot you boiled the eggs in, cook your ramen noodles according to the package instructions. Mine usually took around two and a half minutes since fresh noodles cook much faster than dried ones. Once done, strain them well and divide them between two large soup bowls.
Step 7: Finish the Broth
Bring your broth back up to just below boiling, then pull it off the heat completely. This step matters because adding miso paste to actively boiling liquid can destroy some of its beneficial properties. Stir the miso paste in until it’s fully dissolved and smooth.
Step 8: Assemble and Serve
Ladle the hot broth generously over your noodles in each bowl, then top with the cooked mushrooms and kale. Slice your jammy eggs in half and place them on top, then finish with a scatter of sliced green onion. Serve immediately while everything is piping hot.
Additional Tips for Making This Recipe Better
I’ve made this ramen more times than I can count, and here’s what I’ve learned along the way to make it even better.
- I always add the miso off the heat since boiling it can dull both the flavor and the gut-friendly benefits
- I like to taste my broth before adding the miso, since stock brands vary a lot in saltiness
- I never use frozen kale here since it turns watery and loses its texture in the hot broth
- I try to slice my mushrooms evenly so they cook at the same rate and soak up more broth flavor
- I keep an extra minute of buffer time when boiling my eggs the first few times I make this, just to dial in my ideal yolk texture
How to Serve Vegetarian Miso Ramen Recipe?
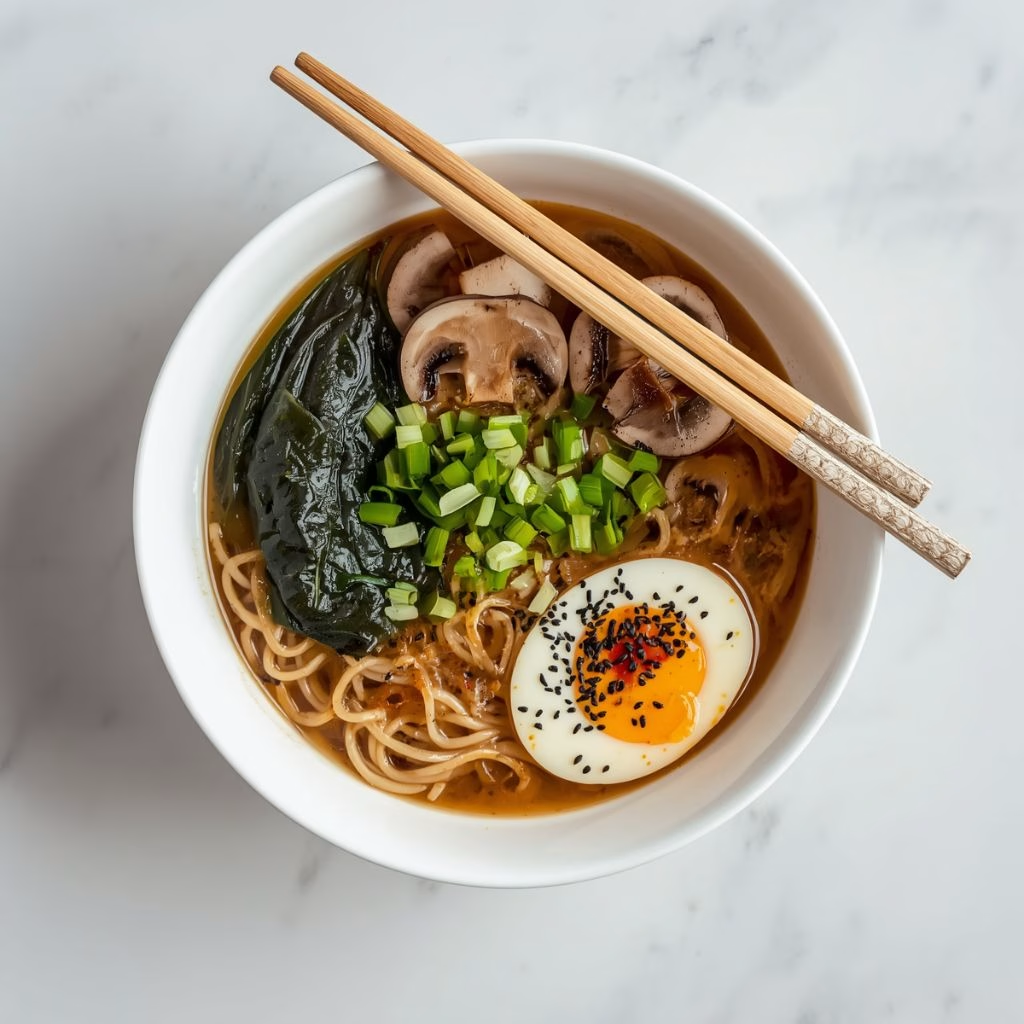
I love serving this in a deep, wide bowl so there’s plenty of room for all the toppings to shine. Arrange the sliced egg halves on one side with the yolk facing up for that classic ramen shop presentation.
A few extra green onion slices and a light drizzle of sesame oil right before serving take the whole bowl up a notch. If you want to make it a bit heartier, serve alongside a side of pickled ginger or a small bowl of edamame.
Nutritional Information
Here’s a quick look at what one generous bowl of this ramen brings to the table.
- Calories: 550 kcal
- Protein: 19g
- Carbohydrates: 70g
- Fat: 22g
Make Ahead and Storage
Make Ahead: You can prepare the broth base a day in advance and store it in the fridge, then simply reheat and add the miso right before serving. I don’t recommend pre-cooking the noodles ahead of time since they tend to get soft and clump together.
Refrigerating: Store any leftover broth and toppings separately in airtight containers in the fridge for up to 3 days. Keeping the noodles separate from the broth prevents them from soaking up too much liquid and turning mushy.
Freezing: The broth freezes well on its own for up to 2 months, but I wouldn’t freeze the noodles, kale, or eggs since their texture suffers once thawed. Freeze the broth in a sealed container and simply thaw it in the fridge overnight before your next ramen night.
Reheating: Warm the broth gently on the stovetop over medium-low heat until hot, being careful not to let it boil. Cook fresh noodles and reheat your toppings separately, then assemble everything together right before eating for the best texture.
Why You’ll Love This Recipe?
This bowl checks so many boxes, and here’s exactly why I keep coming back to it.
- It’s ready in just 15 minutes, making it perfect for busy weeknights when takeout feels tempting but you’d rather cook
- It’s easy to customize with whatever vegetables or protein you have in the fridge, so nothing goes to waste
- It works for vegetarian, vegan, and dairy-free diets with just one simple swap
- The gut-friendly miso paste adds probiotic benefits along with incredible depth of flavor
- It tastes like something you’d order at a restaurant, but costs a fraction of the price to make at home