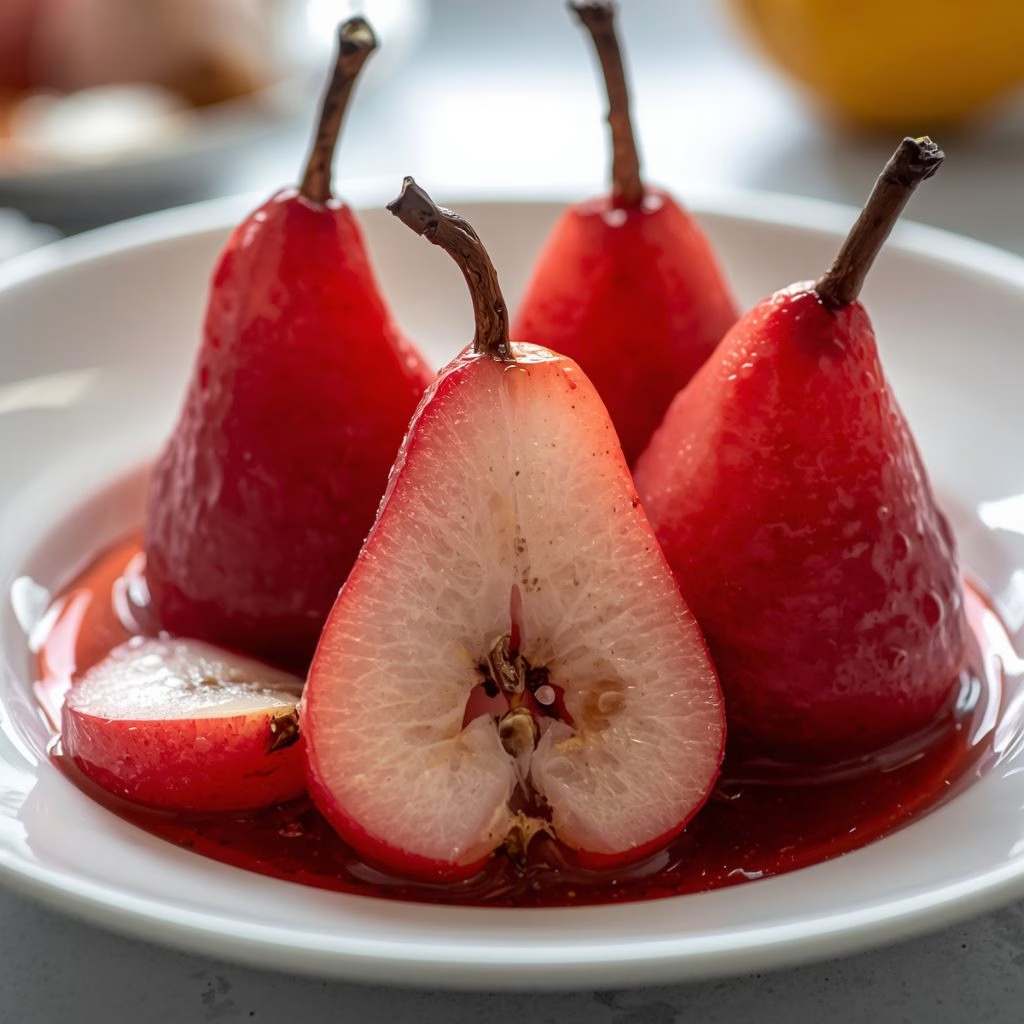
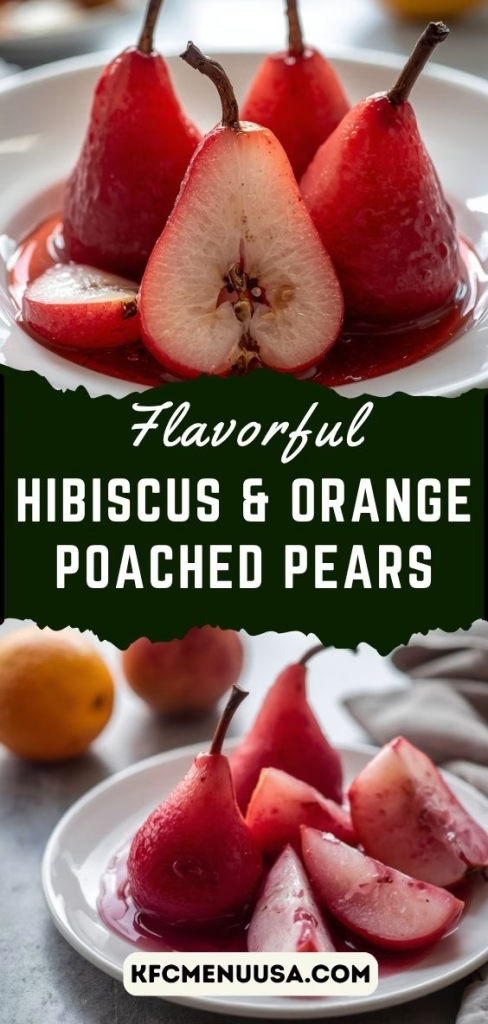
I recently made these hibiscus & orange poached pears recipe, and I honestly didn’t expect them to turn out this beautiful. The color alone is stunning—this deep pink-red that feels restaurant-worthy.
What I love most is how simple the process is, yet the flavors taste so refined and layered. The citrusy brightness from the orange and the floral tang of hibiscus make every bite feel special. If you’re looking for a light yet impressive dessert, this one quickly became my favorite.
Ingredients
Here’s everything you’ll need, along with a few helpful tips to get the best results:
- 4–6 pears (firm, not overly ripe) – Choose firm pears so they hold their shape while poaching
- 4 tablespoons hibiscus tea (or tea bags) – Gives the signature floral flavor and vibrant color
- 2 cups water – Acts as the base for the poaching liquid
- 3 strips orange peel or 1 teaspoon orange zest – Adds fresh citrus aroma (avoid bitter white pith)
- 1/2 cup freshly squeezed orange juice – Brightens the syrup with natural sweetness
- 1/2 cup sugar – Balances the tart hibiscus flavor
- 1/4 cup honey or maple syrup – Adds depth and a richer sweetness
- 1 teaspoon vanilla extract (or 1/2 vanilla pod) – Enhances overall flavor with warmth
- 2 star anise – Adds a subtle spiced note for complexity
Note: This recipe serves approximately 4 people, depending on portion size.
Variations
You can easily customize this recipe to suit your taste or dietary needs:
- Use coconut sugar or maple syrup instead of sugar for a refined sugar-free option – Rice Krispie Treat Cookies Recipe
- Add cinnamon sticks or ginger slices for a warm, spiced flavor twist
- Swap orange with lemon for a sharper citrus profile
- Make it alcohol-infused by adding a splash of white wine while poaching
- Serve with dairy-free yogurt or coconut cream for a vegan version – Caramelized Onion Tadka Dal Recipe
Cooking Time
- Prep Time: 10 minutes
- Cooking Time: 10–20 minutes
- Total Time: About 30 minutes (plus chilling time if desired)
Equipment You Need
- Medium saucepan – For simmering the pears and poaching liquid
- Vegetable peeler – To peel pears smoothly
- Knife and cutting board – For prepping pears and citrus
- Spoon or ladle – To handle pears gently while cooking
- Fine sieve – To strain the syrup for a smooth finish
- Heatproof container – For cooling and storing the pears
How to Make Hibiscus & Orange Poached Pears Recipe?
Prepare the Pears
Start by peeling the pears carefully and slicing them in half lengthwise. Remove the core and seeds using a spoon or melon baller. This step ensures even cooking and allows the syrup to soak in beautifully.
Prepare the Citrus
Using a sharp knife, remove thin strips of orange peel, making sure to avoid the bitter white layer. If you prefer, you can use freshly grated zest instead. This adds a bright, aromatic citrus note to the dish.
Make the Poaching Liquid
In a saucepan, combine water, orange juice, hibiscus tea, sugar, honey, orange peel, vanilla, and star anise. Bring everything to a gentle boil, allowing the sugar to dissolve and flavors to blend.
Poach the Pears
Reduce the heat to a gentle simmer and carefully place the pears into the liquid. Let them cook for about 8–10 minutes until they become tender and lightly infused with a pink hue.
Reduce the Syrup
Remove the pears and set them aside. Continue simmering the liquid for another 10 minutes until it thickens slightly into a syrup-like consistency. This intensifies the flavor beautifully.
Combine and Chill
Strain the syrup to remove spices and tea, then pour it over the pears. You can serve them warm, but I personally prefer chilling them for a few hours for deeper flavor.
Additional Tips for Making This Recipe Better
From my experience, these small tweaks make a big difference:
- I always choose slightly underripe pears—they hold their shape better during cooking
- Don’t rush the simmer; gentle heat keeps the pears tender, not mushy
- I like reducing the syrup extra—it becomes richer and more dessert-like
- Letting the pears sit in the liquid overnight gives them a deeper color and flavor
- I sometimes add a squeeze of lemon juice at the end to brighten everything
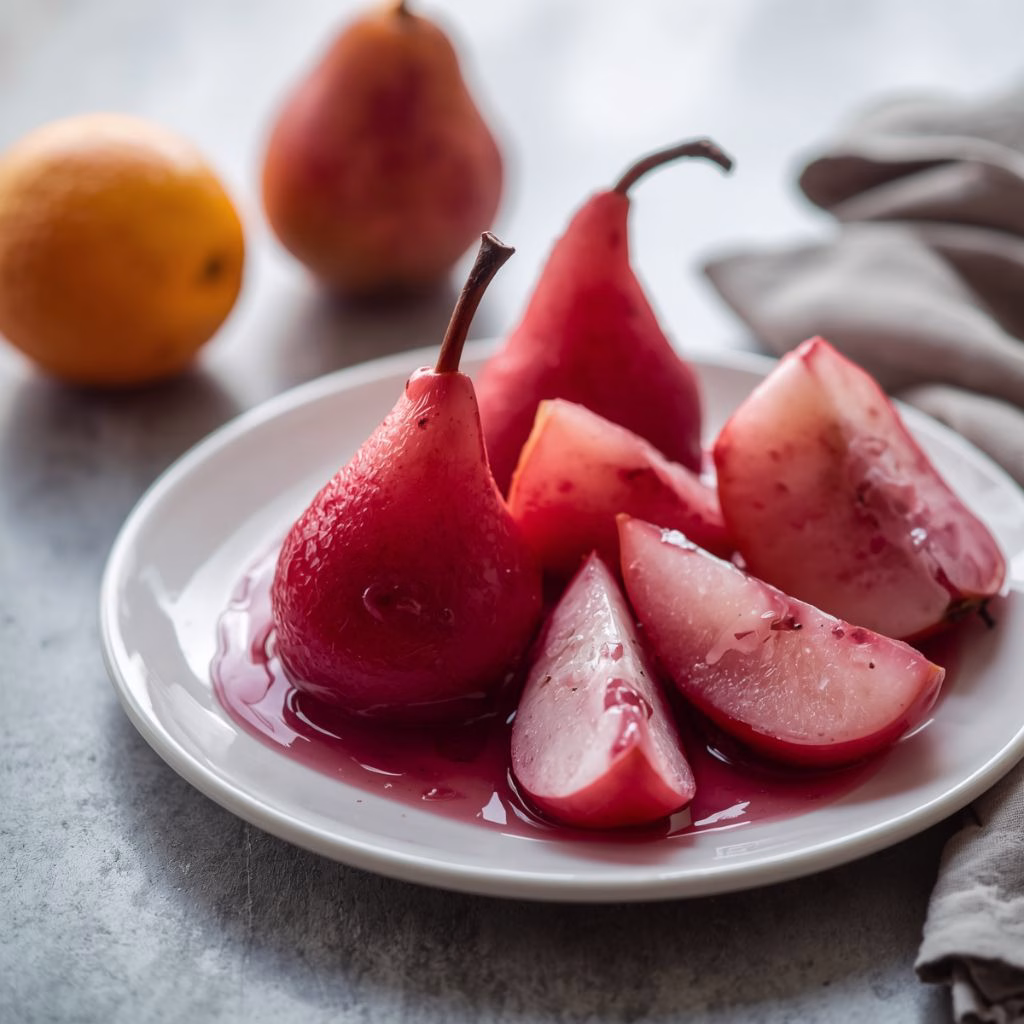
How to Serve Hibiscus & Orange Poached Pears Recipe?
These pears are incredibly versatile when it comes to serving:
Serve them warm over vanilla ice cream for a comforting dessert. For a lighter option, I love pairing them with yogurt or oatmeal for breakfast. You can also plate them with custard or whipped cream for an elegant presentation. Drizzle extra syrup on top and garnish with orange zest or crushed nuts for a beautiful finish.
Nutritional Information
Here’s a quick overview per serving (approximate values):
- Calories: 180–220 kcal
- Protein: 1–2g
- Carbohydrates: 40–50g
- Fat: 0–2g
Make Ahead and Storage
Storing
Once cooled, store the pears in their syrup in an airtight container in the refrigerator. They stay fresh for up to 4–5 days while continuing to absorb flavor.
Freezing
You can freeze the pears along with the syrup, but the texture may soften slightly after thawing. For best results, freeze in a sealed container for up to 2 months.
Reheating
To reheat, gently warm the pears in a saucepan over low heat or microwave briefly. Avoid overheating to maintain their delicate texture.
Why You’ll Love This Recipe?
Here’s why this recipe is worth trying:
- It’s incredibly easy yet looks gourmet, making it perfect for guests
- The flavor balance of floral, citrusy, and sweet is truly unique
- It’s versatile—you can serve it as breakfast, dessert, or snack
- The recipe is naturally gluten-free and easily adaptable to vegan diets
- You can make it ahead, which makes entertaining stress-free
This hibiscus & orange poached pears recipe is proof that simple ingredients can create something truly elegant. Once you try it, you’ll see how effortlessly it transforms into a show-stopping dish.
Hibiscus & Orange Poached Pears Recipe
Ingredients
Method
- Start by peeling the pears carefully and slicing them in half lengthwise. Remove the core and seeds using a spoon or melon baller. This step ensures even cooking and allows the syrup to soak in beautifully.
- Using a sharp knife, remove thin strips of orange peel, making sure to avoid the bitter white layer. If you prefer, you can use freshly grated zest instead. This adds a bright, aromatic citrus note to the dish.
- In a saucepan, combine water, orange juice, hibiscus tea, sugar, honey, orange peel, vanilla, and star anise. Bring everything to a gentle boil, allowing the sugar to dissolve and flavors to blend.
- Reduce the heat to a gentle simmer and carefully place the pears into the liquid. Let them cook for about 8–10 minutes until they become tender and lightly infused with a pink hue.
- Remove the pears and set them aside. Continue simmering the liquid for another 10 minutes until it thickens slightly into a syrup-like consistency. This intensifies the flavor beautifully.
- Strain the syrup to remove spices and tea, then pour it over the pears. You can serve them warm, but I personally prefer chilling them for a few hours for deeper flavor.
Notes
- I always choose slightly underripe pears—they hold their shape better during cooking
- Don’t rush the simmer; gentle heat keeps the pears tender, not mushy
- I like reducing the syrup extra—it becomes richer and more dessert-like
- Letting the pears sit in the liquid overnight gives them a deeper color and flavor
- I sometimes add a squeeze of lemon juice at the end to brighten everything