I still remember the first time I made this Ice Cream Sandwich Cake Recipe for a backyard birthday party, and it disappeared before the candles even melted. I love that I don’t have to touch the oven, mix batter, or wait around for anything to bake. All I really do is layer a few store-bought treats, freeze the whole thing, and let time do the rest.
Every time I slice into it, the stripes of chocolate cookie, creamy filling, and fudge look like something from a bakery window. Once you try this recipe, I promise it’ll become your go-to dessert for every summer get-together.
Ingredients
- 24 ice cream sandwiches (vanilla, chocolate, or your favorite flavor) – these form the base and top layers, so pick a sturdy, square style that fits neatly into your pan
- 16 oz frozen whipped topping, thawed in the fridge overnight – thawing it slowly keeps it fluffy instead of watery, so avoid thawing it on the counter
- 1 cup chocolate or hot fudge sauce – warm it very slightly if it’s too thick to drizzle, but keep it cool so it doesn’t melt your layers
- ½ cup caramel sauce – a classic sundae partner that adds a buttery sweetness between layers
- 1 cup crushed chocolate sandwich cookies or sprinkles – for crunch, color, and a little extra fun in every bite
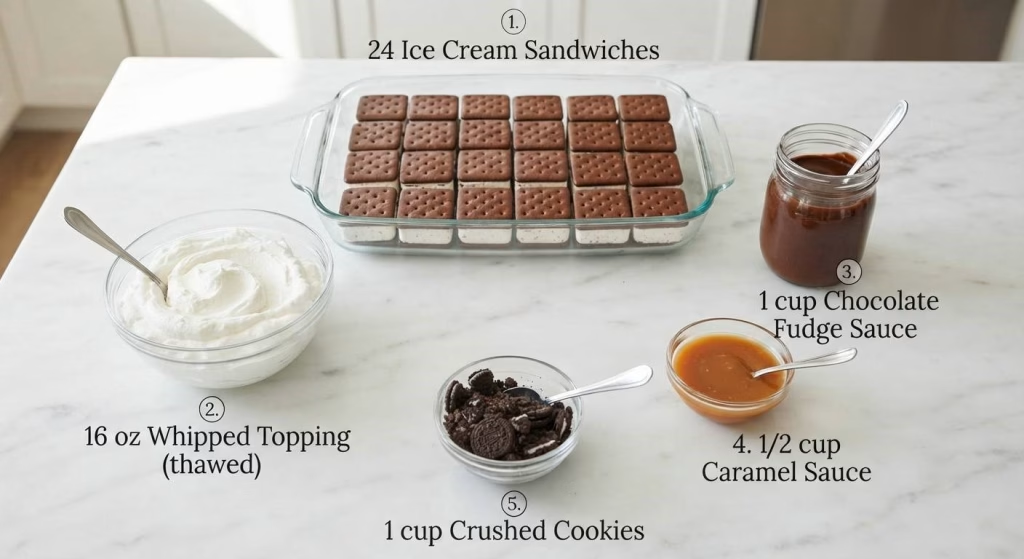
Note: These amounts are enough for a 9×13-inch pan and will serve about 12 people, so double everything if you’re feeding a bigger crowd.
Variations
- Swap regular whipped topping for a dairy-free coconut whipped cream if you want a lactose-free version
- Use sugar-free ice cream sandwiches and a sugar-free chocolate syrup to make a lighter version
- Add crushed peanut butter cups, toffee bits, or mini M&M’s between the layers for extra texture
- Try Neapolitan or mint chocolate chip ice cream sandwiches for a fun flavor twist
- Drizzle a layer of peanut butter or Nutella for a richer, nuttier bite, just as you can with the Spinach Artichoke Macaroni Cheese Recipe when you want a richer and more indulgent comfort food.
Cooking Time
- Prep Time: 15 minutes
- Cooking Time (freezing): 3-4 hours (or overnight for best results)
- Total Time: about 4 hours 15 minutes
Equipment You Need
- 9×13-inch baking dish – holds the layers and gives the cake its shape
- Offset spatula or butter knife – helps spread whipped topping evenly
- Aluminum foil or plastic wrap – keeps the cake covered while it freezes
- Sharp knife – for slicing the cake cleanly once it’s set
- Small saucepan or microwave-safe bowl – for gently softening the fudge sauce
How to Make an Ice Cream Sandwich Cake Recipe?
This recipe comes together in three simple stages: layering, drizzling, and freezing. There’s no baking involved, so the whole process only takes about fifteen minutes of hands-on work. Once it’s assembled, the freezer handles the rest of the job for you.
Prepare the Pan
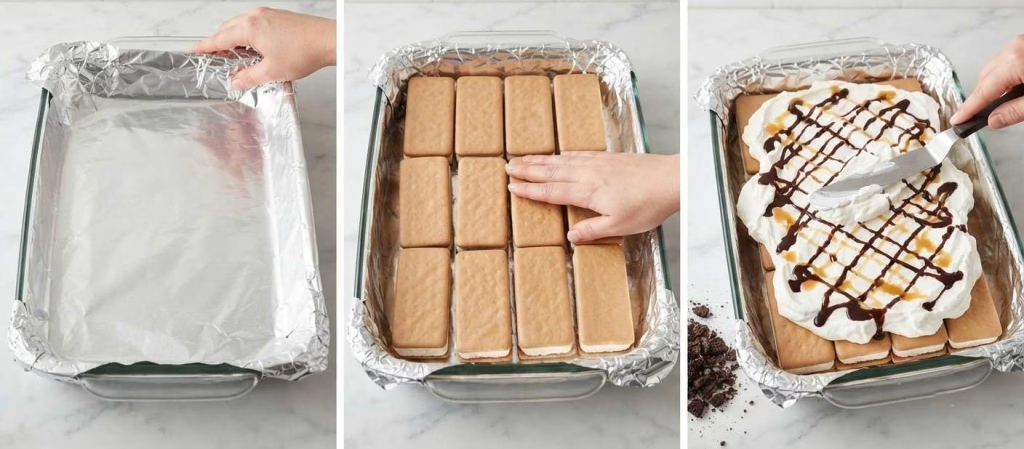
Start by lining your 9×13-inch dish with foil or parchment paper, leaving a little overhang on the sides. This makes it so much easier to lift the finished cake out later. I always skip this step, and I always regret it, so don’t make my mistake.
Layer the First Row
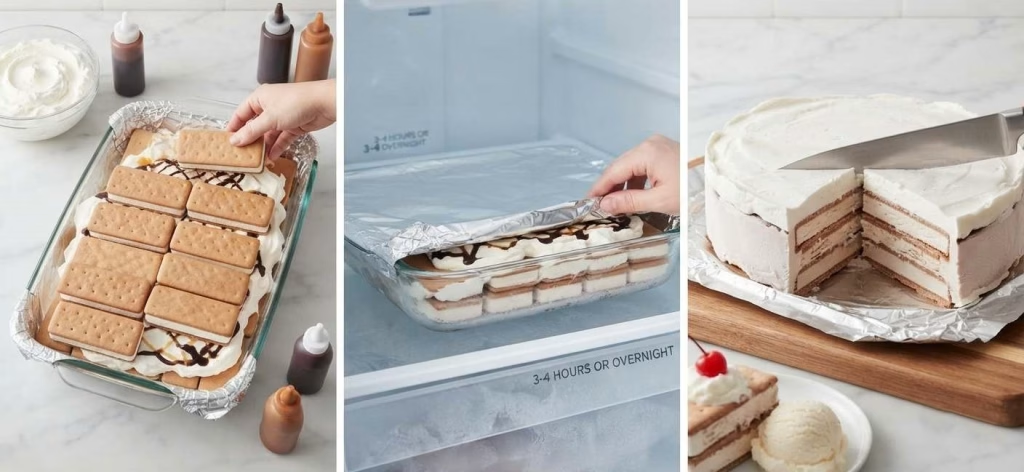
Arrange 12 ice cream sandwiches side by side across the bottom of the pan. You may need to trim one to fill any gaps along the edges. Press down gently so the sandwiches sit flat and snug against each other.
Add Whipped Topping and Sauces
Spread half of the whipped topping evenly over the first layer of sandwiches. Drizzle chocolate and caramel sauce over the top, then sprinkle on your crushed cookies or sprinkles. Work quickly here so nothing has a chance to melt.
Repeat the Layers
Place the remaining 12 ice cream sandwiches on top of the first layer, then spread the rest of the whipped topping over them like frosting. Finish with another drizzle of chocolate and caramel sauce for that classic sundae look.
Freeze Until Firm
Cover the pan tightly with foil and place it in the freezer for at least three to four hours, though overnight works best. This step lets everything set into clean, sliceable layers instead of a melty mess.
Slice and Serve
Once frozen solid, lift the cake out using the foil overhang and set it on a cutting board. Let it sit for five minutes to soften slightly before slicing with a sharp knife for the cleanest cuts.
Additional Tips for Making This Recipe Better
- I always chill my pan in the freezer for a few minutes before I start layering, because it keeps the sandwiches from softening too fast
- I like to freeze each layer for about 15 minutes before adding the next one so everything stays firm and stacks neatly
- I never use fudge sauce straight out of the fridge cold and thick, since it tears the whipped topping; a few seconds in the microwave makes it easier to spread
- I always line my pan with foil, because trying to serve straight from the dish makes neat slices nearly impossible
- I like to let the cake sit out for five to ten minutes before slicing so it doesn’t crack under the knife
How to Serve Ice Cream Sandwich Cake Recipe?
I love serving this cake straight from the freezer onto a chilled platter, since it keeps every slice picture-perfect longer. A final drizzle of warm fudge and caramel right before serving makes each piece look extra glossy and inviting.
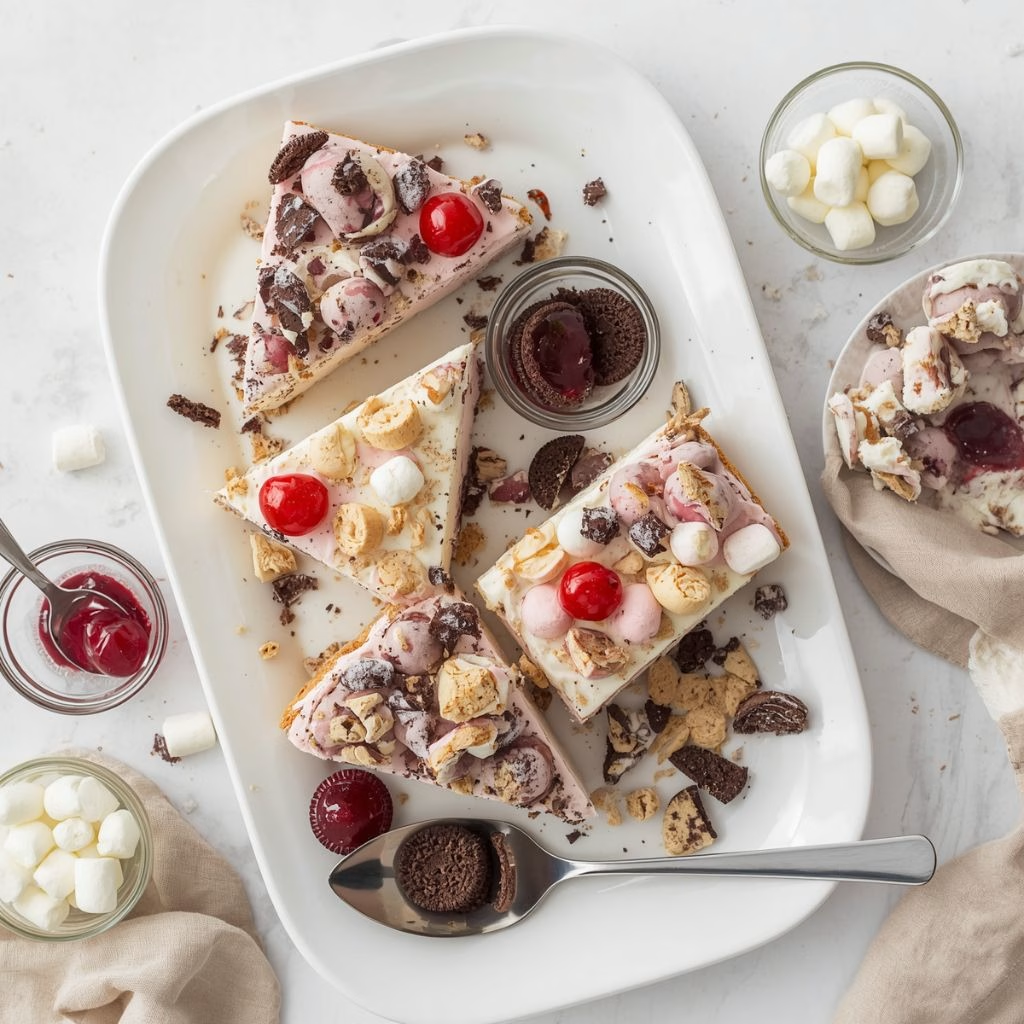
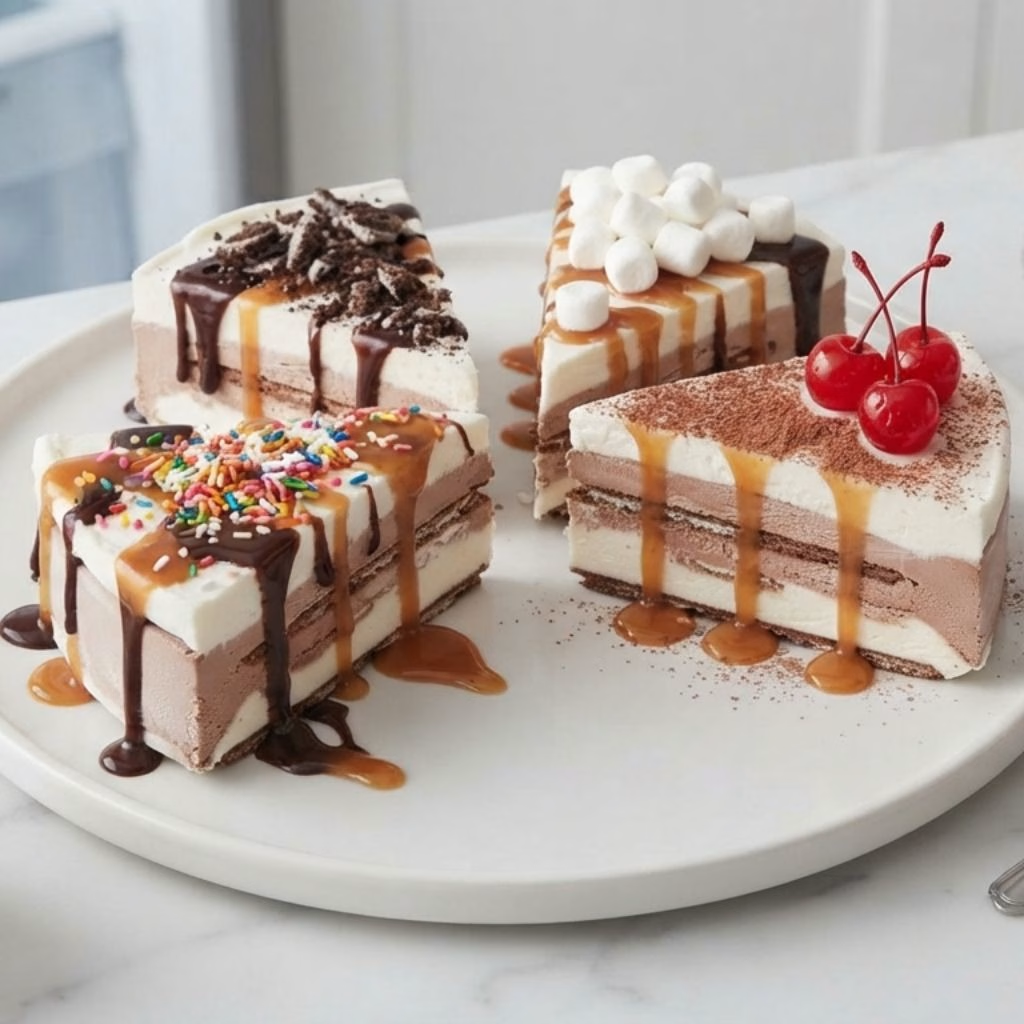
For a fun garnish, add a handful of crushed cookies, mini marshmallows, or colorful sprinkles right on top of each slice. If you’re serving it at a party, a few maraschino cherries or a light dusting of cocoa powder add a nice bakery-style finish. It also pairs nicely with savory favorites like Buffalo Chicken Cutlets with Creamy Ranch Celery Slaw Recipe for a complete family meal.
Nutritional Information
Here’s a rough idea of what you’ll find in one slice of this cake, though exact numbers depend on your specific brands and toppings.
- Calories: about 380 per slice
- Protein: 6 grams
- Carbohydrates: 58 grams
- Fat: 15 grams
Make Ahead and Storage
Make Ahead
You can assemble this cake up to two or three days before your event and keep it frozen the whole time. This makes it a great stress-free option for parties, since it’s ready and waiting whenever you need it.
Freezing
Wrap the cake tightly in plastic wrap, then a layer of foil, to protect it from freezer burn. Stored this way, it stays fresh and delicious in the freezer for up to two weeks.
Reheating
There’s no reheating needed here since this cake is meant to be served frozen. Just let it sit at room temperature for five to ten minutes before slicing so it’s easier to cut.
Why You’ll Love This Recipe?
This cake checks every box for an easy, crowd-pleasing dessert, and here’s why I keep coming back to it.
- It’s incredibly easy to make, since there’s no baking, no mixer, and no complicated steps involved
- It’s endlessly versatile, because you can swap ice cream flavors, sauces, and toppings to match any occasion
- It works for dietary needs too, with simple dairy-free and sugar-free swaps available
- It’s a guaranteed crowd-pleaser, especially for kids’ birthdays and summer cookouts
- It looks impressive when sliced, showing off neat layers that make it feel like a bakery treat

Ice Cream Sandwich Cake Recipe
Ingredients
Method
- Start by lining your 9×13-inch dish with foil or parchment paper, leaving a little overhang on the sides. This makes it so much easier to lift the finished cake out later. I always skip this step, and I always regret it, so don’t make my mistake.
- Arrange 12 ice cream sandwiches side by side across the bottom of the pan. You may need to trim one to fill any gaps along the edges. Press down gently so the sandwiches sit flat and snug against each other.
- Spread half of the whipped topping evenly over the first layer of sandwiches. Drizzle chocolate and caramel sauce over the top, then sprinkle on your crushed cookies or sprinkles. Work quickly here so nothing has a chance to melt.
- Place the remaining 12 ice cream sandwiches on top of the first layer, then spread the rest of the whipped topping over them like frosting. Finish with another drizzle of chocolate and caramel sauce for that classic sundae look.
- Cover the pan tightly with foil and place it in the freezer for at least three to four hours, though overnight works best. This step lets everything set into clean, sliceable layers instead of a melty mess.
- Once frozen solid, lift the cake out using the foil overhang and set it on a cutting board. Let it sit for five minutes to soften slightly before slicing with a sharp knife for the cleanest cuts.
Notes
- I always chill my pan in the freezer for a few minutes before I start layering, because it keeps the sandwiches from softening too fast
- I like to freeze each layer for about 15 minutes before adding the next one so everything stays firm and stacks neatly
- I never use fudge sauce straight out of the fridge cold and thick, since it tears the whipped topping; a few seconds in the microwave makes it easier to spread
- I always line my pan with foil, because trying to serve straight from the dish makes neat slices nearly impossible
- I like to let the cake sit out for five to ten minutes before slicing so it doesn’t crack under the knife