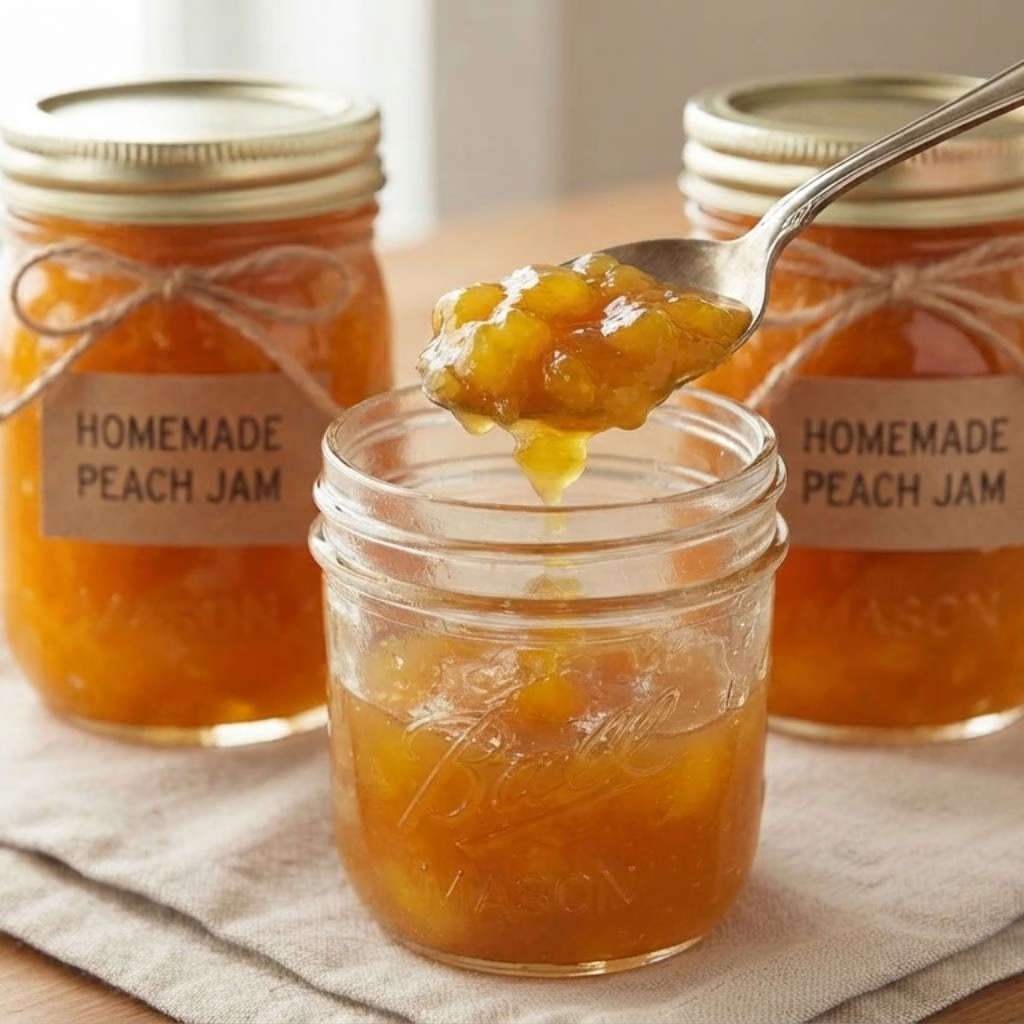
I made a big batch of this Peach Jam Recipe last weekend after my fridge got overloaded with ripe peaches, and I honestly couldn’t believe how easy it was. I didn’t have any pectin on hand, so I decided to try the old-fashioned way with just sugar and lemon juice, and it worked like a charm.
The smell of peaches bubbling away on my stove is one of my favorite parts of summer. I ended up with jars of thick, glossy jam that tasted like sunshine in a spoon. If you’ve got extra peaches sitting around, let me walk you through exactly how I made mine.
Ingredients Needed
- Fresh peaches (3 1/2 pounds, peeled, pitted, and chopped) – ripe, slightly soft peaches break down faster and give you a sweeter, richer flavor than firm ones.
- Granulated sugar (2 1/2 cups) – sugar isn’t just for sweetness here; it works with the lemon juice to help the jam thicken and set properly.
- Fresh lemon juice (from 1 medium lemon, about 3 tablespoons) – lemon juice is naturally packed with pectin, so it’s the secret behind getting that jam to gel without store-bought pectin.
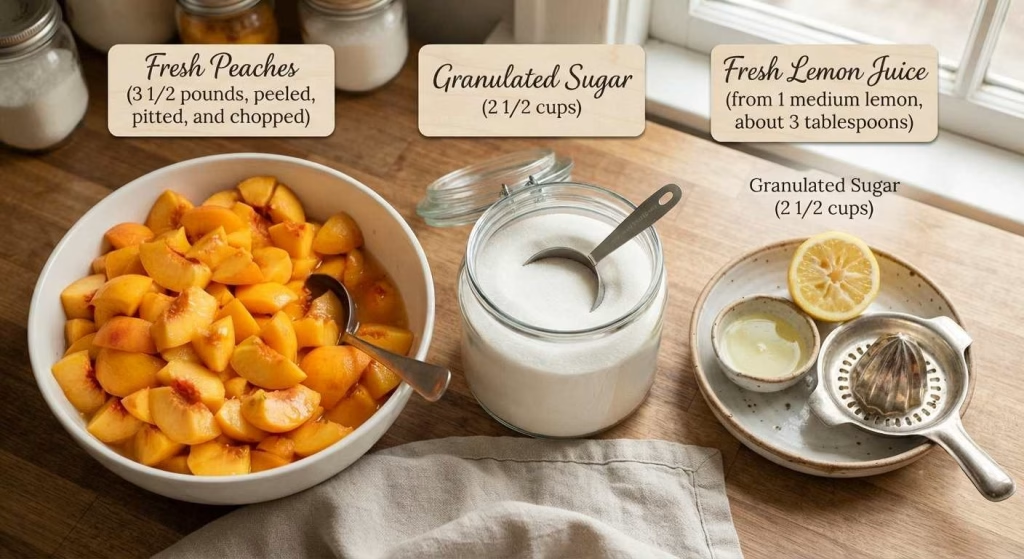
Note: These amounts make roughly 3 to 4 cups of peach jam, though your exact yield may vary a little depending on how juicy your peaches are and how long you simmer the mixture.
Variations
- Stir in a teaspoon of vanilla extract or scrape in some vanilla bean for a warm, rounded flavor.
- Toss in finely diced jalapeño for a sweet-and-spicy jam that’s amazing on grilled cheese or crackers.
- Mix in some diced mango along with the peaches for a tropical peach-mango jam.
- Swap the sugar for your favorite low-sugar sweetener and add a few tablespoons of chia seeds to help it gel without traditional sugar.
- Use frozen peaches instead of fresh when peach season has passed, just know the cook time will run a bit longer since frozen fruit holds extra water.
Cooking Time
- Prep Time: 10 minutes
- Cook Time: 20 to 25 minutes
- Total Time: About 35 minutes
Equipment You Need
- Medium saucepan – for cooking and reducing the peach mixture down into jam.
- Potato masher or sturdy spatula – to crush the peaches to your preferred consistency as they cook.
- Wooden spoon – for stirring frequently so the sugar doesn’t scorch on the bottom.
- Candy or instant-read thermometer – to check when the jam hits the gel point.
- Glass jars with lids – for storing the finished jam in the fridge, freezer, or pantry.
- Small plate – kept in the freezer for the quick “wrinkle test” to check doneness.
How to Make a Peach Jam Recipe?
Making peach jam at home really comes down to three simple stages: prepping, cooking, and cooling. I like breaking it into small steps so nothing feels overwhelming, especially if this is your first time making jam. Here’s exactly how I do it in my own kitchen.
Prep Your Peaches
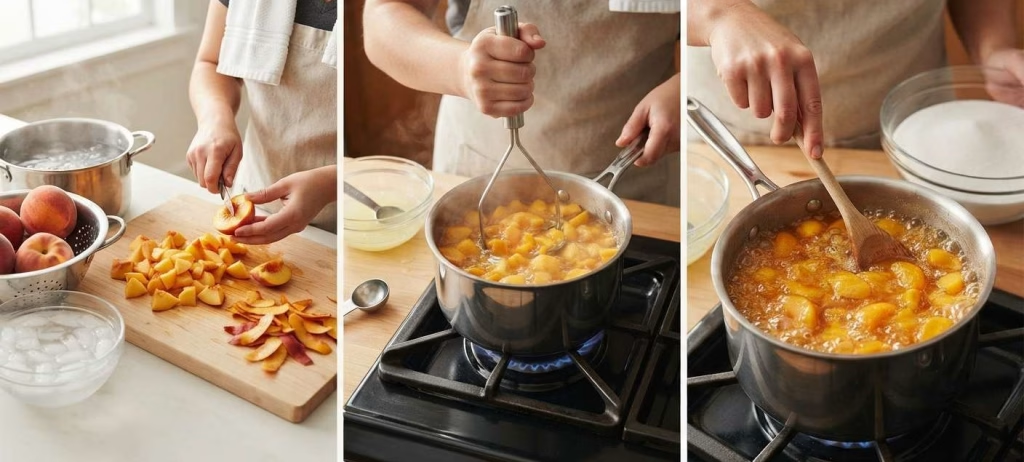
I start by peeling, pitting, and roughly chopping all my peaches into smaller chunks. If the skins are being stubborn, I dunk the peaches in boiling water for under a minute, then into an ice bath, which makes the skins slide right off. This step takes a little patience, but it makes the rest of the process go so much faster.
Cook the Peaches and Lemon Juice
I add my chopped peaches and fresh lemon juice into a medium saucepan and bring everything up to a boil over medium-high heat. As it heats, I use my masher to crush the peaches down to the texture I want, whether that’s smooth or a little chunky. This is where the kitchen starts smelling incredible.
Stir in the Sugar
Once the peaches are boiling and broken down, I lower the heat slightly and stir in all of the sugar. I bring the mixture back up to a full rolling boil, stirring often so it doesn’t stick or burn on the bottom of the pan. This part needs a bit of attention, but it moves fast.
Simmer Until Thickened
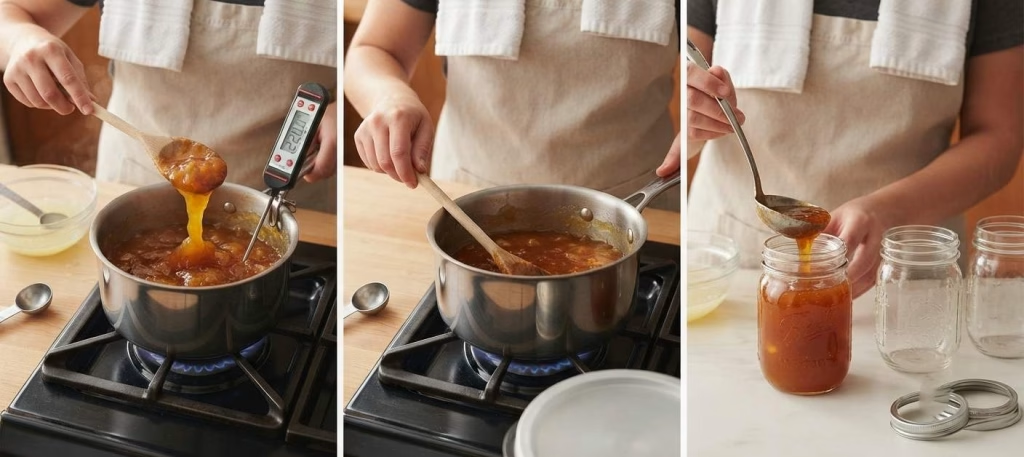
I let the jam boil and reduce for about 15 to 25 minutes, stirring regularly the whole time. I know it’s close to ready when it coats the back of my spoon in a thick layer instead of running right off.
A thermometer reading of 220°F is my go-to signal that the jam will set. If you enjoy preserving homemade favorites, the Spicy Yogurt Marinated Tandoori Chicken Recipe is another satisfying recipe to make from scratch.
Cool and Jar the Jam
Once the jam looks and feels right, I pull it off the heat and let it cool slightly before spooning it into clean jars. I leave the jars out until they’ve cooled to room temperature, then pop them in the fridge so the jam can fully set up over the next day or so.
Additional Tips for Making This Recipe Better
I’ve made this peach jam more times than I can count now, and I’ve picked up a few tricks along the way that make a real difference.
- I always taste my peaches before adding the full amount of sugar, since really ripe, sweet peaches sometimes need less.
- I never skip the freezer-plate test because it’s the easiest way for me to know for sure the jam will set once chilled.
- I keep my heat at a steady boil instead of cranking it too high, since scorched sugar ruins the whole batch fast.
- I stir more often near the end of cooking, since that’s when the jam is most likely to stick and burn.
- I remind myself that jam keeps thickening in the fridge, so I don’t panic if it looks a little thin right off the stove.
How to Serve Peach Jam Recipe?
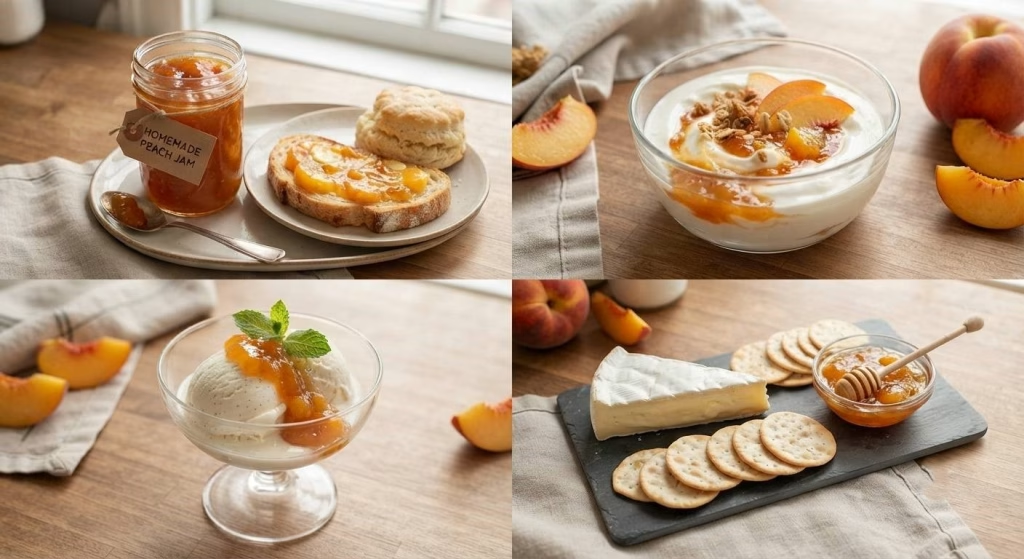
I love spooning this jam over warm buttered toast or biscuits for an easy breakfast that feels a little fancier than usual. It’s also fantastic swirled into plain yogurt or spooned over vanilla ice cream for a quick dessert.
For something a little more special, I’ll spread a thin layer on a cheese board next to soft cheese and crackers, since the sweet-tart flavor pairs beautifully with something creamy.
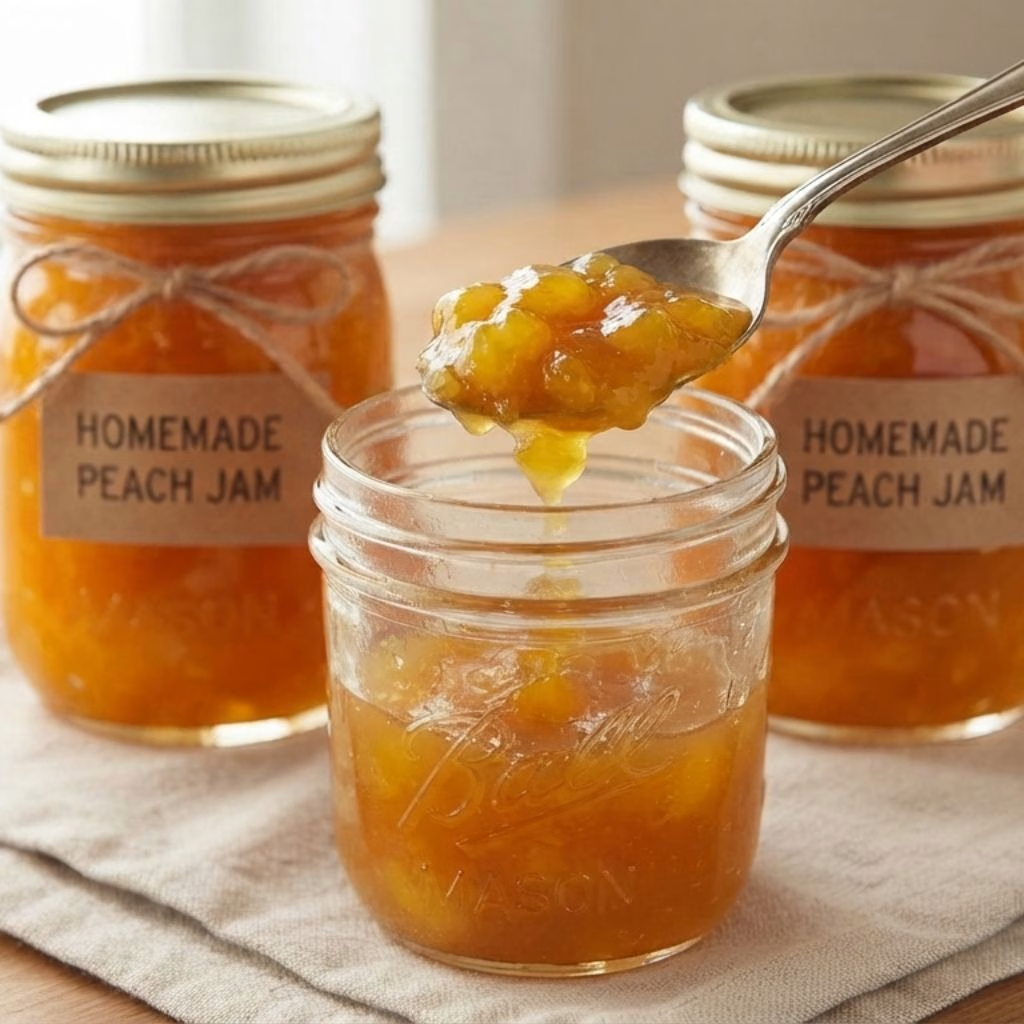
It also pairs surprisingly well alongside savory dishes like Garlic Parmesan Roasted Shrimp Recipe for a sweet-and-savory meal. A small jar tied with twine also makes a lovely homemade gift for neighbors or hostesses.
Nutritional Information
Here’s a general idea of what you’re working with per tablespoon serving of this jam.
- Calories: About 50-55
- Protein: Less than 1 gram
- Carbohydrates: Around 13-14 grams
- Fat: 0 grams
Make Ahead and Storage
Refrigerating: Once the jam has cooled and set, I keep it in an airtight glass jar in the fridge, where it stays fresh and tasty for up to three weeks.
Freezing: This jam freezes really well right in its jar, as long as I leave a little room at the top for expansion. Frozen jam holds its flavor and texture for about a year.
Reheating: I don’t typically reheat this jam since it’s meant to be enjoyed cold or at room temperature, but if it’s ever too firm straight from the fridge, I just let it sit out for a few minutes to soften before serving.
Why You’ll Love This Recipe?
This peach jam has become one of my go-to summer staples, and here’s why I think you’ll love it too.
- It only needs 3 basic ingredients, so there’s no special shopping trip or pectin packet required.
- It’s incredibly forgiving, which makes it a great first jam recipe if you’ve never canned or preserved anything before.
- It’s easy to customize with mix-ins like vanilla, mango, or a spicy kick, so you can make it your own.
- It’s a smart way to use up peaches that are getting a little too soft to eat on their own.
- It stores beautifully in the fridge or freezer, so you can enjoy homemade jam for weeks after peach season ends.

Peach Jam Recipe
Ingredients
Method
- I start by peeling, pitting, and roughly chopping all my peaches into smaller chunks. If the skins are being stubborn, I dunk the peaches in boiling water for under a minute, then into an ice bath, which makes the skins slide right off. This step takes a little patience, but it makes the rest of the process go so much faster.
- I add my chopped peaches and fresh lemon juice into a medium saucepan and bring everything up to a boil over medium-high heat. As it heats, I use my masher to crush the peaches down to the texture I want, whether that’s smooth or a little chunky. This is where the kitchen starts smelling incredible.
- Once the peaches are boiling and broken down, I lower the heat slightly and stir in all of the sugar. I bring the mixture back up to a full rolling boil, stirring often so it doesn’t stick or burn on the bottom of the pan. This part needs a bit of attention, but it moves fast.
- I let the jam boil and reduce for about 15 to 25 minutes, stirring regularly the whole time. I know it’s close to ready when it coats the back of my spoon in a thick layer instead of running right off. A thermometer reading of 220°F is my go-to signal that the jam will set.
- Once the jam looks and feels right, I pull it off the heat and let it cool slightly before spooning it into clean jars. I leave the jars out until they’ve cooled to room temperature, then pop them in the fridge so the jam can fully set up over the next day or so.
Notes
- I always taste my peaches before adding the full amount of sugar, since really ripe, sweet peaches sometimes need less.
- I never skip the freezer-plate test because it’s the easiest way for me to know for sure the jam will set once chilled.
- I keep my heat at a steady boil instead of cranking it too high, since scorched sugar ruins the whole batch fast.
- I stir more often near the end of cooking, since that’s when the jam is most likely to stick and burn.
- I remind myself that jam keeps thickening in the fridge, so I don’t panic if it looks a little thin right off the stove.