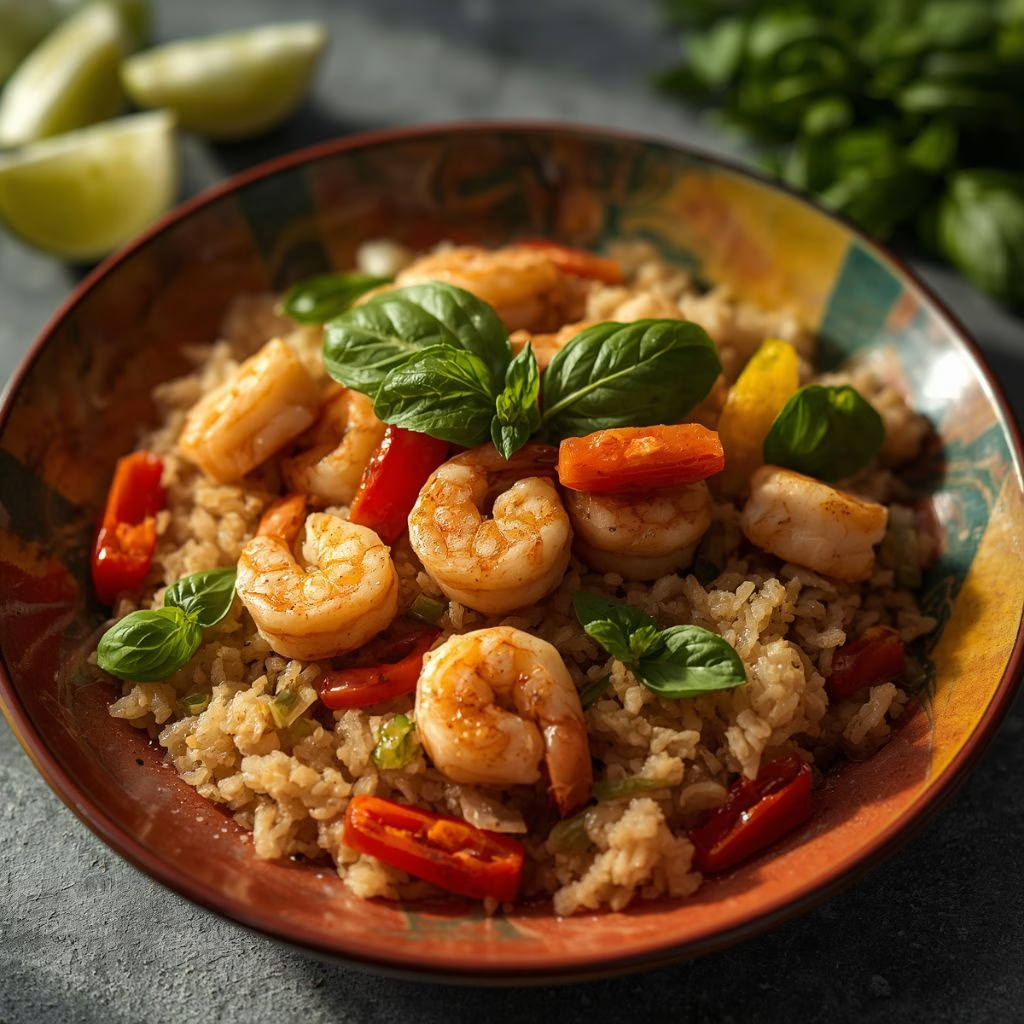
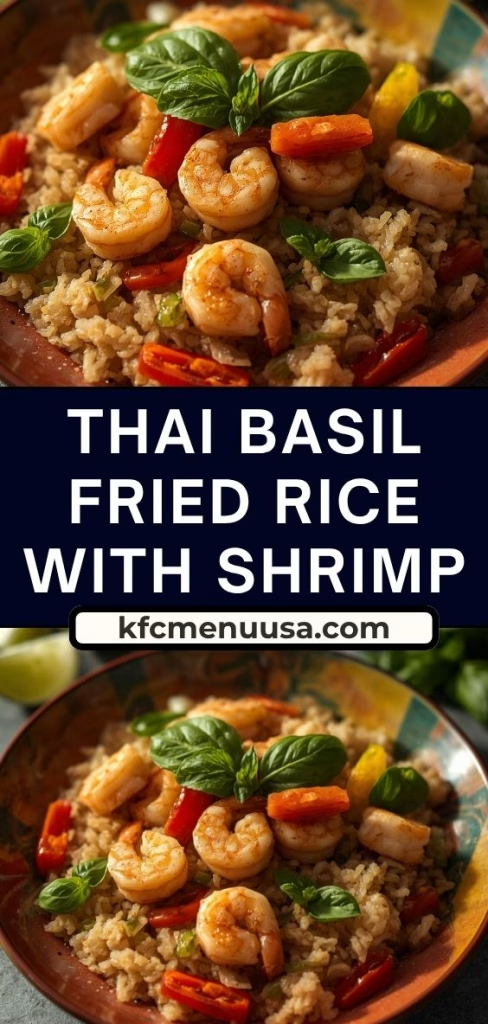
I make this Thai Basil Fried Rice with Shrimp Recipe whenever I’ve got leftover rice sitting in the fridge and a craving for something bold. I started making it as a way to use up Thai basil before it wilted, and now it’s become one of my go-to dinners. It comes together in one pan, it’s fast, and it never feels boring.
If you love takeout-style fried rice but want something fresher and more fragrant, this one hits the spot. Once you make it a couple of times, you’ll find yourself keeping Thai basil in your fridge just for this.
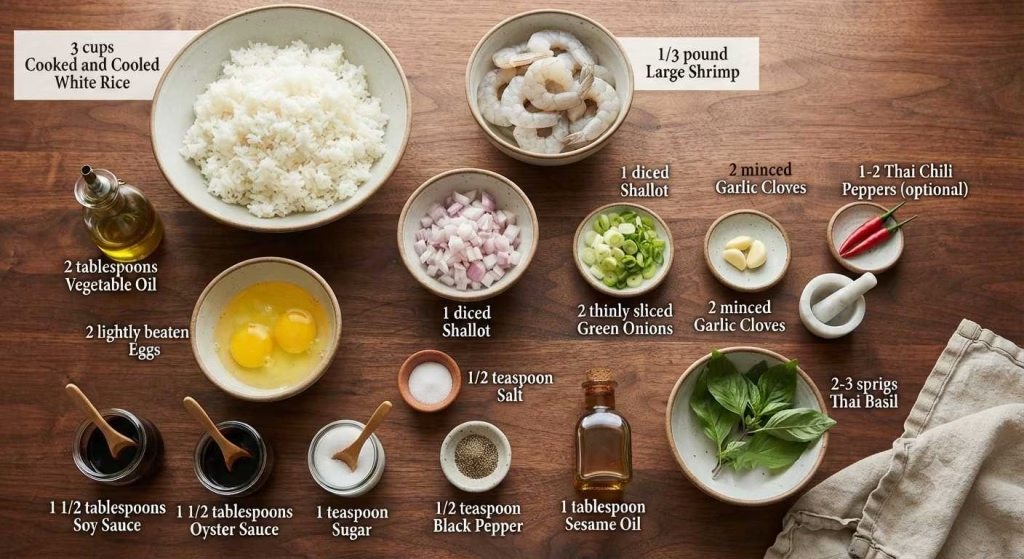
Ingredients You’ll Need
- 3 cups cooked and cooled white rice – day-old rice works best since it fries up light instead of turning mushy
- 2 tablespoons vegetable oil – or swap in olive, avocado, or peanut oil for a slightly different flavor
- ⅓ pound large shrimp or prawns (about 12 to 15) – peeled and deveined so they cook quickly and evenly
- 1 shallot, diced – or use half a small onion if that’s what you have on hand
- 2 green onions, thinly sliced – separate the white and green parts since they go in at different times
- 2 garlic cloves, minced – fresh garlic gives a much stronger punch than the jarred kind
- 1 to 2 Thai chili peppers, optional – leave these out completely if you’re sensitive to heat
- 2 eggs, lightly beaten – these get scrambled right in the pan and folded into the rice
- 1½ tablespoons soy sauce – this brings the salty, savory backbone to the dish
- 1½ tablespoons oyster sauce – adds a deeper, slightly sweet richness that soy sauce alone can’t give
- ½ teaspoon salt – adjust to taste depending on how salty your sauces are
- ½ teaspoon black pepper – for a little background warmth
- 1 teaspoon sugar – balances out the salty and savory notes
- 1 tablespoon sesame oil – stir this in near the end for a toasty, nutty aroma
- 2 to 3 sprigs Thai basil, leaves picked – this is what gives the dish its signature peppery fragrance, so don’t skip it if you can help it
To serve: tomato wedges, cucumber slices, and lime wedges
Note: These amounts are written for about 6 servings, so scale the ingredients up or down depending on how many people you’re feeding.
Variations
- Swap the shrimp for chicken, pork, tofu, or leftover grilled meat if you want a different protein
- Use tamari instead of soy sauce for a gluten-free version
- Skip the sugar or use a sugar substitute if you’re cutting back on added sugar
- Add a handful of diced bell pepper, carrots, or snap peas for extra color and crunch
- Stir in a spoonful of chili garlic sauce or a drizzle of sriracha if you like it spicier
- Leave out the oyster sauce and add a splash of fish sauce for a different depth of flavor
- Top with a fried egg instead of scrambling the eggs into the rice for a different presentation. If you’re putting together a larger meal, you can also pair it with Chicken Caesar Salad with Fries for a satisfying combination.
Cooking Time
- Prep Time: 10 minutes
- Cooking Time: 12 minutes
- Total Time: 22 minutes
Equipment You Need
- Large skillet or wok – gives you enough room to toss the rice without it spilling over
- Wooden spoon or spatula – helps you scrape up the rice without scratching your pan
- Cutting board and knife – for prepping the shallot, garlic, and chilies
- Small mixing bowl – useful for beating the eggs before they go into the pan
- Measuring spoons – keeps the sauce ratio balanced so the dish doesn’t turn out too salty or too sweet
How to Make Thai Basil Fried Rice with Shrimp?
Getting everything measured and chopped before you start cooking makes this recipe go much smoother. Fried rice comes together fast once the pan is hot, so there isn’t time to stop and dice garlic halfway through. Read through the steps once before you begin so you know what’s coming next.
Cook the Shrimp First
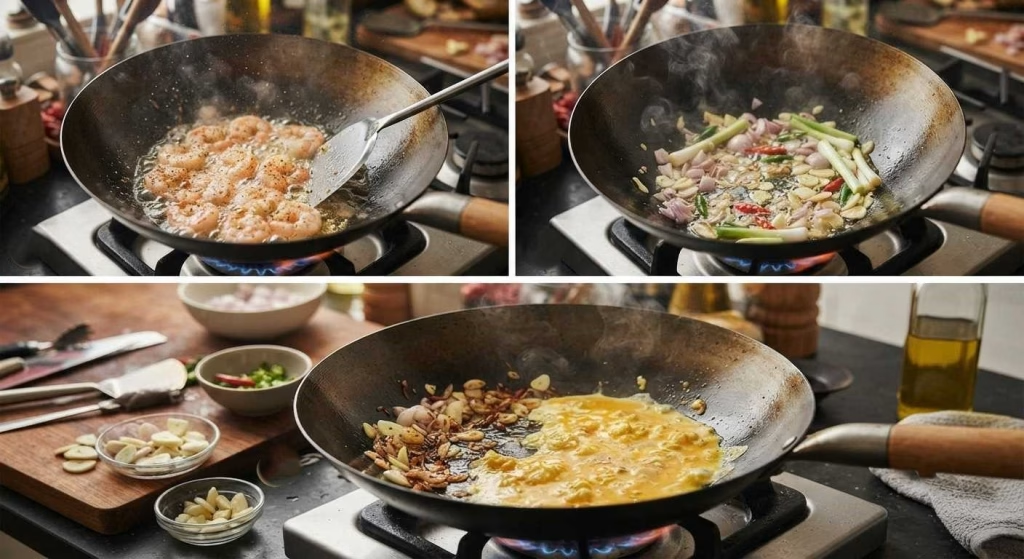
Heat the oil in a large skillet or wok over medium-high heat until it shimmers. Add the shrimp in a single layer and cook for about a minute on each side, just until they turn pink and opaque. Remove them from the pan right away so they don’t overcook while you work on the rest.
Sauté the Aromatics
In the same pan, add a touch more oil if it looks dry, then toss in the diced shallot, the white parts of the green onion, minced garlic, and Thai chilies if you’re using them. Stir constantly for about a minute or two until everything smells fragrant. This step builds the flavor base for the whole dish.
Scramble the Eggs
Push the aromatics to one side of the pan to make some room. Pour the beaten eggs into the empty space and let them sit for a few seconds before scrambling gently. Once they’re just set but still soft, mix them together with the aromatics already in the pan.
Add the Rice and Seasonings
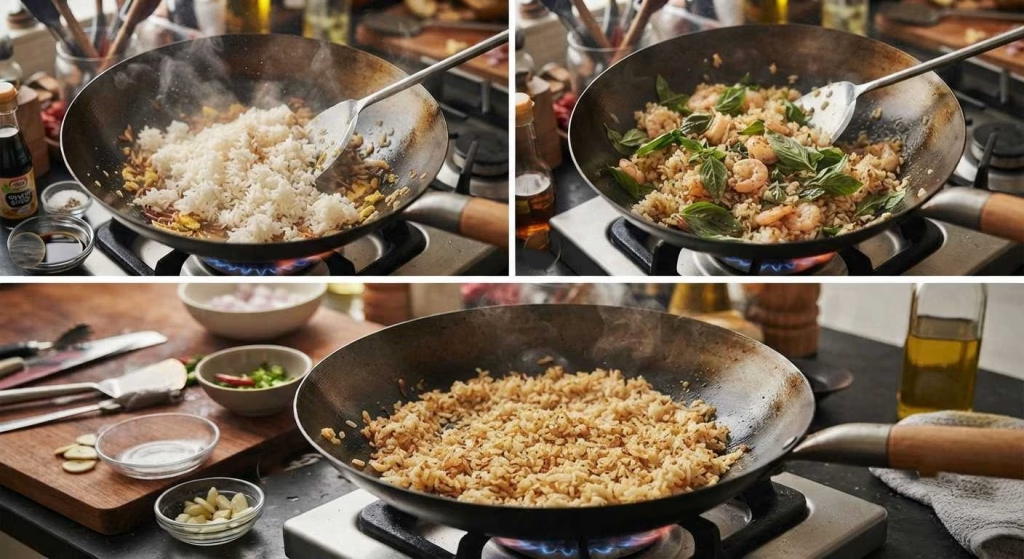
Break up any clumps in your cooked rice with your hands or a spoon before adding it to the pan. Pour in the soy sauce, oyster sauce, salt, pepper, and sugar, then toss everything together over high heat. Keep stirring until every grain of rice looks evenly coated in sauce.
Bring Back the Shrimp and Basil
Return the cooked shrimp to the pan along with the sesame oil and Thai basil leaves. Stir everything together just until the basil wilts slightly and turns a darker green. This usually only takes about thirty seconds, so keep an eye on it.
Let the Rice Crisp
Spread the rice out in an even layer and let it sit undisturbed for a minute or two before stirring again. This gives you those slightly crispy, golden bits that make fried rice taste like it came from a restaurant.
For a complete meal, it also pairs nicely with Easy Loaded Wings and Slider Platter when you’re serving family or guests. Repeat this once more if you want extra texture.
Additional Tips for Making this Recipe Better
- I always use rice that’s been sitting in the fridge overnight because fresh rice turns gummy no matter how careful I am
- I like to have every ingredient chopped and measured out before I turn on the stove since this whole recipe moves fast
- I’ve found that cooking over high heat the entire time gives me better texture than turning it down to be cautious
- I only add the Thai basil at the very last moment because it wilts and loses its aroma if it sits in the heat too long
- I taste the rice before adding extra salt since the soy sauce and oyster sauce already bring plenty of saltiness on their own
How to Serve Thai Basil Fried Rice with Shrimp?
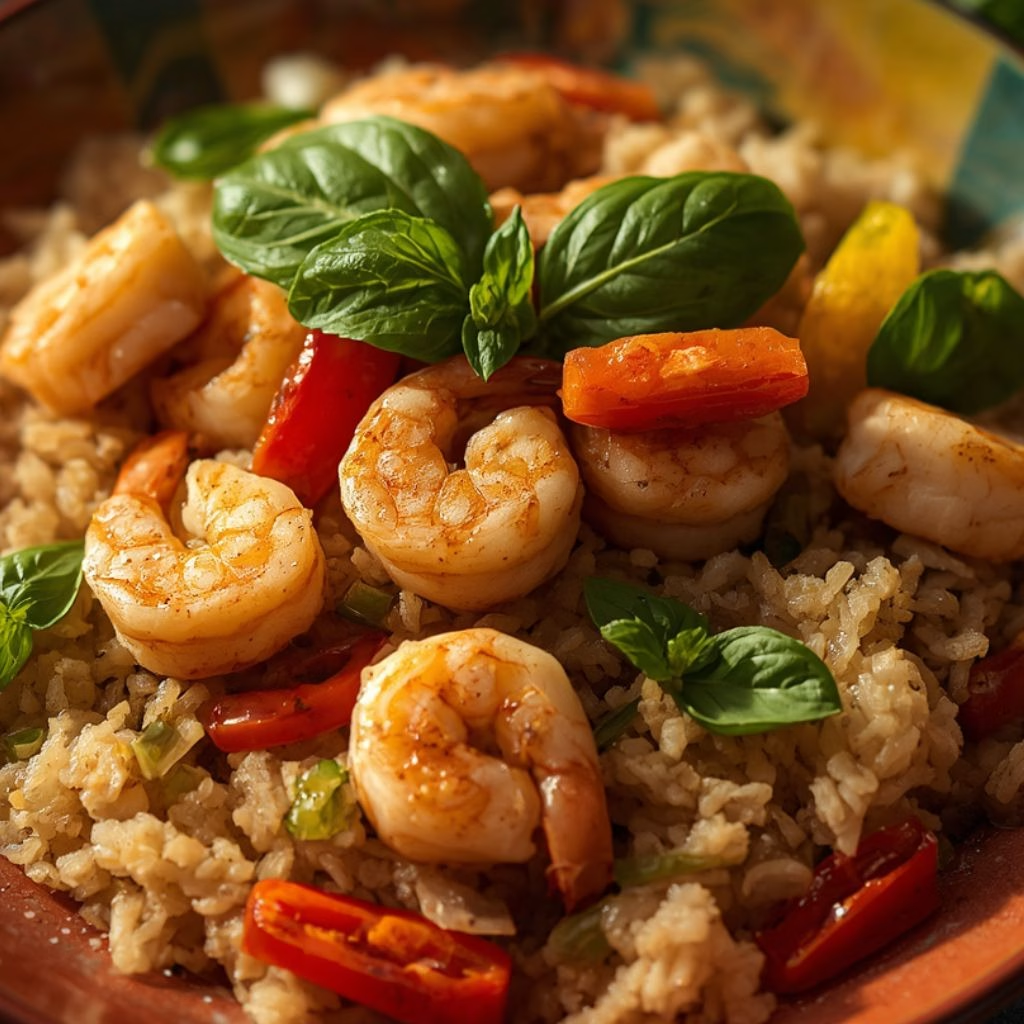
I like to scoop the fried rice into a wide, shallow bowl so all the shrimp and herbs show on top instead of getting buried. A few extra Thai basil leaves scattered over the top right before serving make it look fresh and put-together. Lime wedges on the side let everyone add their own squeeze of acidity, which brightens up every bite.
Sliced cucumber and tomato wedges on the side add a cool, crunchy contrast to the warm rice. If you want to turn this into a bigger spread, serve it alongside a light soup or some fresh spring rolls. A small dish of extra chili sauce on the table is always a nice touch for anyone who wants more heat.
Nutritional Information
Here’s a general idea of what one serving of this dish looks like, based on six servings total.
- Calories: about 198 kcal
- Protein: about 5 grams
- Carbohydrates: about 25 grams
- Fat: about 9 grams
Make Ahead and Storage
Storing: Let the fried rice cool to room temperature before transferring it to an airtight container. It keeps well in the fridge for up to 3 days without losing much of its texture or flavor.
Freezing: You can freeze this fried rice in a sealed, freezer-safe container for up to 1 month. Thaw it in the fridge overnight before reheating so the rice doesn’t turn watery or clump together.
Reheating: Warm the rice in a skillet over medium heat with a small splash of water or oil to loosen it back up. Stir frequently so it heats evenly and doesn’t dry out or scorch on the bottom of the pan.
Why You’ll Love This Recipe
This Thai basil fried rice with shrimp checks a lot of boxes when you need something quick but still satisfying.
- It’s ready in about 20 minutes, which makes it perfect for busy weeknights when you don’t have much time to cook
- It’s a great way to use up leftover rice and any Thai basil that’s about to wilt in your fridge
- It’s easy to swap the shrimp for chicken, tofu, or pork depending on what you have on hand
- It only needs one pan, so cleanup afterward is quick and painless
- It’s easy to adjust the spice level up or down depending on who you’re cooking for

Thai Basil Fried Rice with Shrimp Recipe
Ingredients
Method
- Heat the oil in a large skillet or wok over medium-high heat until it shimmers. Add the shrimp in a single layer and cook for about a minute on each side, just until they turn pink and opaque. Remove them from the pan right away so they don’t overcook while you work on the rest.
- In the same pan, add a touch more oil if it looks dry, then toss in the diced shallot, the white parts of the green onion, minced garlic, and Thai chilies if you’re using them. Stir constantly for about a minute or two until everything smells fragrant. This step builds the flavor base for the whole dish.
- Push the aromatics to one side of the pan to make some room. Pour the beaten eggs into the empty space and let them sit for a few seconds before scrambling gently. Once they’re just set but still soft, mix them together with the aromatics already in the pan.
- Break up any clumps in your cooked rice with your hands or a spoon before adding it to the pan. Pour in the soy sauce, oyster sauce, salt, pepper, and sugar, then toss everything together over high heat. Keep stirring until every grain of rice looks evenly coated in sauce.
- Return the cooked shrimp to the pan along with the sesame oil and Thai basil leaves. Stir everything together just until the basil wilts slightly and turns a darker green. This usually only takes about thirty seconds, so keep an eye on it.
- Spread the rice out in an even layer and let it sit undisturbed for a minute or two before stirring again. This gives you those slightly crispy, golden bits that make fried rice taste like it came from a restaurant. Repeat this once more if you want extra texture.
Notes
- I always use rice that’s been sitting in the fridge overnight because fresh rice turns gummy no matter how careful I am
- I like to have every ingredient chopped and measured out before I turn on the stove since this whole recipe moves fast
- I’ve found that cooking over high heat the entire time gives me better texture than turning it down to be cautious
- I only add the Thai basil at the very last moment because it wilts and loses its aroma if it sits in the heat too long
- I taste the rice before adding extra salt since the soy sauce and oyster sauce already bring plenty of saltiness on their own