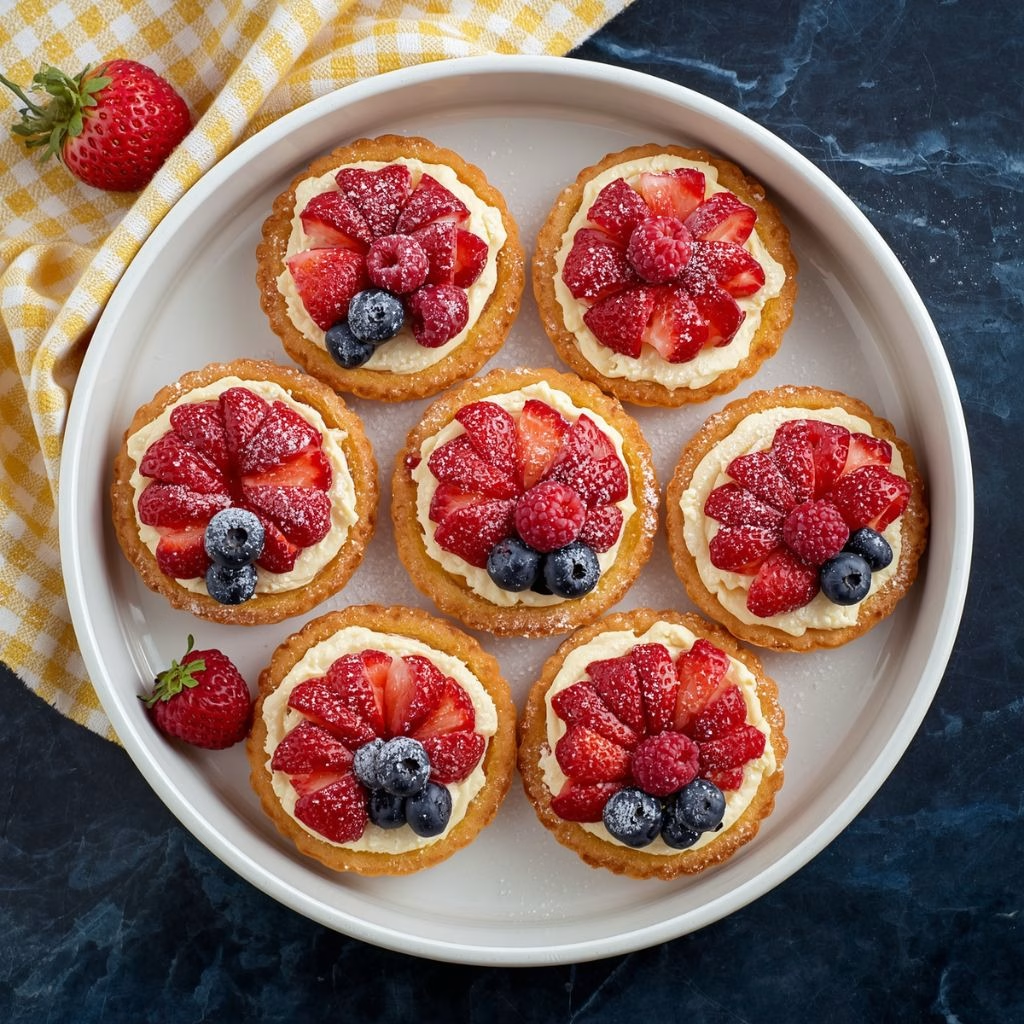
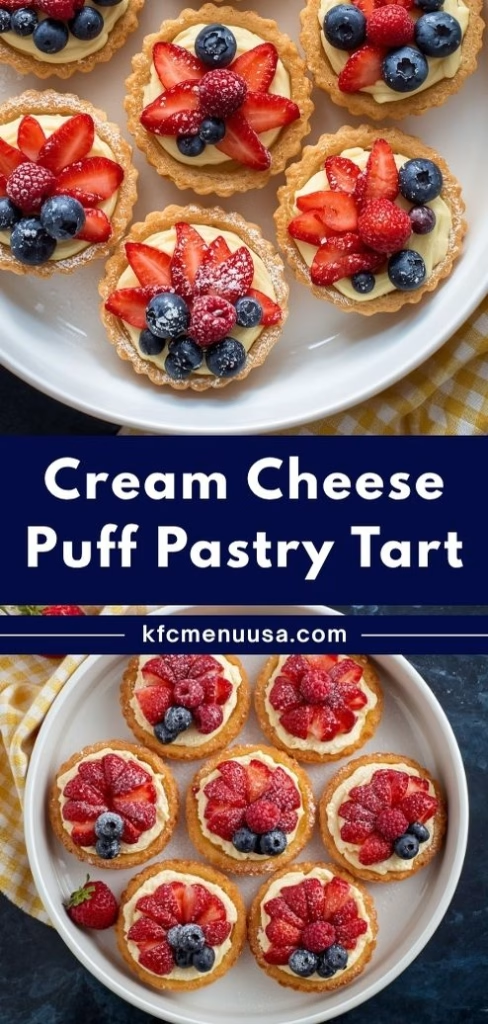
I still remember the first time I pulled a tray of this Cream Cheese Puff Pastry Tarts Recipe out of the oven and watched the edges puff up into golden, flaky layers. I honestly didn’t expect something this pretty to come together with just a sheet of store-bought puff pastry and a block of cream cheese.
Once I added fresh berries on top, they looked like they came straight out of a bakery window. I’ve made them for brunches, backyard parties, and just because I wanted something sweet without turning on the mixer for an hour. If you’re looking for a dessert that looks impressive but takes almost no effort, this is the recipe I keep coming back to.
Cooking Time
- Prep Time: 30 minutes
- Cook Time: 15 minutes
- Total Time: 45 minutes
Ingredients
- Frozen puff pastry sheets, thawed – the shortcut that makes this whole recipe possible, no rolling dough from scratch
- Cream cheese, softened – use block-style, not whipped or tub cream cheese, for a filling that holds its shape
- Granulated sugar – just enough to sweeten the filling without overpowering the fruit
- Lemon zest – adds a bright, fresh note that balances the richness of the cream cheese
- Vanilla extract – rounds out the filling with warm, familiar flavor
- Fresh strawberries, hulled and sliced – pick firm, ripe berries for the best color and bite
- Fresh raspberries – fragile, so add them gently right before baking
- Fresh blackberries – their deep color makes the tarts pop visually
- Fresh blueberries – small and juicy, great for filling gaps between the bigger berries
- Egg – whisked and brushed on the crust for that glossy, golden finish
- Water – thins the egg wash so it brushes on evenly
- Confectioner’s sugar, optional – a light dusting at the end for a bakery-style finish
Note: This recipe makes about two dozen mini tarts, so it easily serves a family gathering or a small party.
Equipment You Need
- Baking sheet – holds the tarts while they bake evenly
- Parchment paper or silicone liner – prevents sticking and makes cleanup quick
- Rolling pin – smooths out the puff pastry surface before cutting
- Round cookie cutters (two sizes) – cuts the tart bases and scores the inner circle
- Hand mixer – blends the cream cheese filling until smooth
- Pastry brush – applies the egg wash evenly along the edges
- Wire cooling rack – lets the tarts cool without getting soggy on the bottom
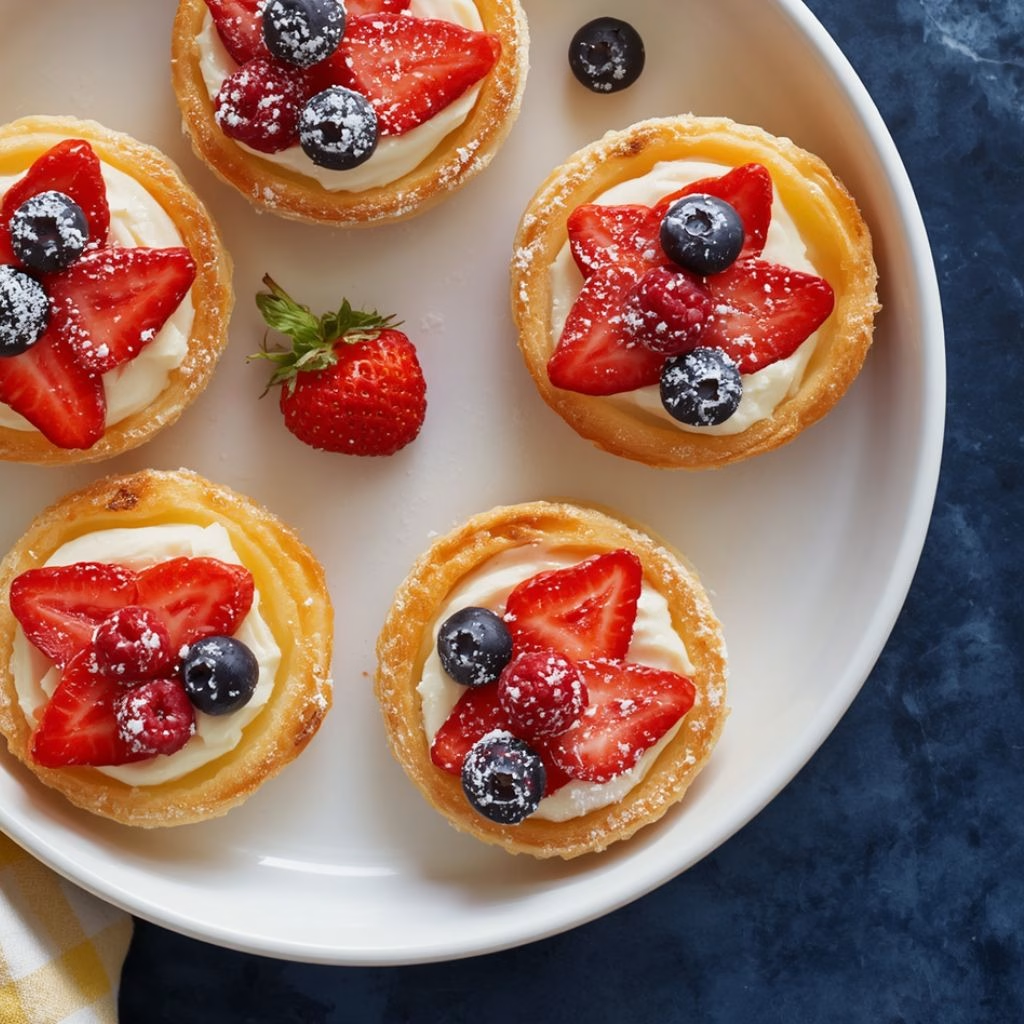
How to Make Cream Cheese Puff Pastry Tarts Recipe?
I promise this recipe looks fancier than it actually is to make. Once you get your puff pastry thawed and your filling whipped up, the rest comes together in stages that don’t require much hands-on time. Here’s exactly how I put mine together every time.
Preheat and Prep the Baking Sheet
Start by preheating your oven to 400°F so it’s fully hot by the time your tarts are ready. Line a large baking sheet with parchment paper or a silicone mat. This keeps the bottoms from sticking and helps the crust bake evenly all the way through.
Whip Up the Cream Cheese Filling
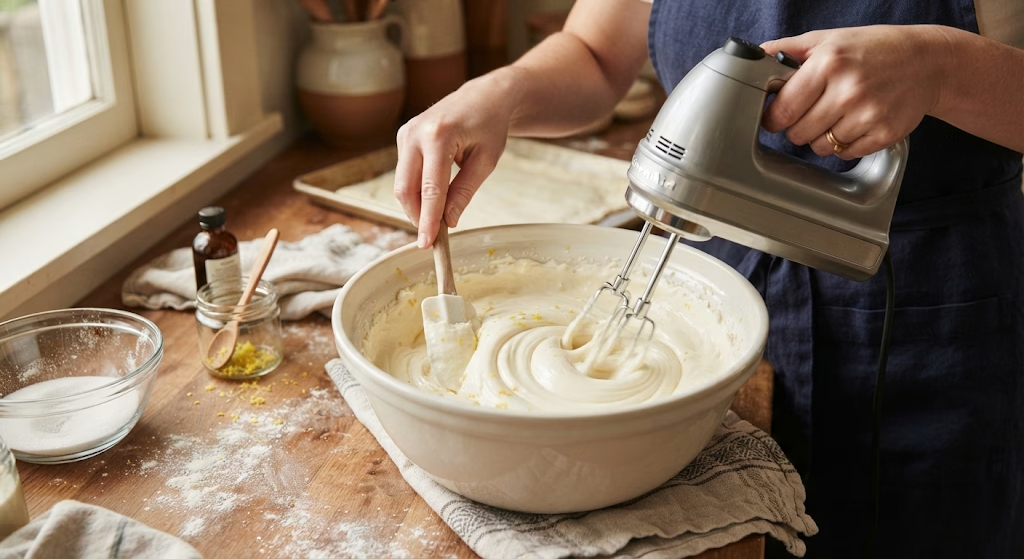
In a mixing bowl, beat the softened cream cheese with sugar, lemon zest, and vanilla extract until it’s completely smooth. I like to scrape down the sides of the bowl once or twice so there are no lumps left. Set this aside while you work on the pastry.
Roll Out the Puff Pastry
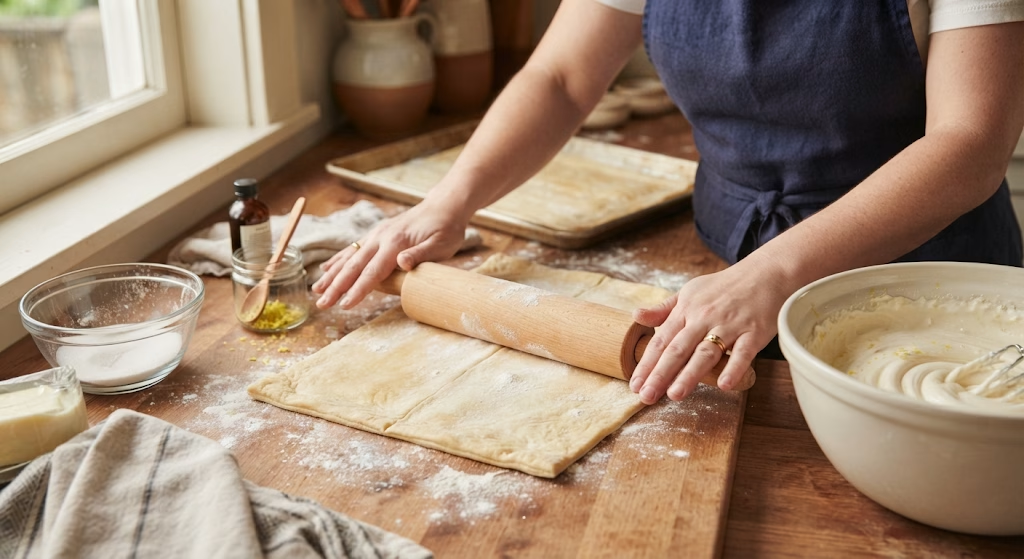
Unroll your thawed puff pastry sheet and gently smooth it out with a rolling pin. You’re not trying to stretch it thinner, just even out any creases from folding. Working on a lightly floured surface keeps the dough from sticking as you roll.
Cut and Score the Circles
Using your larger cookie cutter, cut circles out of the pastry and space them a few inches apart on the baking sheet. Then press your smaller cutter into the center of each circle without cutting all the way through. This creates a border that puffs up around the filling.
Poke the Centers
Take a fork and gently poke the center of each pastry circle a few times. I usually make a small X pattern. This step keeps the middle from puffing up too much and losing its shape under the filling.
Fill With Cream Cheese and Berries
Spoon a small amount of the cream cheese mixture into the center of each circle, spreading it just up to the scored line. Then arrange your berries on top, pressing them lightly so they stay put once baked.
Brush With Egg Wash and Bake
Whisk the egg with a tablespoon of water and brush it over the exposed pastry edges using your pastry brush. This gives the crust that shiny, golden-brown finish. Bake for about 15 minutes, until the edges are puffed and deeply golden.
Cool and Finish
Let the tarts rest on the baking sheet for five minutes before moving them to a wire rack. Once they’ve cooled slightly, dust them with confectioner’s sugar for a soft, snowy finish that also looks great in photos.
Additional Tips for Making This Recipe Better
I’ve made this recipe more times than I can count, and these are the small things that made the biggest difference for me.
- I always thaw my puff pastry in the fridge overnight instead of on the counter, since it stays firmer and easier to cut.
- I keep my cream cheese out just long enough to soften, not so long that it gets too soft to hold shape.
- I pat my berries dry with a paper towel before adding them so the filling doesn’t turn watery in the oven.
- I space my tarts generously on the baking sheet because puff pastry expands more than you’d expect.
- I bake one test tart first if I’m using a new brand of puff pastry, since baking times can vary between brands.
Common Mistakes to Avoid
- I once let my puff pastry sit out too long and it got sticky and hard to shape, so now I always work with it while it’s still cold.
- I used to overfill the centers, and the cream cheese would spill over the edges and stop the crust from puffing properly.
- I learned the hard way that skipping the egg wash gives you a dull, pale crust instead of that golden bakery look.
- I forgot to score the inner circle once, and the middle puffed up just as much as the border, pushing my filling right off.
- I tried using frozen berries once and ended up with soggy, watery tarts, so I stick to fresh fruit every time now.
How to Serve Cream Cheese Puff Pastry Tarts
I like to serve these tarts on a large white platter so the bright berry colors really stand out. A light dusting of confectioner’s sugar right before serving gives them that finished, bakery-style look. They’re best enjoyed at room temperature, so I usually set them out about fifteen minutes before guests arrive.
For a brunch spread, I’ll pair them with coffee or a citrusy iced tea, and for a summer gathering, they look beautiful arranged next to a small bowl of extra berries for color. You can also enjoy Oven Baked Salmon Spring Rolls With a Vietnamese Twist Recipe when you’re looking for another savory recipe with a different flavor profile.
Variations
- Swap the berries for peaches, kiwi, or mango slices for a different flavor and color combination
- Use a sugar substitute in the filling if you’re cutting back on added sugar
- Try a dairy-free cream cheese alternative for a lactose-free version
- Add a touch of orange zest instead of lemon for a slightly different citrus note
- Mix in a spoonful of fruit preserves under the berries for extra sweetness and shine
- Sprinkle a few crushed pistachios or almonds on top for added crunch
For a savory spread alongside these sweet tarts, you can also enjoy Grilled Steak With Chimichurri and Charred Corn Recipe.
Nutritional Information
Here’s a general idea of what you can expect per tart, though exact numbers will vary based on the berries and portion sizes you use.
- Calories: around 168 kcal
- Protein: around 3g
- Carbohydrates: around 14g
- Fat: around 11g
Make Ahead and Storage
You can prepare the cream cheese filling up to two days in advance and keep it covered in the fridge until you’re ready to assemble. Wash and slice your berries ahead of time too, storing them separately so they stay fresh.
Once baked, these tarts are best eaten within a day or two, since the puff pastry starts to soften as it sits. Store any leftovers in an airtight container in the fridge, and let them come back to room temperature before serving again.
I don’t recommend freezing the assembled tarts, since the berries release moisture as they thaw and the pastry loses its crisp texture. If you want to plan ahead, freeze the unfilled, unbaked pastry circles instead and add the filling right before baking.
Why You’ll Love This Recipe
This recipe has earned a permanent spot in my rotation, and here’s why I think you’ll feel the same way.
- It comes together fast: With store-bought puff pastry doing the heavy lifting, I can have a full batch ready in under an hour.
- It looks impressive: The golden, puffed edges and colorful berries make these tarts look far more complicated than they actually are.
- It’s easy to customize: I can swap the fruit, adjust the sweetness, or add different toppings depending on what I have on hand.
- It works for any occasion: I’ve served these at brunches, holidays, and casual get-togethers, and they always disappear fast.
- It’s beginner-friendly: Even if you’ve never worked with puff pastry before, the steps are simple enough to follow without any special skills.
FAQs
Can I make cream cheese puff pastry bites instead of full-size tarts?
Yes, just use a smaller cookie cutter to make bite-sized rounds. Reduce the baking time slightly since smaller pieces cook faster.
Can I use Philadelphia cream cheese for this recipe?
Absolutely, Philadelphia brand block-style cream cheese works perfectly here. Just make sure it’s softened before mixing for a smooth filling.
Can I turn this into a savory puff pastry and cream cheese recipe?
Yes, skip the sugar and vanilla, and mix the cream cheese with herbs, garlic, or grated cheese instead. Top with vegetables instead of fruit for a savory version.
How is this different from a cream cheese puff pastry danish?
Danishes usually use a sweeter, enriched dough and often include a glaze, while this recipe uses simple puff pastry and fresh fruit. Both share the same flaky, buttery base though.
What other simple puff pastry dessert recipes can I try?
You can make puff pastry turnovers, cinnamon sugar twists, or a baked puff pastry cheesecake bite using the same basic technique. They all rely on the same easy, no-fuss dough.

Cream Cheese Puff Pastry Tarts Recipe
Ingredients
Method
- Start by preheating your oven to 400°F so it’s fully hot by the time your tarts are ready. Line a large baking sheet with parchment paper or a silicone mat. This keeps the bottoms from sticking and helps the crust bake evenly all the way through.
- In a mixing bowl, beat the softened cream cheese with sugar, lemon zest, and vanilla extract until it’s completely smooth. I like to scrape down the sides of the bowl once or twice so there are no lumps left. Set this aside while you work on the pastry.
- Unroll your thawed puff pastry sheet and gently smooth it out with a rolling pin. You’re not trying to stretch it thinner, just even out any creases from folding. Working on a lightly floured surface keeps the dough from sticking as you roll.
- Using your larger cookie cutter, cut circles out of the pastry and space them a few inches apart on the baking sheet. Then press your smaller cutter into the center of each circle without cutting all the way through. This creates a border that puffs up around the filling.
- Take a fork and gently poke the center of each pastry circle a few times. I usually make a small X pattern. This step keeps the middle from puffing up too much and losing its shape under the filling.
- Spoon a small amount of the cream cheese mixture into the center of each circle, spreading it just up to the scored line. Then arrange your berries on top, pressing them lightly so they stay put once baked.
- Whisk the egg with a tablespoon of water and brush it over the exposed pastry edges using your pastry brush. This gives the crust that shiny, golden-brown finish. Bake for about 15 minutes, until the edges are puffed and deeply golden.
- Let the tarts rest on the baking sheet for five minutes before moving them to a wire rack. Once they’ve cooled slightly, dust them with confectioner’s sugar for a soft, snowy finish that also looks great in photos.
Notes
- I always thaw my puff pastry in the fridge overnight instead of on the counter, since it stays firmer and easier to cut.
- I keep my cream cheese out just long enough to soften, not so long that it gets too soft to hold shape.
- I pat my berries dry with a paper towel before adding them so the filling doesn’t turn watery in the oven.
- I space my tarts generously on the baking sheet because puff pastry expands more than you’d expect.
- I bake one test tart first if I’m using a new brand of puff pastry, since baking times can vary between brands.