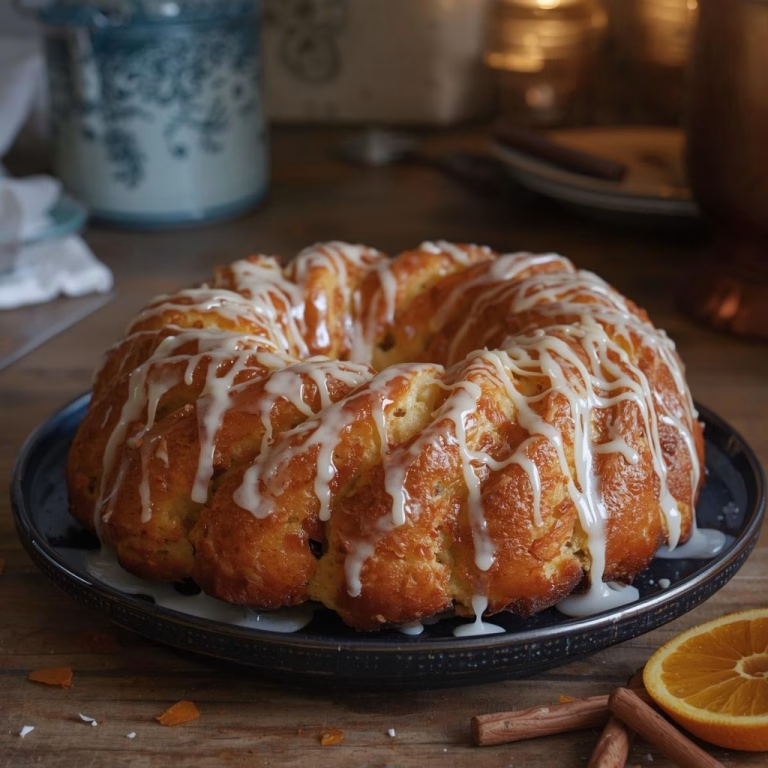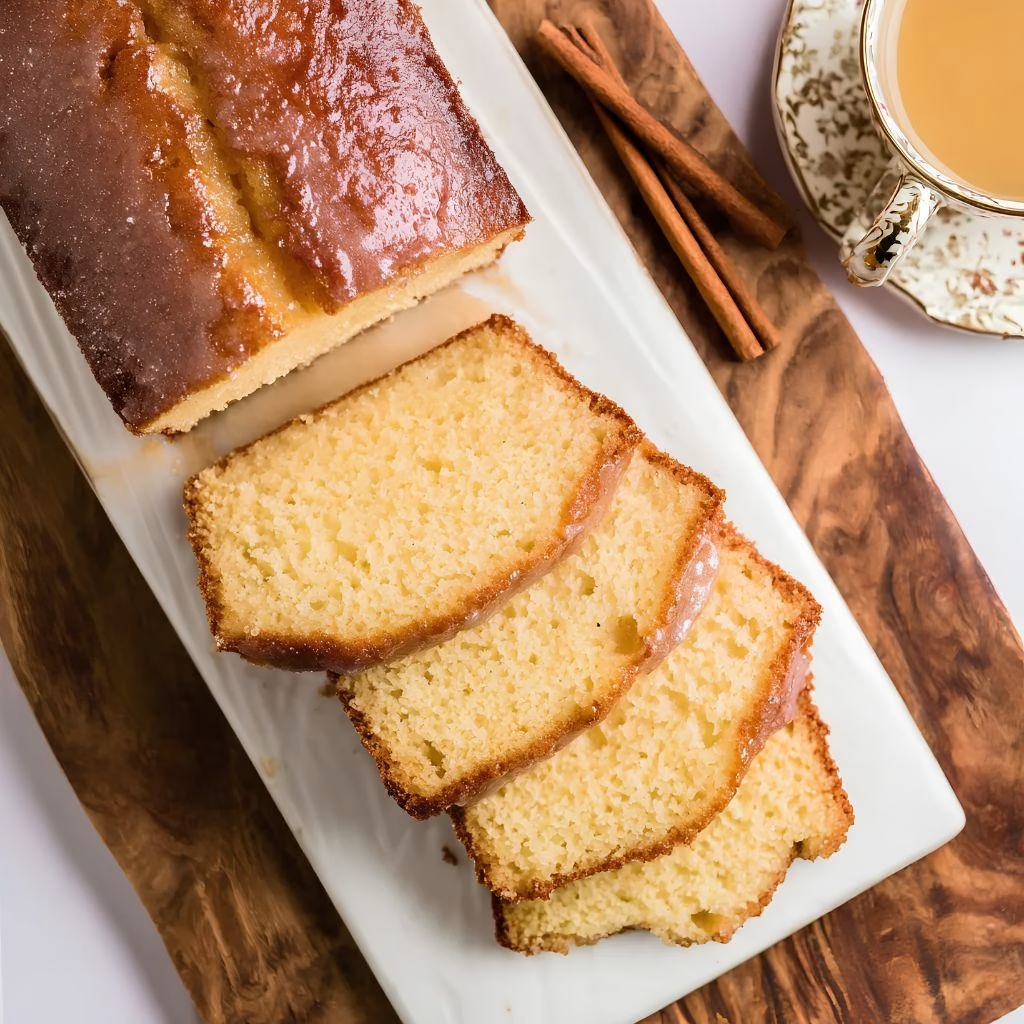
I made this Apple Cider Pound Cake Recipe on the first chilly weekend of the season, and honestly, it changed my mind about what fall baking should feel like. I wasn’t sure if reducing cider into the batter would actually come through in the final slice, but it does, in the best way.
Every bite is dense, buttery, and just sweet enough, with a soft cider glaze that soaks in slightly at the edges. I’ve made it three times since then, tweaking little things until I got it just right. Now I’m sharing exactly how I make it, so you can enjoy the same cozy result in your own kitchen.
Cooking Time
- Prep Time: 15 minutes
- Cook Time: 50 minutes
- Total Time: 1 hour 5 minutes
Ingredients
- Unsalted butter (3/4 cup, softened) – gives the cake its rich, dense pound cake texture, so let it sit out until truly soft.
- Granulated sugar (1 1/2 cups) – sweetens the batter and helps the butter whip up light and fluffy.
- Large eggs (3, room temperature) – bind everything together and add structure, so pull them out early.
- All-purpose flour (1 1/2 cups) – builds the crumb, spooning it into the cup instead of scooping to avoid a dense cake.
- Baking powder (1/4 tsp) – gives just a little lift without making the cake too airy.
- Salt (1/4 tsp) – balances the sweetness and rounds out the flavor.
- Apple cider (1/2 cup, plus 1-2 tbsp for glaze) – the star ingredient, use real cider, not apple juice, for the deepest flavor.
- Powdered sugar (1 cup, sifted) – forms the base of the glaze, sifting keeps it smooth and lump-free.
- Ground cinnamon (a pinch) – adds warmth to the glaze without overpowering the cider flavor.
Note: This recipe serves 12.
Equipment You Need
- 9×5-inch loaf pan – holds the batter and shapes the classic pound cake loaf.
- Parchment paper – lines the pan so the cake lifts out cleanly.
- Stand mixer or hand mixer – creams the butter and sugar to that light, fluffy texture.
- Mixing bowls – one for wet ingredients, one for dry, keeps the process organized.
- Whisk – combines the dry ingredients evenly before they meet the batter.
- Wire cooling rack – lets the cake cool fully and evenly before glazing.
- Rubber spatula – scrapes down the bowl and folds ingredients without overmixing.
How to Make an Apple Cider Pound Cake Recipe?
I like to think of this recipe in two simple stages: baking the cake, then finishing it with glaze. Neither stage is complicated, but a little patience at each step makes a real difference. Here’s exactly how I put it together at home.
Prepare the Loaf Pan
I start by lining my loaf pan with parchment paper, leaving extra hanging over the sides. This makes lifting the finished cake out so much easier later. I give the parchment a good spray with nonstick cooking spray before setting the pan aside.
Cream the Butter and Sugar
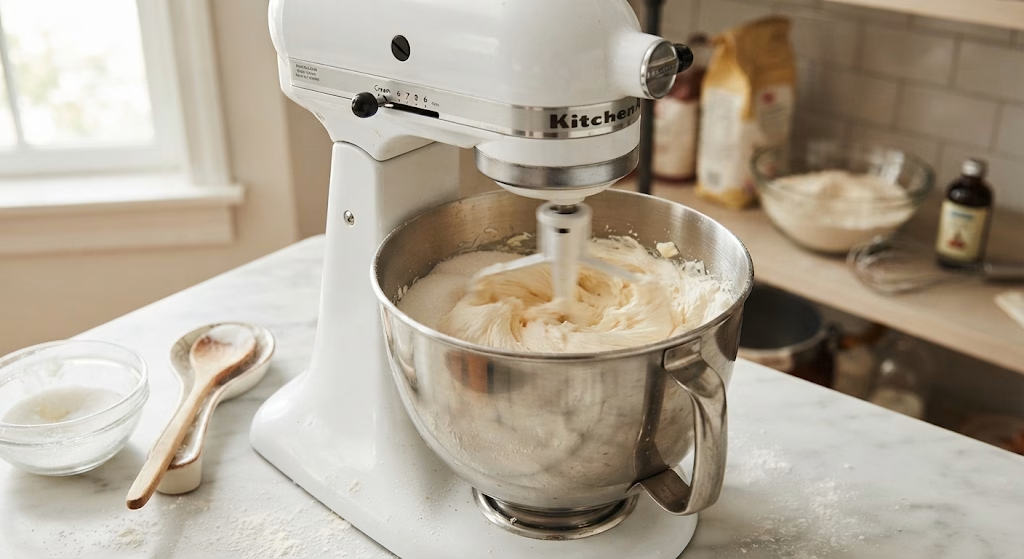
Next, I add the softened butter and sugar to my stand mixer bowl. I beat them together until the mixture turns pale, light, and fluffy, which usually takes a few minutes. This step traps air that helps the cake rise properly.
Add the Eggs
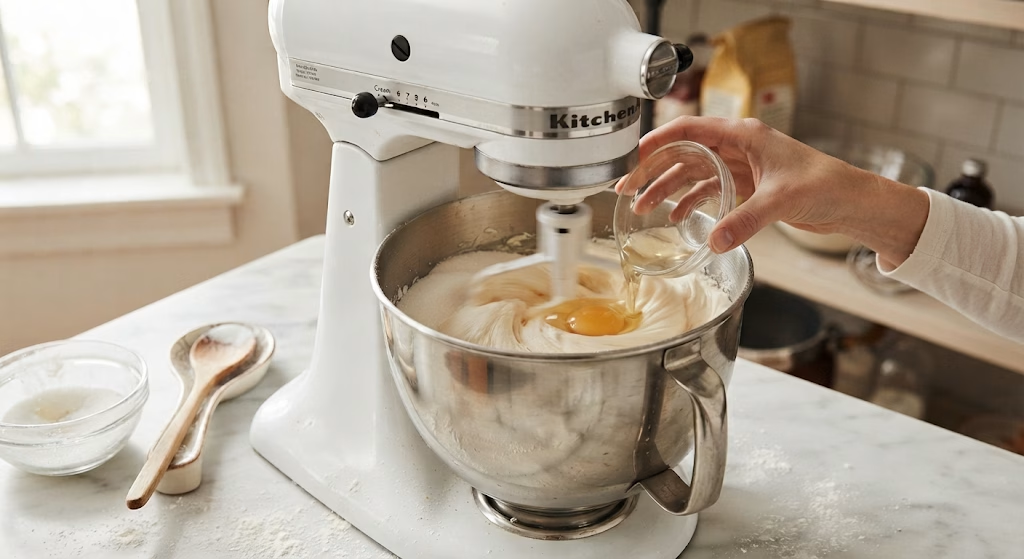
I crack the eggs in one at a time, beating well after each addition. Adding them slowly keeps the batter from curdling and helps everything stay smooth and well combined before moving forward.
Mix the Dry Ingredients
In a separate bowl, I whisk together the flour, baking powder, and salt. Whisking evenly distributes the leavening agent so I don’t end up with random dense or overly airy pockets in the finished cake.
Combine Wet and Dry
I add the dry mixture and the cider in three alternating additions, starting and ending with the flour mixture. I mix gently after each addition, just until combined, so the batter stays tender instead of tough.
Bake the Cake
I pour the batter into my prepared pan and tap it firmly on the counter once or twice to release air bubbles. Then I bake it at 350°F for 40 to 50 minutes, until a knife inserted in the center comes out clean.
Cool Before Glazing
Once baked, I let the cake rest in the pan for 10 to 15 minutes. Then I run a knife along the edges, lift it out using the parchment flaps, and let it cool completely on a wire rack before adding any glaze.
Whisk the Glaze
While the cake cools, I whisk the sifted powdered sugar with apple cider and a pinch of cinnamon until it’s smooth. I adjust the cider amount slowly until the glaze reaches a pourable, slightly thick consistency.
Glaze and Serve
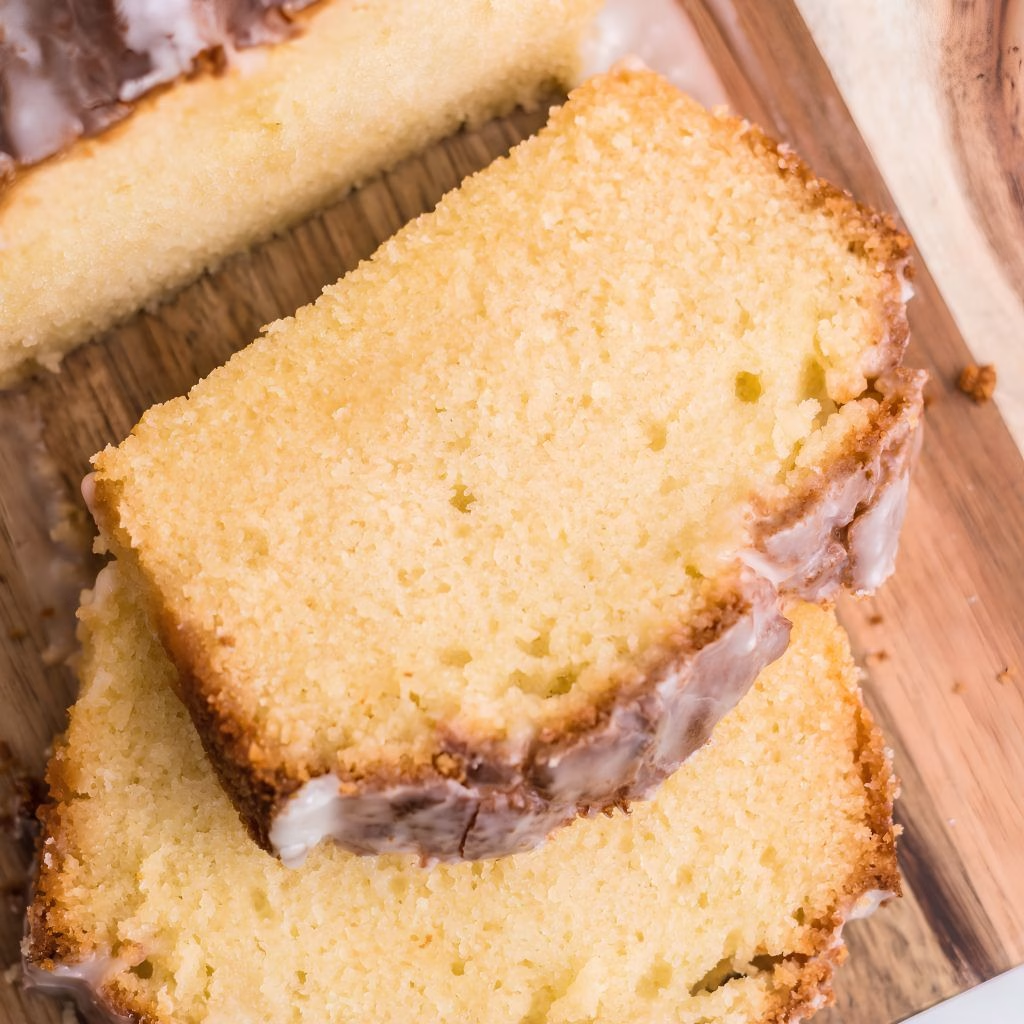
Once the cake is completely cool, I pour the glaze evenly over the top, letting it drip naturally down the sides. I let it set for a few minutes before slicing so it doesn’t slide right off.
Additional Tips for Making This Recipe Better
I’ve learned a few things after making this cake more times than I can count, and these small adjustments really do make a difference.
- I always bring my butter and eggs to true room temperature, since cold ingredients never blend as smoothly for me.
- I stop mixing the moment the batter looks combined, because overmixing has made my cake tough before.
- I test doneness a few minutes early since ovens vary, and a dry cake is hard to fix afterward.
- I let the cake cool completely before glazing, or my glaze slides right off instead of setting.
- I sometimes reduce a bit of extra cider on the stove first for an even deeper apple flavor.
Common Mistakes to Avoid
I’ve made a few of these mistakes myself, so I’m sharing them here to save you the trouble.
- Using cold butter: I once rushed this step, and the batter never got that fluffy texture I wanted.
- Skipping the parchment overhang: without it, I struggled to remove the cake cleanly from the pan.
- Overmixing after adding flour: I learned this makes the crumb dense instead of soft and tender.
- Glazing a warm cake: I did this once and watched my glaze melt away instantly.
- Using apple juice instead of cider: I tried it in a pinch, and the flavor came out noticeably flatter.
How to Serve Apple Cider Pound Cake?
I love slicing this cake into thick pieces and serving it on a simple wooden board so the glaze drizzle really stands on display. A light dusting of extra cinnamon or a few thin apple slices fanned on top adds a nice seasonal touch for gatherings. For dessert, I sometimes serve a warm slice with a small scoop of vanilla ice cream, since the contrast between warm cake and cold cream is wonderful.
It also works beautifully alongside coffee or spiced tea for a cozy breakfast or afternoon snack, and you can also enjoy similar drinks like Cherry Vanilla Earl Grey Tea when you want something flavorful alongside your slice.For a more fun and indulgent drink pairing, Midnight Malibu Dirty Soda can also be enjoyed with the cake when you’re serving dessert at a casual gathering.
Variations
I’ve played around with this recipe quite a bit, and here are some swaps that have worked well for me.
- Dairy-free version: I substitute the butter with a plant-based butter alternative for similar richness.
- Spiced version: I add a half teaspoon each of nutmeg and cloves for a warmer, more festive flavor.
- Nutty version: I fold in chopped pecans or walnuts for extra texture and crunch.
- Reduced-sugar version: I cut the sugar slightly and skip the glaze in favor of a light cinnamon-sugar dusting.
- Apple-studded version: I stir in small diced apple pieces for extra moisture and bursts of fruit flavor.
Nutritional Information
Here’s a quick look at what one slice of this cake generally provides.
- Calories: around 317 kcal per slice
- Protein: about 3g per slice
- Carbohydrates: roughly 48g per slice
- Fat: approximately 13g per slice
Make Ahead and Storage
I usually store this cake in an airtight container at room temperature, and it stays fresh and flavorful for up to 5 days that way.
If I need it to last longer, I refrigerate it, though I’ve noticed the texture becomes slightly denser and less tender over time.
For longer storage, I wrap individual slices tightly and freeze them for up to two months, then thaw them at room temperature before serving.
Why You’ll Love This Recipe?
This cake has become one of my go-to fall bakes, and here’s why I think you’ll feel the same way.
- It’s simple to make: The steps are straightforward, so I never feel intimidated tackling this recipe.
- It’s incredibly moist: The cider keeps every slice tender for days after baking.
- It’s easy to customize: I can adjust spices, add-ins, or the glaze based on what I’m craving.
- It feels seasonal without being complicated: I get all the cozy fall flavor without a long ingredient list.
- It stores well: I can bake it ahead of time for gatherings without stressing about last-minute prep.
FAQs
Can I use apple juice instead of apple cider?
I don’t recommend it since apple juice is thinner and sweeter, which noticeably weakens the cake’s flavor. Apple cider gives this recipe its rich, slightly tart apple taste.
Why did my pound cake turn out dense?
This usually happens from overmixing the batter or using cold butter and eggs. I always mix just until combined and use room-temperature ingredients.
Can I make this cake ahead of time?
Yes, I often bake it a day or two ahead since the flavor deepens slightly as it sits. Just store it in an airtight container until you’re ready to glaze or serve it.
How do I know when the cake is fully baked?
I insert a knife or toothpick into the center, and if it comes out clean or with just a few moist crumbs, it’s done. Start checking a few minutes early since ovens vary.
Can I freeze apple cider pound cake?
Absolutely, I wrap individual slices tightly and freeze them for up to two months. I thaw them at room temperature before serving for the best texture.

Apple Cider Pound Cake Recipe
Ingredients
Method
- I start by lining my loaf pan with parchment paper, leaving extra hanging over the sides. This makes lifting the finished cake out so much easier later. I give the parchment a good spray with nonstick cooking spray before setting the pan aside.
- Next, I add the softened butter and sugar to my stand mixer bowl. I beat them together until the mixture turns pale, light, and fluffy, which usually takes a few minutes. This step traps air that helps the cake rise properly.
- I crack the eggs in one at a time, beating well after each addition. Adding them slowly keeps the batter from curdling and helps everything stay smooth and well combined before moving forward.
- In a separate bowl, I whisk together the flour, baking powder, and salt. Whisking evenly distributes the leavening agent so I don’t end up with random dense or overly airy pockets in the finished cake.
- I add the dry mixture and the cider in three alternating additions, starting and ending with the flour mixture. I mix gently after each addition, just until combined, so the batter stays tender instead of tough.
- I pour the batter into my prepared pan and tap it firmly on the counter once or twice to release air bubbles. Then I bake it at 350°F for 40 to 50 minutes, until a knife inserted in the center comes out clean.
- Once baked, I let the cake rest in the pan for 10 to 15 minutes. Then I run a knife along the edges, lift it out using the parchment flaps, and let it cool completely on a wire rack before adding any glaze.
- While the cake cools, I whisk the sifted powdered sugar with apple cider and a pinch of cinnamon until it’s smooth. I adjust the cider amount slowly until the glaze reaches a pourable, slightly thick consistency.
- Once the cake is completely cool, I pour the glaze evenly over the top, letting it drip naturally down the sides. I let it set for a few minutes before slicing so it doesn’t slide right off.
Notes
- I always bring my butter and eggs to true room temperature, since cold ingredients never blend as smoothly for me.
- I stop mixing the moment the batter looks combined, because overmixing has made my cake tough before.
- I test doneness a few minutes early since ovens vary, and a dry cake is hard to fix afterward.
- I let the cake cool completely before glazing, or my glaze slides right off instead of setting.
- I sometimes reduce a bit of extra cider on the stove first for an even deeper apple flavor.