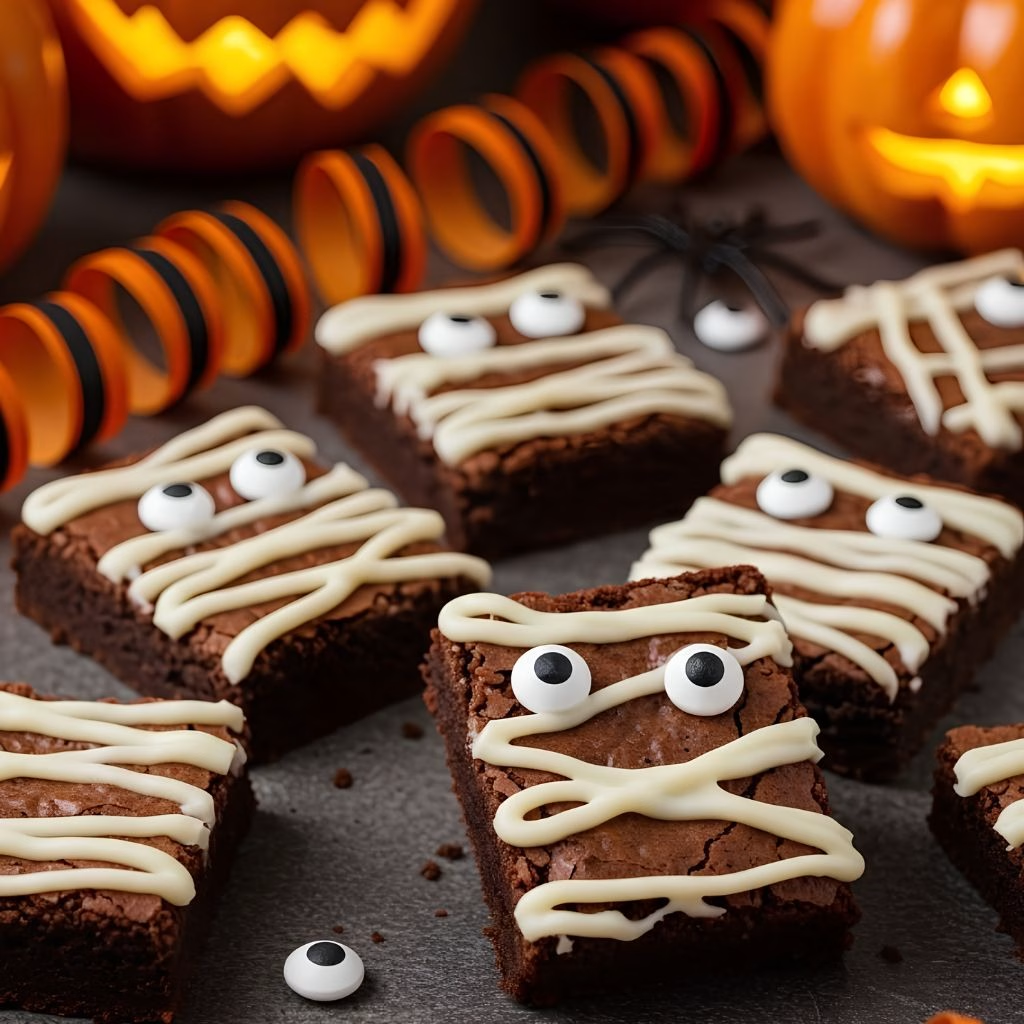
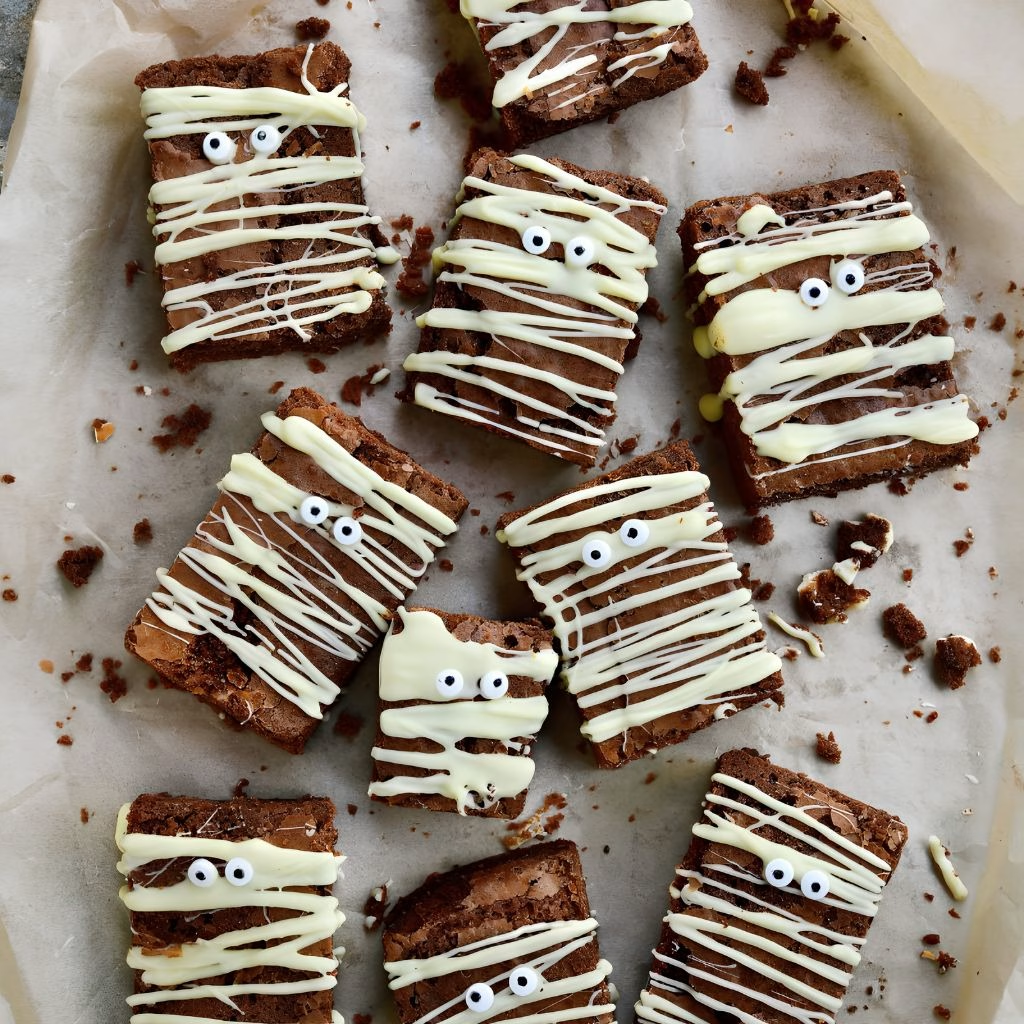
I still remember the first time I made Easy Mummy Brownies Recipe for a Halloween party, and I honestly couldn’t believe how easy the whole thing was. I went in expecting a fussy decorating project, but I ended up with a tray of adorable, spooky mummy brownie bites in under an hour.
Every single one disappeared before I even got a chance to grab one for myself. If you’re looking for a fun Halloween brownie dessert that doesn’t demand hours in the kitchen, I promise this is the one to bookmark. I’ve made this recipe so many times now that I can practically do it with my eyes closed, and I’m excited to walk you through exactly how I do it.
Cooking Time
- Prep Time: 15 minutes
- Cooking Time: 25 minutes
- Total Time: 40 minutes (plus 15 minutes cooling)
Ingredients
- Unsalted butter (1/2 cup, melted) – gives the brownies that rich, fudgy base without an overly salty flavor
- Granulated sugar (1 cup) – sweetens the batter and helps create that classic crackly brownie top
- Eggs (2 large) – bind everything together and add structure, so let them come to room temperature first
- Vanilla extract (1 teaspoon) – rounds out the chocolate flavor with a warm background note
- All-purpose flour (1/2 cup) – gives the brownies just enough structure while keeping them dense and fudgy
- Cocoa powder (1/3 cup) – use a good quality cocoa for the deepest, richest chocolate flavor
- Salt (1/4 teaspoon) – balances the sweetness and makes the chocolate flavor pop
- Baking powder (1/4 teaspoon) – gives just a touch of lift without making the brownies cakey
- White chocolate chips or candy melts (1 cup, melted) – this is your mummy wrap, so melt it low and slow to avoid seizing
- Candy eyeballs (18-24 pieces) – place them while the white chocolate is still soft so they stick properly
Note: this recipe serves about 9 to 12 mummy brownies, depending on how large you cut each piece.
Equipment You Need
- 8×8 or 9×9 inch baking pan – gives the brownies the right thickness for cutting into mummy shapes
- Parchment paper – makes lifting and cutting the brownies so much easier
- Mixing bowls – one for the batter and one for melting the white chocolate
- Whisk or spoon – for combining the wet and dry ingredients smoothly
- Piping bag or a small zip-top bag – lets you control the white chocolate bandages precisely
- Sharp knife – for cutting clean, even rectangles once the brownies have cooled
- Microwave or double boiler – for gently melting the white chocolate without burning it
How to Make Mummy Brownies Recipe?
I like keeping this recipe as simple as possible, because Halloween season is already busy enough without a complicated dessert. This whole process comes together in three easy stages: baking the brownie base, cooling it fully, then decorating it into cute little mummies. Once you’ve done it once, you’ll see just how quick and low-stress the whole thing really is.
Preheat and Prepare Your Pan
Start by preheating your oven to 350°F and lining your baking pan with parchment paper, leaving a little overhang on the sides. This overhang makes it so much easier to lift the brownies out later without wrestling with the pan. I always take an extra thirty seconds here because a well-lined pan saves a lot of frustration once the brownies are baked.
Mix the Brownie Batter
In a bowl, whisk together the melted butter and sugar until it looks glossy, then add in your eggs and vanilla extract. Whisk this mixture well, since this step is actually what gives brownies that shiny, crackly top everyone loves. Fold in the flour, cocoa powder, salt, and baking powder just until combined, being careful not to overmix the batter.
Bake the Brownies
Pour the batter into your prepared pan and smooth the top with a spatula so it bakes evenly. Bake for about 22 to 25 minutes, checking that the top no longer indents when you touch it lightly with a fingertip. A few moist crumbs on a toothpick are totally fine and actually mean your brownies will stay wonderfully fudgy.
Cool Completely
Let the brownies cool in the pan for about 15 minutes, then use the parchment overhang to lift them out onto a cutting board. I like popping mine in the fridge for another 10 minutes here, since chilled brownies are so much easier to cut into neat rectangles for your mummy brownie bites.
Cut Into Mummy Shapes
Once cooled, slice the brownies into rectangles, keeping in mind that longer pieces tend to look more mummy-like than small squares. I usually aim for around 9 to 12 pieces from an 8×8 pan, which gives each mummy plenty of surface area for wrapping.
Melt the White Chocolate
Melt your white chocolate chips or candy melts in the microwave in short 20-second bursts, stirring between each one so it doesn’t scorch. Spoon the melted chocolate into a piping bag or a zip-top bag with a tiny corner snipped off, ready for decorating.
Decorate Your Mummies
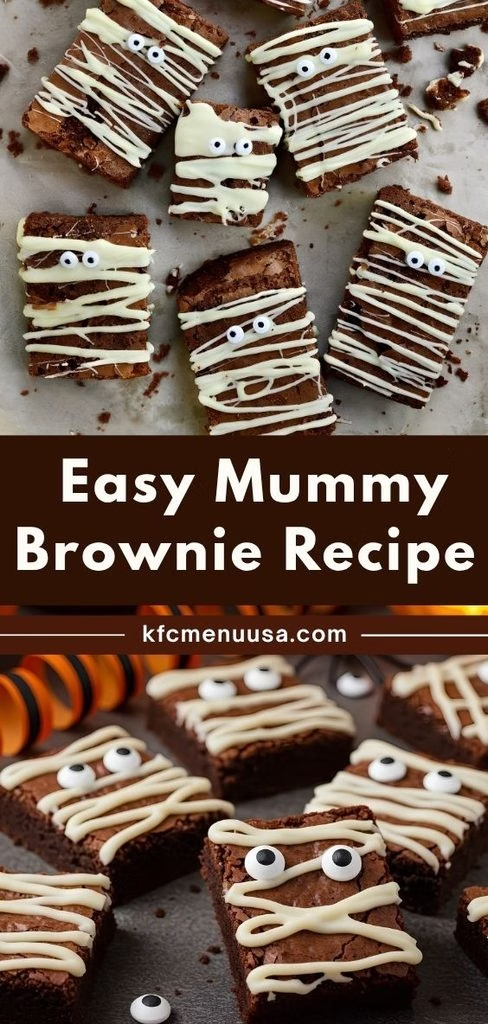
Pipe the white chocolate back and forth across each brownie in a zigzag pattern, leaving a small gap near the top for the eyes. While the chocolate is still soft, press two candy eyeballs into place so they stick as everything sets.
Additional Tips for Making This Recipe Better
I’ve made these more times than I can count, and I’ve picked up a few tricks along the way that genuinely make a difference.
- I always let my brownies fully cool before decorating, otherwise the white chocolate melts right off instead of setting into neat bandages.
- I whisk my eggs and sugar longer than feels necessary, since that’s really the secret to getting that shiny brownie top.
- I like using a piping bag over a spoon because it gives me so much more control over those thin bandage lines.
- I chill my brownies for a few minutes before cutting, which keeps the edges clean instead of crumbly.
- I always buy a few extra candy eyeballs, because I inevitably drop one or two on the counter.
Common Mistakes to Avoid
- I once rushed the cooling step and ended up with white chocolate sliding right off warm brownies, so patience really does pay off here.
- I overmixed my batter early on and got a tougher, cakier texture instead of that classic fudgy bite.
- I’ve microwaved white chocolate on too high a setting before, and it seized into a grainy mess instead of a smooth glaze.
- I forgot to line my pan with parchment once, and getting the brownies out in one piece was nearly impossible.
- I’ve cut brownies into pieces that were too small, which left almost no room for the mummy bandage design to show.
How to Serve Mummy Brownies
I love setting these out on a black or dark orange platter, since the contrast really makes the white chocolate bandages pop visually. They work wonderfully as the centerpiece of a Halloween brownie dessert table alongside other spooky mummy brownies and halloween bat brownies for variety.
A light dusting of powdered sugar right before serving gives them a fun, cobweb-like finish that guests always comment on. These also travel well, so they’re one of my go-to picks whenever I need halloween brownie ideas for a school party or potluck.
Variations
- Swap the white chocolate for melted vanilla frosting if you want a slightly sweeter, softer bandage look.
- Use a gluten-free flour blend in place of all-purpose flour for a gluten-friendly version of these mummy brownie bites.
- Add a handful of chocolate chips into the batter for extra pockets of melty chocolate in every bite.
- Try dark chocolate candy melts instead of white for a moodier, more dramatic mummy brownie recipe twist.
- Mix in a pinch of cinnamon or espresso powder to deepen the chocolate flavor of your halloween brownie recipes.
Nutritional Information
Here’s a rough idea of what one mummy brownie looks like nutritionally, based on a standard batch cut into 12 pieces.
- Calories: approximately 180 per brownie
- Protein: approximately 2 grams
- Carbohydrates: approximately 24 grams
- Fat: approximately 9 grams
Make Ahead and Storage
You can bake the brownie base up to two days ahead and store it undecorated at room temperature in an airtight container. Once fully decorated, keep your mummy brownies in a single layer in an airtight container for up to four days at room temperature.
To freeze, wrap the undecorated brownie squares tightly and freeze for up to two months, then thaw before adding the white chocolate bandages. I don’t recommend freezing them after decorating, since the white chocolate can develop a chalky texture once thawed.
If you want to refresh a slightly stale brownie, a few seconds in the microwave brings back that soft, fudgy texture beautifully.
Why You’ll Love This Recipe
This mummy brownie recipe has become one of my most requested Halloween bakes, and for good reason.
- Easy to make: with simple pantry ingredients and no complicated frosting, even beginner bakers can pull this off confidently.
- Kid-friendly fun: little ones love helping pipe the bandages and press on the candy eyes, making it a great activity for the whole family.
- Versatile base: you can use this same brownie recipe for other halloween brownie ideas, just swapping the decoration style.
- Make-ahead friendly: since the base bakes ahead of time, you can decorate closer to party time without extra stress.
- Crowd-pleasing flavor: rich, fudgy chocolate paired with sweet white chocolate always wins over both kids and adults.
If you’re planning a full dessert spread, these mummy brownies pair beautifully alongside other Halloween favorites like this halloween oreo pops recipe for extra variety on the table.
FAQs
Can I use a boxed brownie mix for this recipe?
Yes, a boxed brownie mix works perfectly fine here if you’re short on time, just bake it according to the package directions before decorating.
What can I use instead of candy eyeballs?
Small chocolate chips or mini candy pieces work well as a substitute if you can’t find candy eyeballs at your store.
Why did my white chocolate seize while melting?
This usually happens from overheating or moisture getting into the bowl, so melt it slowly in short bursts and keep your tools completely dry.
Can I make these mummy brownies dairy-free?
Yes, use a dairy-free butter substitute and dairy-free white chocolate melts to make the whole recipe dairy-free.
How far in advance can I decorate these brownies?
I recommend decorating them no more than a day before serving, since the white chocolate holds up best when fresh. For more spooky-season inspiration, you might also enjoy browsing this halloween chocolate bark recipe for another easy treat idea.

Easy Mummy Brownies Recipe
Ingredients
Method
- Start by preheating your oven to 350°F and lining your baking pan with parchment paper, leaving a little overhang on the sides. This overhang makes it so much easier to lift the brownies out later without wrestling with the pan. I always take an extra thirty seconds here because a well-lined pan saves a lot of frustration once the brownies are baked.
- In a bowl, whisk together the melted butter and sugar until it looks glossy, then add in your eggs and vanilla extract. Whisk this mixture well, since this step is actually what gives brownies that shiny, crackly top everyone loves. Fold in the flour, cocoa powder, salt, and baking powder just until combined, being careful not to overmix the batter.
- Pour the batter into your prepared pan and smooth the top with a spatula so it bakes evenly. Bake for about 22 to 25 minutes, checking that the top no longer indents when you touch it lightly with a fingertip. A few moist crumbs on a toothpick are totally fine and actually mean your brownies will stay wonderfully fudgy.
- Let the brownies cool in the pan for about 15 minutes, then use the parchment overhang to lift them out onto a cutting board. I like popping mine in the fridge for another 10 minutes here, since chilled brownies are so much easier to cut into neat rectangles for your mummy brownie bites.
- Once cooled, slice the brownies into rectangles, keeping in mind that longer pieces tend to look more mummy-like than small squares. I usually aim for around 9 to 12 pieces from an 8×8 pan, which gives each mummy plenty of surface area for wrapping.
- Melt your white chocolate chips or candy melts in the microwave in short 20-second bursts, stirring between each one so it doesn’t scorch. Spoon the melted chocolate into a piping bag or a zip-top bag with a tiny corner snipped off, ready for decorating.
- Pipe the white chocolate back and forth across each brownie in a zigzag pattern, leaving a small gap near the top for the eyes. While the chocolate is still soft, press two candy eyeballs into place so they stick as everything sets.
Notes
- I always let my brownies fully cool before decorating, otherwise the white chocolate melts right off instead of setting into neat bandages.
- I whisk my eggs and sugar longer than feels necessary, since that’s really the secret to getting that shiny brownie top.
- I like using a piping bag over a spoon because it gives me so much more control over those thin bandage lines.
- I chill my brownies for a few minutes before cutting, which keeps the edges clean instead of crumbly.
- I always buy a few extra candy eyeballs, because I inevitably drop one or two on the counter.