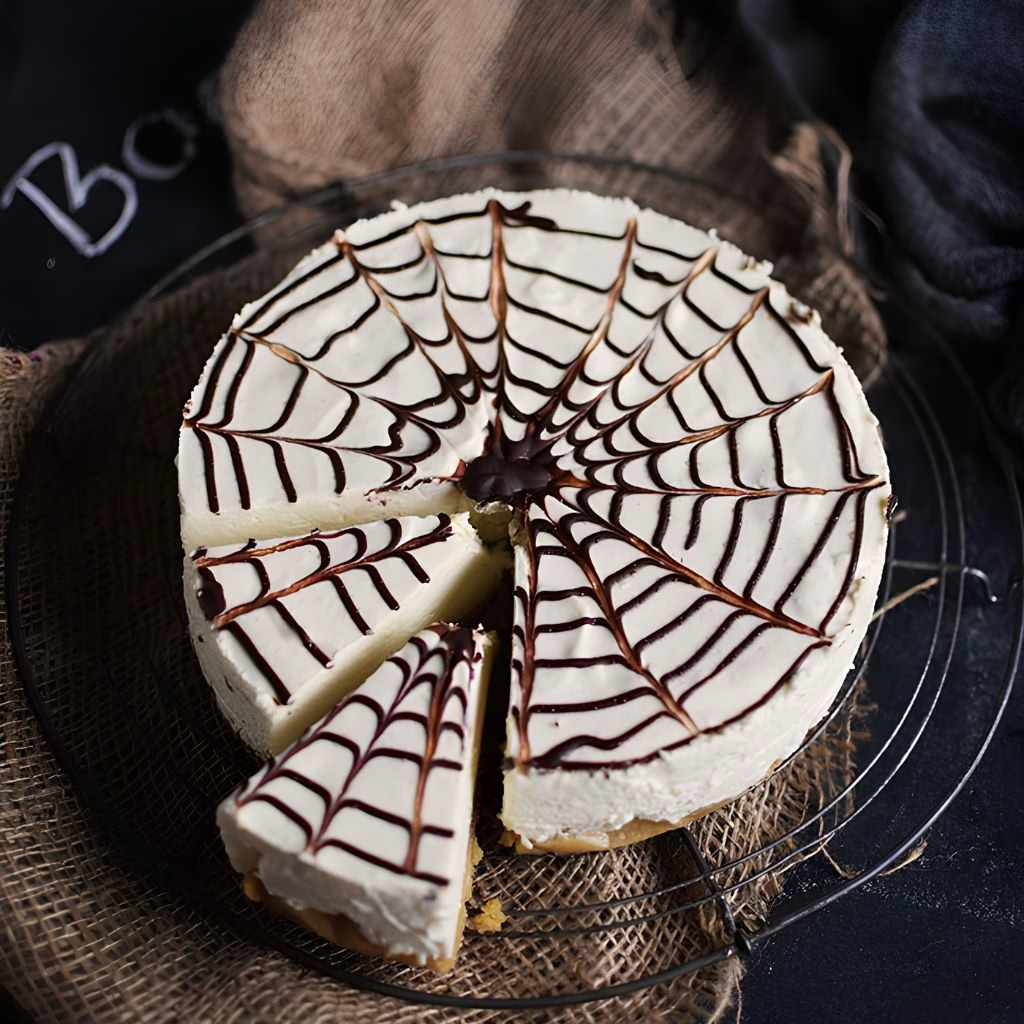
I make this Spider Web Cheesecake Recipe every single October, and honestly, it’s the dessert my whole family waits for once the air turns crisp. I love pulling out my apron on a chilly afternoon, brewing something warm, and getting lost in a bit of kitchen creativity.
This no-bake cheesecake looks like it took hours of skill, but I promise you it’s shockingly simple once you know the trick. If you’re after one of those halloween cheesecake ideas no bake that actually delivers on both looks and taste, I think you’ve found it.
Cooking Time
- Prep Time: 30 minutes
- Cooking Time: 0 minutes (no-bake)
- Total Time: 6 hours 30 minutes (includes chilling)
Ingredients
- 35 Oreo cookies — crushed fine, this forms the base of your crust so break them down until powdery
- 5 tablespoons unsalted butter, melted — binds the Oreo crumbs together so the crust holds its shape when sliced
- 16 ounces cream cheese, softened — bring it fully to room temperature or your filling will end up lumpy
- ½ cup granulated sugar — sweetens the filling without overpowering the tang of the cream cheese
- 2 teaspoons fresh lemon juice — brightens the flavor and keeps the filling from tasting flat
- 1 cup heavy whipping cream, cold — whip this while it’s still chilled for the fluffiest texture
- 2 teaspoons pure vanilla extract — adds warmth and depth to the whole filling
- ¼ cup dark chocolate chips or chunks — melted down to pipe the signature spider web design on top
Note: this recipe serves 8 to 10.
Equipment You Need
- 9-inch springform pan — lets you release the cheesecake cleanly without ruining the shape
- Food processor or zip-top bag and rolling pin — for crushing the Oreos into fine crumbs
- Electric mixer — beats the cream cheese and whips the cream to the right consistency
- Offset spatula — smooths the filling into an even, flat layer
- Small piping bag or zip-top bag with a snipped corner — pipes the melted chocolate into clean circles
- Toothpick — drags through the chocolate rings to create the spider web pattern
How to Make Spider Web Cheesecake Recipe?
This dessert comes together in stages, and none of them require any actual baking. Once you’ve built the crust and whipped up the filling, all that’s really left is a bit of chocolate artistry on top. Here’s exactly how I put mine together.
Prepare the Oreo Crust
Crush your Oreos into fine crumbs using a food processor, or seal them in a bag and crush them with a rolling pin. Stir the crumbs together with melted butter until they clump when pressed between your fingers.
Press and Chill the Crust
Press the buttery Oreo mixture firmly into the bottom of your springform pan in an even layer. Pop the pan into the freezer while you prepare the filling, which helps the crust firm up nicely.
Beat the Cream Cheese Base
In a mixing bowl, beat the softened cream cheese with sugar until smooth and completely lump-free. Add in the lemon juice and mix again until it’s fully incorporated into the base.
Whip and Fold in the Cream
In a separate bowl, whip the cold heavy cream with vanilla extract until stiff peaks form. Fold half of the whipped cream into the cream cheese mixture gently, then fold in the rest in a second batch.
Fill and Smooth the Pan
Spoon the finished filling over your chilled Oreo crust, spreading it out with an offset spatula until the surface is smooth and level. Take your time here, since this becomes the canvas for your spider web design.
Create the Spider Web Design
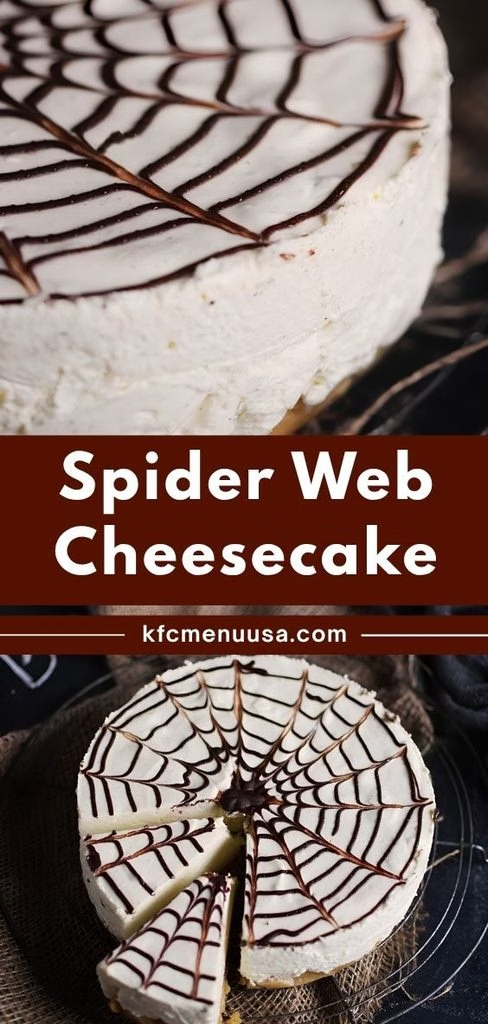
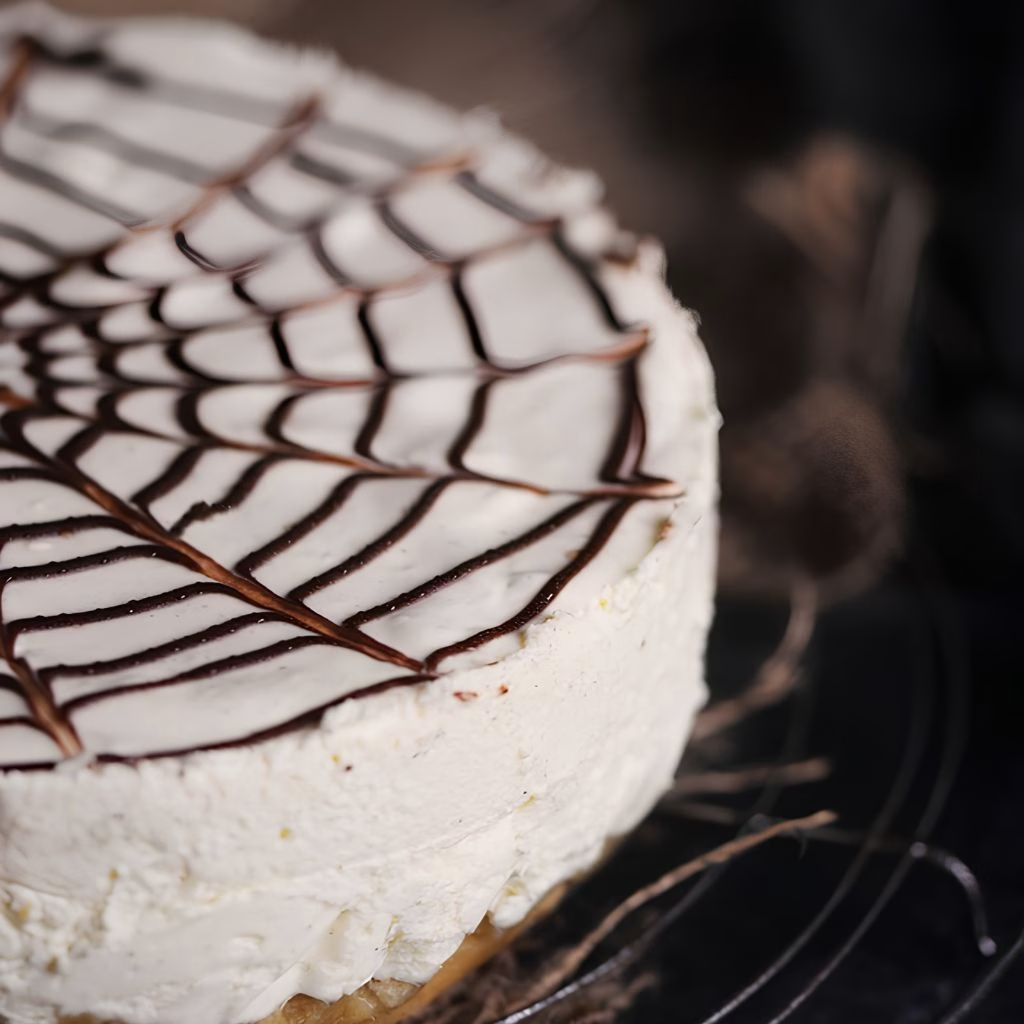
Melt your chocolate chips in the microwave in short bursts until smooth, then transfer it to a piping bag. Pipe small circles from the center outward, then drag a toothpick through them from the middle to the edge to form the web.
Chill and Serve
Refrigerate your cheesecake for at least 6 hours, though overnight gives the best texture. Once fully set, slice with a clean, warm knife and serve it up for your spookiest gathering.
Additional Tips for Making This Recipe Better
I’ve made this cheesecake more times than I can count now, and here’s what I’ve learned makes the biggest difference.
- I always fold the whipped cream in gently instead of stirring, since stirring knocks out the air and leaves the filling dense.
- I like adding the whipped cream in two separate batches, which keeps more volume in the final texture.
- I never skip chilling the crust in the freezer, since it firms up the butter and keeps the crust from crumbling later.
- I use a warm, damp knife to slice clean pieces, wiping it off between each cut.
- I make sure my cream cheese is truly at room temperature, or my filling ends up with annoying little lumps.
Common Mistakes to Avoid
- I once used cold cream cheese straight from the fridge, and the filling turned out lumpy no matter how long I beat it.
- I stirred my whipped cream in too fast one time instead of folding, and the filling lost its light, airy texture.
- I didn’t chill my cheesecake long enough once and it fell apart the moment I tried to slice it.
- I melted my chocolate too long in the microwave, and it seized up into a thick, unusable clump.
- I dragged my toothpick too slowly through the chocolate rings, which smudged the web instead of creating clean lines.
How to Serve Spider Web Cheesecake?
I like setting this cheesecake out on a black or dark-colored cake stand, which makes the white filling and chocolate web really pop visually. A few plastic spider rings tucked around the base or a light dusting of cocoa powder on the serving plate adds an extra spooky touch without much effort.
Slice it into clean wedges right before your guests arrive so the web design stays crisp and unsmudged. If you’re setting up a full dessert table for the holiday, this pairs beautifully next to something rich like a slice of chocolate chip cake, giving your guests a little variety beyond just cheesecake.
Variations
- Swap regular Oreos for a marshmallow cheesecake recipe twist by folding mini marshmallows into the filling for extra sweetness
- Use white chocolate instead of dark for the web design if you want higher contrast against the filling
- Add a few drops of black food coloring to the filling for one of those all-black halloween cheesecakes that looks extra dramatic
- Turn this into individual halloween cheesecake cookies by pressing crust and filling into muffin tins instead of one large pan
- Try this as a bonfire night cheesecake with a drizzle of caramel and a sprinkle of toffee bits for a cozy autumn spin
- Mix crushed Halloween-themed Oreos into the crust for a fun twist on classic halloween oreo recipes
Nutritional Information
Here’s a general breakdown per slice, though this will shift slightly depending on the exact brands you use.
- Calories: 542 kcal
- Protein: 5 g
- Carbohydrates: 45 g
- Fat: 39 g
Make Ahead and Storage
You can make this cheesecake up to two days in advance, since the flavor actually deepens a bit as it sits in the fridge.
Store leftover slices in an airtight container in the refrigerator, where they’ll stay fresh for up to 7 days.
For longer storage, wrap the whole cheesecake tightly and freeze it for up to 3 months, then thaw overnight in the fridge before serving.
Why You’ll Love This Recipe?
This cheesecake has become a Halloween staple in my house, and here’s why I think it deserves a spot on your table too.
- It requires zero baking: With no oven involved, this is one less thing to worry about when your kitchen is already busy with other party prep.
- It looks far fancier than it is: The spider web design looks like something from a bakery window, but it only takes a toothpick and a steady hand.
- It’s easy to customize: From marshmallow twists to all-black fillings, this base recipe adapts to whatever spooky vision you have in mind.
- It’s a genuine crowd-pleaser: Between the crunchy Oreo crust and the light, airy filling, this dessert disappears fast at every party I’ve brought it to.
FAQs
Can I use graham crackers instead of Oreos for the crust?
Yes, graham crackers work fine as a substitute, though you’ll lose a bit of that classic cookies-and-cream flavor in the crust.
Why did my cheesecake filling turn out too soft to slice?
This usually means it wasn’t chilled long enough, so give it the full 6 hours, or ideally leave it in the fridge overnight.
Can I make this cheesecake dairy-free?
Yes, swap in dairy-free cream cheese and coconut whipping cream, both work well and hold their texture nicely once chilled.
How do I keep the spider web design from smudging?
Chill the cheesecake fully before slicing and use a clean knife for every single cut to keep the pattern crisp.
Can I make mini versions of this cheesecake?
Absolutely, just press the crust and filling into a lined muffin tin instead of a springform pan for individual portions.
If you’re looking to round out your Halloween dessert table with something a little different, a batch of cherry pie poppers makes a fun, bite-sized addition guests can grab alongside their cheesecake slice.

Spider Web Cheesecake Recipe
Ingredients
Method
- Crush your Oreos into fine crumbs using a food processor, or seal them in a bag and crush them with a rolling pin. Stir the crumbs together with melted butter until they clump when pressed between your fingers.
- Press the buttery Oreo mixture firmly into the bottom of your springform pan in an even layer. Pop the pan into the freezer while you prepare the filling, which helps the crust firm up nicely.
- In a mixing bowl, beat the softened cream cheese with sugar until smooth and completely lump-free. Add in the lemon juice and mix again until it’s fully incorporated into the base.
- In a separate bowl, whip the cold heavy cream with vanilla extract until stiff peaks form. Fold half of the whipped cream into the cream cheese mixture gently, then fold in the rest in a second batch.
- Spoon the finished filling over your chilled Oreo crust, spreading it out with an offset spatula until the surface is smooth and level. Take your time here, since this becomes the canvas for your spider web design.
- Melt your chocolate chips in the microwave in short bursts until smooth, then transfer it to a piping bag. Pipe small circles from the center outward, then drag a toothpick through them from the middle to the edge to form the web.
- Refrigerate your cheesecake for at least 6 hours, though overnight gives the best texture. Once fully set, slice with a clean, warm knife and serve it up for your spookiest gathering.
Notes
- I always fold the whipped cream in gently instead of stirring, since stirring knocks out the air and leaves the filling dense.
- I like adding the whipped cream in two separate batches, which keeps more volume in the final texture.
- I never skip chilling the crust in the freezer, since it firms up the butter and keeps the crust from crumbling later.
- I use a warm, damp knife to slice clean pieces, wiping it off between each cut.
- I make sure my cream cheese is truly at room temperature, or my filling ends up with annoying little lumps.