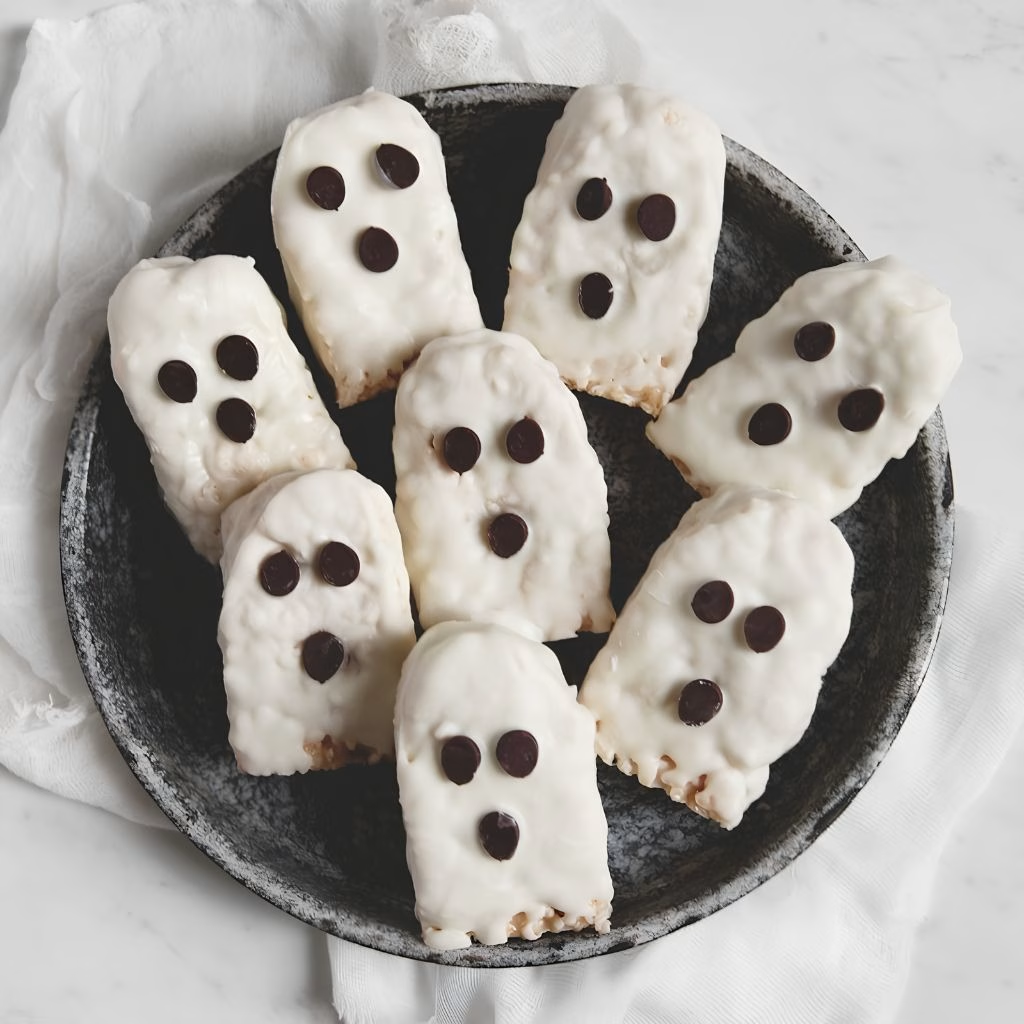
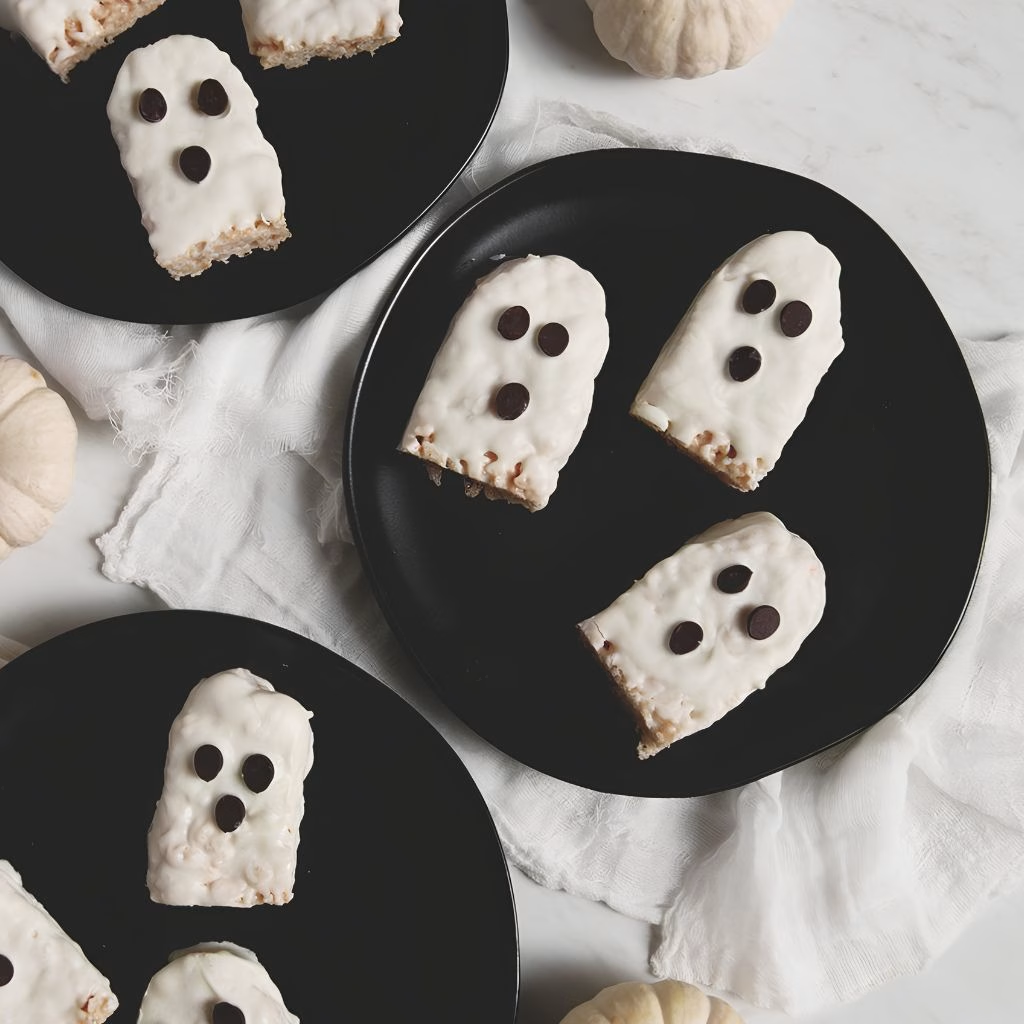
I made this Halloween Rice Krispie Ghost Recipe for the first time last Halloween when I needed a quick dessert that didn’t involve turning on the oven. I honestly wasn’t expecting much from something this simple, but the second I dipped that first bar in white chocolate, I knew I’d found my new go-to Halloween treat.
My kids were obsessed, my neighbors asked for the recipe, and I’ve made a batch every October since. If you’re looking for an easy halloween rice krispie treat idea that looks impressive but takes almost no effort, this is it.
Cooking Time
- Prep Time: 20 minutes
- Cooking Time: 5 minutes
- Total Time: 45 minutes (includes cooling and setting time)
Ingredients
- 10 ounces mini marshmallows — these melt down smoother and faster than large ones, so I always reach for the mini bag
- 4 tablespoons butter — go for unsalted so you control the sweetness of the final treat
- 6 cups rice krispies cereal — measure this after the marshmallow mix is ready so it doesn’t go stale while you wait
- 2 cups white chocolate chips — this is what gives the treats their spooky “ghost” coating, so don’t swap it for candy melts unless you want a different texture
- 2 teaspoons vegetable oil — this thins the melted chocolate just enough for smooth, even dipping
- Mini semi-sweet chocolate chips — for the ghost faces, and honestly the fun part of the whole recipe
Note: this recipe makes about 12 to 14 ghost-shaped treats, enough for a small Halloween party, a classroom treat table, or a cozy family movie night.
Equipment You Need
- 9×13-inch baking pan — to shape and set the rice krispie base
- Parchment paper — makes lifting the treats out of the pan effortless
- Large microwave-safe bowl — for melting the marshmallows and butter together
- Rubber spatula or wooden spoon — for stirring without sticking
- Sharp knife or ghost-shaped cookie cutter — for cutting your treats into shape
- Wire cooling rack — so the white chocolate coating can drip and set evenly
- Wax paper — to catch drips and keep your counter clean
How to Make Ghost Rice Krispie Treats Recipe?
This part is genuinely as easy as it sounds, and that’s exactly why I keep coming back to it every fall. It only involves one pan, one bowl, and a microwave, so there’s very little cleanup waiting for me afterward. Follow these steps in order and you’ll have a full batch ready before your kids even notice you started.
Prep Your Pan
Line a 9×13-inch pan with parchment paper and give it a light spray of cooking spray. This step matters more than it seems, because rice krispie mixture is incredibly sticky once it sets. A properly lined pan means you can lift the whole slab out in one clean piece.
Melt the Marshmallows and Butter
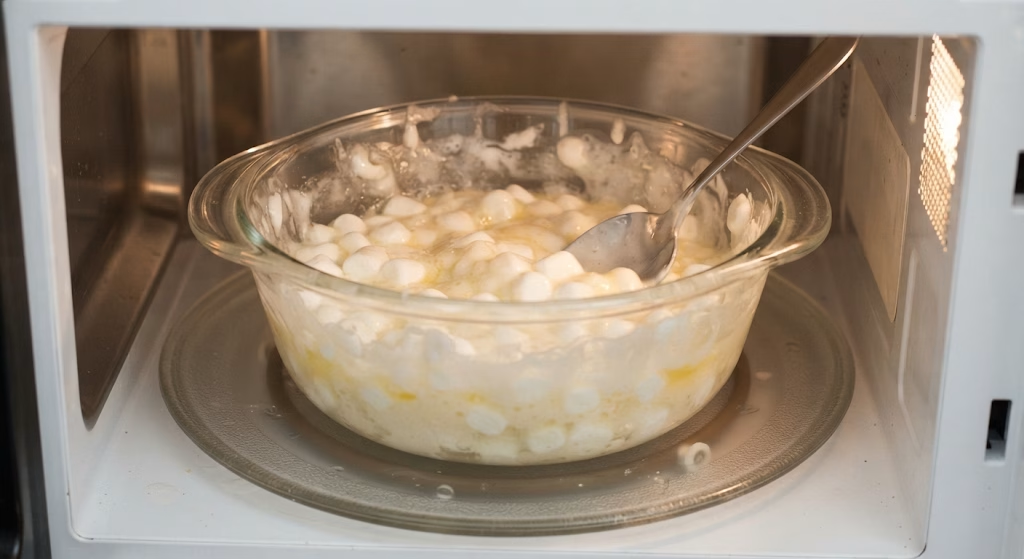
Add the butter and mini marshmallows to a large microwave-safe bowl. Microwave for about two minutes, then stir until smooth. If there are still lumps, heat it for another 30 to 60 seconds and stir again until fully melted.
Mix in the Cereal
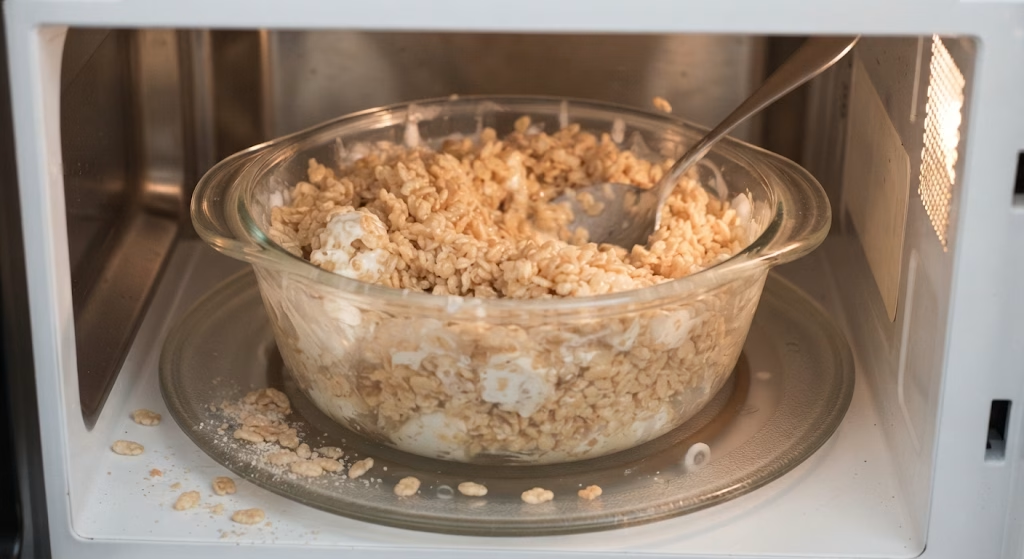
Pour the rice krispies cereal into the melted marshmallow mixture and stir until every piece is coated. Work quickly here, because the mixture starts firming up as it cools, and you want an even coat on all the cereal.
Press and Cool
Transfer the mixture into your prepared pan and press it into an even layer. I like to lightly grease the back of a spoon or use the empty butter wrapper to press it down without sticking. Let it cool completely before cutting.
Cut Into Ghost Shapes
Once cooled, cut the slab into rectangles first, then round off one end of each bar to form a rough ghost silhouette. You don’t need to remove much cereal to get that classic ghost shape, just a gentle curve at the top.
Melt the White Chocolate
In a microwave-safe bowl, combine the white chocolate chips with vegetable oil. Microwave in 20-second bursts, stirring between each, until fully smooth. Going slow here prevents the chocolate from seizing or turning grainy.
Dip the Treats
Dip each ghost-shaped bar into the melted white chocolate, using a spoon to help coat any uneven spots. Let the excess chocolate drip off before setting the bar down, so you avoid a thick, clumpy pool at the base.
Add the Chocolate Chip Faces
While the white chocolate coating is still wet, press two mini chocolate chips onto each treat for eyes, and add a third for a little “o” shaped mouth if you want an extra surprised expression. This is the step my kids fight over doing.
Let Them Set
Place the finished ghosts on a wire rack or wax paper and let them sit at room temperature until the chocolate coating hardens completely. This usually takes about 15 to 20 minutes depending on your kitchen’s temperature.
Additional Tips for Making This Recipe Better
I’ve made this recipe enough times now to know exactly where it can go wrong or go right, so here’s what actually works for me.
- I never pack the cereal mixture too firmly into the pan, because that makes the treats dense and chewy instead of light and soft.
- I always let the base cool fully before cutting, or the shapes come out messy and the edges crumble.
- I keep my white chocolate on a low, slow melt, since microwaving it too fast is the fastest way to ruin a whole batch.
- I use slightly longer rectangles before dipping, then trim the bottoms after the chocolate sets, since it gives cleaner, more professional-looking edges.
- I work in small batches of white chocolate at a time so it doesn’t harden before I finish dipping everything.
Common Mistakes to Avoid
I’ve made just about every mistake possible with this recipe, so let me save you the trouble.
- I once overheated my marshmallows and ended up with a rubbery, hard-to-stir mess, so now I always stick to short microwave bursts.
- I used to pack the rice krispie mixture down too hard, which made the treats dense instead of light and fluffy.
- I skipped greasing my hands or utensils once, and the sticky mixture stuck to everything, so I never skip that step now.
- I tried dipping treats into chocolate that was too hot, and it slid right off instead of coating evenly, so I let it cool slightly first.
- I didn’t let the base cool completely before cutting once, and the shapes fell apart, so patience really does pay off here.
How to Serve Ghost Rice Krispie Treats?
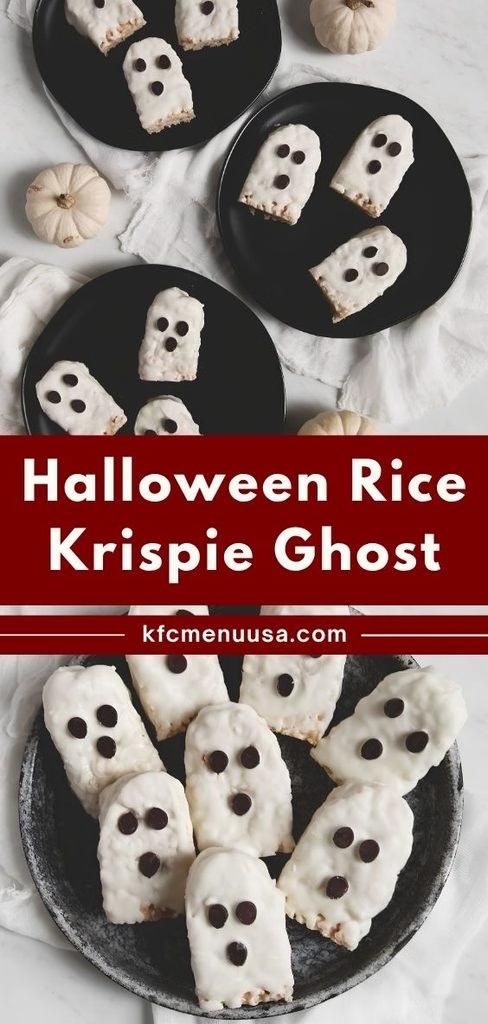
I like to arrange these on a black serving platter or a tiered dessert stand, since the contrast really makes the white ghost shapes pop. A scatter of candy corn or a light dusting of powdered sugar around the treats adds a nice finishing touch for photos or a party table.
These also pair beautifully with other Halloween-shaped snacks, so if you’re setting up a full dessert spread, they sit nicely alongside spookier bakes like Halloween Monster Cupcakes for a mixed table of textures and colors.
Variations
- Swap the butter for a plant-based alternative and use dairy-free white chocolate for an easy dairy-free version.
- Use sugar-free marshmallows and sugar-free white chocolate chips if you want a lighter, healthier halloween rice krispie treats option.
- Add orange food coloring to the white chocolate coating for extra halloween monster rice krispie treats vibes.
- Drizzle melted dark or milk chocolate over the finished ghosts for a halloween chocolate covered rice krispie treats twist.
- Mix crushed Oreos into the cereal base for a subtle “graveyard dirt” flavor kick.
- Swap the cereal for a gluten-free crisp rice cereal if you need a gluten-free version.
Nutritional Information
Here’s a rough breakdown per treat, though exact numbers will vary depending on your specific ingredient brands and portion sizes.
- Calories: approximately 150–170 kcal
- Protein: 1–2 grams
- Carbohydrates: 26–29 grams
- Fat: 5–6 grams
Make Ahead and Storage
You can make the rice krispie base up to two days ahead of time and store it uncut and covered at room temperature, then cut, dip, and decorate closer to when you plan to serve them.
Once fully decorated, store the ghosts in an airtight container at room temperature for up to three days, keeping them in a single layer so the chocolate faces don’t smudge.
If you want to freeze them, wrap each treat individually in plastic wrap and freeze for up to a month. Thaw at room temperature for about 30 minutes before serving, and avoid microwaving since it will melt the chocolate coating unevenly.
Why You’ll Love This Recipe?
There are a few reasons this has become my most requested Halloween dessert every single year.
- It’s incredibly easy to make. I don’t need any baking skills or fancy equipment, just a microwave, a pan, and about 20 minutes of hands-on time.
- It’s endlessly customizable. From the shape to the chocolate coating, I can tweak this ghost crispy recipe to match any Halloween theme I want.
- It’s great for kids to help with. My kids love pressing on the chocolate chip eyes, which makes this a genuinely fun activity to do together.
- It works for every crowd. Whether it’s a school party, a family gathering, or just a Tuesday night treat, these always disappear fast.
- It travels well. These hold their shape nicely, so they’re one of my go-to picks whenever I need a dessert I can transport without stress, alongside easy grab-and-go bakes like these No-Bake Peanut Butter Bars.
FAQs
Can I use regular marshmallows instead of mini ones?
Yes, regular marshmallows work fine, just chop them up first so they melt evenly and quickly in the microwave.
Why did my rice krispie treats turn out hard instead of soft?
This usually happens when the marshmallow mixture gets overheated or the cereal is pressed down too firmly, so keep your heating gentle and your pressing light.
Can I make these treats ahead of time for a party?
Absolutely, you can prep the base up to two days in advance and dip and decorate the day before your event for the freshest look.
What can I use instead of white chocolate chips?
Candy melts work as a substitute, though the flavor and texture come out slightly different, so white chocolate chips remain my personal favorite.
How do I keep the ghost shapes from crumbling when I cut them?
Make sure the base has cooled completely before cutting, and use a sharp knife lightly greased with cooking spray for the cleanest edges.

Halloween Rice Krispie Ghost Recipe
Ingredients
Method
- Line a 9×13-inch pan with parchment paper and give it a light spray of cooking spray. This step matters more than it seems, because rice krispie mixture is incredibly sticky once it sets. A properly lined pan means you can lift the whole slab out in one clean piece.
- Add the butter and mini marshmallows to a large microwave-safe bowl. Microwave for about two minutes, then stir until smooth. If there are still lumps, heat it for another 30 to 60 seconds and stir again until fully melted.
- Pour the rice krispies cereal into the melted marshmallow mixture and stir until every piece is coated. Work quickly here, because the mixture starts firming up as it cools, and you want an even coat on all the cereal.
- Transfer the mixture into your prepared pan and press it into an even layer. I like to lightly grease the back of a spoon or use the empty butter wrapper to press it down without sticking. Let it cool completely before cutting.
- Once cooled, cut the slab into rectangles first, then round off one end of each bar to form a rough ghost silhouette. You don’t need to remove much cereal to get that classic ghost shape, just a gentle curve at the top.
- In a microwave-safe bowl, combine the white chocolate chips with vegetable oil. Microwave in 20-second bursts, stirring between each, until fully smooth. Going slow here prevents the chocolate from seizing or turning grainy.
- Dip each ghost-shaped bar into the melted white chocolate, using a spoon to help coat any uneven spots. Let the excess chocolate drip off before setting the bar down, so you avoid a thick, clumpy pool at the base.
- While the white chocolate coating is still wet, press two mini chocolate chips onto each treat for eyes, and add a third for a little “o” shaped mouth if you want an extra surprised expression. This is the step my kids fight over doing.
- Place the finished ghosts on a wire rack or wax paper and let them sit at room temperature until the chocolate coating hardens completely. This usually takes about 15 to 20 minutes depending on your kitchen’s temperature.
Notes
- I never pack the cereal mixture too firmly into the pan, because that makes the treats dense and chewy instead of light and soft.
- I always let the base cool fully before cutting, or the shapes come out messy and the edges crumble.
- I keep my white chocolate on a low, slow melt, since microwaving it too fast is the fastest way to ruin a whole batch.
- I use slightly longer rectangles before dipping, then trim the bottoms after the chocolate sets, since it gives cleaner, more professional-looking edges.
- I work in small batches of white chocolate at a time so it doesn’t harden before I finish dipping everything.