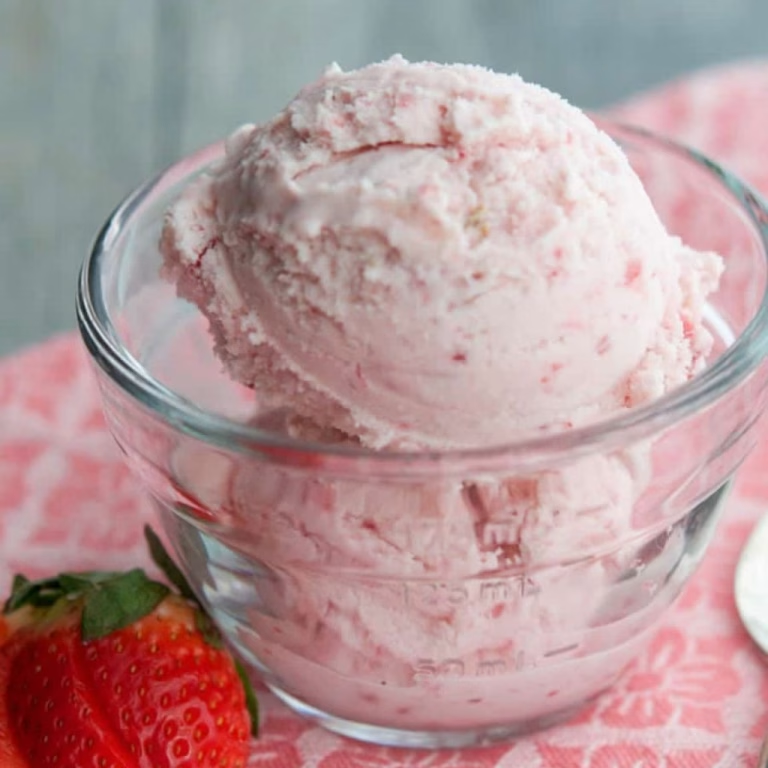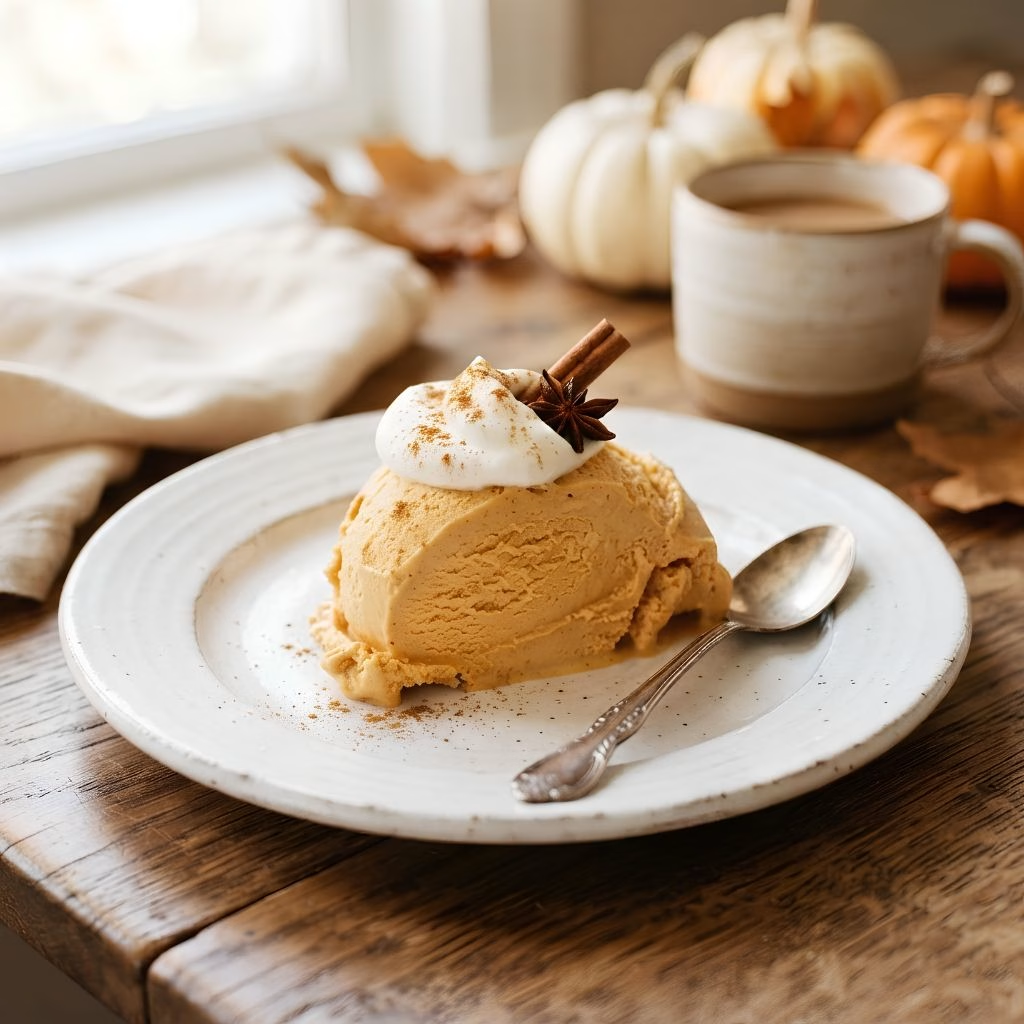
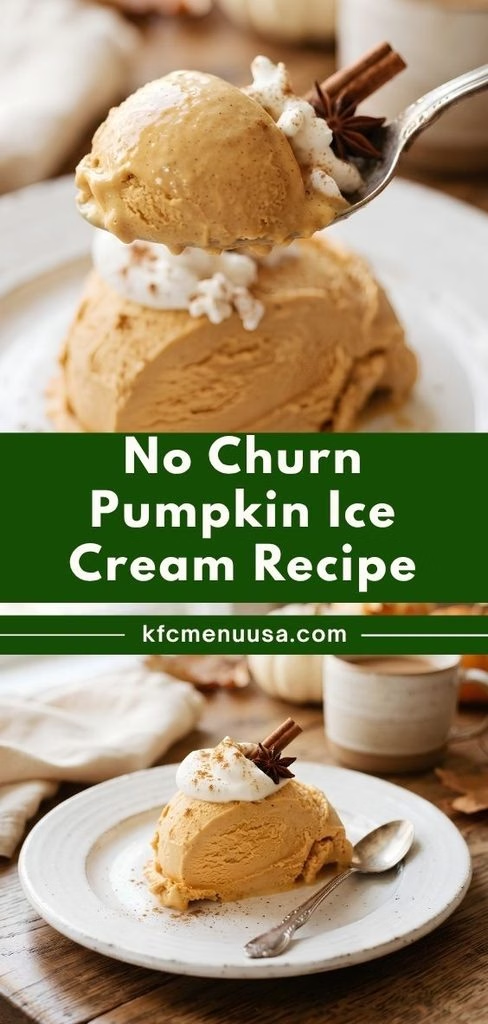
I first made this No Churn Pumpkin Ice Cream Recipe on a weirdly warm October afternoon when I was craving fall flavors but definitely not craving a hot oven. I didn’t have an ice cream maker sitting around, so I figured I’d give the no-churn method a shot, and honestly, I haven’t looked back since.
It takes barely any effort, uses ingredients I already keep on hand, and somehow tastes like pumpkin pie in frozen form. Once you try it, I promise you’ll want to make it every single week once the weather cools down.
Cooking Time
- Prep Time: 15 minutes
- Cooking Time: 0 minutes (no-bake, no-cook)
- Total Time: 6 hours 15 minutes (includes freezing)
Ingredients
- 2 cups heavy whipping cream — the higher fat content is what gives this ice cream its rich, scoopable texture
- 1 can (14 oz) sweetened condensed milk — this sweetens the whole batch and keeps it from turning icy in the freezer
- 1 cup pumpkin puree — always double-check you’re grabbing plain puree, not pumpkin pie filling with added sugar and spice
- 1 teaspoon vanilla extract — adds warmth and rounds out the pumpkin flavor nicely
- 1 ½ teaspoons pumpkin pie spice — this is where all that cozy, fall flavor really comes from
- ¼ teaspoon salt — just enough to keep the sweetness from tasting flat
Note: this recipe serves 8, making about one 9×5-inch loaf pan of ice cream.
Equipment You Need
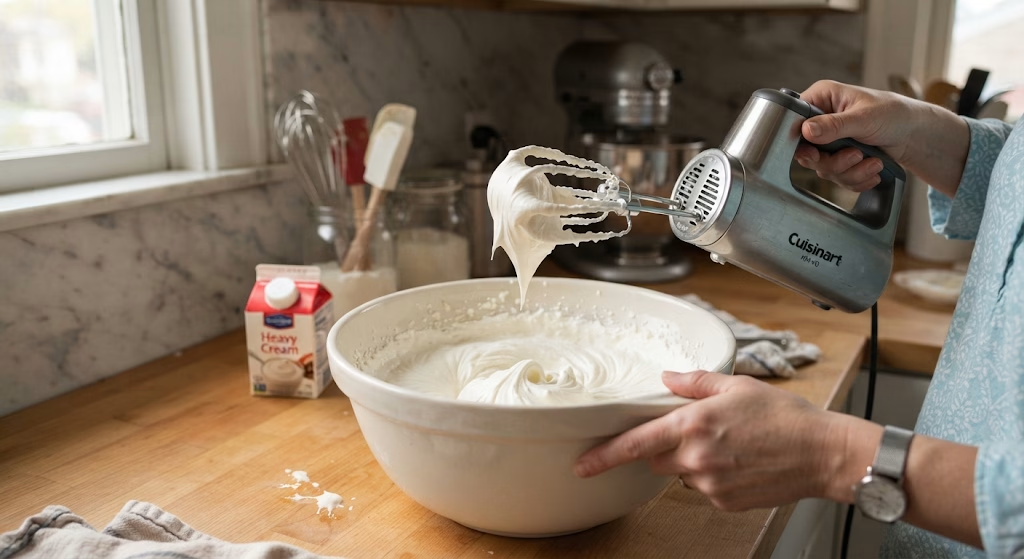
- Stand mixer or hand mixer — whips the heavy cream into stiff peaks quickly and evenly
- Large mixing bowl — for whipping the cream and later folding in the pumpkin mixture
- Medium mixing bowl — used to combine the pumpkin, condensed milk, and spices
- Rubber spatula — perfect for gently folding the mixture without deflating the whipped cream
- 9×5-inch loaf pan — the ideal size and shape for freezing and scooping later
- Plastic wrap or a lid — to cover the pan while it sets in the freezer
How to Make No-Churn Pumpkin Ice Cream Recipe?
This really is one of those desserts that looks impressive but takes almost no actual work. There’s no cooking, no custard base, and no ice cream machine required at all. Let me walk you through exactly how I put mine together.
Whip the Heavy Cream
Pour the cold heavy cream into a large mixing bowl and beat it with a stand mixer or hand mixer until stiff peaks form. This usually takes around five to seven minutes, and you’ll know it’s ready when the cream holds its shape firmly on the beaters.
Mix the Pumpkin Base
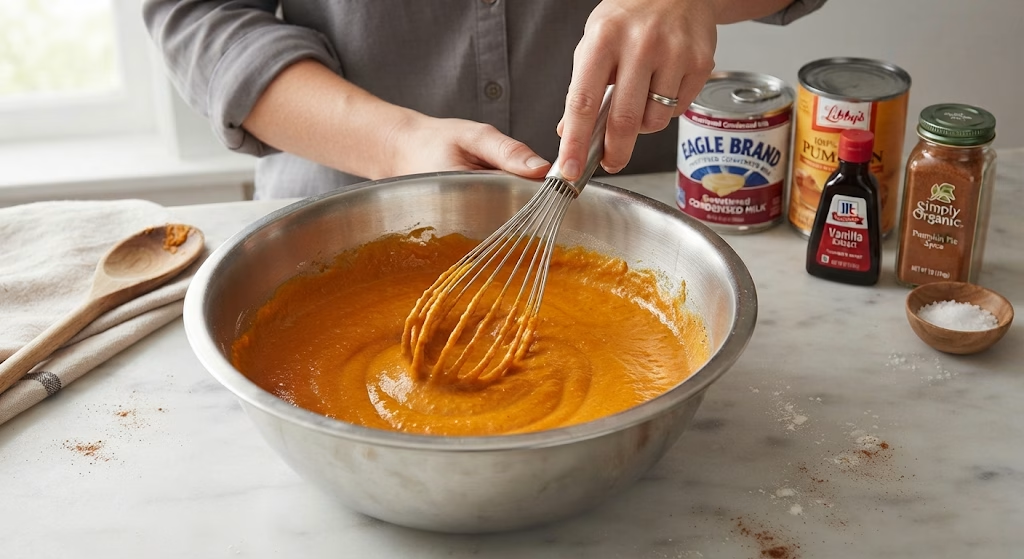
In a separate bowl, whisk together the sweetened condensed milk, pumpkin puree, vanilla extract, pumpkin pie spice, and salt. Stir until the mixture is completely smooth with no streaks of condensed milk left behind.
Fold the Two Mixtures Together
Add about half of the whipped cream into the pumpkin mixture and fold it in gently with a spatula. Once combined, add the remaining whipped cream and continue folding until the mixture is light, airy, and evenly colored.
Transfer to the Pan
Pour the finished mixture into your loaf pan and smooth the top with your spatula. Cover the pan tightly with plastic wrap so no ice crystals form on the surface while it freezes.
Freeze Until Firm
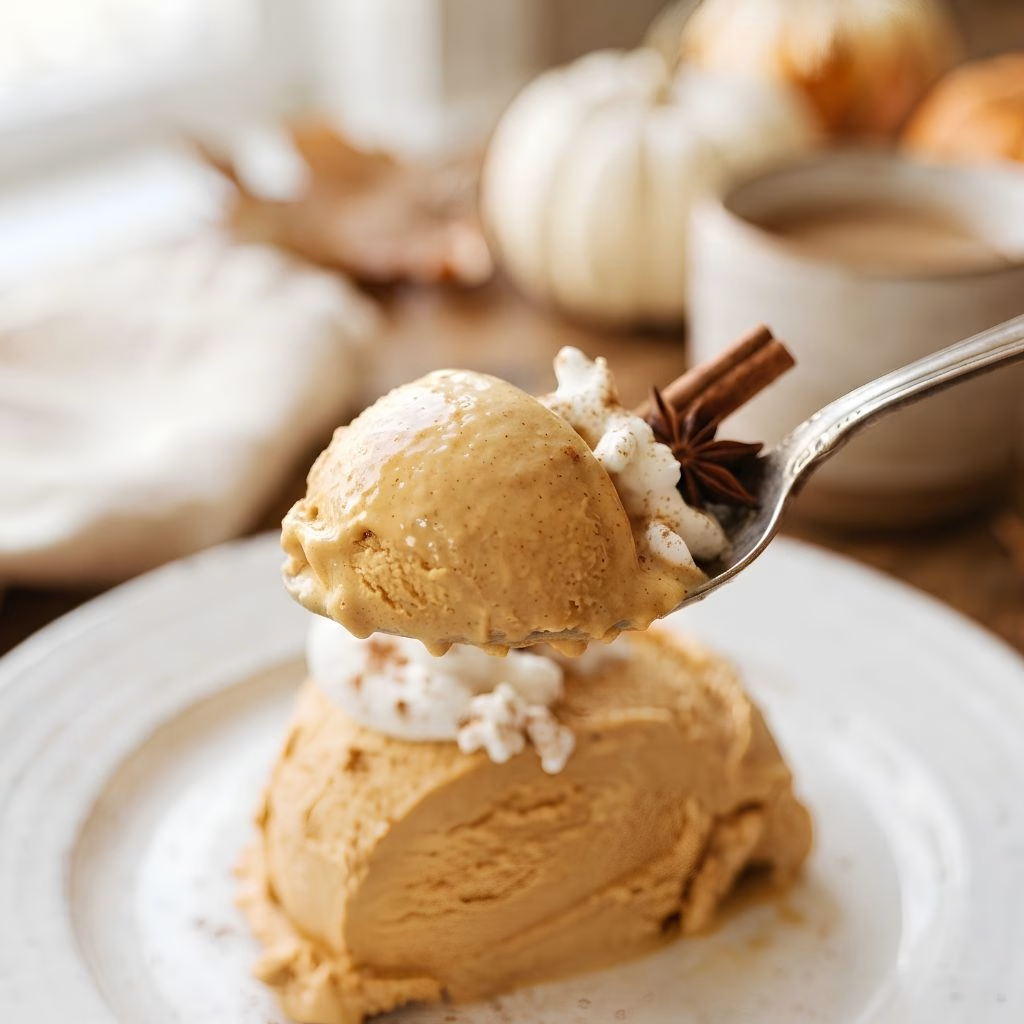
Place the pan in the freezer for at least six hours, though overnight gives you the best texture. Once it’s firm enough to scoop, you’re ready to serve.
Additional Tips for Making This Recipe Better
I’ve made this ice cream more times than I can count now, and here’s what I’ve learned along the way.
- I always make sure my mixing bowl and beaters are cold before whipping the cream, since it helps the peaks form faster.
- I stop whipping the second I see stiff peaks, because going too far turns the cream grainy and almost buttery.
- I like using homemade pumpkin puree when I have leftover roasted pumpkin, but canned works beautifully too.
- I taste my pumpkin mixture before folding in the cream, so I can adjust the spice level if I want it bolder.
- I never skip lining the pan, since it makes lifting the frozen block out for slicing so much easier.
Common Mistakes to Avoid
- I once grabbed pumpkin pie filling by mistake instead of plain puree, and the ice cream turned out way too sweet.
- I rushed the whipping step and ended up with soft peaks instead of stiff ones, so my ice cream never set properly.
- I folded too aggressively one time and deflated all the air out of the cream, leaving a dense, icy texture.
- I didn’t cover the pan tightly enough, and ice crystals formed all over the top by the next morning.
- I tried scooping it straight from the freezer once, and it was rock hard, so now I always let it sit out for a few minutes first.
How to Serve No-Churn Pumpkin Ice Cream?
I love scooping this into chilled bowls and topping it with a drizzle of caramel sauce and a few crushed gingersnap cookies for extra crunch. A dollop of whipped cream and a light dusting of cinnamon on top makes it feel a little more special for guests.
It’s also fantastic sandwiched between two soft cookies for an easy ice cream sandwich, or served in a cone if you want something more playful. On a chilly evening, I like pairing a bowl of this with something warm on the side, like a mug of spiced pear latte, so you get that perfect contrast of hot and cold, cozy and refreshing.
Variations
- Use full-fat coconut milk instead of heavy cream for a dairy-free pumpkin ice cream recipe no eggs required
- Swap the sweetened condensed milk for a sugar-free version if you’re watching your sugar intake
- Stir in crushed graham crackers or gingersnaps for extra texture throughout the ice cream
- Add a swirl of caramel or dulce de leche right before freezing for a richer, more indulgent bite
- Mix in mini chocolate chips for a fun twist that kids especially love
- For an even faster shortcut, try the how to make pumpkin ice cream with vanilla ice cream method by folding pumpkin puree and spices into softened store-bought vanilla ice cream
Nutritional Information
Here’s an approximate breakdown per serving, though this can shift slightly depending on the exact brands you use.
- Calories: 310 kcal
- Protein: 5 g
- Carbohydrates: 29 g
- Fat: 19 g
Make Ahead and Storage
You can prepare the pumpkin base and whip the cream a few hours ahead of time, just keep them covered separately in the fridge until you’re ready to fold and freeze.
Once frozen, store the ice cream in an airtight, freezer-safe container or keep it tightly wrapped in the loaf pan to prevent ice crystals from forming.
This ice cream stays fresh and scoopable in the freezer for up to two weeks, though I honestly find it disappears well before then.
Why You’ll Love This Recipe?
This has become one of my favorite fall desserts, and I think it’ll earn a permanent spot in your rotation too.
- It’s incredibly easy: With no ice cream maker and no cooking involved, this is one of the easiest homemade desserts I’ve ever made.
- It’s naturally egg-free: Since it skips the traditional custard base entirely, this works perfectly as a pumpkin ice cream recipe with no eggs needed.
- It’s endlessly customizable: From mix-ins to dairy-free swaps, this recipe adapts easily to whatever you’re craving.
- It tastes like a slice of pumpkin pie: The warm spices and creamy texture genuinely capture that classic fall flavor in every scoop.
FAQs
Can I make this pumpkin ice cream recipe sweetened condensed milk free?
You can substitute a sugar-free condensed milk alternative, though the texture and sweetness level may shift slightly from the original.
Can I make this in a stand mixer with the whisk attachment?
Yes, a stand mixer fitted with the whisk attachment works wonderfully and actually makes whipping the cream even faster and more consistent, so this really is a pumpkin ice cream recipe kitchenaid owners will appreciate.
Why is my ice cream too icy instead of creamy?
This usually happens if the cream wasn’t whipped enough or the pan wasn’t sealed tightly, so double-check both of those next time.
Is there a healthy pumpkin ice cream recipe version of this?
You can lighten it up by using light whipped topping and a reduced-sugar condensed milk, though the texture will be slightly less rich than the classic version.
How long should I let the ice cream sit out before scooping?
Give it about 5 to 10 minutes at room temperature, which softens it just enough to scoop smoothly without melting the whole batch.
If you’re planning a full fall dessert spread, this pumpkin ice cream pairs beautifully with something warm and spiced on the side, like a cozy homemade hazelnut latte to sip between bites.

No Churn Pumpkin Ice Cream Recipe
Ingredients
Method
- Pour the cold heavy cream into a large mixing bowl and beat it with a stand mixer or hand mixer until stiff peaks form. This usually takes around five to seven minutes, and you’ll know it’s ready when the cream holds its shape firmly on the beaters.
- In a separate bowl, whisk together the sweetened condensed milk, pumpkin puree, vanilla extract, pumpkin pie spice, and salt. Stir until the mixture is completely smooth with no streaks of condensed milk left behind.
- Add about half of the whipped cream into the pumpkin mixture and fold it in gently with a spatula. Once combined, add the remaining whipped cream and continue folding until the mixture is light, airy, and evenly colored.
- Pour the finished mixture into your loaf pan and smooth the top with your spatula. Cover the pan tightly with plastic wrap so no ice crystals form on the surface while it freezes.
- Place the pan in the freezer for at least six hours, though overnight gives you the best texture. Once it’s firm enough to scoop, you’re ready to serve.
Notes
- I always make sure my mixing bowl and beaters are cold before whipping the cream, since it helps the peaks form faster.
- I stop whipping the second I see stiff peaks, because going too far turns the cream grainy and almost buttery.
- I like using homemade pumpkin puree when I have leftover roasted pumpkin, but canned works beautifully too.
- I taste my pumpkin mixture before folding in the cream, so I can adjust the spice level if I want it bolder.
- I never skip lining the pan, since it makes lifting the frozen block out for slicing so much easier.