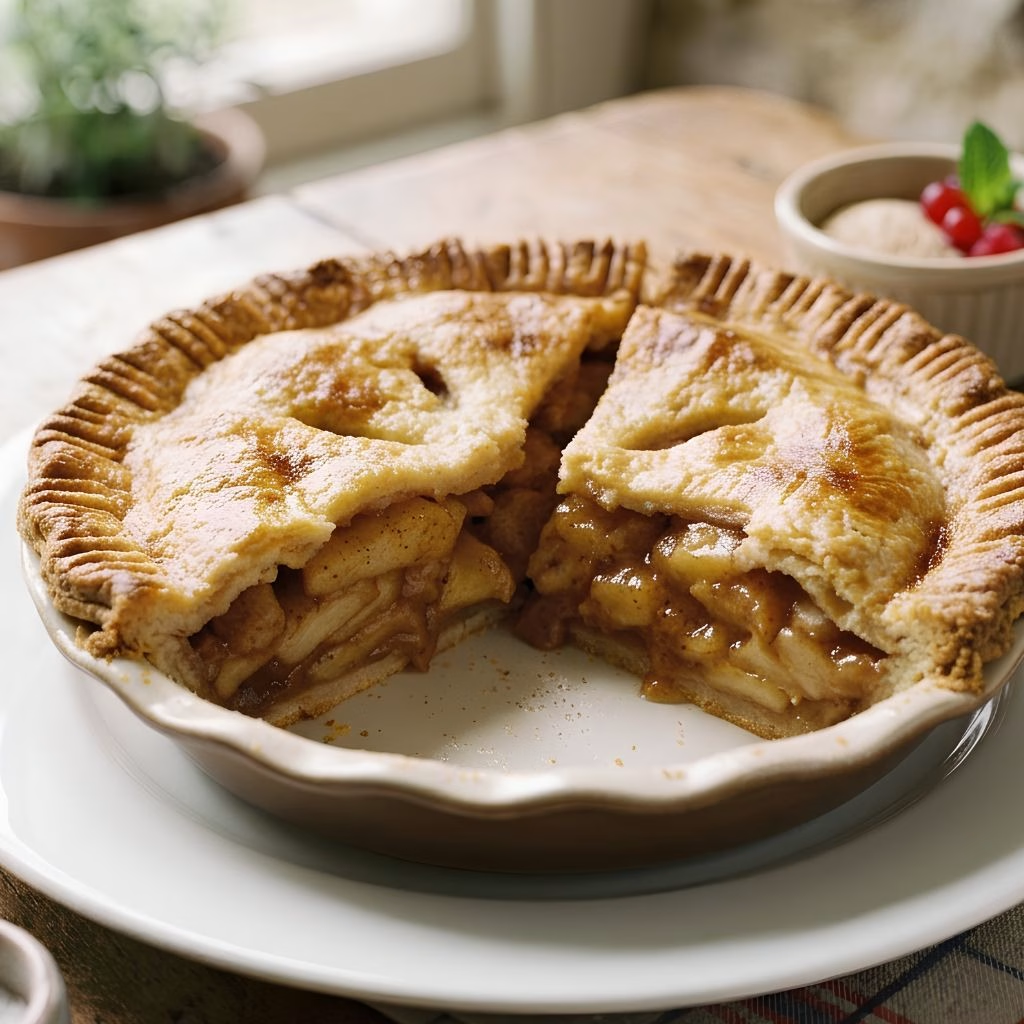
I still remember the first time I made Easy Homemade Pie Crust Recipe completely by hand I was so sure I’d mess it up. Turns out, this easy pie crust recipe by hand is way more forgiving than I expected, and now it’s the only one I use.
I make it with real butter, cold water, and a little patience, and every single time it turns out flaky, tender, and golden. Whether I’m baking a fruit pie, a quiche, or a savory pot pie, this is the dough I reach for. If you’ve been intimidated by homemade crust, let me walk you through exactly how I make it.
Cooking Time
- Prep Time: 20 minutes (plus 1 hour chilling)
- Cooking Time: 12-15 minutes (for a pre-baked or blind-baked crust)
- Total Time: About 1 hour 35 minutes
Ingredients
- 2 1/2 cups all-purpose flour – the base of the dough; spoon and level it so you don’t pack in extra flour
- 1/2 tablespoon granulated sugar – just a touch to balance the flavor, even in savory pies
- 1/2 teaspoon sea salt – wakes up the flavor of the butter, don’t skip it
- 1/2 lb (2 sticks) cold unsalted butter, diced – the key to a flaky, buttery texture, so keep it ice-cold
- 6 to 7 tablespoons ice water – binds the dough together without melting the butter
Note: Makes 2 pie crusts (serves 8-10, enough for one double-crust 9-inch pie)
Equipment You Need
- Large mixing bowl – to combine the flour mixture and work in the butter
- Pastry cutter or fork – to cut cold butter into the flour without warming it with your hands
- Rolling pin – to roll the chilled dough into an even circle
- Plastic wrap – to wrap and chill the dough discs
- 9-inch pie plate – to shape and bake your finished crust
How to Make an Easy Homemade Pie Crust Recipe?
This is the part that scares people off, but I promise it’s simple once you’ve done it once. The whole trick to this best flaky pie crust recipe is keeping everything cold and not overworking the dough. Here’s exactly how I break it down, step by step.
Step 1: Mix the Dry Ingredients
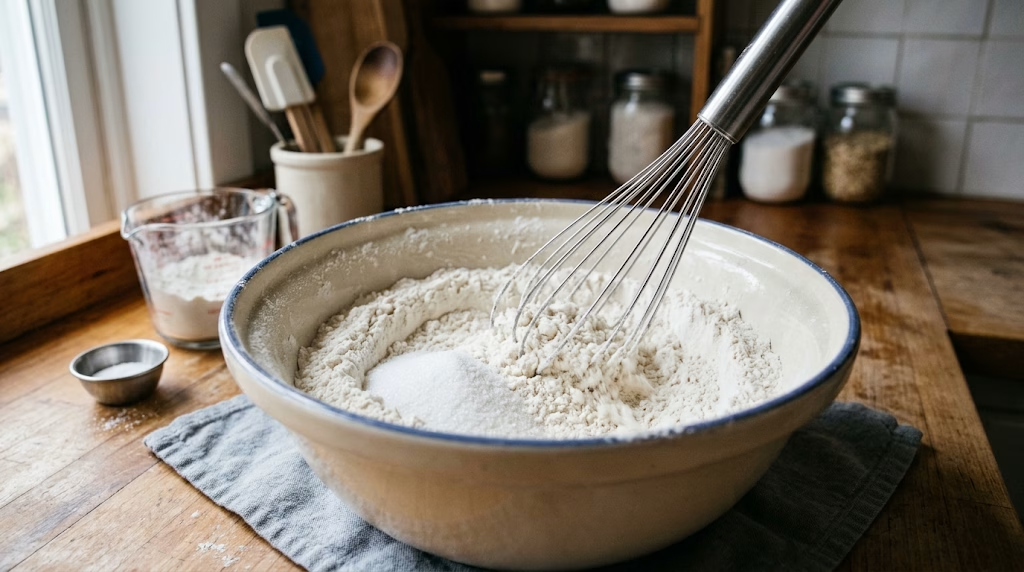
I start by whisking the flour, sugar, and salt together in a large bowl. This spreads the salt and sugar evenly through the flour so I don’t get any bland or overly salty bites later. It only takes about 30 seconds, but it matters more than people think.
Step 2: Cut in the Cold Butter
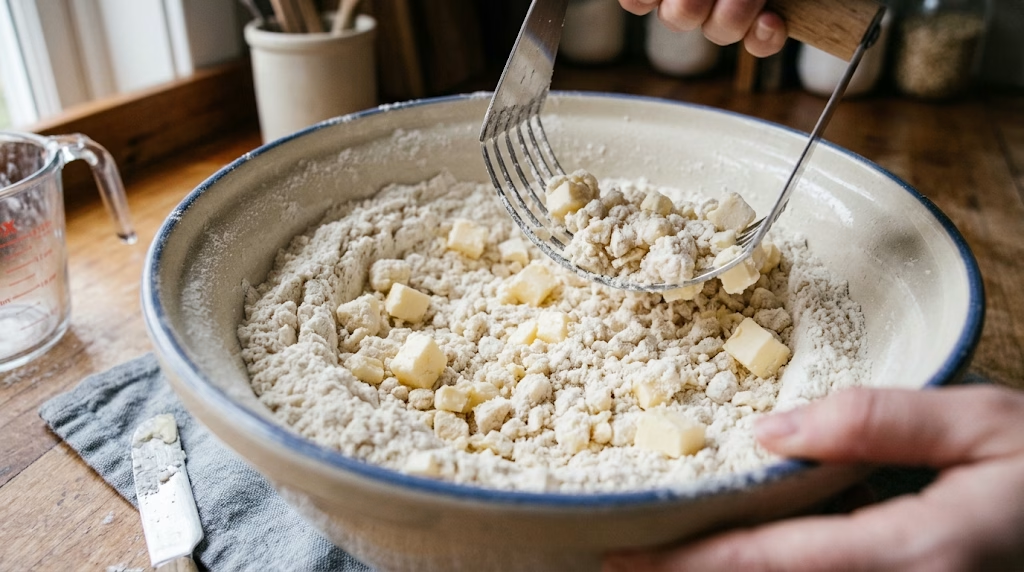
Next, I add my diced cold butter and use a pastry cutter (or just my fingers) to work it into the flour. I stop once the mixture looks like coarse crumbs with some pea-sized butter chunks still visible. Those little butter pockets are exactly what create the flaky layers later.
Step 3: Add the Ice Water Gradually
I sprinkle in the ice water one tablespoon at a time, tossing gently with a fork after each addition. I stop as soon as the dough starts holding together when I squeeze a handful. Adding water too fast is one of the easiest ways to end up with a tough crust.
Step 4: Form and Chill the Dough
Once the dough comes together, I turn it onto my counter and divide it into two equal portions. I shape each one into a flat disc, wrap tightly in plastic wrap, and chill for at least one hour. This resting time lets the gluten relax and the butter firm back up.
Step 5: Roll Out the Dough
After chilling, I flour my counter and rolling pin, then roll one disc from the center outward, rotating a quarter turn after each pass. I keep rolling until it’s about 1/8-inch thick and roughly 2 inches wider than my pie plate on all sides.
Step 6: Transfer and Shape the Crust
I roll the dough loosely around my rolling pin, then unroll it gently over my pie plate. I press it into the corners without stretching it, trim the excess, and crimp the edges with my fingers or a fork for that classic finished look.
Step 7: Chill Again, Then Bake
I pop the shaped crust into the fridge or freezer for 15 minutes before baking this keeps the edges from slumping. For a blind-baked crust, I prick the bottom with a fork, line it with parchment and pie weights, then bake at 425°F until lightly golden.
Additional Tips for Making This Recipe Better
After making this more times than I can count, here’s what actually makes a difference for me:
- I always keep my butter, water, and even my mixing bowl cold warm ingredients are the number one reason the crust turns out tough instead of flaky.
- I never skip the chilling step, even when I’m in a hurry, because it makes the dough so much easier to roll without tearing.
- I handle the dough as little as possible once the water goes in, since overworking it builds too much gluten.
- If my kitchen is warm, I pop the dough back in the fridge for 10 minutes mid-process to keep the butter from softening.
- I always use visible butter streaks as my guide instead of a timer. That’s what tells me the dough is ready.
Common Mistakes to Avoid
I’ve made every one of these mistakes myself, so let me save you the trouble:
- I used to add all the water at once, and it made my dough sticky and impossible to roll. Now I add it a tablespoon at a time.
- I skipped chilling the dough once because I was short on time, and the crust shrank badly in the oven.
- I overworked the dough trying to make it “smooth,” which just gave me a dense, tough crust instead of flaky layers.
- I rolled the dough too thin in spots, which caused it to tear and leak filling during baking.
- I didn’t flour my surface enough, so the dough stuck and I lost half of it trying to peel it up.
How to Serve Easy Homemade Pie Crust?
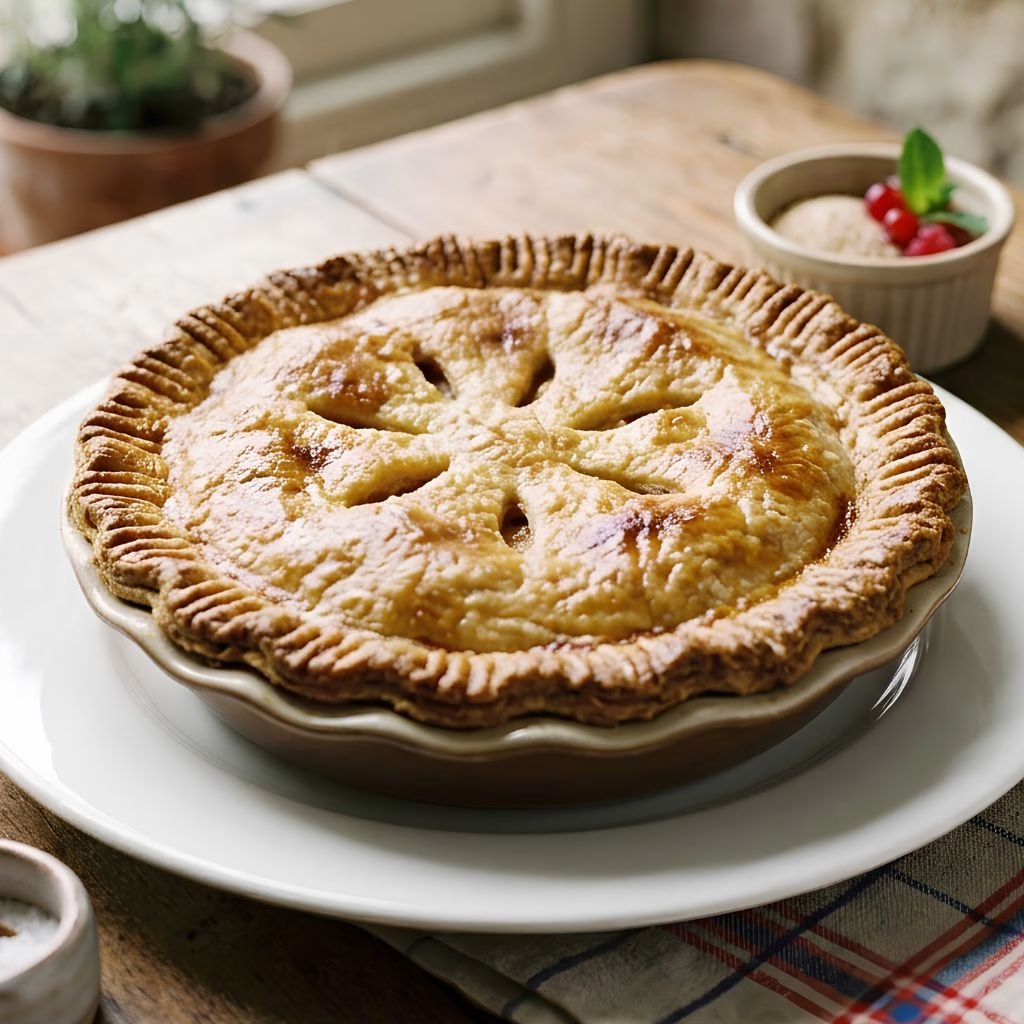
I usually fill this crust with whatever I’m craving: a bubbling fruit pie, a silky custard, or a savory filling like chicken pot pie. For a pretty presentation, I like to brush the top crust with an egg wash before baking so it comes out shiny and deep golden brown.
A sprinkle of coarse sugar on sweet pies or a few fresh herb leaves on savory ones makes it look bakery-worthy. If you’re building out a full pie menu for the holidays, this crust pairs beautifully with something like a pecan pie for a showstopping dessert table.
Variations
- For a dairy-free version, swap the butter for a plant-based butter stick or chilled coconut oil.
- Try the 3 ingredient pie crust with oil by using neutral oil instead of butter, mixed with flour and a pinch of salt for a quick, no-chill dough.
- For a quick pie crust recipe (no refrigeration), use oil-based dough, which comes together and rolls out right away without resting.
- Add a tablespoon of vinegar or vodka to the ice water for an extra-tender, easier-to-roll dough.
- For a single pie crust recipe butter version, simply halve all the ingredients if you only need one crust.
- Stir in a teaspoon of cinnamon or orange zest into the flour for a subtly flavored sweet pie crust.
Nutritional Information
Here’s a rough breakdown per serving, based on one crust cut into 8 slices:
- Calories: About 210 kcal
- Protein: 3 g
- Carbohydrates: 18 g
- Fat: 14 g
Make Ahead and Storage
I make this dough ahead all the time since it’s such a time-saver on busy baking days. The wrapped dough discs keep well in the fridge for up to 3 days before rolling.
For longer storage, I freeze the discs wrapped tightly in plastic and foil for up to 3 months, then thaw them overnight in the fridge before rolling out.
If I’ve already baked the crust, I store it at room temperature in an airtight container for up to 2 days, or reheat briefly in a 300°F oven to crisp it back up.
Why You’ll Love This Recipe?
This has become my go-to crust for a reason, and I think it’ll become yours too:
- It’s incredibly versatile, since this same dough works for sweet pies, savory pot pies, quiches, and even hand pies.
- It uses just a handful of pantry ingredients, so I rarely have to make a special grocery trip to bake a pie.
- It freezes beautifully, which means I can make a double batch and always have dough ready to go.
- The texture is genuinely flaky, not dense or crackery, thanks to those cold butter pockets throughout the dough.
- It’s easy to customize, since I can tweak the sugar, add spices, or swap fats depending on what I’m baking.
FAQs
Can I make this pie crust recipe by hand without a food processor?
Yes, absolutely I make mine by hand almost every time using just a pastry cutter or my fingertips to work in the butter.
Why did my pie crust turn out tough instead of flaky?
This usually means the dough was overworked or the butter got too warm; keeping everything cold and mixing gently fixes it.
Can I freeze this pie dough?
Yes, you can freeze the wrapped discs for up to 3 months, then thaw them in the fridge overnight before rolling.
What can I use instead of butter in this recipe?
You can use a plant-based butter stick, shortening, or even oil for a quicker, no-chill version of the dough.
How do I keep my pie crust from shrinking while baking?
Chilling the shaped crust for 15 minutes before baking, and not stretching the dough while fitting it into the pan, both help prevent shrinking.
Looking for more pie inspiration? Check out this homestyle chicken pot pie recipe that uses this exact crust as its flaky, golden topping.

Easy Homemade Pie Crust Recipe
Ingredients
Method
- I start by whisking the flour, sugar, and salt together in a large bowl. This spreads the salt and sugar evenly through the flour so I don’t get any bland or overly salty bites later. It only takes about 30 seconds, but it matters more than people think.
- Next, I add my diced cold butter and use a pastry cutter (or just my fingers) to work it into the flour. I stop once the mixture looks like coarse crumbs with some pea-sized butter chunks still visible. Those little butter pockets are exactly what create the flaky layers later.
- I sprinkle in the ice water one tablespoon at a time, tossing gently with a fork after each addition. I stop as soon as the dough starts holding together when I squeeze a handful. Adding water too fast is one of the easiest ways to end up with a tough crust.
- Once the dough comes together, I turn it onto my counter and divide it into two equal portions. I shape each one into a flat disc, wrap tightly in plastic wrap, and chill for at least one hour. This resting time lets the gluten relax and the butter firm back up.
- After chilling, I flour my counter and rolling pin, then roll one disc from the center outward, rotating a quarter turn after each pass. I keep rolling until it’s about 1/8-inch thick and roughly 2 inches wider than my pie plate on all sides.
- I roll the dough loosely around my rolling pin, then unroll it gently over my pie plate. I press it into the corners without stretching it, trim the excess, and crimp the edges with my fingers or a fork for that classic finished look.
- I pop the shaped crust into the fridge or freezer for 15 minutes before baking this keeps the edges from slumping. For a blind-baked crust, I prick the bottom with a fork, line it with parchment and pie weights, then bake at 425°F until lightly golden.
Notes
- I always keep my butter, water, and even my mixing bowl cold warm ingredients are the number one reason the crust turns out tough instead of flaky.
- I never skip the chilling step, even when I’m in a hurry, because it makes the dough so much easier to roll without tearing.
- I handle the dough as little as possible once the water goes in, since overworking it builds too much gluten.
- If my kitchen is warm, I pop the dough back in the fridge for 10 minutes mid-process to keep the butter from softening.
- I always use visible butter streaks as my guide instead of a timer. That’s what tells me the dough is ready.