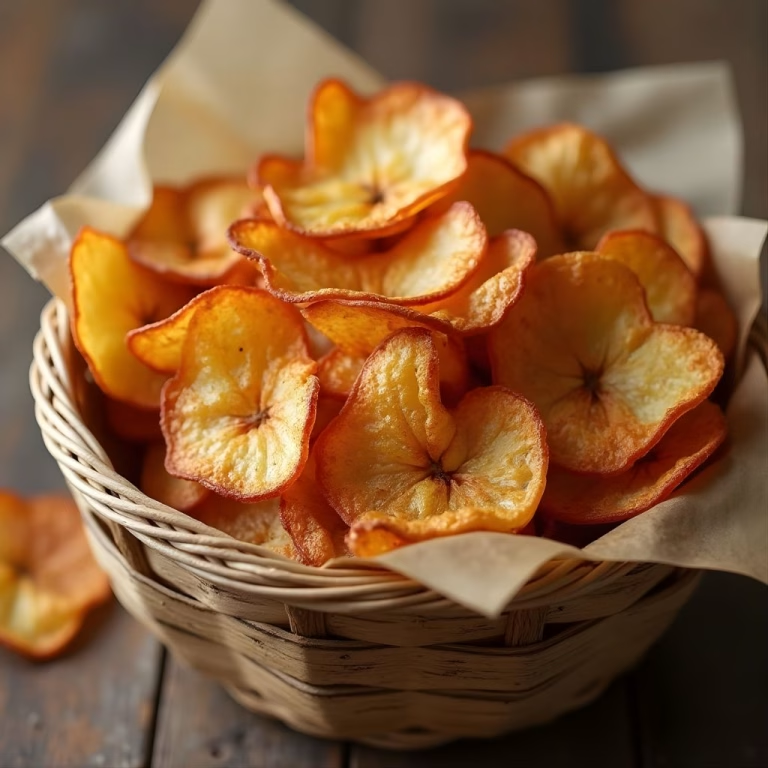
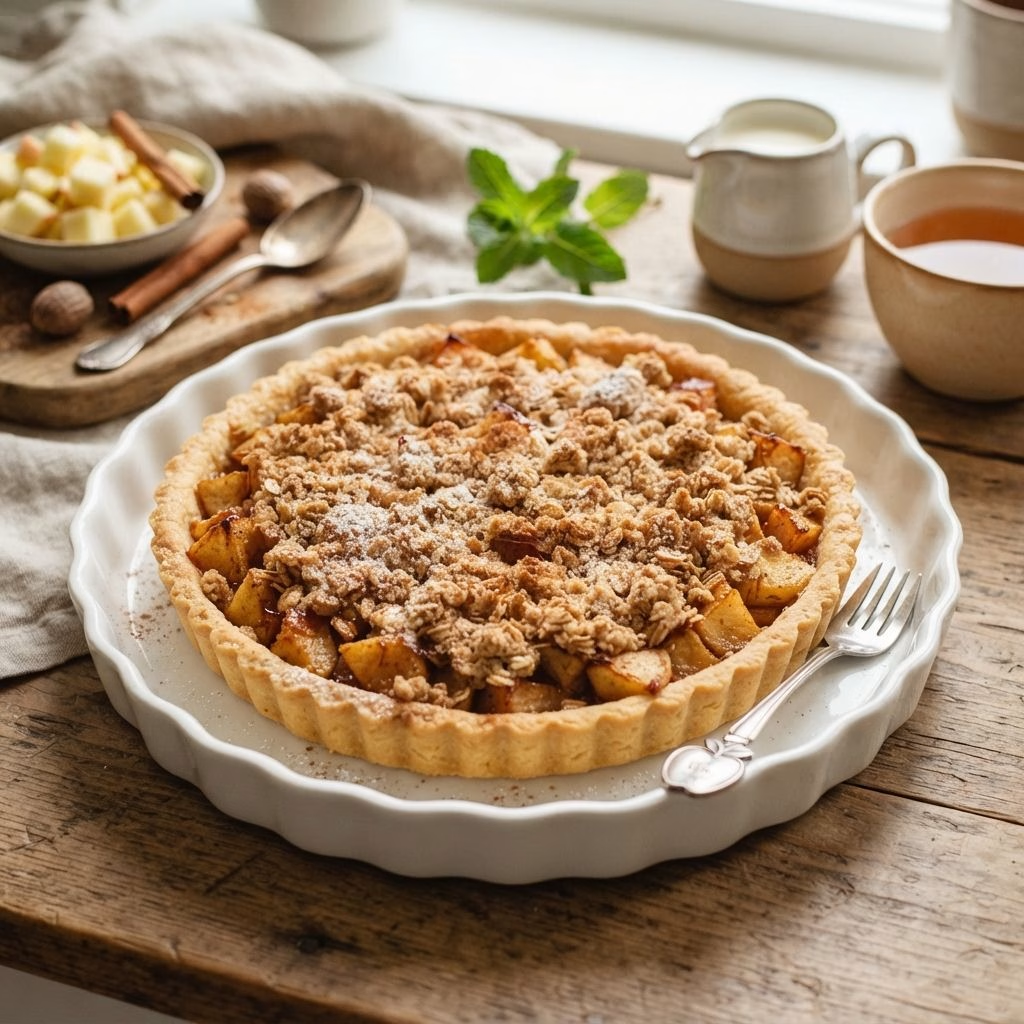
I made this Apple Crumble Tart Recipe on a chilly weekend, and my kitchen smelled like cinnamon within minutes. It gives you the cozy taste of apple pie with the crunchy topping of a classic apple crumble recipe.
I love how simple it is, since the prep takes only about ten minutes. My family cleared the pan before I could even take a photo. If you want a friendly, no-stress dessert, this is the best apple crumble tart recipe I can share with you.

Cooking Time
Good news: this tart needs very little hands-on effort. Most of the time is just the oven doing its magic.
- Prep Time: 10 minutes
- Cooking Time: 45 minutes
- Total Time: 55 minutes
Ingredients for Apple Crumble Tart
This apple tart recipe uses simple pantry staples. Here is everything you need, plus a quick note on why each one matters.
Tart base and filling:
- 1 unbaked pie crust: bakes together with the filling, so there is no blind baking.
- 4 cups apples, peeled and sliced: choose firm apples so the slices hold their shape.
- ¼ cup granulated sugar: sweetens the apples and helps them release their juices.
- ½ teaspoon lemon zest: adds a fresh citrus lift, so zest it right before using.
Crumb topping:
- ½ cup salted butter, cold: cold butter gives you a crumbly topping instead of a greasy one.
- ½ cup old-fashioned rolled oats: gives the topping its crunch, so skip instant oats.
- ½ cup all-purpose flour: keeps the oat topping light instead of thick.
- ½ cup brown sugar: adds a deep, caramel-like sweetness.
- 1 teaspoon ground cinnamon: brings the warm, cozy apple pie flavor.
Note: serves several (about 8 slices)
Equipment You Need
You probably own most of these already. Nothing fancy is required.
- 9-inch tart pan: shapes the crust and gives neat, tall edges.
- Vegetable peeler: removes the apple skins quickly.
- Sharp knife and cutting board: for slicing the apples evenly.
- Medium mixing bowl: for tossing the apples with sugar and zest.
- Food processor: pulses the topping into perfect crumbs.
- Large rimmed baking sheet: catches any bubbling juices.
- Aluminum foil: lines the sheet for easy cleanup.
How to Make Apple Crumble Tart Recipe?
This tart is easier than pie, and it looks bakery-worthy. You press in the crust, add the apples, and top it with crumbs. Follow these steps in order and you’ll get golden, bubbling results every time.
Preheat the Oven
Set your oven to 325°F so it is fully hot before the tart goes in. A steady, moderate temperature bakes the apples softly without burning the crumbs. Place the rack in the middle for even heat.
Line the Tart Pan
Unroll the pie crust and lay it into a 9-inch tart pan. Press it firmly into the bottom and up the sides so it sits snugly. Leave it unbaked, because it will cook along with the filling.
Toss the Apples
Add the sliced apples, sugar, and lemon zest to a medium bowl. Stir gently until every slice is lightly coated. The sugar and zest start blending with the apples right away.
Fill the Crust
Spoon the apple mixture into the unbaked crust. Spread the slices out as evenly as you can so they cook at the same pace. Even layers mean no hard spots and no mushy corners.
Make the Crumb Topping
Put the cold butter, oats, flour, brown sugar, and cinnamon into a food processor. Pulse in short bursts until the mixture looks like coarse crumbs. Stop as soon as it clumps, so the topping stays crunchy.
Top and Set Up the Pan
Sprinkle the crumbs over the apples in a thick, even layer. Line a large rimmed baking sheet with foil and set the tart pan on top. This catches any juices that bubble over.
Bake Until Golden
Slide the tart into the oven and bake for 35 to 40 minutes. Look for lightly golden edges and juices bubbling at the sides. If the crumble is browning too fast, tent it loosely with foil.
Cool Completely
Let the tart cool fully before you slice it. The juices thicken as it rests, which gives you clean, neat slices. I know it’s hard to wait, but it is worth it.
Additional Tips for Making This Recipe Better
A few small habits make a big difference with this tart. These are the tricks I now use every time.
- I slice my apples evenly, about the same thickness, so they soften together.
- I keep my butter very cold, because it gives me the crunchiest crumble.
- I pulse the topping in short bursts, since over-processing makes it pasty.
- I mix in a splash of lemon juice if I prep the apples early, which keeps them from browning.
- I press the crust gently into the corners of the pan to get even, sturdy sides.
- I always use a foil-lined baking sheet, and it saves me from scrubbing burnt juice off my oven floor.
- I love using a mix of tart and sweet apples for a more layered flavor.
Common Mistakes to Avoid
Even easy desserts can go wrong. Here are the slip-ups I’ve made so you don’t have to.
- Using soft butter in the topping: I did this once, and my crumble melted into a greasy layer, so keep it cold.
- Slicing the apples too thick: the chunky slices stayed firm in my tart, so aim for thin, even pieces.
- Using canned apple filling: I tried it, and the extra liquid stopped my crust from crisping, so use fresh apples.
- Cutting the tart while it’s hot: I rushed it once and the filling ran everywhere, so let it cool first.
- Skipping the baking sheet: my oven got messy fast, so always catch the juices.
How to Serve Apple Crumble Tart?
A slice of this tart looks lovely with almost no effort. I like to serve it at room temperature or slightly warm, once it has fully cooled and set.
For the best presentation, use a sharp knife and wipe it between cuts. Place a slice on a small plate and add a scoop of vanilla ice cream beside it. A drizzle of maple syrup or caramel sauce looks stunning over the golden crumbs, and a light dusting of cinnamon adds a pretty finish. A few fresh apple slices on the side make it look even more inviting.
If you are building a full dessert table, I like to pair this tart with my Halloween Gingerbread Cookies Recipe. The warm spices go really well together.
Variations
You can easily make this tart your own. Here are my favorite ways to change it up.
- Switch the apples: Granny Smith, Pink Lady, Gala, or Honeycrisp all work. Choose Honeycrisp or Pink Lady for a sweeter tart.
- Add more fruit: Toss in pears, blackberries, raspberries, blueberries, or cherries for extra color.
- Use a homemade crust: A homemade shortcrust gives you a Mary Berry-style apple crumble tart with a buttery snap.
- Make mini tartlets: Use premade mini shells, chop the apples small, and shorten the baking time.
- Add caramel: Drizzle caramel sauce over the tart as it cools for a caramel apple crumble tart.
- Go dairy-free: Swap the butter for a plant-based butter stick and use a dairy-free crust.
- Cut back on sugar: Reduce the sugar slightly or use a sugar substitute made for baking.
- Add a flavor boost: A little vanilla extract or an extra pinch of cinnamon deepens the taste.
If you love tarts, I also recommend trying my Cobweb Chocolate Tart Recipe. It is a no-bake treat for chocolate lovers.
Nutritional Information
Here is an approximate breakdown per slice, based on 8 servings. Values may vary slightly depending on your ingredients.
- Calories: 478 kcal
- Protein: 4.4 g
- Carbohydrates: 65 g
- Fat: 23.1 g
Make Ahead and Storage
This tart is friendly to busy schedules. Here is how I plan ahead and store the leftovers.
Make Ahead
You can prep the crumb topping a day early and keep it chilled in a covered container. You can also bake the whole tart a few hours before serving. Just let it cool completely so it slices cleanly.
Storage
Cover the cooled tart loosely and keep it at room temperature for about a day. For longer storage, move it to the fridge, where it stays fresh for up to 3 days. Use an airtight container so the crumble doesn’t absorb moisture.
Reheating
Warm a slice in a 300°F oven for about 10 minutes to bring back the crunch. I avoid the microwave because it softens the topping. Let it cool slightly before you eat.
Freezing
Wrap the cooled tart tightly and freeze it for up to 2 months. Thaw it overnight in the fridge, then reheat in the oven. The crumble is best when the tart is fresh, but it still tastes lovely from the freezer.
Why You’ll Love This Recipe?
This dessert brings together the best parts of apple pie and apple crumble. Here is why it earns a spot in my regular baking rotation.
- Easy to make: There is no blind baking and no rolling pin fuss. You press the crust in, add the fruit, and top it with crumbs, so it’s perfect for beginners.
- Perfect crunch: The oat topping bakes into a buttery, golden crumble. It adds great texture against the soft, cinnamon-spiced apples.
- Flexible with apples: You can use tart apples, sweet apples, or a mix of both. Every version turns out delicious, so use what you have.
- Simple ingredients: Everything comes from the pantry and fridge. There are no hard-to-find items, so it’s budget-friendly too.
- Easy to customize: You can add fruit, drizzle caramel, or bake mini tartlets. It adapts to your mood, your guests, and the season.
FAQs
Can I use canned apple filling?
You can, but I don’t recommend it. The extra liquid keeps the crust from crisping, and fresh apple slices give a much better result.
Can I make mini apple crumble tarts?
Yes. Use premade mini shells, chop the apples into small pieces, and bake for less time so they don’t burn.
How do I stop the apples from turning brown?
Toss the sliced apples with a little lemon juice in a large bowl. This keeps them fresh if you prep the tart ahead.
What are the best apples for this tart?
Granny Smith, Pink Lady, Gala, and Honeycrisp all work well. Choose sweeter apples like Honeycrisp if you like a milder filling.
Can I make apple crumble tart with oats?
Yes, and this recipe already does. Old-fashioned rolled oats give the topping its crunch, so avoid instant oats.

Apple Crumble Tart Recipe
Ingredients
Method
- Set your oven to 325°F so it is fully hot before the tart goes in. A steady, moderate temperature bakes the apples softly without burning the crumbs. Place the rack in the middle for even heat.
- Unroll the pie crust and lay it into a 9-inch tart pan. Press it firmly into the bottom and up the sides so it sits snugly. Leave it unbaked, because it will cook along with the filling.
- Add the sliced apples, sugar, and lemon zest to a medium bowl. Stir gently until every slice is lightly coated. The sugar and zest start blending with the apples right away.
- Spoon the apple mixture into the unbaked crust. Spread the slices out as evenly as you can so they cook at the same pace. Even layers mean no hard spots and no mushy corners.
- Put the cold butter, oats, flour, brown sugar, and cinnamon into a food processor. Pulse in short bursts until the mixture looks like coarse crumbs. Stop as soon as it clumps, so the topping stays crunchy.
- Sprinkle the crumbs over the apples in a thick, even layer. Line a large rimmed baking sheet with foil and set the tart pan on top. This catches any juices that bubble over.
- Slide the tart into the oven and bake for 35 to 40 minutes. Look for lightly golden edges and juices bubbling at the sides. If the crumble is browning too fast, tent it loosely with foil.
- Let the tart cool fully before you slice it. The juices thicken as it rests, which gives you clean, neat slices. I know it’s hard to wait, but it is worth it.
Notes
- I slice my apples evenly, about the same thickness, so they soften together.
- I keep my butter very cold, because it gives me the crunchiest crumble.
- I pulse the topping in short bursts, since over-processing makes it pasty.
- I mix in a splash of lemon juice if I prep the apples early, which keeps them from browning.
- I press the crust gently into the corners of the pan to get even, sturdy sides.
- I always use a foil-lined baking sheet, and it saves me from scrubbing burnt juice off my oven floor.
- I love using a mix of tart and sweet apples for a more layered flavor.