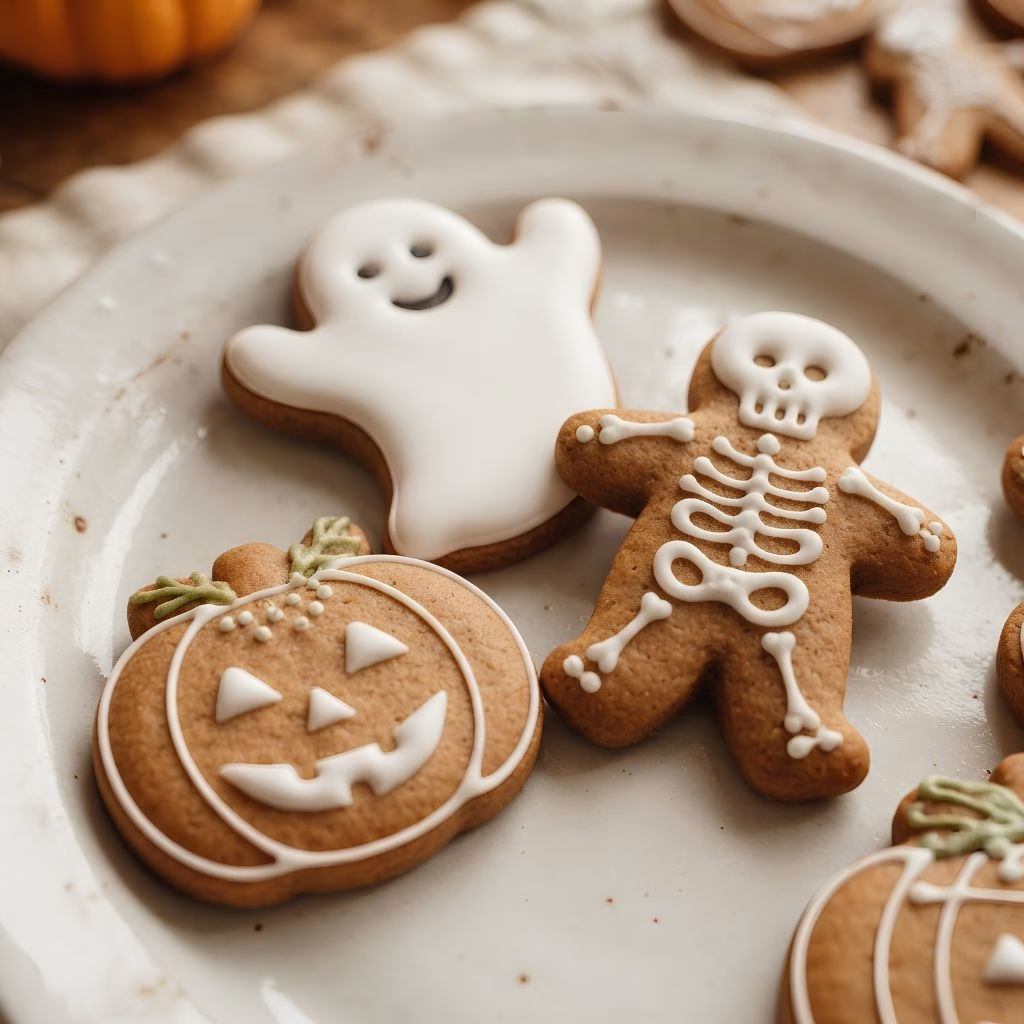
I started making this Halloween Gingerbread Cookies Recipe the year I completely forgot to buy trick-or-treat candy, and now it’s become our little family tradition every October. I love that I can pull this dough together in one bowl with my hands, no mixer needed, while my kids stand on a stool next to me getting flour everywhere.
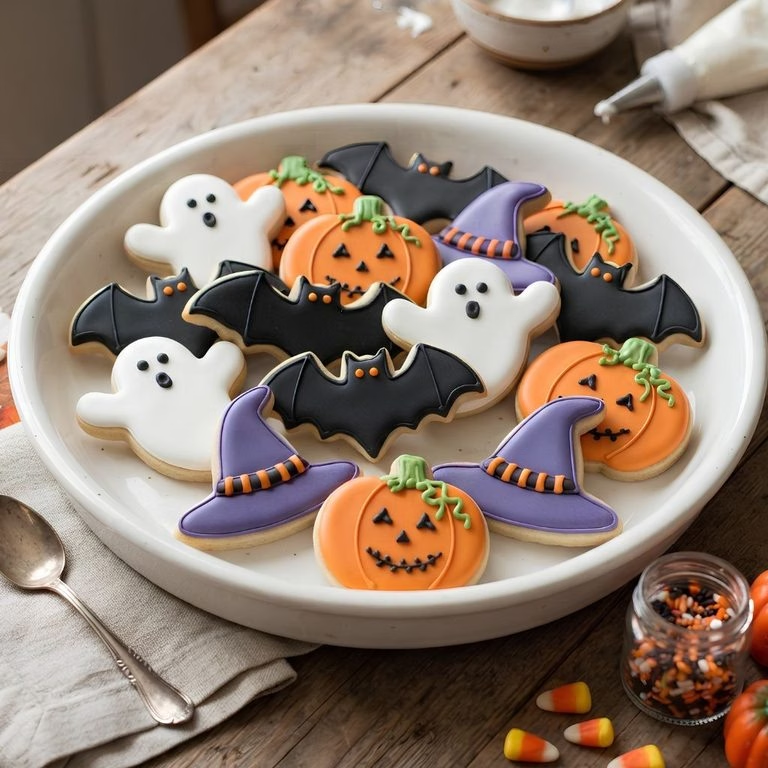
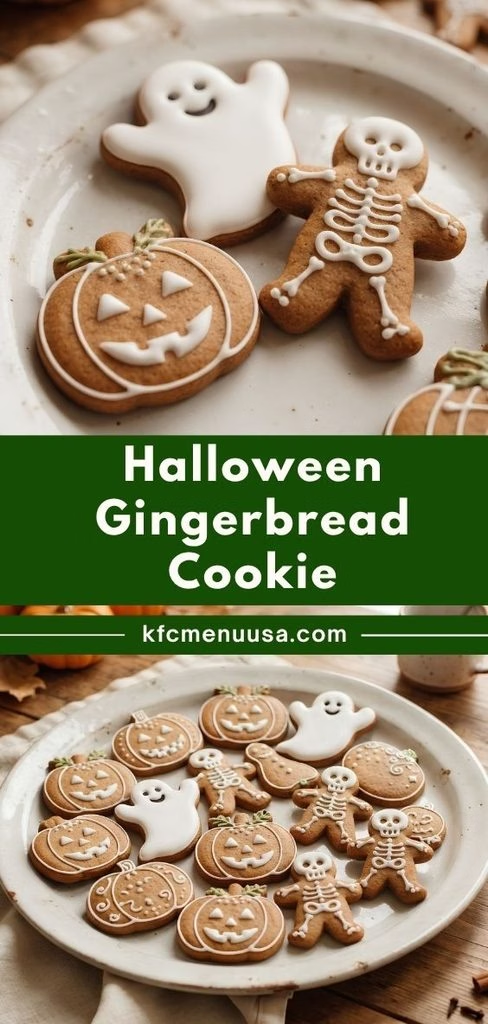
It’s spicy, sweet, and just the right amount of spooky once we cut it into pumpkins, ghosts, and little skeleton men. If you want a low-stress bake that still feels festive, this is the one I keep coming back to. Let me walk you through exactly how I make it at home.
Cooking Time
- Prep Time: 20 minutes
- Cooking Time: 8 minutes
- Total Time: 28 minutes (plus cooling time for icing)
Ingredients
- 2 ¾ cups all-purpose flour — gives the dough enough structure to hold its shape once cut
- 1 teaspoon ground ginger — the classic gingerbread flavor, swap half for cinnamon if your kids find it too spicy
- 1 teaspoon baking soda — helps the cookies puff slightly without losing their shape
- ½ cup softened butter, cubed — rub it into the dry mix with your fingers for a lighter, more tender bite
- ¾ cup soft light brown sugar — adds moisture and that warm caramel-like sweetness
- 2 tablespoons molasses — this is what gives gingerbread its deep color and rich flavor, don’t swap it for regular syrup
- 1 medium egg — binds the dough together so it rolls out smoothly
- 2 cups powdered sugar (for icing) — sift it first so your icing stays lump-free
- 2-3 tablespoons water (for icing) — add slowly, you want it thick enough to hold a line but still pipeable
- food coloring, as needed — gel-based colors work best since liquid drops can thin out the icing too much
Note: this recipe serves 10, making about 20 large cookies depending on your cutter size.
Equipment You Need
- Large mixing bowl — for combining the dry ingredients and rubbing in the butter
- Rolling pin — to roll the dough out evenly before cutting shapes
- Halloween-themed cookie cutters — pumpkins, ghosts, tombstones, or classic gingerbread men all work great
- Baking sheet lined with parchment paper — prevents sticking and helps with even baking
- Wire cooling rack — lets air circulate so cookies cool without going soft on the bottom
- Piping bag or syringe with a small nozzle — gives you control when decorating the cooled cookies
How to Make a Halloween Gingerbread Cookie Recipe?
This dough comes together with barely any fuss, which is exactly why it’s become my go-to for last-minute Halloween baking. There’s no chilling required and no fancy equipment involved. Here’s the process I follow every single time.
Mix the Dry Ingredients
Start by sifting the flour, ground ginger, and baking soda into your large mixing bowl. Give everything a quick stir so the spice is evenly distributed. This step keeps you from biting into a clump of ginger later.

Rub in the Butter
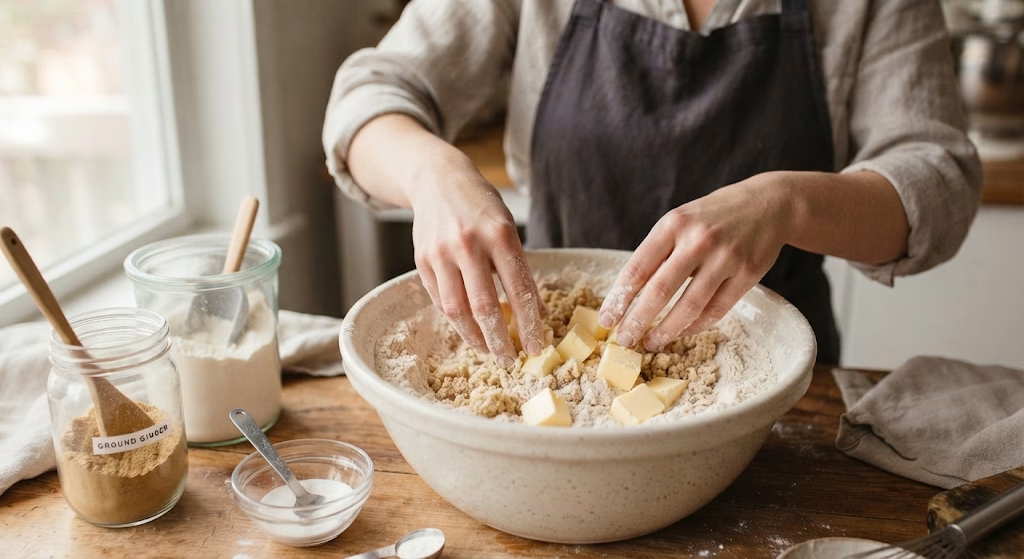
Add your cubed butter to the dry mix and use your fingertips to work it in. Keep going until the texture looks like coarse breadcrumbs, which usually takes a couple of minutes of rubbing.
Add the Wet Ingredients
Stir in the brown sugar, then make a well in the center and crack in the egg along with the molasses. Combine everything with a spoon at first, then switch to kneading by hand until you have a firm, smooth dough.
Roll and Cut the Shapes
Lightly flour your work surface and split the dough in half for easier handling. Roll each half out to about 5mm thick, then press in your Halloween cutters to create pumpkins, ghosts, and gingerbread skeletons.
Bake Until Golden
Transfer your cut shapes onto a lined baking sheet, spacing them a little apart. Bake for 5 to 10 minutes depending on size, watching for the edges to turn a light golden brown before pulling them out.
Cool and Decorate
Let the cookies cool completely on a wire rack before icing, since warm cookies will melt your decorations. Once cooled, pipe on your icing details and let them set before serving or packaging up.
Additional Tips for Making This Recipe Better
I’ve baked more batches of these than I can count, so here’s what I’ve learned along the way.
- I always measure my molasses with a lightly oiled spoon, since it stops the sticky syrup from clinging to the metal.
- I let my butter soften naturally on the counter rather than microwaving it, which keeps the dough from turning greasy.
- I roll my dough between two sheets of parchment paper, so I barely need any extra flour and the cookies stay tender.
- I always double the batch, because these disappear from the cooling rack faster than I can decorate them.
- I keep my icing slightly thicker than I think I need, since it loosens naturally once I start piping.
Common Mistakes to Avoid
- I once rolled my dough too thin trying to stretch the batch further, and the cookies turned out brittle and snapped when I moved them.
- I skipped sifting my dry ingredients one time and ended up with little pockets of baking soda that tasted bitter.
- I used liquid food coloring straight into my icing, and it thinned everything out until it ran right off the cookies.
- I didn’t let my cookies cool fully before icing, and the whole design slid off in a sad little puddle.
- I overcrowded my baking tray once, and the cookies spread into each other instead of holding their shape.
How to Serve Halloween Gingerbread Cookies?
I love setting these out on a big platter lined with orange and black parchment paper for extra Halloween flair. A light dusting of edible glitter or a drizzle of extra icing over the decorated shapes makes them look even more festive on a dessert table.
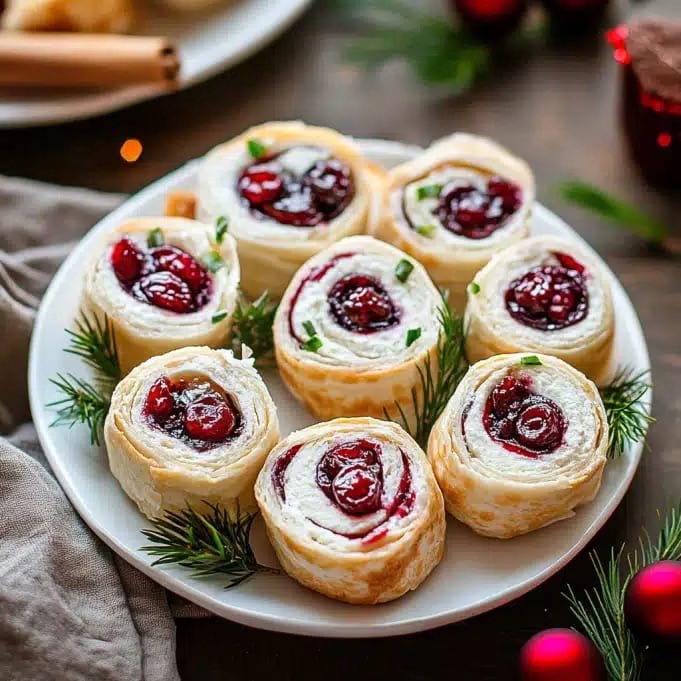
They’re perfect tucked into small cellophane bags tied with ribbon if you’re handing them out to trick-or-treaters or sending them along with your kids to a school party. If you’re already putting together a full spread of seasonal sweets, these pair really nicely on the same table as something like warm, spiced cherry pie poppers for a little variety.

Variations
- Use half ground ginger and half cinnamon for a milder, kid-friendly spice level
- Swap molasses for golden syrup or light corn syrup for a lighter colored cookie
- Add a pinch of ground cloves or allspice for a deeper, more traditional gingerbread flavor
- Make a dairy-free version by swapping the butter for a plant-based block butter
- Skip the icing and dip half of each cookie in melted chocolate for a simpler finish
- Cut the dough into house-shaped pieces and assemble a mini halloween gingerbread house for a fun weekend project
Nutritional Information
Here’s a general breakdown per cookie, though this will vary depending on the size of your cutter and how generously you ice them.
- Calories: 167 kcal
- Protein: 2 g
- Carbohydrates: 28 g
- Fat: 5 g
Make Ahead and Storage
You can make the dough up to two days in advance and keep it wrapped tightly in the fridge until you’re ready to roll and bake.
Store baked, undecorated cookies in an airtight container at room temperature, where they’ll stay fresh for about a week.
Once iced, keep cookies in a single layer or separated with parchment paper, and avoid the fridge since the moisture can make the icing go soft and sticky.
Why You’ll Love This Recipe?
This has become one of my favorite Halloween traditions with the kids, and here’s why I think you’ll feel the same.
- It’s genuinely kid-friendly: The dough is soft, easy to knead, and forgiving enough for little hands to help roll and cut without much mess.
- It comes together fast: With a total time under 30 minutes, this is perfect for last-minute Halloween prep when you’ve forgotten the candy.
- It’s easy to customize: From the spice level to the icing colors, you can adjust nearly every part of this recipe to suit your family’s taste.
- It travels and stores well: These cookies hold their shape nicely, making them ideal for lunchboxes, gift bags, or school parties.
FAQs
Can I use this same dough for a halloween gingerbread house?
Yes, this dough holds its shape well enough to build a small halloween gingerbread house, just roll it slightly thicker for the wall and roof pieces so they hold up structurally.
Is this the same recipe as the halloween gingerbread cookies dreamlight valley players talk about?
Not exactly, the halloween gingerbread cookies dreamlight valley recipe is an in-game item, similar to Minnie’s gingerbread cookies ddv or the caramel apples cookies dreamlight valley players collect, while this is a real, bakeable version you can make in your own kitchen, much like the seasonal treats sold at places like Disneyland.
Why did my icing crack after it dried?
This usually happens when the icing is mixed too thin, so add a touch more powdered sugar next time to thicken it before piping.
Can I freeze the baked cookies?
Yes, undecorated cookies freeze well in a sealed container for up to two months, just thaw them fully before icing.
What can I substitute for molasses if I don’t have any?
Golden syrup or light corn syrup both work in a pinch, though your cookies will turn out a little lighter in color and slightly less rich in flavor.
If you’re planning a whole Halloween dessert table this year, these gingerbread shapes look especially good sitting alongside a rich, chocolatey chocolate chip cake for anyone who wants something a little more indulgent.

Halloween Gingerbread Cookies Recipe
Ingredients
Method
- Start by sifting the flour, ground ginger, and baking soda into your large mixing bowl. Give everything a quick stir so the spice is evenly distributed. This step keeps you from biting into a clump of ginger later.
- Add your cubed butter to the dry mix and use your fingertips to work it in. Keep going until the texture looks like coarse breadcrumbs, which usually takes a couple of minutes of rubbing.
- Stir in the brown sugar, then make a well in the center and crack in the egg along with the molasses. Combine everything with a spoon at first, then switch to kneading by hand until you have a firm, smooth dough.
- Lightly flour your work surface and split the dough in half for easier handling. Roll each half out to about 5mm thick, then press in your Halloween cutters to create pumpkins, ghosts, and gingerbread skeletons.
- Transfer your cut shapes onto a lined baking sheet, spacing them a little apart. Bake for 5 to 10 minutes depending on size, watching for the edges to turn a light golden brown before pulling them out.
- Let the cookies cool completely on a wire rack before icing, since warm cookies will melt your decorations. Once cooled, pipe on your icing details and let them set before serving or packaging up.
Notes
- I always measure my molasses with a lightly oiled spoon, since it stops the sticky syrup from clinging to the metal.
- I let my butter soften naturally on the counter rather than microwaving it, which keeps the dough from turning greasy.
- I roll my dough between two sheets of parchment paper, so I barely need any extra flour and the cookies stay tender.
- I always double the batch, because these disappear from the cooling rack faster than I can decorate them.
- I keep my icing slightly thicker than I think I need, since it loosens naturally once I start piping.