I still remember the first time I pulled a truly golden apple pie out of my own oven instead of my grandma’s. The smell of cinnamon and warm apples filled my whole kitchen, and I knew I’d finally cracked the code to a classic apple pie recipe that actually works every single time.
I’ve tested this Classic Apple Pie Recipe with fresh apples more times than I can count, tweaking the crust and the filling until it felt just right. Now I’m sharing exactly how I make it, so you can skip my early mistakes and go straight to the good part. Trust me, once you try this one, you won’t need to search for another apple pie recipe again.
Cooking Time
- Prep Time: 40 minutes
- Cooking Time: 55 minutes
- Total Time: 1 hour 35 minutes (plus chilling time for the dough)
Ingredients
For the pie crust:
- 2 ½ cups all-purpose flour – gives the crust its structure, so measure it properly and don’t pack it into the cup
- 1 teaspoon salt – balances the sweetness in every bite of crust
- 1 tablespoon granulated sugar – adds a faint sweetness and helps the crust brown nicely
- 1 cup unsalted butter, cold and cubed – cold butter is the secret to a flaky, layered crust
- 6-8 tablespoons ice water – binds the dough without melting the butter, so keep it icy cold
For the apple filling:
- 6-7 medium apples, peeled and sliced – a mix of tart and sweet apples gives the best balanced flavor
- ¾ cup granulated sugar – sweetens the filling and helps draw out natural apple juices
- ¼ cup brown sugar – adds a deeper, caramel-like note you won’t get from white sugar alone
- 2 tablespoons all-purpose flour – thickens the juices so your filling isn’t runny
- 1 teaspoon ground cinnamon – the classic spice that makes apple pie taste like apple pie
- ¼ teaspoon ground nutmeg – a small pinch rounds out the warmth of the cinnamon
- 1 tablespoon fresh lemon juice – keeps the apple slices from browning and brightens the flavor
- 2 tablespoons unsalted butter, cubed – dotted on top of the filling for extra richness
- 1 egg, beaten – used as an egg wash for a glossy, golden crust
- 1 tablespoon coarse sugar – sprinkled on top for a little crunch and sparkle
Note: this recipe serves 8 people.
Equipment You Need
- 9-inch pie dish – holds the crust and filling and gives you that classic pie shape
- Rolling pin – rolls out the chilled dough evenly without tearing it
- Mixing bowls – one for the dry crust ingredients and one for the apple filling
- Pastry cutter or food processor – cuts cold butter into the flour quickly, keeping it from melting
- Sharp knife or apple peeler – makes peeling and slicing apples fast and even
- Pastry brush – spreads the egg wash smoothly over the top crust
- Aluminum foil or pie shield – protects the crust edges from over-browning while baking
How to Make a Classic Apple Pie Recipe?
Making this classic apple pie recipe isn’t complicated once you break it into stages. I always start with the dough first so it has time to chill while I prep the apples. Follow these steps in order and you’ll end up with a pie that looks and tastes bakery-worthy.
Make the Pie Dough
I combine the flour, salt, and sugar in a large bowl, then cut in the cold cubed butter using a pastry cutter until it looks like coarse crumbs. I add ice water one tablespoon at a time, mixing gently just until the dough comes together. Overworking it here is the biggest mistake I used to make, so I stop as soon as it holds.
Chill the Dough
I divide the dough into two discs, wrap them in plastic wrap, and refrigerate for at least an hour. This resting time relaxes the gluten and keeps the butter firm, which is exactly what gives this apple pie crust recipe its flaky layers. Don’t skip this step, even if you’re in a hurry.
Prepare the Apple Filling
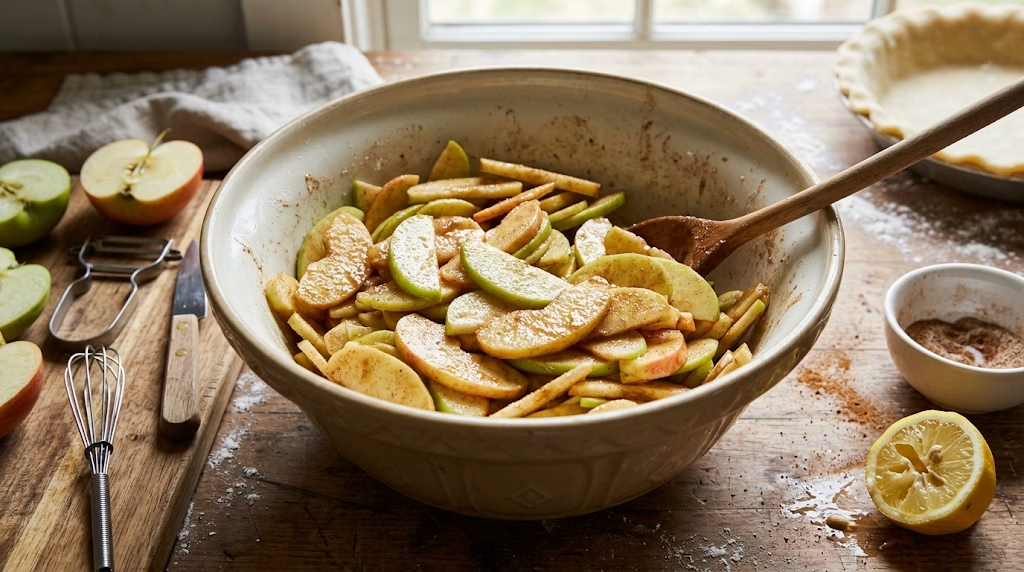
While the dough chills, I peel, core, and thinly slice my apples, then toss them with lemon juice right away. In a separate bowl, I whisk together the sugars, flour, cinnamon, and nutmeg before pouring it over the apples. I mix everything gently until every slice is coated evenly.
Roll Out the Bottom Crust
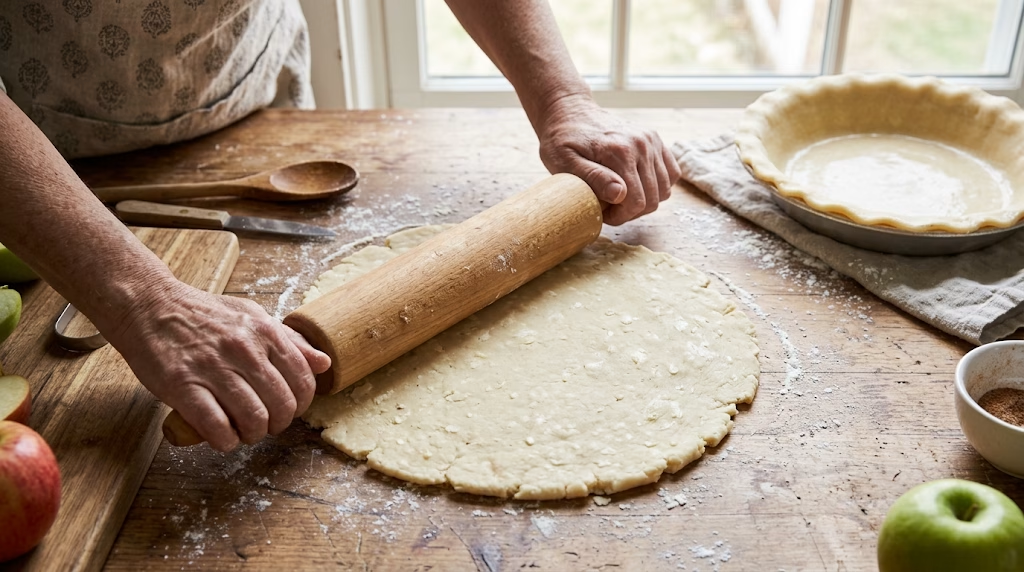
I lightly flour my work surface and roll one dough disc into a circle about two inches wider than my pie dish. I carefully transfer it into the dish, pressing it gently into the corners without stretching it. Stretched dough tends to shrink back during baking, so I take my time here.
Fill and Top the Pie
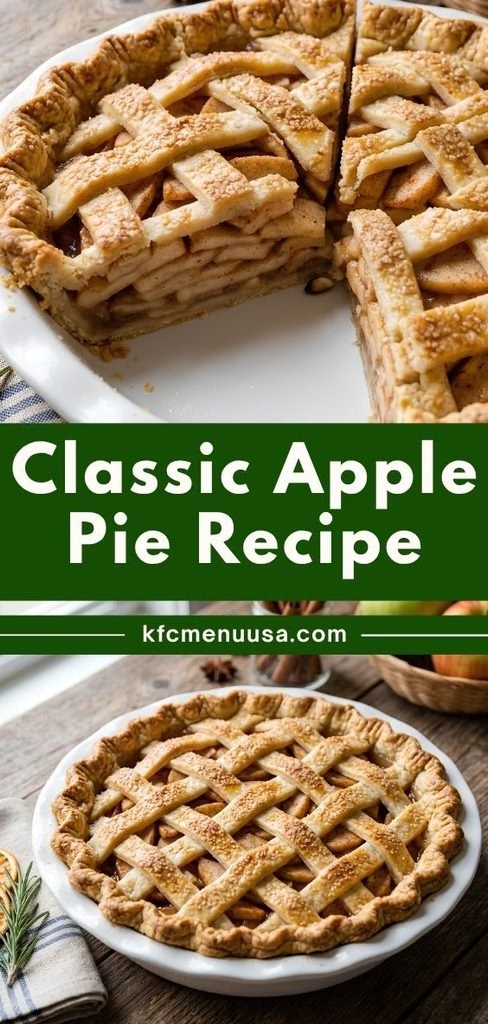
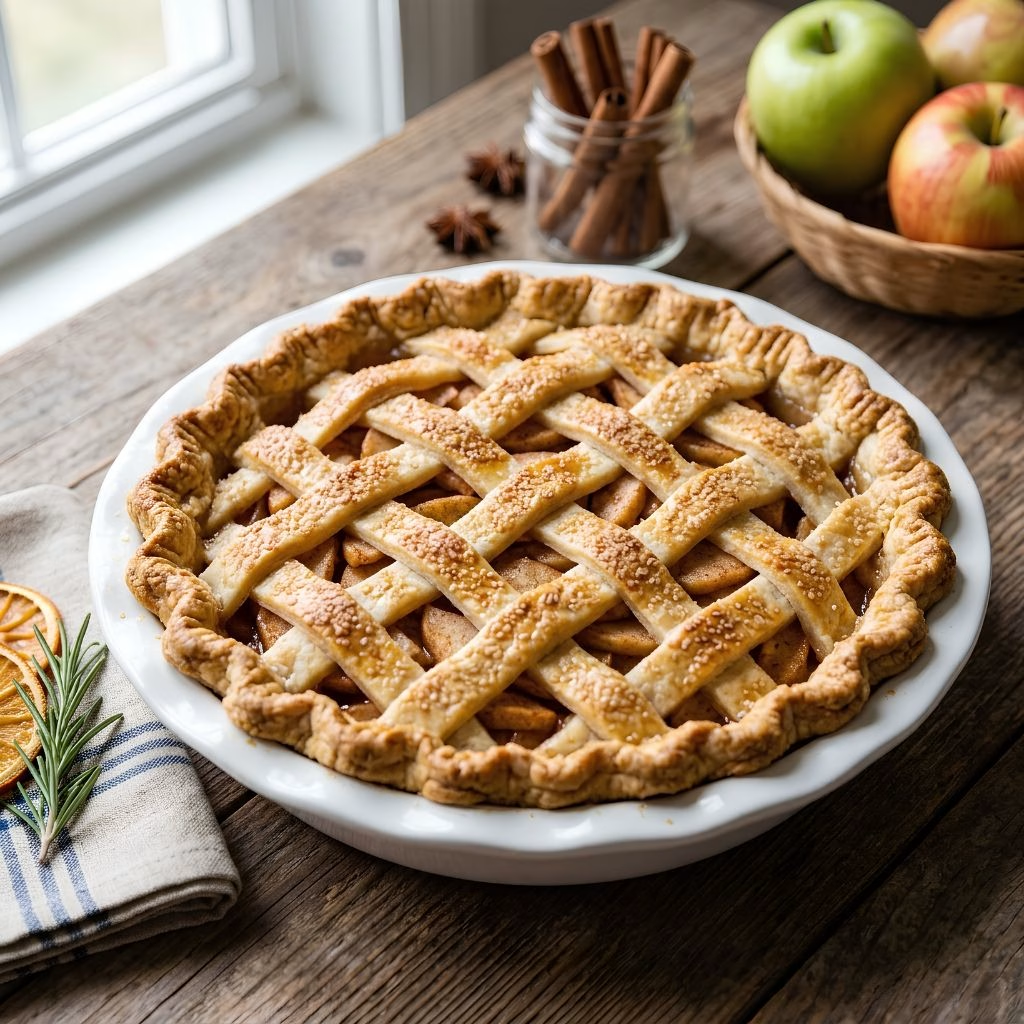
I pour the apple filling into the crust, mounding it slightly in the center, and dot it with the cubed butter. Then I roll out the second disc and either lay it whole over the top with slits cut in or weave it into a lattice. I trim the excess dough and crimp the edges to seal everything in.
Bake the Pie
I brush the top crust with the beaten egg and sprinkle on the coarse sugar for a beautiful golden finish. I bake it at 425°F for 20 minutes, then lower the oven to 375°F and bake for another 35 to 40 minutes. I cover the edges with foil halfway through so they don’t burn before the center is done.
Cool Before Serving
I always let my pie cool on a wire rack for at least two hours before slicing it. I know it’s tempting to cut in right away, but the filling needs that time to set, or it will run all over the plate. Patience here really does pay off.
Additional Tips for Making This Recipe Better
- I always use a mix of two apple varieties because it gives the filling more depth than just one type ever could.
- I chill my mixing bowl and butter in the freezer for ten minutes before starting the dough, which makes the crust extra flaky.
- I never skip resting the dough, since rushed dough always shrinks and cracks on me when I bake it.
- I place my pie dish on a baking sheet before it goes in the oven, so I don’t have to scrub bubbled-over juices later.
- I let the apples sit in the sugar mixture for about ten minutes before filling the crust, which helps release extra juice I can drain off.
Common Mistakes to Avoid
- I used to skip chilling the dough, and my crust always turned out tough instead of flaky, so now I never rush this step.
- I once used only soft, sweet apples, and my filling turned mushy; I stick to a mix of firm, tart apples now.
- I’ve learned that not venting the top crust traps steam and makes the pie soggy, so I always cut a few slits.
- I used to slice my apples unevenly, which meant some pieces were raw while others turned to mush, so I slice them the same thickness now.
- I cut into my pie too early more times than I’d like to admit, and the filling just poured out, so I force myself to wait until it’s fully cooled.
How to Serve Classic Apple Pie?
I love serving this pie slightly warm, with a scoop of vanilla ice cream melting right into the slice. A light drizzle of caramel sauce over the top makes it look extra special for guests. For a cozy family dinner, I dust the crust with a bit of powdered sugar and add a cinnamon stick on the plate for a nice presentation.
If you’re serving it for a holiday table, a dollop of lightly sweetened whipped cream and a sprig of fresh mint instantly makes the plate look more inviting. This pie also pairs beautifully with a side like my go-to buttermilk pie crust recipe, which I use as a base whenever I want to switch up the pastry style.
Variations
- Swap the butter for a plant-based alternative to make this a dairy-free apple pie recipe.
- Use a sugar substitute like monk fruit sweetener if you want a lower-sugar version.
- Add a handful of dried cranberries or raisins to the filling for extra texture and tartness.
- Mix in a tablespoon of caramel sauce with the apples for a gooier, dessert-style filling.
- Top with a crumble topping instead of a second crust if you prefer a Dutch apple pie style.
- Use a ready-made pastry sheet if you want a simple apple pie recipe with ready made pastry that saves time.
Nutritional Information
Here’s a rough idea of what one slice of this pie contains, based on 8 servings:
- Calories: 380 kcal
- Protein: 3g
- Carbohydrates: 52g
- Fat: 18g
Make Ahead and Storage
You can make the dough up to 3 days ahead and keep it wrapped tightly in the fridge, or freeze it for up to 2 months before rolling it out.
Once baked, this pie stays fresh at room temperature for about 2 days if loosely covered, or in the fridge for up to 5 days.
To reheat, I place slices in a 350°F oven for about 10 minutes, which brings back that fresh-baked crispness far better than the microwave does.
Why You’ll Love This Recipe?
This classic apple pie recipe has earned a permanent spot in my recipe box, and here’s why I think you’ll feel the same way.
- It’s genuinely beginner-friendly: even if you’ve never made a pie crust before, these simple steps walk you through it without any guesswork.
- It’s endlessly versatile: you can swap apples, spices, or toppings to make it your own every single time you bake it.
- It fits different diets: with a few easy swaps, it works as a dairy-free or lower-sugar dessert without losing its classic flavor.
- It’s a crowd-pleaser: I’ve brought this to family dinners and potlucks, and it’s always the first dessert to disappear.
- It tastes even better the next day: the flavors settle and deepen overnight, so leftovers are something to look forward to.
FAQs
Can I use a different type of apple for this recipe?
Yes, you can use any firm baking apple like Honeycrisp, Braeburn, or Golden Delicious instead of Granny Smith.
Why is my apple pie filling runny?
This usually happens when the apples release too much juice or the flour hasn’t had time to thicken it properly during baking.
Can I freeze this pie before baking it?
Absolutely, you can assemble the pie, wrap it tightly, and freeze it unbaked for up to 3 months, then bake it straight from frozen with extra time added.
Do I have to make my own pie crust?
No, a store-bought pie crust works fine if you’re short on time, though a homemade one does give you better flavor and flakiness.
How do I know when my apple pie is fully baked?
Look for a deep golden crust and bubbling filling visible through the vents, which usually takes about 55 minutes total at the temperatures listed above.
Looking for another cozy dessert to pair with your holiday spread? Try this pumpkin pie recipe for a classic autumn combination on your table.

Classic Apple Pie Recipe
Ingredients
Method
- I combine the flour, salt, and sugar in a large bowl, then cut in the cold cubed butter using a pastry cutter until it looks like coarse crumbs. I add ice water one tablespoon at a time, mixing gently just until the dough comes together. Overworking it here is the biggest mistake I used to make, so I stop as soon as it holds.
- I divide the dough into two discs, wrap them in plastic wrap, and refrigerate for at least an hour. This resting time relaxes the gluten and keeps the butter firm, which is exactly what gives this apple pie crust recipe its flaky layers. Don’t skip this step, even if you’re in a hurry.
- While the dough chills, I peel, core, and thinly slice my apples, then toss them with lemon juice right away. In a separate bowl, I whisk together the sugars, flour, cinnamon, and nutmeg before pouring it over the apples. I mix everything gently until every slice is coated evenly.
- I lightly flour my work surface and roll one dough disc into a circle about two inches wider than my pie dish. I carefully transfer it into the dish, pressing it gently into the corners without stretching it. Stretched dough tends to shrink back during baking, so I take my time here.
- I pour the apple filling into the crust, mounding it slightly in the center, and dot it with the cubed butter. Then I roll out the second disc and either lay it whole over the top with slits cut in or weave it into a lattice. I trim the excess dough and crimp the edges to seal everything in.
- I brush the top crust with the beaten egg and sprinkle on the coarse sugar for a beautiful golden finish. I bake it at 425°F for 20 minutes, then lower the oven to 375°F and bake for another 35 to 40 minutes. I cover the edges with foil halfway through so they don’t burn before the center is done.
- I always let my pie cool on a wire rack for at least two hours before slicing it. I know it’s tempting to cut in right away, but the filling needs that time to set, or it will run all over the plate. Patience here really does pay off.
Notes
- I always use a mix of two apple varieties because it gives the filling more depth than just one type ever could.
- I chill my mixing bowl and butter in the freezer for ten minutes before starting the dough, which makes the crust extra flaky.
- I never skip resting the dough, since rushed dough always shrinks and cracks on me when I bake it.
- I place my pie dish on a baking sheet before it goes in the oven, so I don’t have to scrub bubbled-over juices later.
- I let the apples sit in the sugar mixture for about ten minutes before filling the crust, which helps release extra juice I can drain off.