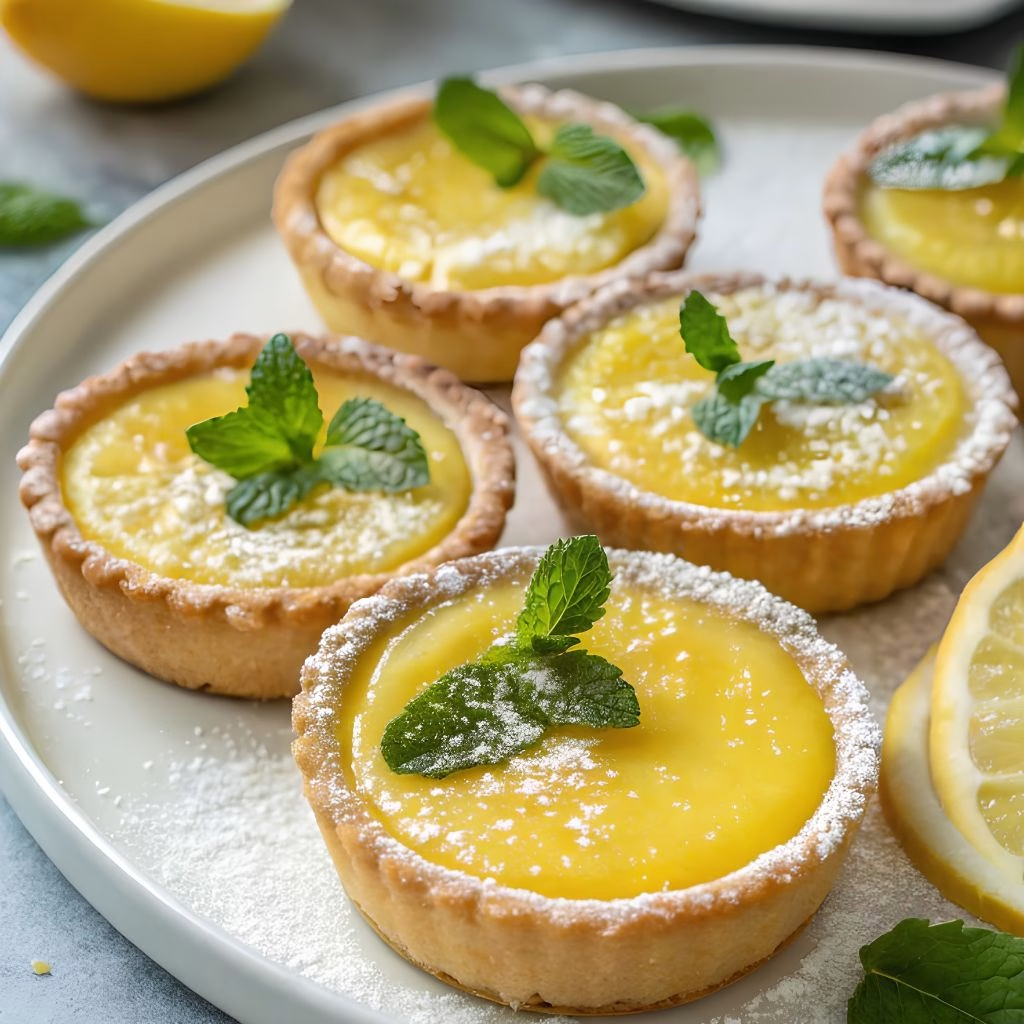
I still remember the first time I pulled a tray of these little tarts out of my oven and thought, wait, did I really just make something that looks this good? I’ve bought fancy lemon tarts from bakeries for years, paying way more than I probably should, and now I make them in my own kitchen whenever I need a quick showstopper.
This Easy Lemon Curd Tart Recipe turned into one of my go-to desserts for get-togethers because it looks impressive but takes almost no real effort. Once I figured out the little tricks that make the crust crisp and the filling silky, I never looked back. I’m walking you through everything I do, step by step, so you can get the same buttery, tangy, melt-in-your-mouth result the very first time.

Cooking Time
- Prep Time: 15 minutes
- Cook Time: 20 minutes
- Total Time: 1 hour 35 minutes (includes chilling)
Ingredients
- All-purpose flour (1 ¼ cups) – this forms the base of your shortcrust, giving the shell its sturdy yet tender bite
- Salt (½ teaspoon) – balances the sweetness of the curd and sharpens the buttery flavor of the crust
- Unsalted butter, cold and cubed (½ cup) – cold butter is the secret to a flaky crust, so don’t let it soften
- Ice-cold water (2 tablespoons) – binds the dough without activating gluten too much, keeping the crust tender
- Lemon curd, homemade or store-bought (1 cup) – the star filling, so pick a good quality jar if you’re short on time
- Fresh berries, for garnish (a small handful) – adds color, freshness, and a nice contrast to the tangy curd
Note: This recipe serves 6, with enough dough and curd for 6 individual tart shells.
Equipment You Need
- Food processor – makes quick work of cutting butter into the flour for the pastry
- Rolling pin – rolls the chilled dough out evenly before cutting your tart rounds
- Round cookie cutter – cuts uniform circles of dough that fit neatly into the tart tins
- Tart tin or muffin tin – shapes and holds the pastry as it bakes into individual shells
- Pie weights (or dried beans/rice) – keeps the pastry from puffing up during blind baking
- Parchment paper – lines the shells so the pie weights don’t stick to the dough
- Mixing bowl – useful if you’re making the dough by hand instead of using a food processor
- Wire cooling rack – lets the baked shells cool evenly before you add the filling
How to Make Easy Lemon Curd Tart Recipe?
This part is really where the magic happens, but don’t worry, none of it is complicated. I’m breaking it into small stages so you always know exactly what’s next. Once you’ve done it once, you’ll find yourself making it on repeat.
Mix the Pastry Dough
Pulse the flour and salt together in your food processor until combined. Add the cold, cubed butter and pulse again until the mixture looks like coarse, chunky oatmeal, with visible bits of butter still intact. Drizzle in the ice water one tablespoon at a time, pulsing just until the dough starts clumping into sandy crumbs. I always stop the moment it holds together, since overmixing makes the crust tough instead of flaky.
Chill the Dough
Tip the crumbly dough out onto your counter and gently knead it just enough to bring it together into a disc. Wrap it tightly in plastic wrap so it doesn’t dry out. Pop it in the fridge for at least an hour, though I sometimes leave mine overnight if I’m prepping ahead for a party the next day.
Roll and Cut the Shells
Lightly flour your work surface and rolling pin before you start, since lemon dough can get sticky fast. Roll the chilled disc out to about ⅛ inch thickness, keeping the pressure even so you don’t get thin spots. Use your round cutter to stamp out circles slightly larger than your tart tins, then gently press each one into place.
Blind Bake the Tart Shells
Preheat your oven to 325°F while you line each pastry shell with a small piece of parchment paper and fill it with pie weights. Bake for about 15 minutes, then carefully lift out the paper and weights before returning the shells to the oven for another 5 minutes. You’re looking for a light golden color all over, not just around the edges.
Cool the Shells Completely
Once baked, let the tart shells rest in their tins for a few minutes before transferring them to a wire rack. I never rush this part because warm shells can crack or crumble when you try to remove them. Give them a full 15 to 20 minutes to firm up before filling.
Fill and Garnish
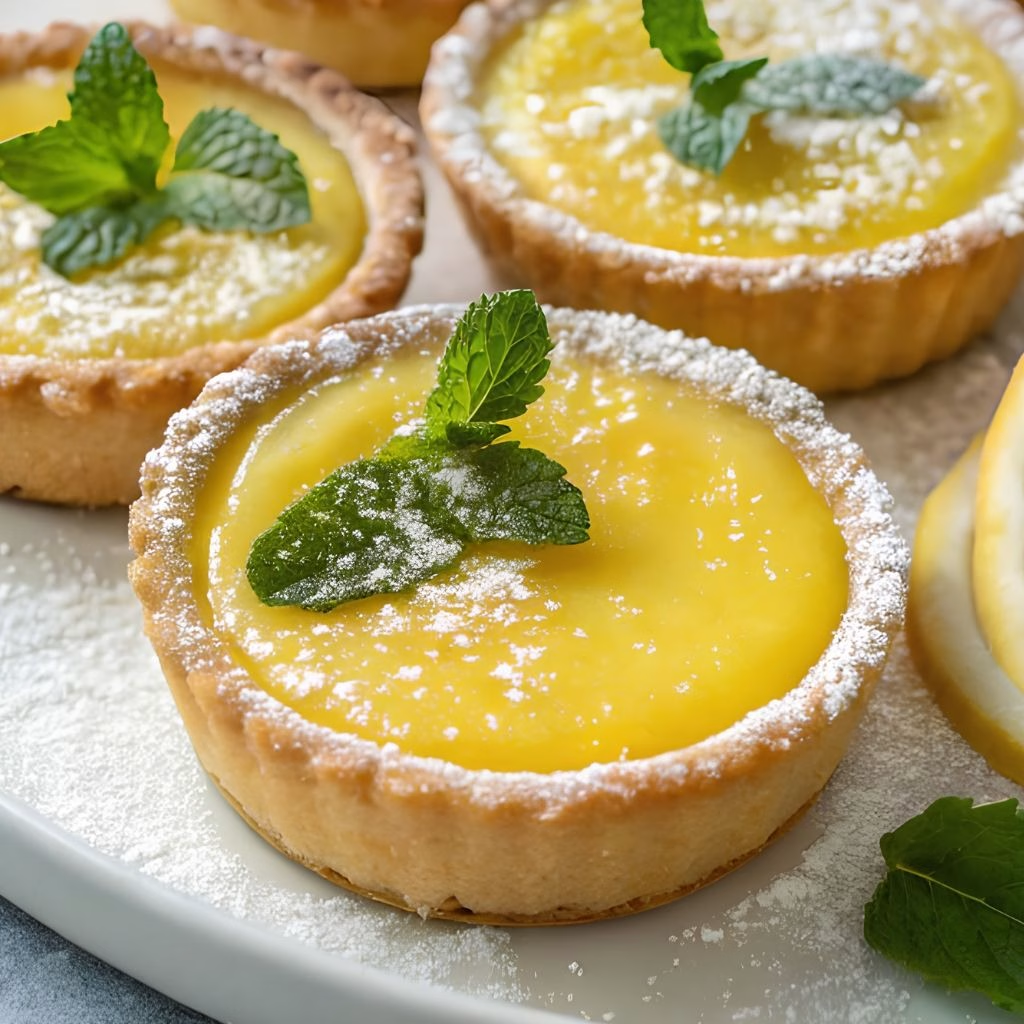
Spoon 2 to 3 tablespoons of lemon curd into each cooled shell, smoothing the top with the back of your spoon for a neat finish. Top each tart with a few fresh berries right before serving so they stay bright and don’t go soggy. This final step takes barely a minute but makes every tart look bakery-perfect.
Additional Tips for Making This Recipe Better
I’ve made this recipe more times than I can count, and here’s what actually makes a difference for me.
- I always keep my butter in the freezer for ten minutes before starting, since truly cold butter gives the flakiest crust every single time.
- I stopped skipping the chill step after rushing it once and ending up with dough that shrank badly in the oven.
- I like doubling the pastry batch and freezing half, so I have shells ready to bake whenever a craving hits.
- I taste my lemon curd before filling the tarts, and if it’s too sweet, I stir in a tiny splash of fresh lemon juice to sharpen it.
- I fill my tarts only right before serving them, because the crust stays crisp so much longer that way.
Common Mistakes to Avoid
- I once overworked my dough trying to get it perfectly smooth, and it turned out tough instead of flaky, so now I stop mixing the second it clumps together.
- I skipped the pie weights once thinking it wouldn’t matter, and the base puffed up into a dome, so I never skip that step now.
- I’ve learned not to fill warm shells with curd, since the heat can thin the curd out and make it slide right off the crust.
- I used to guess when my shells were done, but pulling them too early left the centers pale and slightly raw, so I always check for even golden color.
- I made the mistake of filling all my tarts hours ahead for a party once, and the crusts turned soft, so I now fill them at the very last minute.
How to Serve Easy Lemon Curd Tart Recipe?
I love setting these out on a simple white platter so the bright yellow curd really pops against the plate. A dusting of powdered sugar right before guests arrive adds a lovely finishing touch without overpowering the tang.
I usually scatter fresh raspberries, blueberries, or thin lemon slices around the tray for a bit of color and freshness. For a slightly fancier presentation, a small mint leaf tucked beside each tart makes them look like they came straight from a patisserie window.
Variations
- Swap the curd for lime, passionfruit, or orange curd if you want a different citrus twist on the same base.
- Use a dairy-free butter substitute in the pastry to make the shells suitable for a dairy-free diet.
- Try a graham cracker or digestive biscuit crust instead of shortcrust if you want a quicker, no-fuss base.
- Fold a spoonful of whipped cream into the curd before filling for an extra light, mousse-like texture.
- Add a thin layer of raspberry or strawberry jam under the curd for a fruity surprise in every bite.
- Use a sugar substitute in the pastry if you’re keeping things lower in sugar, though the curd itself will still carry natural sweetness.
Nutritional Information
Here’s a quick look at what one tart brings to the table, so you know what you’re working with.
- Calories: 357 kcal
- Protein: 4g
- Carbohydrates: 43g
- Fat: 19g
Make Ahead and Storage
You can bake the tart shells up to two or three days in advance if you keep them in a sealed, airtight container at room temperature. Just wait to fill them with curd until you’re ready to serve, since the moisture will soften the pastry over time.
Homemade lemon curd keeps well in the fridge for about a week when stored in a sealed jar, while store-bought curd usually lasts much longer thanks to preservatives. Once assembled, filled tarts are best eaten within a day and should always be kept chilled in the fridge.
If you want to freeze components, the raw pastry dough freezes beautifully for up to three months, tightly wrapped. I don’t recommend freezing the baked shells or the filled tarts, since the texture suffers once thawed.
Why You’ll Love This Recipe?
This one earned a permanent spot in my dessert rotation, and here’s why I think you’ll feel the same way.
- It looks incredibly impressive for how little actual effort it takes, so I always reach for it when I want to wow guests without stress.
- It’s endlessly adaptable, since I can swap in different curds, crusts, or toppings depending on my mood or what’s in my fridge.
- The components can all be made ahead, which makes party planning so much easier when I’m juggling several dishes at once, especially alongside savory options like Mediterranean Salmon Patties and Baked Cream Cheese Rangoon Rolls.
- It hits that perfect sweet and tangy balance that feels light instead of heavy, even after a big meal.
- It works for practically any occasion, from casual weeknight treats to bridal showers and holiday tables.
FAQs
Can I make lemon curd tarts using a jar of lemon curd?
Yes, absolutely. I use store-bought curd all the time when I’m short on time, and it works beautifully in the baked shells.
Can I make a no-bake lemon curd tart with a jar of curd?
Yes, if you use a no-bake biscuit crust instead of shortcrust, you can skip the oven entirely and just chill the crust before filling.
Is this similar to a Jamie Oliver style lemon tart?
It’s a similar concept, individual shortcrust shells with a smooth lemon filling, though every baker adds their own small twists to the pastry and curd ratio.
Can I use puff pastry instead of shortcrust for these tarts?
Yes, puff pastry works well and gives you a flakier, airier shell, though it won’t hold its shape quite as neatly as shortcrust.
Is shortcrust pastry the best choice for lemon curd tarts?
I think so. Shortcrust holds the curd well without going soggy quickly, and its slightly sandy texture pairs nicely with the smooth filling.
How long do lemon curd tarts stay fresh once filled?
Filled tarts are best enjoyed within a day and should be kept in the fridge to keep the crust from softening too much.

Easy Lemon Curd Tart Recipe
Ingredients
Method
- Pulse the flour and salt together in your food processor until combined. Add the cold, cubed butter and pulse again until the mixture looks like coarse, chunky oatmeal, with visible bits of butter still intact. Drizzle in the ice water one tablespoon at a time, pulsing just until the dough starts clumping into sandy crumbs. I always stop the moment it holds together, since overmixing makes the crust tough instead of flaky.
- Tip the crumbly dough out onto your counter and gently knead it just enough to bring it together into a disc. Wrap it tightly in plastic wrap so it doesn’t dry out. Pop it in the fridge for at least an hour, though I sometimes leave mine overnight if I’m prepping ahead for a party the next day.
- Lightly flour your work surface and rolling pin before you start, since lemon dough can get sticky fast. Roll the chilled disc out to about ⅛ inch thickness, keeping the pressure even so you don’t get thin spots. Use your round cutter to stamp out circles slightly larger than your tart tins, then gently press each one into place.
- Preheat your oven to 325°F while you line each pastry shell with a small piece of parchment paper and fill it with pie weights. Bake for about 15 minutes, then carefully lift out the paper and weights before returning the shells to the oven for another 5 minutes. You’re looking for a light golden color all over, not just around the edges.
- Once baked, let the tart shells rest in their tins for a few minutes before transferring them to a wire rack. I never rush this part because warm shells can crack or crumble when you try to remove them. Give them a full 15 to 20 minutes to firm up before filling.
- Spoon 2 to 3 tablespoons of lemon curd into each cooled shell, smoothing the top with the back of your spoon for a neat finish. Top each tart with a few fresh berries right before serving so they stay bright and don’t go soggy. This final step takes barely a minute but makes every tart look bakery-perfect.
Notes
- I always keep my butter in the freezer for ten minutes before starting, since truly cold butter gives the flakiest crust every single time.
- I stopped skipping the chill step after rushing it once and ending up with dough that shrank badly in the oven.
- I like doubling the pastry batch and freezing half, so I have shells ready to bake whenever a craving hits.
- I taste my lemon curd before filling the tarts, and if it’s too sweet, I stir in a tiny splash of fresh lemon juice to sharpen it.
- I fill my tarts only right before serving them, because the crust stays crisp so much longer that way.