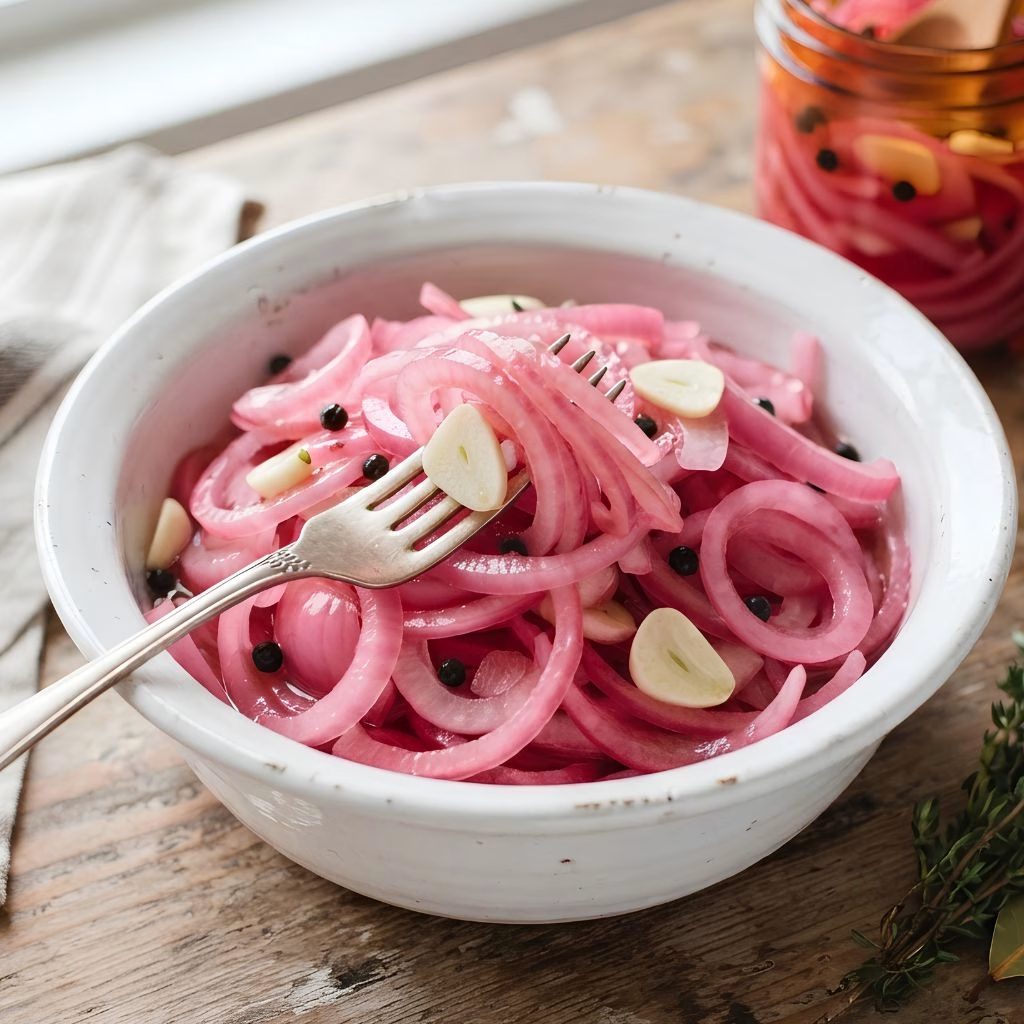
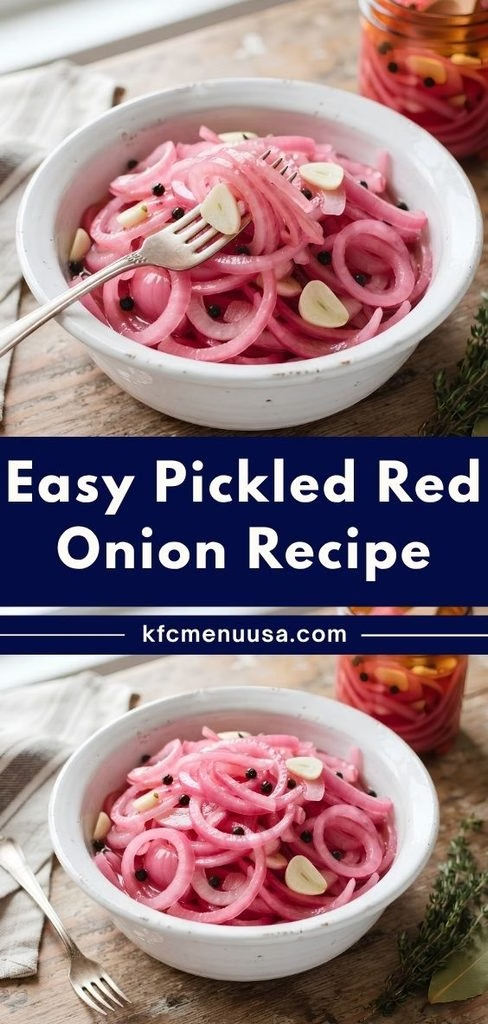
I made this Easy Pickled Red Onion Recipe on a lazy Sunday, and I haven’t stopped making them since. The color turned bright pink within the hour, which honestly felt like a little kitchen magic.
My first bite was tangy, a touch sweet, and pleasantly crunchy. It took only five basic ingredients and about ten minutes of my time. If you want a pickled red onions recipe that upgrades almost every meal, I think this is the one.
Cooking Time
This recipe is fast, and most of the “work” is just waiting while the onions turn pink.
- Prep Time: 5 minutes
- Cooking Time: 5 minutes
- Total Time: 10 minutes (plus about 1 hour of resting in the fridge)
Ingredients
Here is everything you need for this best pickled onions recipe. It uses simple pantry staples.
- 2 small red onions: Slice them thin for the best crunch and the fastest pickling.
- 2 cups white vinegar: It gives the clean, sharp tang that does the actual pickling.
- 2 cups water: It softens the vinegar so the brine tastes balanced, not harsh.
- 1/3 cup cane sugar: It mellows the sourness with a gentle sweetness.
- 2 tablespoons sea salt: Season the onions, so use fine grains that dissolve fast.
- 2 garlic cloves (optional): They add a mellow, savory depth, so lightly smash them first.
- 1 teaspoon mixed peppercorns (optional): They add a mild, warm spice to the brine.
Note: serves several
Equipment You Need
You don’t need fancy tools for this one.
- Mandoline: It gives thin, even slices in seconds.
- Sharp knife: It works well if you don’t own a mandoline.
- Medium saucepan: You’ll warm the brine here until the sugar and salt melt.
- Two 16-ounce jars (or three 10-ounce jars): They hold the onions and brine in the fridge.
- Measuring cups and spoons: They keep the brine ratio accurate every time.
How to Make an Easy Pickled Red Onion Recipe?
This quick pickled red onions method is almost foolproof. You slice, warm a simple brine, pour, and wait. Follow the steps in order and you’ll get pink, crisp onions.
Slice the Onions Thinly
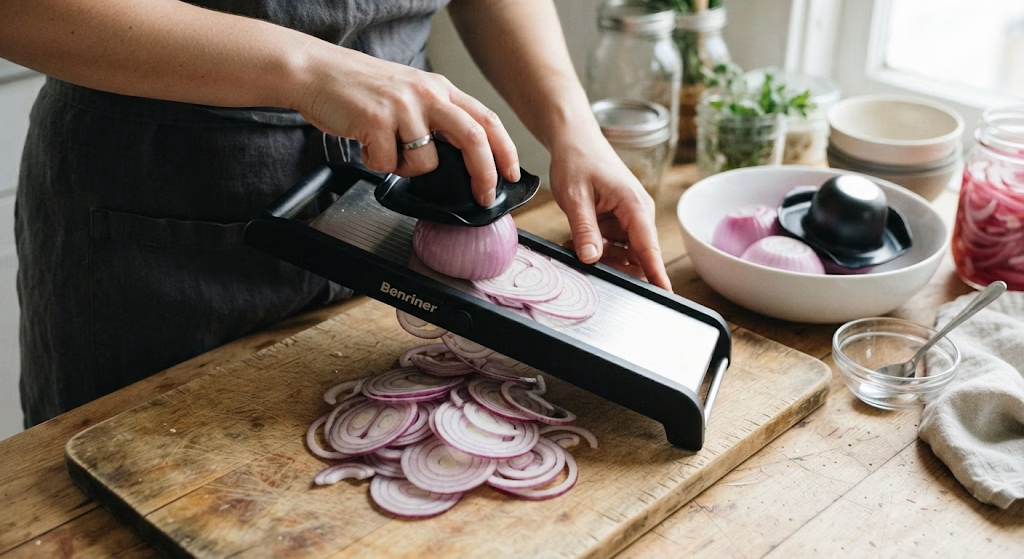
Peel your red onions and cut them into thin rounds or half-moons. I use a mandoline because it makes every slice the same thickness. Even slices pickle at the same speed, so every bite tastes right.
Pack the Jars
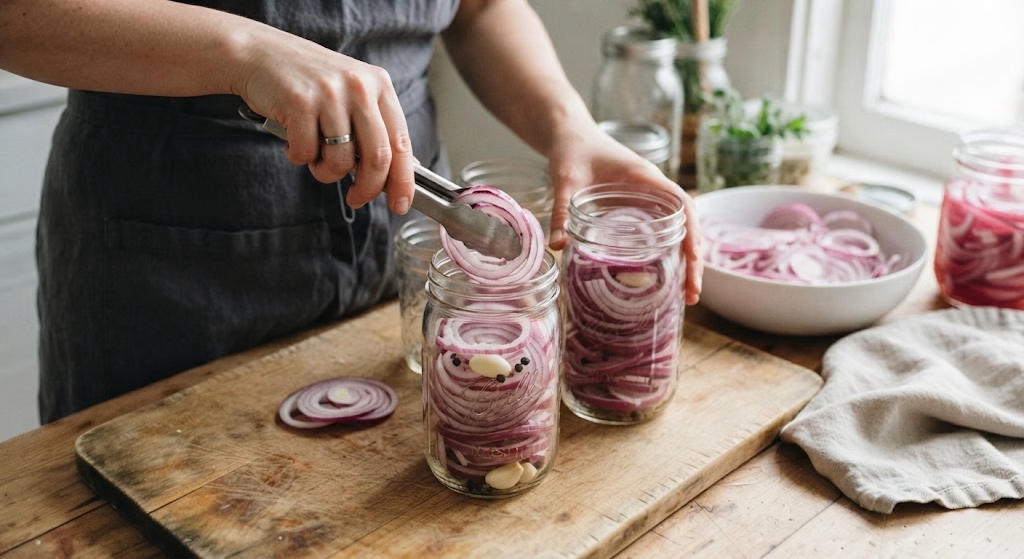
Divide the sliced onions between your clean jars. Don’t press them down too hard, because the brine needs room to flow around them. If you’re using garlic and peppercorns, add them now.
Add the Optional Flavors
For two jars, I put one garlic clove and half a teaspoon of peppercorns in each. Three smaller jars work fine too, so just split things evenly. Skip this step if you want a plain, classic batch.
Heat the Brine
Pour the vinegar, water, sugar, and salt into a medium saucepan. Warm it over medium heat and stir until everything dissolves. This takes about a minute, and you don’t need a hard boil.
Pour and Cool
Let the brine cool for a few minutes, then pour it over the onions. Make sure the slices are covered. Leave the jars on the counter until they reach room temperature.
Chill and Wait
Put the lids on and move the jars to the fridge. Very thin slices turn bright pink and tender in about an hour. Thicker slices do better overnight.
Taste and Enjoy
Once the onions are tender and vividly pink, they’re ready. Try one on its own to check the tang. Then pile them onto whatever you’re eating.
Additional Tips for Making This Recipe Better
A few small habits make a big difference. These come from my own batches.
- I always slice the onions as evenly as I can, since uneven slices leave some pieces soft and others raw.
- I taste the brine before pouring it, and I add a pinch more sugar if it tastes too sharp for me.
- I let the brine cool slightly, because pouring it boiling hot made my onions softer than I like.
- I use clean glass jars, and I keep the onions fully under the liquid for the best texture.
- I don’t throw out the leftover brine. I use it as a mild vinegar for salad dressings or beans, or I pickle one more small batch in it.
- I label the jar with the date so I always know how fresh it is.
Common Mistakes to Avoid
Pickling is simple, but a few slip-ups can spoil a batch. I’ve made most of them myself.
- Slicing too thick: My first batch stayed harsh and raw-tasting for days. Aim for thin slices, and use a mandoline if you can.
- Skipping the stir: I once left the sugar and salt undissolved, and the flavor came out uneven. Stir until the liquid looks clear.
- Pouring boiling brine straight in: This made my onions limp and dull. Let it cool for a few minutes first.
- Not covering the onions: The exposed pieces on top never turned pink for me. Press them down gently so the brine covers them all.
- Eating them too early: I got impatient once and the onions tasted sharp. Wait until they’re bright pink and tender.
How to Serve an Easy Pickled Red Onion Recipe?
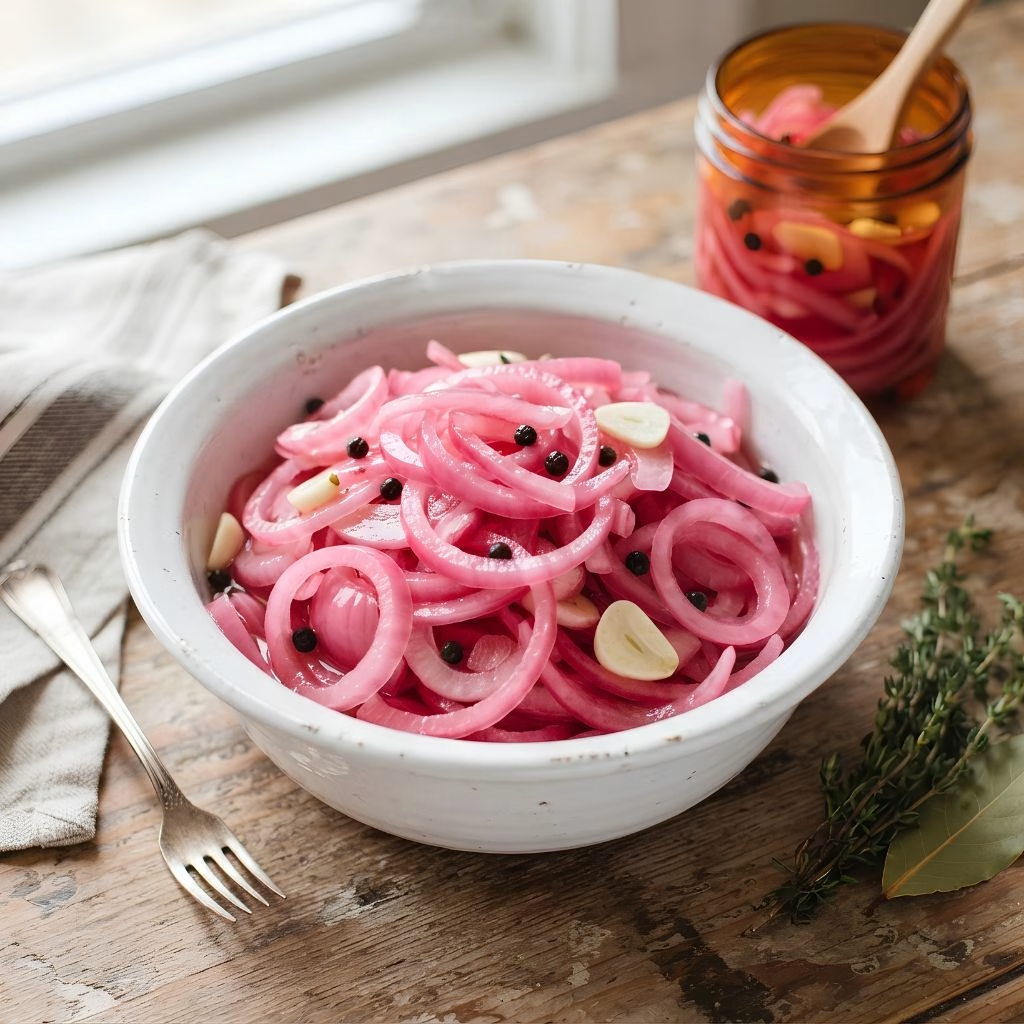
These onions work like a tangy finishing touch. Serve them cold, straight from the fridge, so the crunch stays sharp. For a pretty plate, tuck a small pile on top of the dish instead of mixing them in, so the pink color shows.
I love them piled on avocado toast with a pinch of flaky salt. They also brighten a grain bowl, a burrito bowl, or a big green salad. On a burger or a veggie burger, they cut through the richness so well. Tacos, breakfast burritos, and egg sandwiches get the same lift.
They’re great with juicy sausages too. I like to spoon them over my Easy Stovetop Bratwurst Recipe because the tang balances the savory brats perfectly.
For garnishes, try fresh cilantro, crumbled feta, or a scattering of sesame seeds. A few thin lime wedges on the side also look lovely. Serve the onions in a small glass bowl on a charcuterie board and let people help themselves.
Variations
This recipe is easy to adjust to your taste. Here are some ideas.
- Mixed vinegars: Try white wine vinegar with rice vinegar for a softer, gentler flavor.
- Apple cider blend: Combine apple cider vinegar with white vinegar for a fruity, tangy twist.
- Sugar swap: Coconut sugar may work as a substitute, and it gives a slightly deeper flavor.
- Less sugar: Use a little less sugar for a sharper, more savory pickle.
- Garlic and pepper: Add the optional garlic and peppercorns for a more complex taste.
- Spicy kick: Drop in a few chili flakes or a sliced jalapeño for heat.
- Other veggies: The same brine also works for carrots, radishes, and peppers.
Nutritional Information
These are rough estimates for one small serving of onions with a little brine. I’m assuming the batch is divided into about 12 servings. Your numbers will vary based on brand and how much brine you eat.
- Calories: about 15
- Protein: 0 g
- Carbohydrates: about 3.5 g
- Fat: 0 g
Make Ahead and Storage
This recipe is perfect for meal prep. Make one batch and use it all week.
Make Ahead
Make the onions at least an hour before you need them. For the best flavor, I prepare them the night before. By morning they’re bright pink, tender, and ready for sandwiches or salads.
Storage
Keep the pickled onions in a covered jar in the refrigerator. They stay fresh for up to 2 weeks. Always use a clean fork or spoon so the brine stays clean.
Freezing
I don’t recommend freezing pickled onions. Freezing changes the texture and makes them soft and watery. Since they’re so quick to make, it’s easy to whip up a fresh batch instead.
Reheating
You don’t reheat pickled onions at all. They taste best cold or at room temperature. If you’re adding them to a hot dish, just place them on top right before serving.
Why You’ll Love This Recipe?
There’s a reason I keep a jar of these in my fridge at all times. Here’s what makes this recipe special.
- Ready in minutes: You only need 10 minutes of active time. The fridge does the rest while you go about your day.
- Just a few ingredients: Everything is a pantry basic. The brine takes about a minute to mix and warm.
- Endlessly versatile: Toss them on tacos, salads, burgers, and bowls. They even work on a snack like my Easy Pretzel Dog Recipe for a tangy, salty bite.
- Easy to customize: Swap the vinegar, add spices, or change the sugar. The recipe is flexible, so you can make it your own.
- Naturally vegan and gluten-free: The ingredients are all plant-based. That makes them a friendly topping for almost any guest.
FAQs
Can I make pickled red onions without cooking?
This recipe warms the brine for about a minute so the sugar and salt dissolve. That short step makes the flavor smooth and even. A fully no-cook version is possible, but it takes more stirring and may taste less balanced.
How long do pickled red onions last?
They keep in the fridge for up to 2 weeks in a covered jar. Some readers say they last even longer. For the best taste and crunch, I finish mine within two weeks.
Can I use whole onions instead of slices?
This recipe is built for thin slices, which pickle in about an hour. Whole pickled onions would need a much longer time and a different method. For the old fashioned pickled onion recipe style, I’d look for a recipe made just for whole onions.
Which vinegar works best?
White vinegar gives a clean, sharp flavor and is what I use most. White wine vinegar mixed with rice vinegar tastes milder. Apple cider vinegar blended with white vinegar adds a fruity tang.
How do I know when they’re ready?
Look for a bright pink color and a tender bite. Very thin slices usually get there in about an hour. Thicker slices are better after a night in the fridge.

Easy Pickled Red Onion Recipe
Ingredients
Method
- Peel your red onions and cut them into thin rounds or half-moons. I use a mandoline because it makes every slice the same thickness. Even slices pickle at the same speed, so every bite tastes right.
- Divide the sliced onions between your clean jars. Don’t press them down too hard, because the brine needs room to flow around them. If you’re using garlic and peppercorns, add them now.
- For two jars, I put one garlic clove and half a teaspoon of peppercorns in each. Three smaller jars work fine too, so just split things evenly. Skip this step if you want a plain, classic batch.
- Pour the vinegar, water, sugar, and salt into a medium saucepan. Warm it over medium heat and stir until everything dissolves. This takes about a minute, and you don’t need a hard boil.
- Let the brine cool for a few minutes, then pour it over the onions. Make sure the slices are covered. Leave the jars on the counter until they reach room temperature.
- Put the lids on and move the jars to the fridge. Very thin slices turn bright pink and tender in about an hour. Thicker slices do better overnight.
- Once the onions are tender and vividly pink, they’re ready. Try one on its own to check the tang. Then pile them onto whatever you’re eating.
Notes
- I always slice the onions as evenly as I can, since uneven slices leave some pieces soft and others raw.
- I taste the brine before pouring it, and I add a pinch more sugar if it tastes too sharp for me.
- I let the brine cool slightly, because pouring it boiling hot made my onions softer than I like.
- I use clean glass jars, and I keep the onions fully under the liquid for the best texture.
- I don’t throw out the leftover brine. I use it as a mild vinegar for salad dressings or beans, or I pickle one more small batch in it.
- I label the jar with the date so I always know how fresh it is.