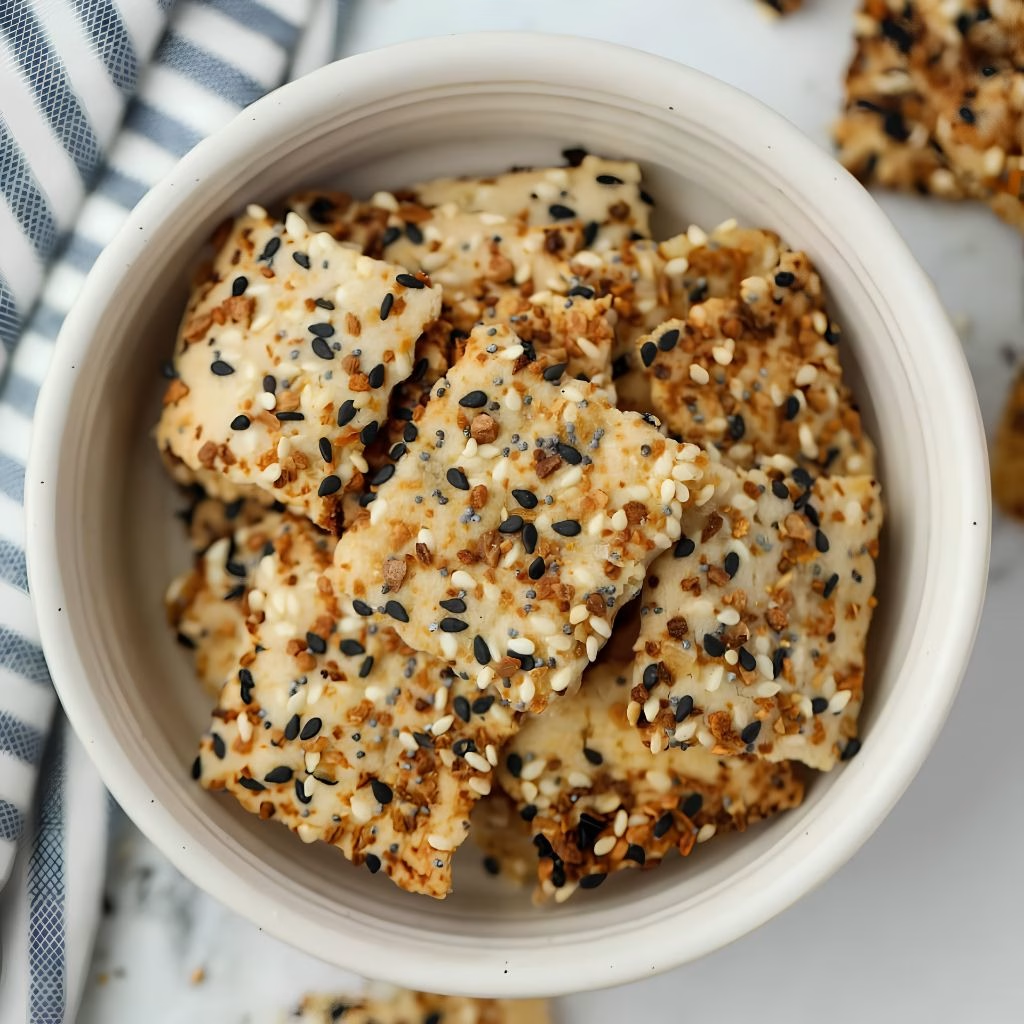
I’ve been sitting on a jar of sourdough discard for weeks, feeling guilty every time I fed my starter and tossed the extra. Then I finally turned it into these crackers, and honestly, I haven’t looked back since.
They’re snappy, salty, tangy, and ridiculously easy to throw together on a lazy afternoon. If you’ve got discard sitting in your fridge right now, I promise this is the best thing you can do with it. Let me walk you through exactly how I make them at home.

Cooking Time
- Prep Time: 15 minutes
- Chill Time: 30 minutes
- Cooking Time: 22 minutes
- Total Time: About 1 hour 10 minutes
Ingredients
- 1 cup (227g) sourdough starter, unfed/discard – this is the star of the show and gives the crackers their signature tang
- 1 cup (113g) all-purpose or white whole wheat flour – builds the structure, so measure it by weight if you can
- 1/2 teaspoon fine sea salt – balances the tang and wakes up the flavor
- 4 tablespoons (57g) unsalted butter, softened – adds richness and helps the dough roll out smooth
- 2 tablespoons dried herbs (rosemary, thyme, or your favorite blend), optional – rosemary especially plays beautifully with the sourdough tang
- Oil, for brushing – helps the coarse salt stick to the top before baking
- Coarse or flaky salt, for sprinkling – gives that finishing crunch and salty pop
Note: This recipe makes about 90-100 small crackers, enough to serve 8-10 people as a snack or appetizer.
Equipment You Need
- Mixing bowl – to bring the dough together
- Rolling pin – to roll the dough thin and even
- Parchment paper – keeps the dough from sticking and makes transferring easy
- Baking sheets – for baking the crackers in batches
- Pizza cutter or sharp knife – to cut the dough into neat squares
- Fork – for docking the dough so it bakes flat instead of puffing up
- Cooling rack – lets the crackers crisp up properly after baking
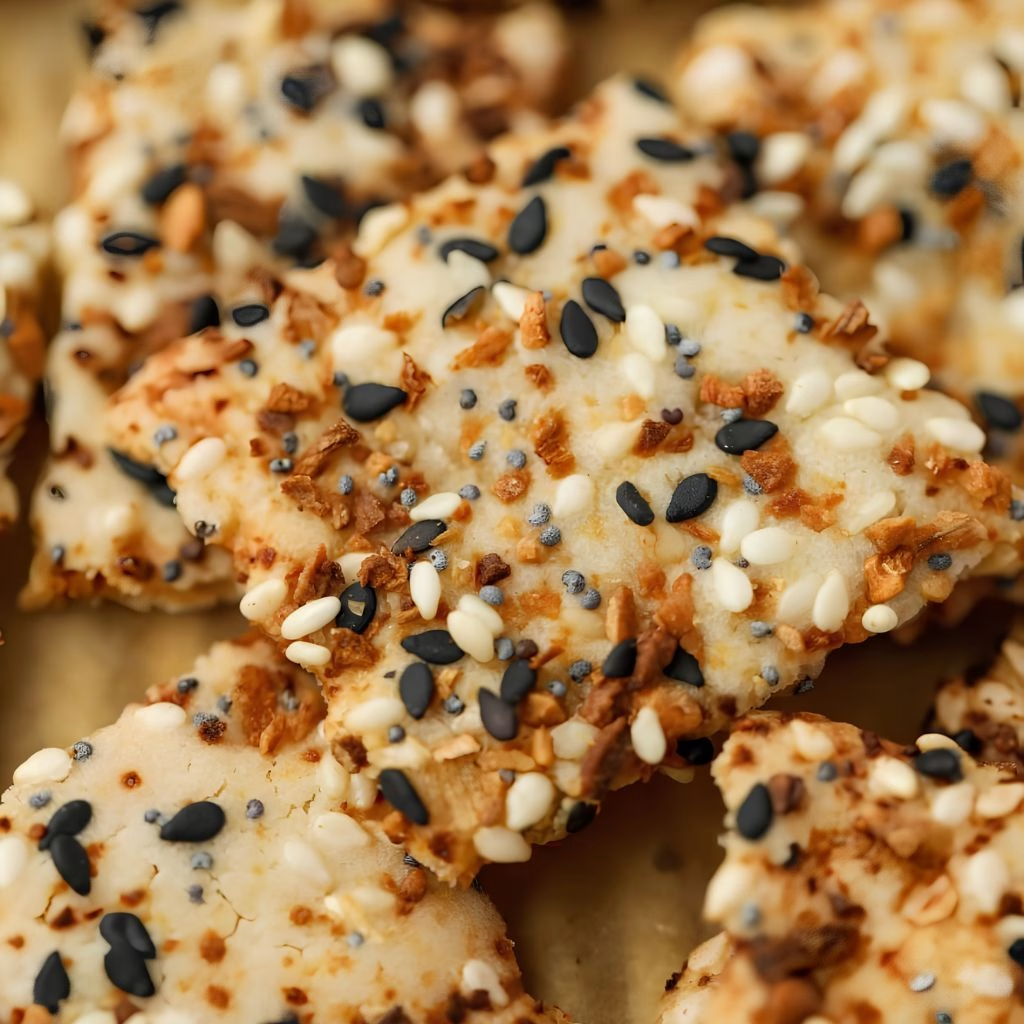
How to Make Easy Sourdough Crackers Recipe?
This part is honestly the easiest bit, even though it looks fussy with all the rolling and cutting. I promise once you’ve done it once, you’ll have it down in no time. Here’s exactly how I go about it, step by step, from mixing to that final golden bake.
Mix the Dough
In a large bowl, I combine the sourdough starter, flour, salt, softened butter, and herbs if I’m using them. I mix it just until everything comes together into a smooth, cohesive dough that isn’t sticky. It only takes a couple of minutes by hand, no fancy equipment needed here at all.
Chill the Dough
Once the dough is formed, I divide it in half and shape each portion into a small rectangular slab. I wrap them in plastic and pop them in the fridge for about 30 minutes. This firms things up, which makes the rolling stage so much easier to manage.
Roll It Out Thin
Working with one piece at a time, I lightly flour a sheet of parchment, my rolling pin, and the top of the dough. I roll it out to about 1/16 inch thick, which feels almost paper-thin. The edges will look ragged and uneven, but that’s completely normal and part of the charm.
Cut Into Squares
I transfer the rolled dough, still on its parchment, onto a baking sheet. Then I brush it lightly with oil and sprinkle on coarse salt. Using a pizza cutter, I slice the dough into small 1 1/4 inch squares, which bake up into perfect bite-sized crackers.
Dock and Bake
Before baking, I prick each square a few times with a fork so they lay flat instead of bubbling up in the oven. I bake them at 350°F for 20 to 25 minutes, rotating the pans halfway through so everything browns evenly.
Cool Completely
Once they’re golden around the edges, I pull the pans out and let the crackers cool completely on a rack. This final cooling step is what locks in that satisfying crunch, so try not to skip it even if you’re impatient like me.
Additional Tips for Making This Recipe Better
I’ve made this recipe more times than I can count now, and here’s what I’ve learned along the way to make it even better.
- I always roll the dough as thin as I possibly can, since thicker dough means chewy crackers instead of crisp ones.
- I like dividing my dough into three portions instead of two, since smaller pieces are so much easier to roll evenly thin.
- I use a rolling pizza wheel to cut the squares, since it glides through the dough without dragging or tearing it.
- I never skip docking the dough with a fork, because it stops annoying air bubbles from forming while baking.
- I let the crackers cool fully on the rack before storing them, since warm crackers trap steam and turn soft.
Common Mistakes to Avoid
Over the many batches I’ve baked, I’ve made a few blunders myself, so let me save you the trouble.
- I once rolled my dough too thick and ended up with tough, chewy crackers instead of crisp ones, so now I really stretch it thin.
- I forgot to rotate my baking sheets once and half my batch browned unevenly, so I always rotate halfway through baking now.
- I used cold, hard butter straight from the fridge and struggled to mix a smooth dough, so I soften it at room temperature first.
- I skipped docking the dough one time and ended up with puffy, uneven crackers, so I never forget the fork now.
- I stored my crackers before they’d fully cooled and they went soft within a day, so patience at the cooling stage really matters.
How to Serve Easy Sourdough Crackers
These crackers are wonderfully versatile at the table, and I love dressing them up depending on the occasion. I usually arrange them on a wooden board with a wedge of soft cheese or a bowl of warm hummus right in the center for dipping.
A scattering of fresh herbs or a few cracked peppercorns on top makes the whole board look extra inviting. They also pair beautifully alongside a creamy dip, similar to the flavors in this buttermilk ranch dip recipe, which works wonderfully as a dunk for crispy crackers. For a heartier spread, I like setting them out next to a cheese board with grapes, nuts, and thin slices of cured meat for a relaxed snack platter.
Variations
Once you’ve nailed the basic recipe, it’s fun to play around with different flavors and dietary swaps.
- Use whole wheat flour instead of all-purpose for a heartier, nuttier flavor.
- Swap the butter for olive oil to make a dairy-free version of these crackers.
- Add sesame seeds, poppy seeds, or everything bagel seasoning on top for extra crunch and flavor.
- Mix in grated parmesan or cheddar into the dough for a cheesy twist.
- Try adding a pinch of chili flakes or smoked paprika for a spicy kick.
- Use rye or spelt flour for a more rustic, earthy cracker.
Nutritional Information
Here’s a rough idea of what you’re looking at per serving of about 10 crackers.
- Calories: around 90-100 kcal
- Protein: about 2g
- Carbohydrates: around 10g
- Fat: about 5g
Make Ahead and Storage
I usually store my cooled crackers in an airtight container at room temperature, and they stay perfectly crisp for up to a week.
If I want to keep them longer, I freeze the fully cooled crackers in a freezer-safe bag, and they’ll hold their texture well for a couple of months.
The unbaked dough can also be made a day or two ahead and kept wrapped in the fridge, ready to roll and bake whenever you like.
Why You’ll Love This Easy Sourdough Crackers Recipe
There’s a reason this recipe has become such a staple in my kitchen, and I think you’ll feel the same once you try it.
- It’s an incredibly simple way to use up sourdough discard instead of tossing it down the drain.
- The ingredient list is short and pantry-friendly, so you likely have everything on hand already.
- It’s endlessly customizable, whether you want herby, cheesy, spicy, or plain salted crackers.
- They store beautifully, so one batch keeps you snacking for days without going stale.
- The tangy sourdough flavor genuinely tastes better than most store-bought crackers I’ve tried.
FAQs
Can I use active sourdough starter instead of discard?
Yes, active starter works just as well here, and the crackers will taste equally tangy and delicious either way.
Do I really need only 2 or 3 ingredients for this recipe?
You can simplify it down to just starter, flour, and salt if you like, though butter and herbs add extra flavor and richness.
Why are my crackers chewy instead of crisp?
This usually means the dough was rolled too thick, so try rolling it as thin as possible next time for that signature snap.
Can I make these crackers gluten-free?
You can experiment with a gluten-free flour blend, though the texture may turn out slightly more delicate than the original.
How long do sourdough discard crackers stay fresh?
Stored airtight at room temperature, they stay fresh and crisp for about a week, or longer if frozen.
If you’re looking for more snack-friendly ideas to pair alongside these crackers, this creamy coleslaw recipe makes a refreshing side that balances out the salty crunch beautifully. Happy baking, and I hope these crackers become as much of a staple in your kitchen as they have in mine!

Easy Sourdough Crackers Recipe
Ingredients
Method
- In a large bowl, I combine the sourdough starter, flour, salt, softened butter, and herbs if I’m using them. I mix it just until everything comes together into a smooth, cohesive dough that isn’t sticky. It only takes a couple of minutes by hand, no fancy equipment needed here at all.
- Once the dough is formed, I divide it in half and shape each portion into a small rectangular slab. I wrap them in plastic and pop them in the fridge for about 30 minutes. This firms things up, which makes the rolling stage so much easier to manage.
- Working with one piece at a time, I lightly flour a sheet of parchment, my rolling pin, and the top of the dough. I roll it out to about 1/16 inch thick, which feels almost paper-thin. The edges will look ragged and uneven, but that’s completely normal and part of the charm.
- I transfer the rolled dough, still on its parchment, onto a baking sheet. Then I brush it lightly with oil and sprinkle on coarse salt. Using a pizza cutter, I slice the dough into small 1 1/4 inch squares, which bake up into perfect bite-sized crackers.
- Before baking, I prick each square a few times with a fork so they lay flat instead of bubbling up in the oven. I bake them at 350°F for 20 to 25 minutes, rotating the pans halfway through so everything browns evenly.
- Once they’re golden around the edges, I pull the pans out and let the crackers cool completely on a rack. This final cooling step is what locks in that satisfying crunch, so try not to skip it even if you’re impatient like me.
Notes
- I always roll the dough as thin as I possibly can, since thicker dough means chewy crackers instead of crisp ones.
- I like dividing my dough into three portions instead of two, since smaller pieces are so much easier to roll evenly thin.
- I use a rolling pizza wheel to cut the squares, since it glides through the dough without dragging or tearing it.
- I never skip docking the dough with a fork, because it stops annoying air bubbles from forming while baking.
- I let the crackers cool fully on the rack before storing them, since warm crackers trap steam and turn soft.