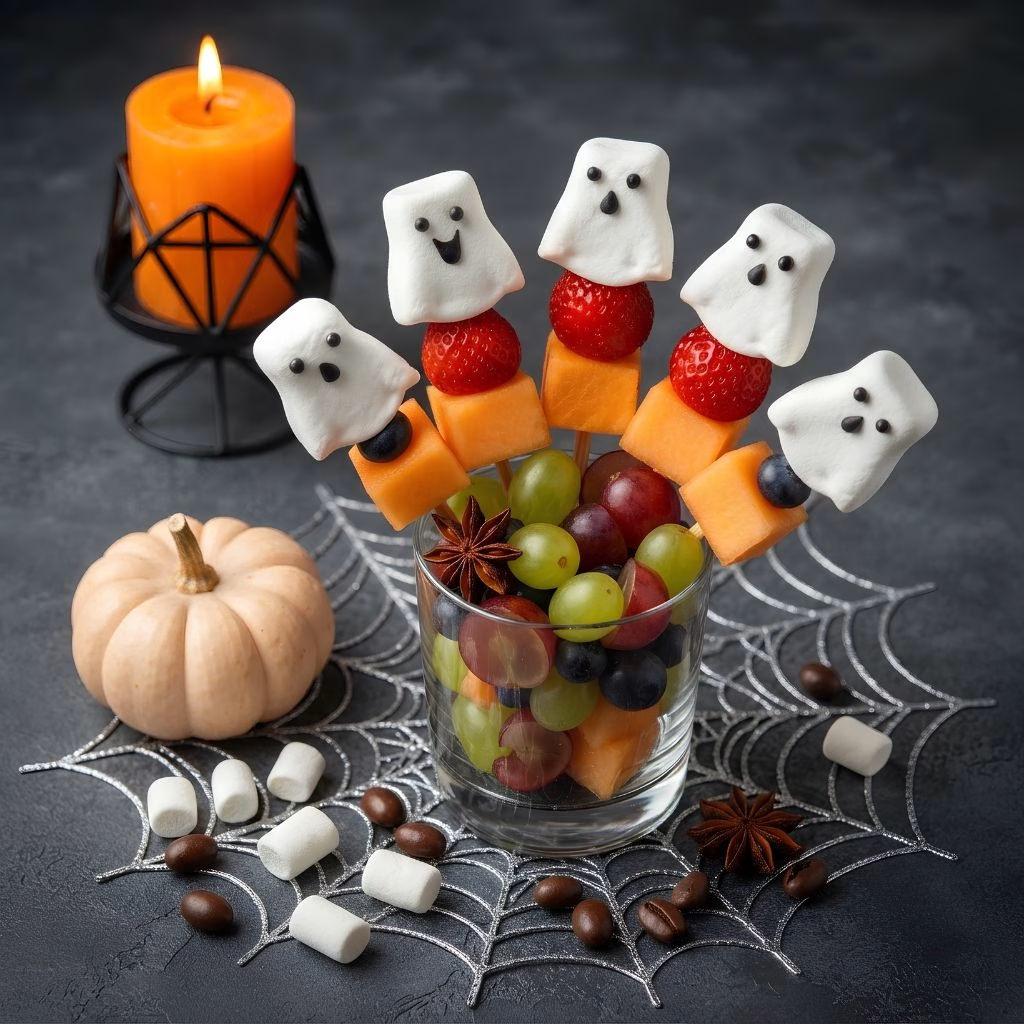
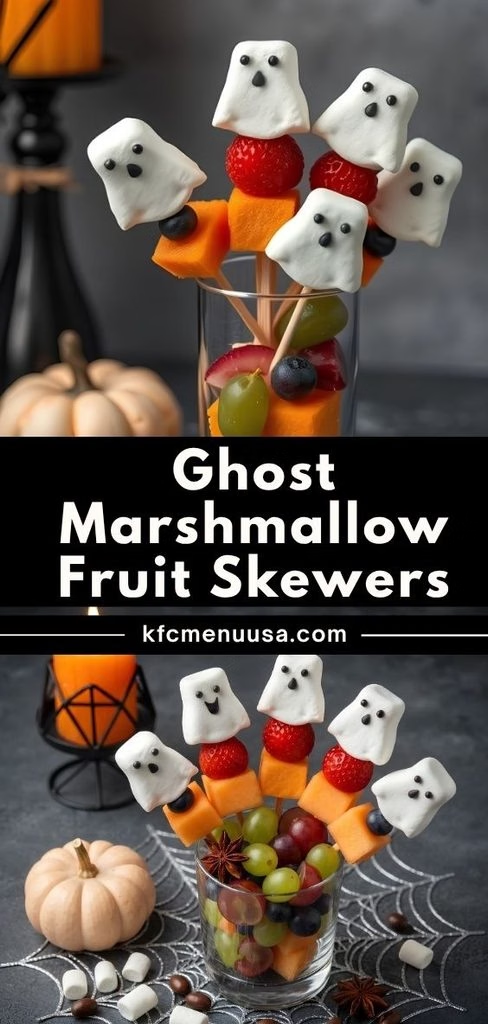
I started making this Ghost Marshmallow Fruit Skewers Recipe a couple Halloweens ago when I got tired of sending my kids off with nothing but sugar-loaded candy. I wanted something spooky, something fun to assemble together, and something that actually had real fruit in it.
The first time I set these out at a school party, they disappeared faster than the store-bought treats sitting right next to them. Now I make a batch every October without fail, and honestly, my kids ask for them outside of Halloween too.
Cooking Time
- Prep Time: 10 minutes
- Cooking Time: 0 minutes (no-cook)
- Total Time: 10 minutes
Ingredients
- 8 large or jumbo marshmallows — bigger marshmallows give you more room to draw a clear ghost face
- candy eyes (a small pack) — press these on for an instant spooky look without any drawing skill required
- white cookie icing or a sticky spread — this is what glues the candy eyes onto the marshmallow
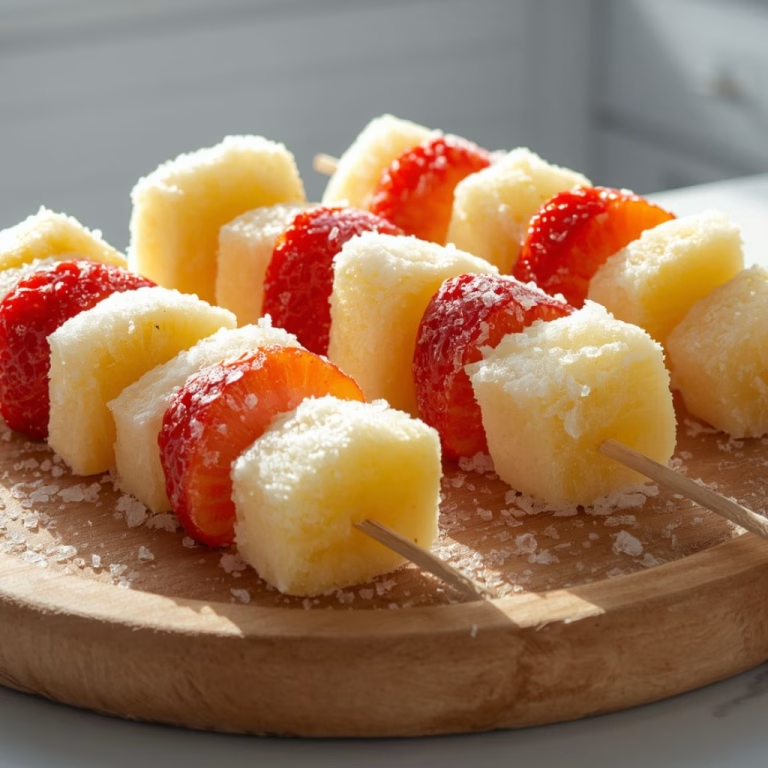
- 8–10 strawberries, stems removed — adds a pop of red color and a juicy bite between marshmallows
- 8–10 melon cubes — pick a firm, ripe melon so the chunks hold their shape on the skewer
- 8–10 green grapes — grapes thread on easily and add a nice crunch to each bite
Note: this recipe serves 4, making about 4 full skewers.
Equipment You Need
- Wooden or bamboo skewers — the base you’ll thread all your fruit and marshmallow ghosts onto
- A black food coloring marker — for drawing on simple ghost or monster faces
- A small plate or tray — somewhere to lay out marshmallows while the faces dry
- A paring knife — for hulling strawberries and cubing melon
- A cutting board — gives you a clean, stable surface for prepping fruit
- Serving platter — for arranging your finished skewers before serving
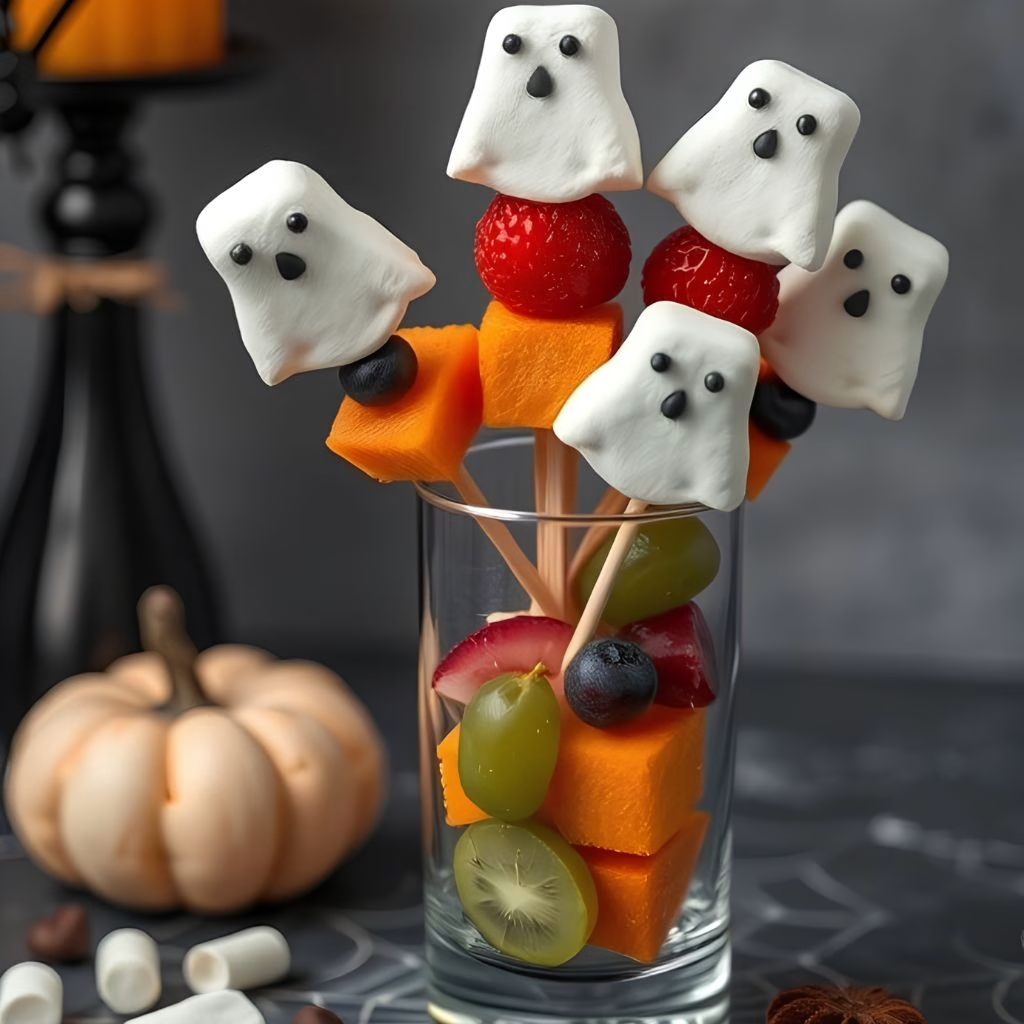
How to Make Ghost Marshmallow Fruit Skewer Recipe?
This recipe really is as simple as it sounds, which is exactly why I love making it with my kids. There’s no stove, no oven, and barely any real cooking skill involved. Here’s exactly how I put these together each time.
Prep the Fruit
Start by washing all your fruit thoroughly under cool water. Hull the strawberries by slicing off the green tops, then cube your melon into bite-sized pieces. Leave the grapes whole since they thread onto the skewer easily as they are.
Create the Marshmallow Ghosts
Dot a small amount of white icing onto the marshmallow where you want the eyes to sit, then press the candy eyes gently into place. Once the icing has set slightly, use your black food marker to draw a small mouth or spooky expression.
Let the Faces Set
Give the marshmallow faces a few minutes to dry completely before handling them further. This step matters because wet ink or icing can smear onto your fingers or onto the fruit once you start threading everything onto the skewer.
Assemble the Skewers
Thread a marshmallow ghost onto your skewer first, followed by a strawberry, a melon cube, and a grape. Keep repeating this pattern, pushing each piece close to the one before it so there are no awkward gaps along the stick.
Chill and Serve
Once all your skewers are assembled, pop them in the fridge for a few minutes if you have time, since these taste best served cold. Arrange them on a platter and they’re ready for snacking right away.
Additional Tips for Making This Recipe Better
I’ve made more batches of these than I can count at this point, and here’s what I’ve genuinely learned along the way.
- I always let the food marker dry fully before threading the marshmallow onto the skewer, or the face smudges onto my fingers.
- I use jumbo marshmallows instead of regular ones, since the bigger surface gives me way more room to draw a clean face.
- I push every piece of fruit tightly against the next one, which keeps the whole skewer looking full instead of gappy.
- I keep a few spare marshmallows on hand in case a face doesn’t turn out quite right on the first try.
- I tie a thin ribbon under each marshmallow for a cute little bowtie, and it makes the whole thing look more finished.
Common Mistakes to Avoid
- I once used small marshmallows, and the faces came out too cramped to actually look like anything.
- I skipped letting the icing set before adding the eyes, and they slid right off the marshmallow.
- I cut my melon too far ahead of time, and it released extra moisture that made the skewers look soggy.
- I grabbed sharp metal skewers for my younger kids without thinking, and I’d now recommend blunt or plastic ones for little hands.
- I packed these too early for a party, and the strawberries started browning by the time we served them.
How to Serve Ghost Marshmallow Fruit Skewers?
I like laying these out on a dark-colored platter so the bright fruit colors and white marshmallow ghosts really pop against the background. A light dusting of orange or purple sprinkles scattered around the plate adds a festive touch without any extra effort.
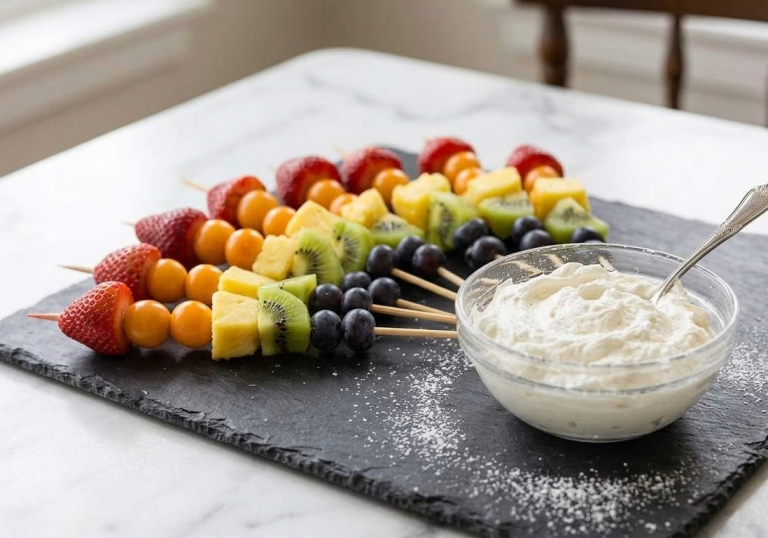
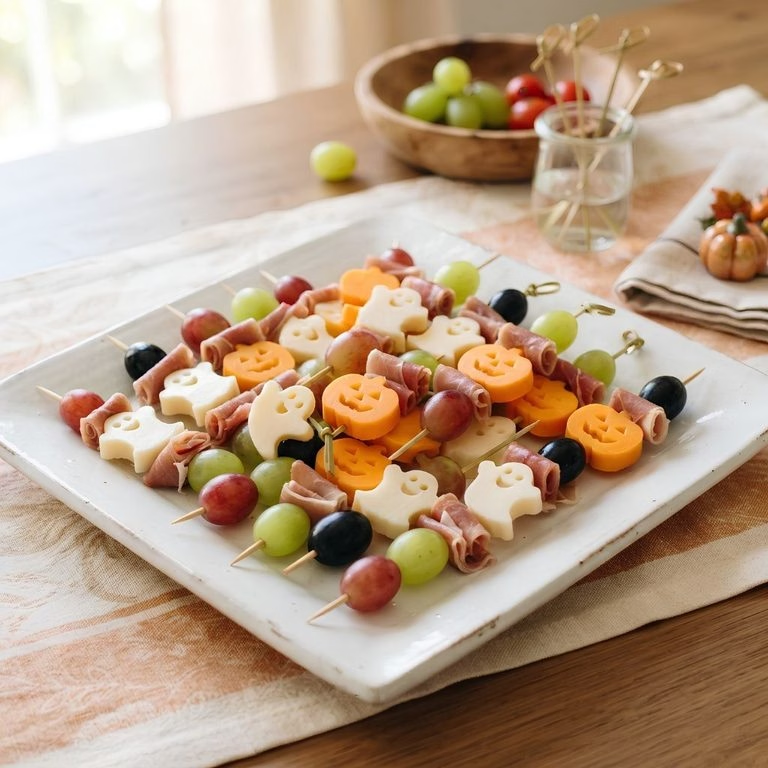
These work great as a healthier addition to a Halloween snack table, a classroom treat, or even just an after-school snack during the spooky season. If you’re already setting up a whole table of fun Halloween fruit snack ideas, these pair really nicely alongside something like a playful banana ghost snack for extra variety.
Variations
- Use dairy-free marshmallows if you want to keep this fully plant-based
- Swap in sugar-free marshmallows for a lower-sugar version of these halloween skewers
- Try blueberries or blackberries instead of grapes for a darker, spookier color palette
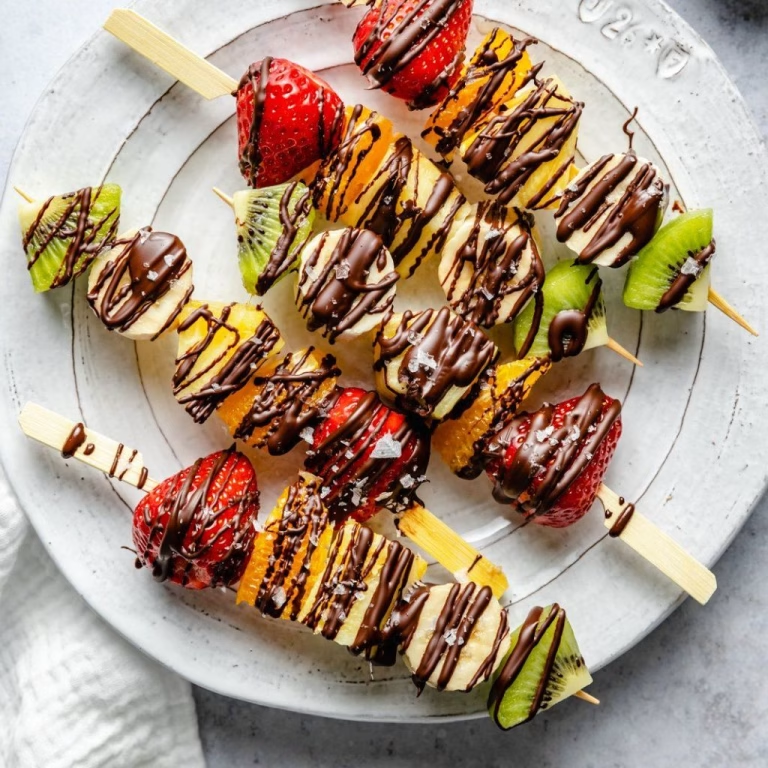
- Add a drizzle of melted chocolate over the fruit for extra sweetness
- Use mini chocolate chips instead of candy eyes if that’s what you have on hand
- Turn this into more of a grape halloween snack by adding extra grapes in place of melon for younger kids who prefer a softer bite
Nutritional Information
Here’s a rough estimate per skewer, though actual values will vary slightly depending on your fruit and marshmallow brands.
- Calories: 60 kcal
- Protein: 0.5 g
- Carbohydrates: 15 g
- Fat: 0.1 g
Make Ahead and Storage
These skewers taste best when assembled the same day you plan to serve them, since fresh fruit starts to lose its texture the longer it sits.
If you do need to prep ahead, you can store assembled skewers wrapped individually in plastic wrap in the fridge for up to four hours before serving.
For longer storage, keep leftover skewers in an airtight container in the fridge for up to two days, though we don’t recommend freezing these since the fruit and marshmallows won’t hold their texture.
Why You’ll Love This Recipe?
This has become one of my favorite go-to Halloween activities, and here’s why I think you’ll feel the same.
- It’s genuinely no-cook: There’s no oven, stove, or special equipment needed, just fresh fruit, marshmallows, and a few minutes of your time.
- Kids can help assemble it: My kids love decorating their own marshmallow ghosts and choosing how they want to arrange their fruit.
- It’s a healthier Halloween option: Compared to typical halloween snacks ideas loaded with candy, this one sneaks in real fruit without feeling like a compromise.
- It’s easy to customize: Whether you want a classic grape halloween snack or a berry-heavy version, the base recipe bends to whatever fruit you have in the fridge.
- It looks festive with minimal effort: These halloween fruit kabobs look impressively spooky for how little actual work goes into them.
FAQs
Can I make these halloween skewers without a food coloring marker?
Yes, you can use melted chocolate or a toothpick dipped in food coloring to draw the face instead, though the marker tends to give the cleanest lines.
What can I use instead of wooden skewers?
Plastic cocktail straws or blunt plastic skewers work well, especially if younger kids will be handling or eating directly off the stick.
Can I prep the fruit the night before?
You can wash and cut sturdier fruits like melon ahead of time, but I’d recommend hulling strawberries the same day since they brown quickly once cut.
How do I keep the marshmallow faces from smudging?
Let the icing and marker ink dry fully, usually a few minutes, before threading the marshmallow onto the skewer or touching it again.
Can I turn this into a halloween grapes recipe instead?
Absolutely, just swap in extra grapes for the melon or strawberries if that’s what your family prefers, since the marshmallow ghost is really the star of the skewer either way.
If you’re building out a full spread of easy halloween fruit snack ideas for a party, these skewers also pair nicely with a bigger spread like a Halloween fruit and veggie platter for guests who want more to pick from.

Ghost Marshmallow Fruit Skewers Recipe
Ingredients
Method
- Start by washing all your fruit thoroughly under cool water. Hull the strawberries by slicing off the green tops, then cube your melon into bite-sized pieces. Leave the grapes whole since they thread onto the skewer easily as they are.
- Dot a small amount of white icing onto the marshmallow where you want the eyes to sit, then press the candy eyes gently into place. Once the icing has set slightly, use your black food marker to draw a small mouth or spooky expression.
- Give the marshmallow faces a few minutes to dry completely before handling them further. This step matters because wet ink or icing can smear onto your fingers or onto the fruit once you start threading everything onto the skewer.
- Thread a marshmallow ghost onto your skewer first, followed by a strawberry, a melon cube, and a grape. Keep repeating this pattern, pushing each piece close to the one before it so there are no awkward gaps along the stick.
- Once all your skewers are assembled, pop them in the fridge for a few minutes if you have time, since these taste best served cold. Arrange them on a platter and they’re ready for snacking right away.
Notes
- I always let the food marker dry fully before threading the marshmallow onto the skewer, or the face smudges onto my fingers.
- I use jumbo marshmallows instead of regular ones, since the bigger surface gives me way more room to draw a clean face.
- I push every piece of fruit tightly against the next one, which keeps the whole skewer looking full instead of gappy.
- I keep a few spare marshmallows on hand in case a face doesn’t turn out quite right on the first try.
- I tie a thin ribbon under each marshmallow for a cute little bowtie, and it makes the whole thing look more finished.