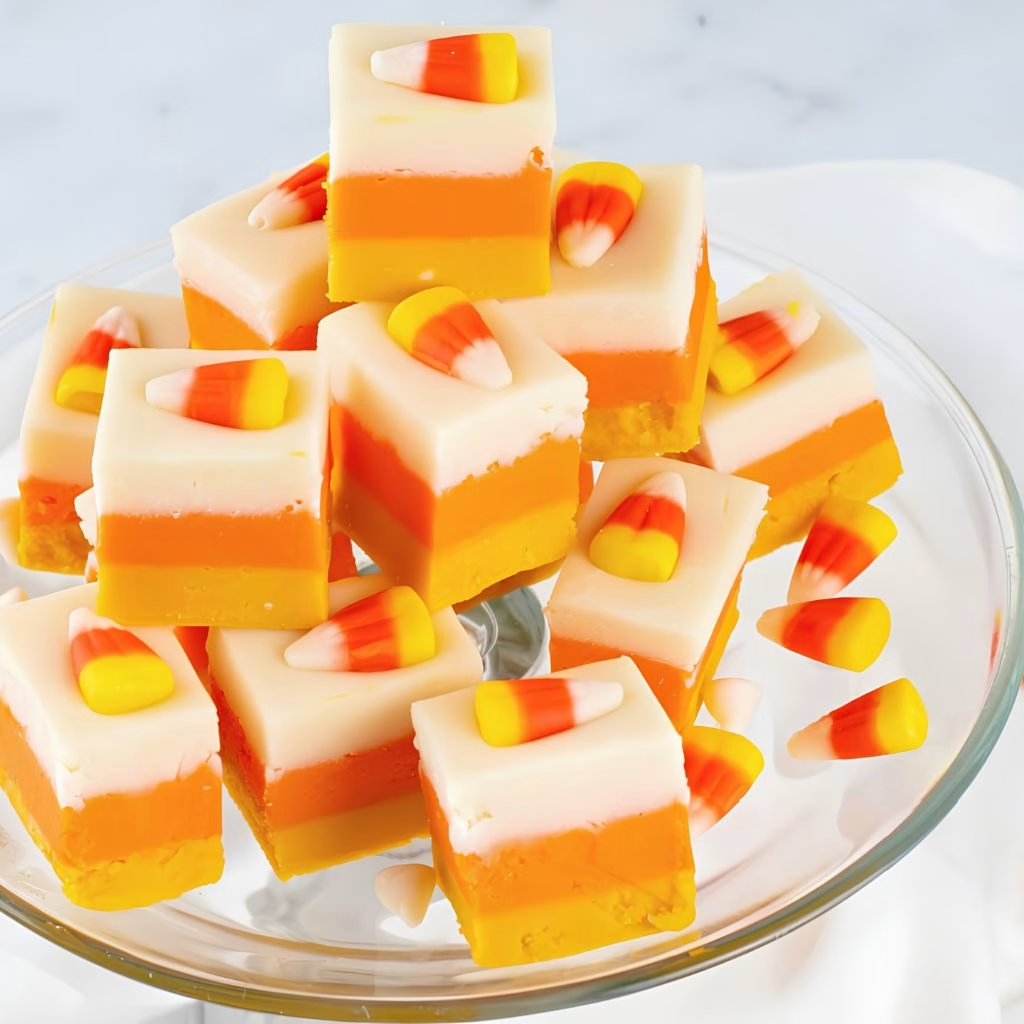
I make this Halloween Candy Corn Fudge Recipe every October without fail, and it’s honestly one of the easiest treats in my whole Halloween lineup. I stumbled onto this combination years ago when I wanted something festive that didn’t require any real baking skill or a candy thermometer.
It comes together on the stovetop in one saucepan, and it looks so cheerful once it’s studded with orange and yellow candy that people assume I spent way more time on it than I actually did. If you’ve been scrolling through candy corn fudge tiktok clips wondering if it’s really that simple, I promise you it is.

Cooking Time
- Prep Time: 10 minutes
- Cooking Time: 5 minutes
- Total Time: 4 hours 15 minutes (includes chilling)
Ingredients
- 3 cups white chocolate chips — melt these low and slow so they stay smooth instead of turning grainy
- 1 (14 oz) can sweetened condensed milk — this sweetens the fudge and helps the chips melt into a silky base
- 1 cup marshmallow cream (fluff) — gives the fudge that soft, almost whipped texture instead of a dense, hard bite
- 1 cup salted peanuts — the salt here is what balances out all the sweetness, so don’t skip the salted kind
- ½ cup candy corn — save a few extra pieces for pressing on top so the fudge looks bakery-worthy
- ½ cup Reese’s Pieces — these add little pops of peanut butter flavor and extra color throughout
- ½ teaspoon vanilla extract (optional) — rounds out the white chocolate so it doesn’t taste one-note sweet
Note: this recipe serves 12, cut into roughly 36 small squares.
Equipment You Need
- Medium saucepan — for melting the condensed milk and white chocolate together
- 8×8 or 9×9 inch baking pan — gives the fudge the right thickness once it’s set
- Aluminum foil or parchment paper — lines the pan so the fudge lifts out cleanly
- Rubber spatula — keeps the mixture moving so it doesn’t scorch on the bottom
- Sharp knife — for cutting the finished fudge into neat squares
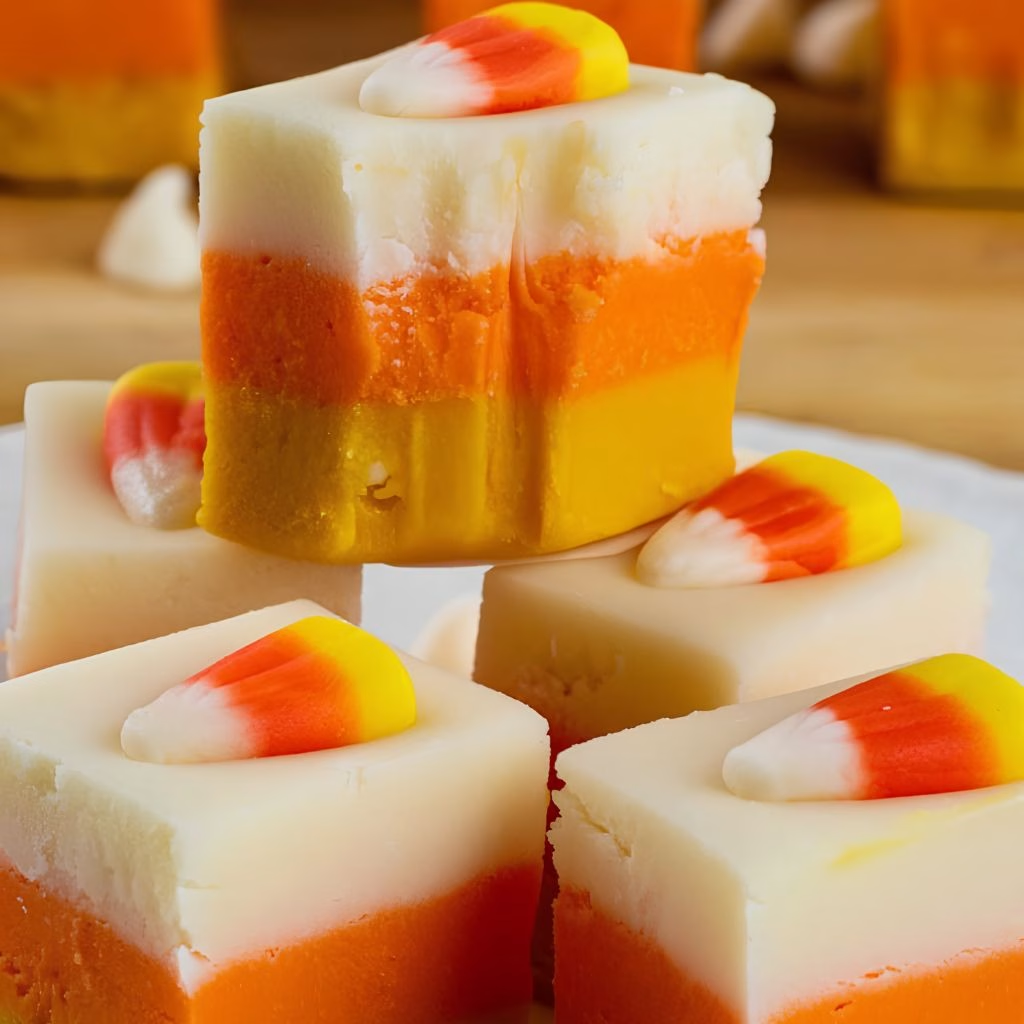
How to Make Candy Corn Fudge Recipe?
This is genuinely one of the simplest fudge recipes I’ve ever made, and I usually put it together the night before I need it. There’s no candy thermometer, no soft-ball stage to worry about, and barely any equipment involved. Here’s exactly how I do it from start to finish.
Prepare the Pan
I start by lining my baking pan with foil, leaving a bit of overhang on the sides so I can lift the fudge out later. A light spray of nonstick cooking spray on top of the foil keeps everything from sticking as it sets.
Melt the Base
Next, I pour the sweetened condensed milk into my saucepan and stir in the white chocolate chips. I set the pan over low to medium heat and stir constantly until everything turns smooth and glossy, which usually takes about five minutes.
Fold in the Marshmallow Cream
Once the chocolate mixture is fully melted, I take the pan off the heat and stir in the marshmallow cream and vanilla extract. This is what gives the fudge its light, fluffy texture instead of a dense, chewy bite.
Add the Mix-Ins
I then fold in most of my peanuts, candy corn, and Reese’s Pieces, saving a small handful of each to sprinkle on top. Stirring gently here keeps the candy pieces from breaking apart in the warm mixture.
Pour and Top
I pour the fudge into my prepared pan and smooth the top with my spatula. While it’s still warm, I scatter the reserved candies and peanuts across the surface and press them down lightly so they stick.
Chill and Cut
Finally, I let the pan sit at room temperature for a bit before transferring it to the fridge for at least four hours, or overnight if I have the time. Once it’s fully set, I lift it out using the foil and cut it into small squares.
Additional Tips for Making This Recipe Better
I’ve made this fudge more times than I can count, and here’s what actually makes a difference for me.
- I always stir constantly while melting the chocolate, since walking away for even a minute can cause it to scorch.
- I use fresh candy corn from that season instead of leftover bags, since stale candy corn gets hard and chalky.
- I like folding in the mix-ins off the heat so the chocolate doesn’t overheat and turn grainy.
- I press my toppings down gently right after pouring, while the fudge is still soft enough for them to stick.
- I always make this a day ahead, since the flavor and texture are honestly even better after a full night in the fridge.
Common Mistakes to Avoid
- I once used regular chocolate chips instead of white, and the whole candy corn theme completely disappeared visually.
- I rushed the melting step over high heat one time, and the chocolate seized into a clumpy, unusable mess.
- I skipped lining my pan, and I ended up fighting to pry the fudge out in pieces instead of clean squares.
- I didn’t chill mine long enough once, and it stayed too soft to cut into neat squares.
- I added my candy corn too early into the hot mixture, and the colors bled slightly into the fudge base.
How to Serve Candy Corn Fudge?
I love arranging these squares on a black or dark orange platter, since the contrast really makes the fudge colors pop against the background. A few extra pieces of candy corn scattered around the edges gives it that festive, party-ready look without any extra effort.
These squares are great for a Halloween dessert table, packed into small treat bags for trick-or-treaters, or set out next to other seasonal sweets at a fall gathering. If you’re building out a whole spread of Halloween treats, this fudge pairs really well next to something crunchier and chocolate-based, like a batch of easy Halloween chocolate bark.
Variations
- Swap the peanuts and candy corn for chopped Butterfingers for a candy corn butterfinger fudge that leans more toward that peanut-buttery crunch
- Skip the peanuts entirely for a candy corn fudge without peanut butter that’s friendlier for nut allergies
- Use milk chocolate chips instead of white for a deeper, more traditional fudge flavor underneath the toppings
- Try a butterfinger fudge recipe twist by folding crushed candy bars directly into the melted base
- Add a swirl of orange and yellow food coloring into the base for a marbled, candy-corn-inspired look without using the actual candy
- Skip the marshmallow cream for a firmer, denser bite if you prefer traditional fudge texture
Nutritional Information
Here’s a rough breakdown per square, though this will shift depending on the exact brands you use.
- Calories: 189 kcal
- Protein: 3 g
- Carbohydrates: 26 g
- Fat: 9 g
Make Ahead and Storage
You can make this fudge up to three days ahead of time and keep it covered in the fridge until you’re ready to serve it.
Store cut squares in an airtight container in the refrigerator, where they’ll stay fresh for up to two weeks.
For longer storage, freeze the squares in a sealed freezer-safe container for up to two months, then let them thaw in the fridge overnight before serving.
Why You’ll Love This Recipe?
This fudge has become a permanent fixture on my Halloween dessert table, and here’s why I think you’ll feel the same way about it.
- It’s incredibly easy: With just one saucepan and no candy thermometer required, this is about as low-effort as fudge recipes get.
- It looks festive without much work: The bright orange, yellow, and white colors make it look like a proper Halloween treat with almost no decorating skill needed.
- It’s endlessly adjustable: Whether you’re curious how to make candy corn fudge with condensed milk exactly as written or want to swap in different candies, the base recipe holds up either way.
- It travels and stores well: These squares hold their shape nicely in a container, which makes them great for parties, gifting, or lunchboxes.
- It’s a certified crowd-pleaser: Between the salty peanuts and the sweet marshmallow base, this always seems to disappear faster than anything else on the table.
FAQs
Is this really an easy recipe for candy corn fudge, even for beginners?
Yes, absolutely. There’s no candy thermometer or soft-ball stage involved, just melting, stirring, and chilling, which makes it very forgiving for first-timers.
Can I make candy corn fudge without peanut butter?
Yes, this recipe doesn’t actually call for peanut butter as written, so if you’re looking for a peanut-free version, just leave out the peanuts too.
Why did my fudge turn out too soft to cut?
This usually means it needs more time in the fridge, so give it the full four hours, or ideally overnight, before slicing.
Can I use a different type of chocolate chips?
Yes, milk chocolate chips work fine if you don’t mind losing that classic white chocolate base that makes the candy corn colors stand out.
How long does candy corn fudge stay fresh?
It stays fresh in the fridge for about two weeks in an airtight container, or up to two months if you freeze it.
If you’re rounding out your Halloween baking list with more chocolate-forward treats, this fudge sits nicely alongside something like The Best Fudgy Red Velvet Brownies for a dessert table that covers every kind of sweet tooth.

Halloween Candy Corn Fudge Recipe
Ingredients
Method
- I start by lining my baking pan with foil, leaving a bit of overhang on the sides so I can lift the fudge out later. A light spray of nonstick cooking spray on top of the foil keeps everything from sticking as it sets.
- Next, I pour the sweetened condensed milk into my saucepan and stir in the white chocolate chips. I set the pan over low to medium heat and stir constantly until everything turns smooth and glossy, which usually takes about five minutes.
- Once the chocolate mixture is fully melted, I take the pan off the heat and stir in the marshmallow cream and vanilla extract. This is what gives the fudge its light, fluffy texture instead of a dense, chewy bite.
- I then fold in most of my peanuts, candy corn, and Reese’s Pieces, saving a small handful of each to sprinkle on top. Stirring gently here keeps the candy pieces from breaking apart in the warm mixture.
- I pour the fudge into my prepared pan and smooth the top with my spatula. While it’s still warm, I scatter the reserved candies and peanuts across the surface and press them down lightly so they stick.
- Finally, I let the pan sit at room temperature for a bit before transferring it to the fridge for at least four hours, or overnight if I have the time. Once it’s fully set, I lift it out using the foil and cut it into small squares.
Notes
- I always stir constantly while melting the chocolate, since walking away for even a minute can cause it to scorch.
- I use fresh candy corn from that season instead of leftover bags, since stale candy corn gets hard and chalky.
- I like folding in the mix-ins off the heat so the chocolate doesn’t overheat and turn grainy.
- I press my toppings down gently right after pouring, while the fudge is still soft enough for them to stick.
- I always make this a day ahead, since the flavor and texture are honestly even better after a full night in the fridge.