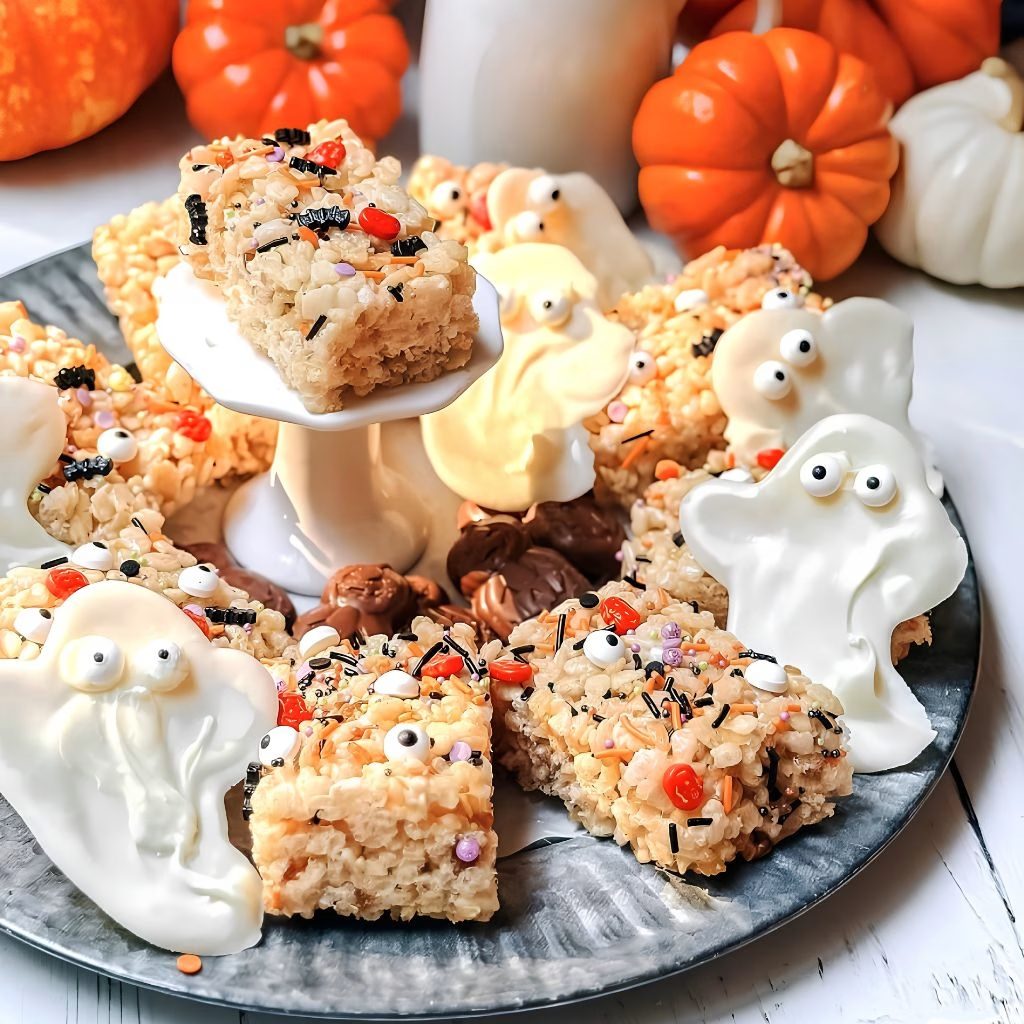
I make this Halloween Rice Krispie Treats Recipe every single October, and I’ve stopped apologizing for how often they show up at my house. I got tired of thin, dry cereal bars from the grocery store, so I started making my own thick, gooey version loaded with Halloween candy.
My kids beg to help stir the marshmallows, and honestly, this is one of the rare treats that both toddlers and adults fight over at the same party table. If you want a no-fuss dessert that still feels festive, this one delivers every time.
Cooking Time
- Prep Time: 15 minutes
- Cooking Time: 5 minutes
- Total Time: 20 minutes
Ingredients
- 8 tablespoons unsalted butter — melts smoothly into the marshmallows and keeps the bars from turning stiff
- 15 ounces marshmallows (about 1½ standard bags) — go with fresh marshmallows since stale ones melt unevenly and leave lumps
- 2 teaspoons vanilla extract — adds warmth and rounds out the sweetness of the marshmallow base
- 9 cups crispy rice cereal — measure generously for that extra-thick bar everyone remembers from parties
- 1 cup Halloween M&Ms — pick whichever seasonal color mix you like best, they all melt and set the same way
- ½ cup Halloween sprinkles — stir some in and save some for topping so every bar looks a little different
- 1 cup candy corn — the classic Halloween touch that gives these bars their signature look and light crunch
Note: this recipe serves 16, cut from one 9×13-inch pan.
Equipment You Need
- 9×13-inch baking pan — gives you the right shape and thickness for sturdy, shareable bars
- Aluminum foil or parchment paper — lines the pan so the finished treats lift out cleanly
- Medium saucepan — used to melt the butter and marshmallows together evenly
- Wooden spoon or heatproof spatula — strong enough to stir the sticky cereal mixture without bending
- Nonstick cooking spray — keeps everything from sticking to the pan and to your hands
- Sharp knife — for cutting neat squares once the bars have cooled
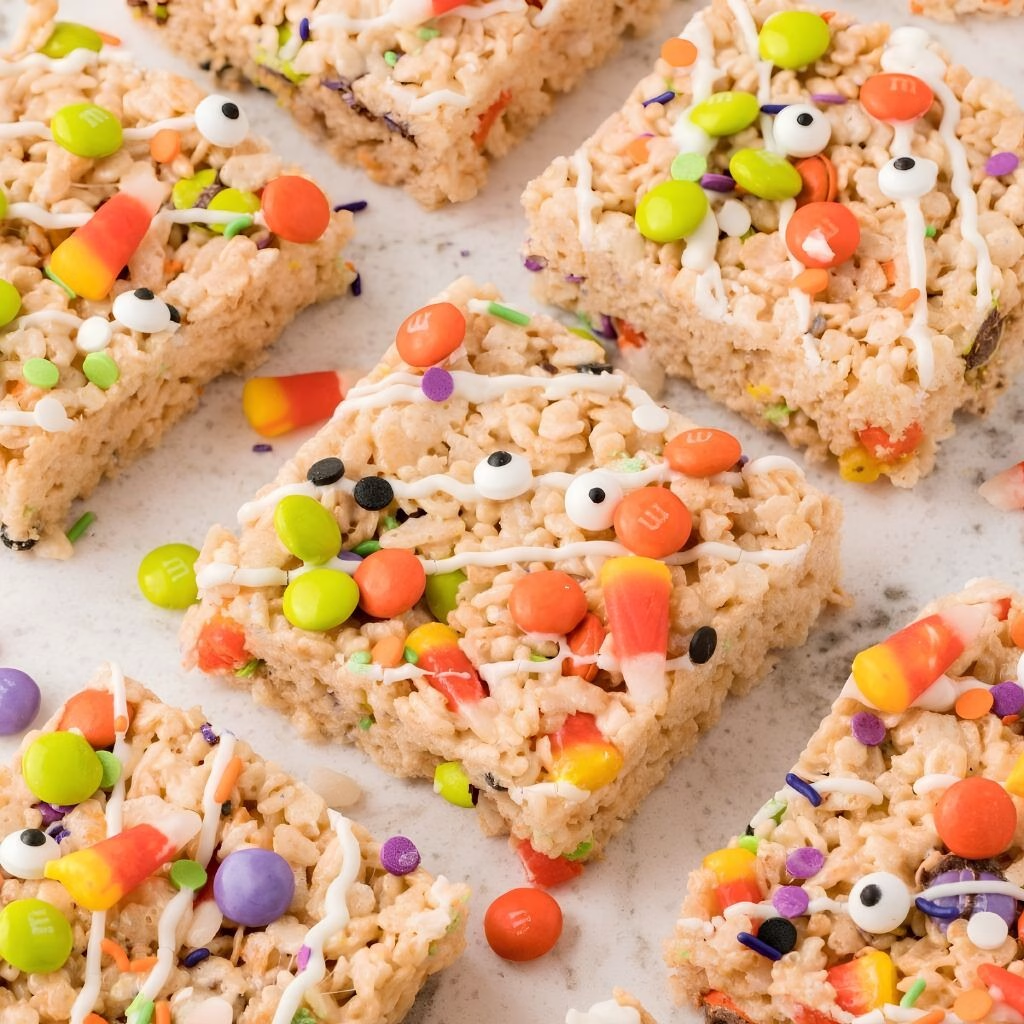
How to Make Halloween Rice Krispie Treats Recipe?
This recipe comes together fast, which is exactly why I reach for it whenever I need a last-minute Halloween treat. There’s no oven required, just a saucepan and a few minutes of stirring. Here’s how I always make mine.
Prep the Pan
Line your 9×13-inch baking pan with foil or parchment paper, letting a little overhang on the sides for easy removal later. Spray the lining generously with cooking spray so nothing sticks once the mixture sets.
Melt the Butter and Marshmallows
In a medium saucepan over medium-low heat, melt the butter first, then add the marshmallows. Stir constantly and keep the heat low, since high heat toward the end tends to make the bars turn out hard instead of soft.
Stir in the Vanilla and Cereal
Once the marshmallows are fully melted and smooth, remove the pan from the heat and stir in the vanilla extract. Quickly fold in the cereal so it gets evenly coated before the marshmallow mixture starts to firm up.
Add the Halloween Candy
Fold in the M&Ms, candy corn, and sprinkles while the mixture is still warm and pliable. Work quickly but gently so the candy stays intact instead of breaking apart in the mix.
Press and Cool
Pour everything into your prepared pan, then spray your hands with cooking spray and press the mixture down firmly and evenly. Let the pan cool completely at room temperature before slicing into squares.
Additional Tips for Making This Recipe Better
I’ve made a lot of batches of these over the years, and here’s what actually makes a difference for me.
- I always use fresh marshmallows straight from a new bag, since anything stale or slightly hard just won’t melt smoothly.
- I keep my stove on medium-low the entire time, because rushing the heat is the number one way I’ve ruined a batch.
- I spray my hands before pressing the mixture into the pan, which saves me from peeling sticky cereal off my fingers for the next ten minutes.
- I like folding in a few extra mini marshmallows at the end for pockets of gooey texture throughout.
- I always let the pan cool fully before cutting, even though I want to dig in immediately, because warm bars fall apart when sliced.
Common Mistakes to Avoid
- I once used stale cereal without realizing it, and the bars turned out chewy instead of crisp, so I always check the freshness first now.
- I let the marshmallow mixture boil too hard one time, and the bars set up rock hard instead of soft and gooey.
- I added the candy while everything was piping hot, and half of it melted into the mixture instead of staying whole.
- I skipped greasing my hands before pressing the mixture down, and I spent way too long picking cereal off my fingers.
- I cut the bars before they’d fully cooled, and they crumbled apart instead of holding their shape.
How to Serve Halloween Rice Krispie Treats?
I like stacking these on a black or orange platter so the colorful candy really pops against the background. A light dusting of extra Halloween sprinkles on top right before serving makes them look freshly made even hours later.
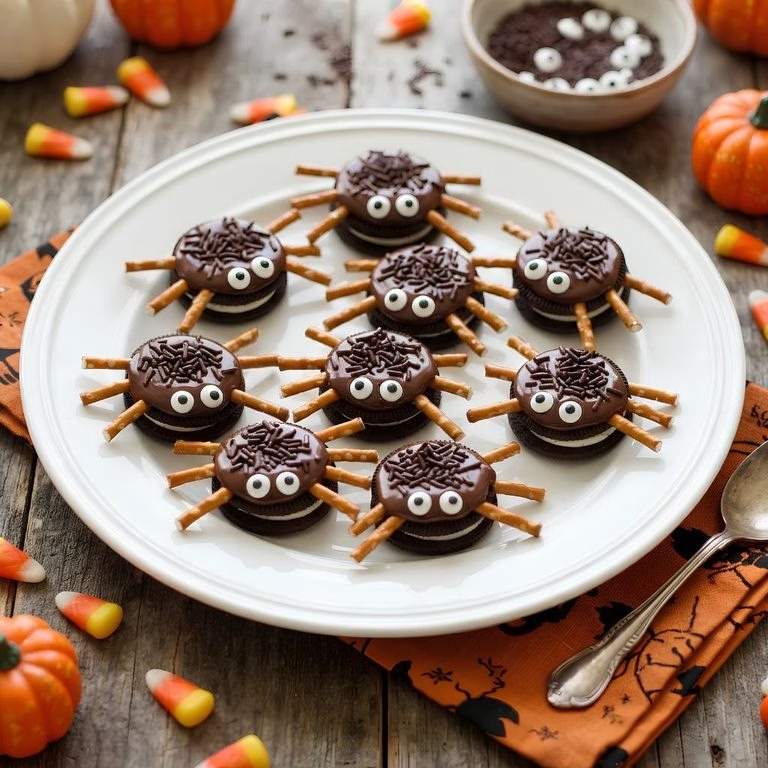
They’re great cut into small squares for a classroom party, or shaped into bigger bars if you’re setting out a dessert table at home. If you’re already putting together a full spread of seasonal sweets, these pair naturally with something like a batch of spooky Halloween Oreo pops for extra variety on the table.
Variations
- Swap in mini pretzel pieces along with the M&Ms for a fun combination of chocolate rice krispie halloween treats with a salty crunch
- Add orange food coloring to the marshmallow mixture before folding in the cereal for a fun twist on pumpkin rice krispie treats
- Shape the mixture into rounded balls and add candy eyes for playful ghost rice krispie treats or frankenstein rice krispie treats recipe versions
- Melt white chocolate over the top and stretch thin marshmallow strands across for a webbed look, perfect for spider rice krispie treats
- Skip the M&Ms entirely and double up on candy corn for a version closer to classic candy corn rice krispie treats
- Try dipping individual bars into melted chocolate for a dressed-up halloween crispy cakes recipe finish
Nutritional Information
Here’s a rough estimate per treat, though this will shift slightly depending on the brands of candy and cereal you use.
- Calories: 320 kcal
- Protein: 2 g
- Carbohydrates: 59 g
- Fat: 9 g
Make Ahead and Storage
You can make these up to two days in advance and keep the whole pan covered tightly at room temperature until you’re ready to serve.
Store cut bars in an airtight container at room temperature, where they’ll stay soft and fresh for about three to four days.
For longer storage, wrap individual bars in plastic wrap and freeze for up to two months, then let them thaw at room temperature for about 20 minutes before eating.
Why You’ll Love This Recipe?
This has become one of my most requested Halloween desserts, and here’s why I keep making it year after year.
- It’s ready in minutes: With no oven and just one saucepan, these come together faster than almost any other Halloween dessert I make.
- It’s endlessly customizable: Whether you want a ghost rice krispies recipe or a chocolate-heavy version, the base recipe adapts easily to whatever candy you have on hand.
- It’s kid-friendly to make: My own kids help stir and press these into the pan, which makes it a fun activity as much as a recipe.
- It travels and holds up well: These bars stay intact in lunchboxes, on dessert tables, or wrapped up as party favors without falling apart.
- It’s easy to scale: You can double the recipe for a bigger crowd or make a smaller batch without much extra effort.
FAQs
Can I use a different cereal for this halloween crispy cakes recipe?
Yes, you can swap in cocoa or fruity versions of crispy rice cereal, though the classic plain kind lets the candy flavors stand out the most.
Why did my rice krispie treats turn out hard instead of gooey?
This usually happens from overheating the marshmallows or using too much cereal relative to marshmallow, so keep the heat low and measure carefully.
Can I make spider rice krispie treats with this same base recipe?
Absolutely, just shape the warm mixture into rounds, coat in melted chocolate, and add stretched marshmallow strands on top for the web effect.
How long do these Halloween treats actually stay fresh?
They stay soft for about three to four days at room temperature in a sealed container, or up to two months if wrapped and frozen.
Can I skip the candy corn if my family doesn’t like it?
Of course, you can leave it out completely or swap it for extra M&Ms, chopped candy bars, or another Halloween-themed mix-in you prefer.
If you’re planning a whole Halloween dessert table, these pair really well with something like an easy no-bake Halloween chocolate bark for even more variety without turning on the oven.

Halloween Rice Krispie Treats Recipe
Ingredients
Method
- Line your 9×13-inch baking pan with foil or parchment paper, letting a little overhang on the sides for easy removal later. Spray the lining generously with cooking spray so nothing sticks once the mixture sets.
- In a medium saucepan over medium-low heat, melt the butter first, then add the marshmallows. Stir constantly and keep the heat low, since high heat toward the end tends to make the bars turn out hard instead of soft.
- Once the marshmallows are fully melted and smooth, remove the pan from the heat and stir in the vanilla extract. Quickly fold in the cereal so it gets evenly coated before the marshmallow mixture starts to firm up.
- Fold in the M&Ms, candy corn, and sprinkles while the mixture is still warm and pliable. Work quickly but gently so the candy stays intact instead of breaking apart in the mix.
- Pour everything into your prepared pan, then spray your hands with cooking spray and press the mixture down firmly and evenly. Let the pan cool completely at room temperature before slicing into squares.
Notes
- I always use fresh marshmallows straight from a new bag, since anything stale or slightly hard just won’t melt smoothly.
- I keep my stove on medium-low the entire time, because rushing the heat is the number one way I’ve ruined a batch.
- I spray my hands before pressing the mixture into the pan, which saves me from peeling sticky cereal off my fingers for the next ten minutes.
- I like folding in a few extra mini marshmallows at the end for pockets of gooey texture throughout.
- I always let the pan cool fully before cutting, even though I want to dig in immediately, because warm bars fall apart when sliced.