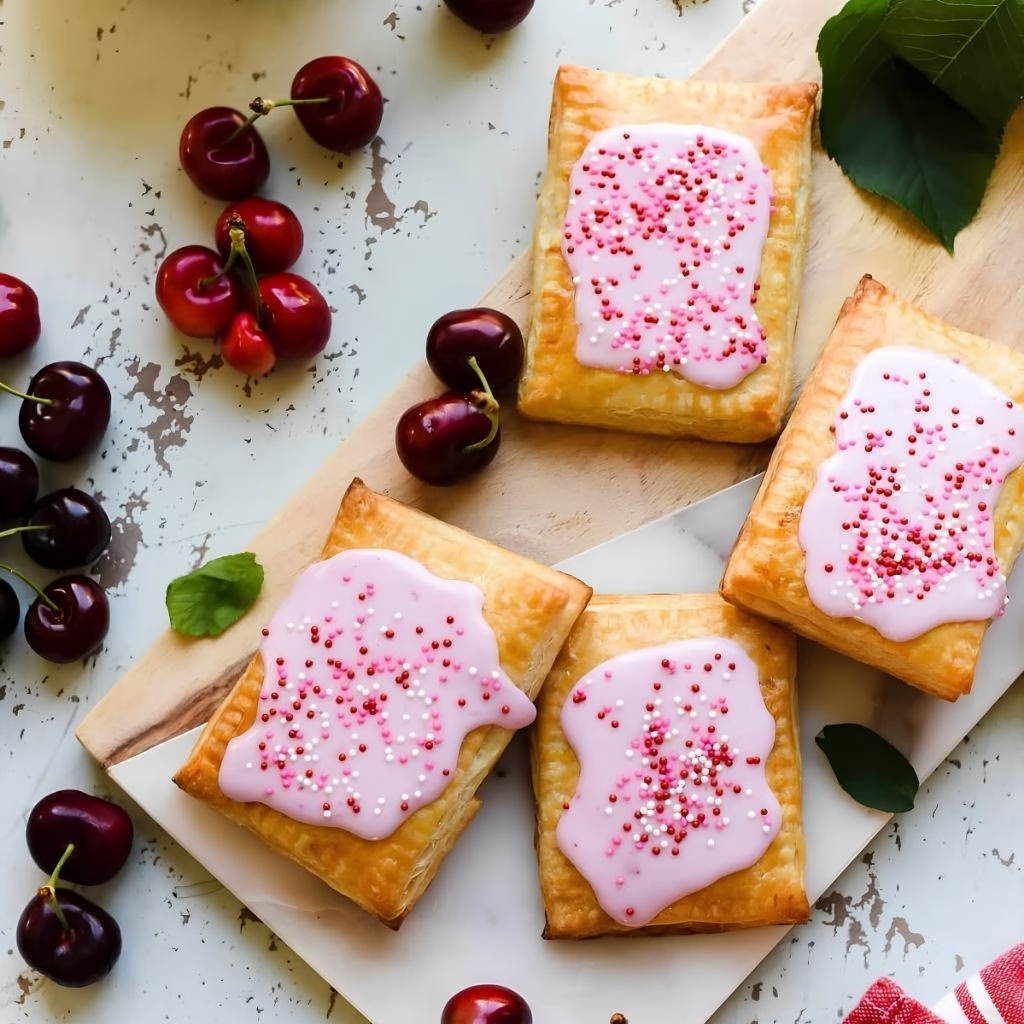
I still remember the first time I pulled a tray of Homemade Cherry Pop Tart Recipe out of my oven and realized I’d never buy the boxed kind again. The crust was flaky, the filling was bursting with real cherries, and the whole kitchen smelled like a bakery.
I make these easy homemade cherry pop tarts every summer when cherries are at their best, and I promise they’re far simpler than they look. If you’ve been curious about easy homemade cherry pop tarts, this is the recipe I keep coming back to.
Cooking Time
- Prep Time: 40 minutes
- Cooking Time: 20 minutes
- Total Time: 1 hour (plus chilling time)
Ingredients
For the crust:
- All-purpose flour, 2½ cups – gives the crust structure while staying tender
- Cold unsalted butter, 1 cup (cubed) – the colder the butter, the flakier the layers
- Granulated sugar, 1 tablespoon – adds a touch of sweetness to the pastry itself
- Salt, 1 teaspoon – balances the sweetness and boosts overall flavor
- Ice water, 6–8 tablespoons – binds the dough without melting the butter
For the cherry filling:
- Fresh or frozen pitted cherries, 2 cups – fresh cherries in season give the brightest flavor, but frozen works too
- Granulated sugar, ⅓ cup – sweetens the filling and helps it thicken as it cooks
- Cornstarch, 1 tablespoon – thickens the filling so it doesn’t leak while baking
- Lemon juice, 1 tablespoon – adds brightness and keeps the cherry flavor from tasting flat
- Water, 1 tablespoon – helps dissolve the cornstarch smoothly
For the egg wash and glaze:
- Egg, 1 (beaten) – gives the crust a beautiful golden-brown shine
- Powdered sugar, 1 cup – forms the base of a simple, sweet glaze
- Milk or cherry juice, 2–3 tablespoons – thins the glaze to a pourable, drizzle-friendly texture
Note: this recipe makes about 8 pop tarts, enough to serve 4 people generously.
Equipment You Need
- Rolling pin – rolls the dough into an even sheet for cutting rectangles
- Pastry cutter or two knives – cuts cold butter into the flour for a flaky crust
- Small saucepan – cooks down the cherries into a thick, jammy filling
- Baking sheet – bakes the pop tarts evenly and catches any drips
- Parchment paper – prevents sticking and makes cleanup easy
- Pastry brush – applies egg wash for that golden, glossy finish
- Fork – crimps and seals the edges of each pop tart
- Pizza cutter or sharp knife – cuts clean, even rectangles of dough
- Wire rack – cools the tarts so the crust stays crisp
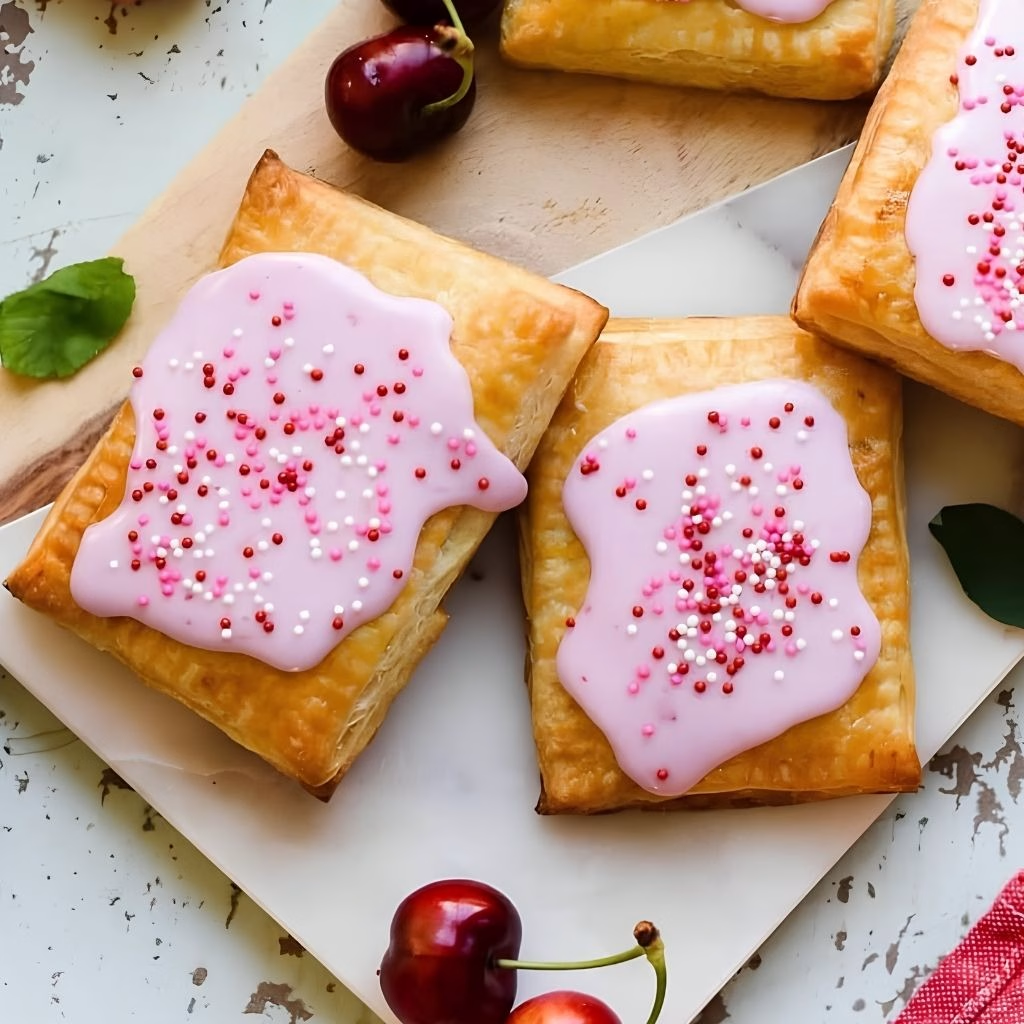
How to Make a Homemade Cherry Pop Tart Recipe?
Making these pop tarts from scratch is really just three simple stages: mix the dough, cook the filling, then assemble and bake. Once you’ve done it once, you’ll see how forgiving the process actually is. Here’s exactly how I put it all together in my own kitchen.
Make the Pastry Dough
Whisk the flour, sugar, and salt together in a large bowl, then cut in the cold, cubed butter using a pastry cutter until the mixture looks like coarse crumbs. Slowly add ice water, one tablespoon at a time, just until the dough comes together without being sticky. Shape it into two flat discs, wrap in plastic, and chill for at least 30 minutes.
Cook the Cherry Filling
While the dough chills, add the cherries, sugar, and lemon juice to a small saucepan over medium heat. Let them simmer for about five minutes until the cherries soften and release their juice. Stir in the cornstarch-water mixture and keep cooking until the filling thickens into a glossy, jammy consistency, then set it aside to cool completely.
Roll and Cut the Dough
On a lightly floured surface, roll one chilled dough disc into a rectangle about ⅛-inch thick. Trim the rough edges with a pizza cutter, then slice it into evenly sized rectangles, roughly 3×4 inches. Repeat with the second disc so you have a matching top and bottom for every tart.
Fill and Seal the Pop Tarts
Place half the rectangles on a parchment-lined baking sheet and spoon a tablespoon of cooled cherry filling onto the center of each, leaving a border around the edges. Brush the edges with egg wash, then top with a second rectangle of dough. Press the edges firmly and crimp with a fork to seal.
Bake Until Golden
Brush the tops with the remaining egg wash and use a fork to poke a few small vents so steam can escape. Bake at 375°F for 18-20 minutes, until the pastry turns a deep golden brown. Let the tarts cool on the pan for a few minutes before moving them to a wire rack.
Glaze and Serve
Once the pop tarts have cooled completely, whisk the powdered sugar with milk or a splash of reserved cherry juice until you have a smooth, pourable glaze. Drizzle it generously over each tart and let it set for a few minutes before serving.
Additional Tips for Making This Recipe Better
I’ve made this recipe more times than I can count, and these are the tricks that consistently give me the best results:
- I always keep my butter and water ice-cold, since warm butter is the number one reason my crust used to turn out tough instead of flaky.
- I let my cherry filling cool completely before assembling, otherwise it melts the butter in the dough and makes sealing a mess.
- I chill my assembled pop tarts for 15 minutes before baking, which helps them hold their shape in the oven.
- I don’t overfill them; a slightly stingy hand with the filling actually gives a cleaner bake.
- I double the batch and freeze half unbaked, so I always have a treat ready to go straight from the freezer to the oven.
Common Mistakes to Avoid
- I used to skip chilling the dough, and my pastry always baked up dense instead of flaky, so now I never rush that step.
- I once overfilled my tarts and ended up with cherry filling leaking all over my baking sheet, so I stick to about a tablespoon each now.
- I learned the hard way that skipping the vent holes traps steam and can cause the tarts to burst open while baking.
- I’ve forgotten to seal the edges properly before, and the filling oozed right out, so I always press firmly and double-check the crimp with a fork.
- I tried glazing my tarts while they were still warm once, and the icing just slid right off, so I wait until they’re fully cool.
How to Serve Homemade Cherry Pop Tart Recipe?
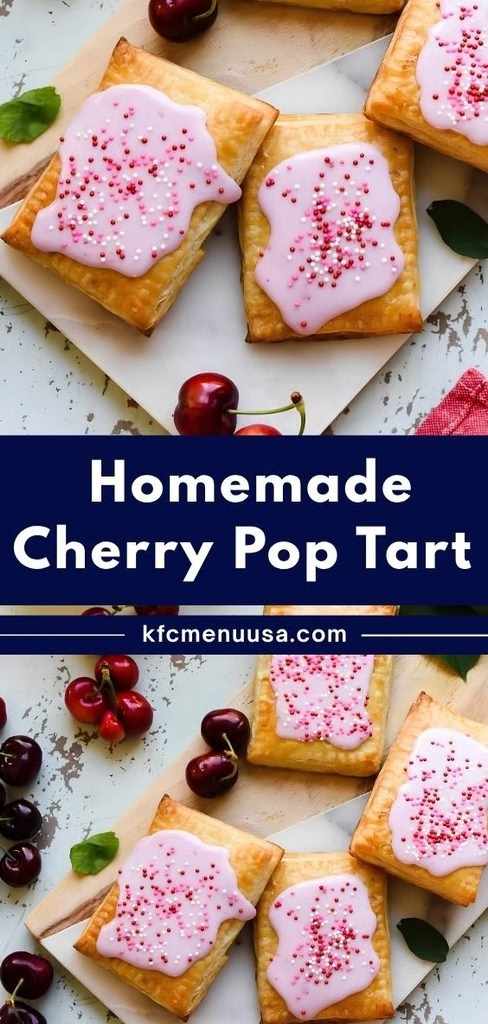
I love serving these warm, with the glaze just barely set so it’s still a little glossy. Stack a couple on a rustic wooden board with a light dusting of powdered sugar and a few whole cherries scattered around for a pretty, bakery-style presentation.
They pair wonderfully with a cold glass of milk or a hot cup of coffee for breakfast, and for dessert, I like adding a small scoop of vanilla ice cream on the side. If you’re hosting brunch, arranging them alongside other breakfast favorites, like the ones in this chicken and waffles recipe, turns your table into a genuine spread.
Variations
- Swap the fresh cherries for a store-bought cherry preserve if you’re short on time.
- Try dairy-free by using a plant-based butter substitute in the crust.
- Make it sugar-free by using a sugar substitute in both the filling and glaze.
- Add a few drops of almond extract to the filling for a deeper, more complex cherry flavor.
- Mix in a handful of chopped nuts or a sprinkle of cinnamon into the dough for extra texture.
- For an unfrosted cherry pop tarts option, simply skip the glaze and serve them plain with a light dusting of powdered sugar.
- If you’re a fan of fruity desserts in general, you might also love trying this strawberry shortcake recipe as another sweet treat for your table.
Nutritional Information
Here’s a rough idea of what’s in one homemade cherry pop tart, based on a standard batch of eight:
- Calories: about 320 per tart
- Protein: about 4 grams
- Carbohydrates: about 42 grams
- Fat: about 15 grams
Make Ahead and Storage
You can prepare the dough and cherry filling up to two days in advance and store them separately in the fridge, which actually makes assembly on baking day much faster. Once baked, keep the pop tarts in an airtight container at room temperature for up to two days, or in the fridge for about five days.
To reheat, pop them in a toaster or a 300°F oven for a few minutes until warmed through and crisp again; I don’t recommend the microwave since it softens the crust. For longer storage, freeze the unbaked, assembled tarts on a tray until solid, then transfer to a freezer bag for up to two months and bake straight from frozen, adding a few extra minutes to the bake time.
Why You’ll Love This Recipe?
This homemade cherry pop tart recipe has become a staple in my kitchen for so many reasons, and I think it’ll earn a spot in yours too:
- Easy to prepare: even with homemade dough and filling, the steps are simple enough for a weekend baking project with kids.
- Better than store-bought: comparing cherry pop tart vs strawberry pop tart or any boxed version, the fresh, buttery crust here is simply unmatched.
- Totally customizable: from dairy-free swaps to different fillings, this base recipe adapts to whatever you’re craving.
- Freezer-friendly: I can make a big batch and always have a homemade treat ready without last-minute effort.
- Naturally impressive: they look like they came from a bakery, but they’re made with ingredients I actually recognize.
FAQs
Can I use puff pastry instead of pie crust?
Yes, homemade cherry pop tarts with puff pastry work well too and give a lighter, more layered texture compared to the classic pie crust version.
Can I make cherry pop tarts with frozen cherries?
Absolutely, frozen cherries work just as well as fresh ones; just thaw and drain any excess liquid before cooking the filling.
How long do homemade pop tarts stay fresh?
They stay fresh at room temperature for about two days, or up to five days if stored in the refrigerator in an airtight container.
Can I skip the glaze?
Yes, unfrosted cherry pop tarts are just as delicious and are a great option if you prefer a less sweet breakfast pastry.
Are homemade pop tarts healthier than store-bought ones?
Generally yes, since you control the ingredients and sugar, and homemade cherry pop-tarts calories tend to be comparable while offering more real fruit and fewer preservatives than boxed versions.

Homemade Cherry Pop Tart Recipe
Ingredients
Method
- Whisk the flour, sugar, and salt together in a large bowl, then cut in the cold, cubed butter using a pastry cutter until the mixture looks like coarse crumbs. Slowly add ice water, one tablespoon at a time, just until the dough comes together without being sticky. Shape it into two flat discs, wrap in plastic, and chill for at least 30 minutes.
- While the dough chills, add the cherries, sugar, and lemon juice to a small saucepan over medium heat. Let them simmer for about five minutes until the cherries soften and release their juice. Stir in the cornstarch-water mixture and keep cooking until the filling thickens into a glossy, jammy consistency, then set it aside to cool completely.
- On a lightly floured surface, roll one chilled dough disc into a rectangle about ⅛-inch thick. Trim the rough edges with a pizza cutter, then slice it into evenly sized rectangles, roughly 3×4 inches. Repeat with the second disc so you have a matching top and bottom for every tart.
- Place half the rectangles on a parchment-lined baking sheet and spoon a tablespoon of cooled cherry filling onto the center of each, leaving a border around the edges. Brush the edges with egg wash, then top with a second rectangle of dough. Press the edges firmly and crimp with a fork to seal.
- Brush the tops with the remaining egg wash and use a fork to poke a few small vents so steam can escape. Bake at 375°F for 18-20 minutes, until the pastry turns a deep golden brown. Let the tarts cool on the pan for a few minutes before moving them to a wire rack.
- Once the pop tarts have cooled completely, whisk the powdered sugar with milk or a splash of reserved cherry juice until you have a smooth, pourable glaze. Drizzle it generously over each tart and let it set for a few minutes before serving.
Notes
- I always keep my butter and water ice-cold, since warm butter is the number one reason my crust used to turn out tough instead of flaky.
- I let my cherry filling cool completely before assembling, otherwise it melts the butter in the dough and makes sealing a mess.
- I chill my assembled pop tarts for 15 minutes before baking, which helps them hold their shape in the oven.
- I don’t overfill them; a slightly stingy hand with the filling actually gives a cleaner bake.
- I double the batch and freeze half unbaked, so I always have a treat ready to go straight from the freezer to the oven.