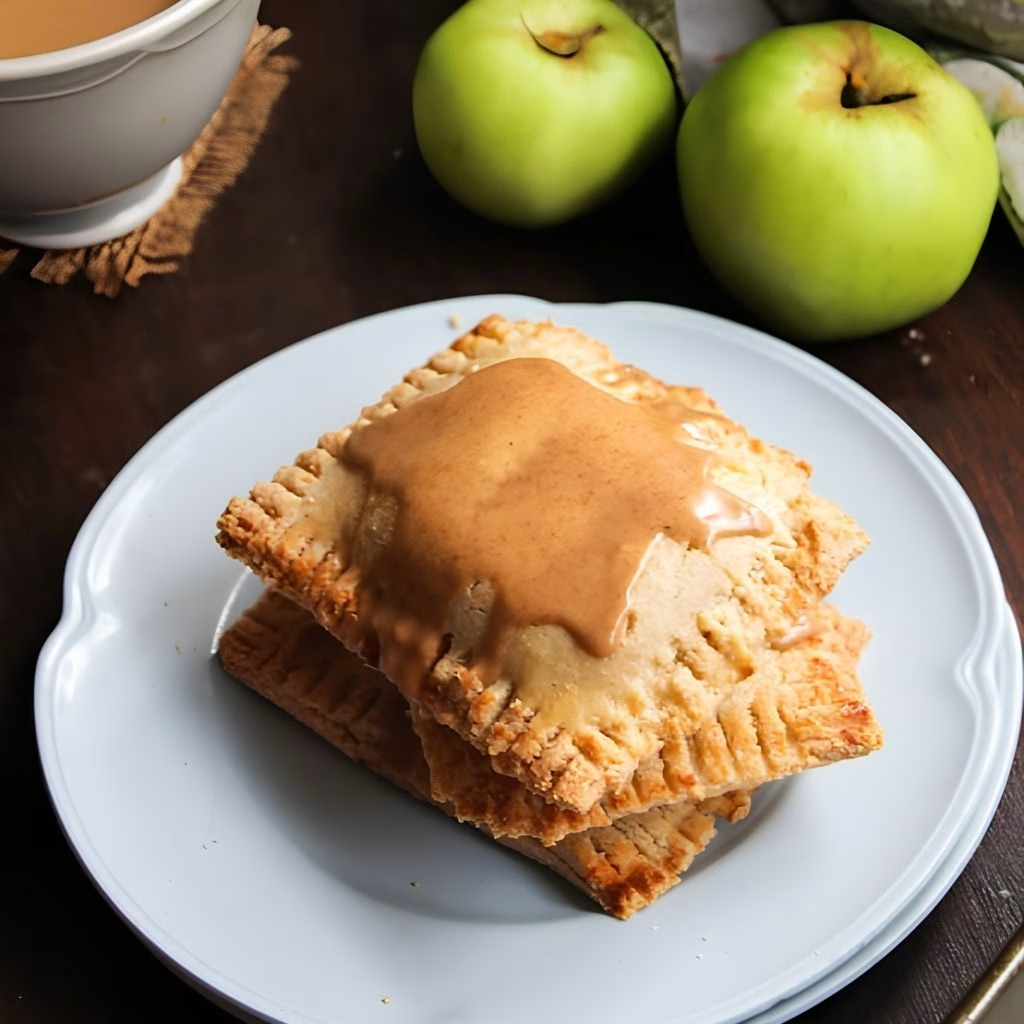
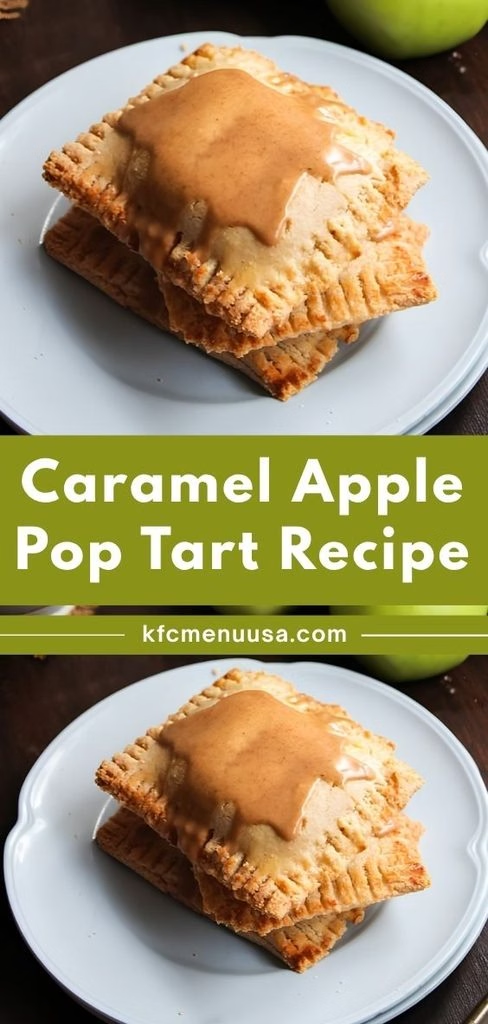
I still remember the first time I pulled a batch of this Caramel Apple Pop Tart Recipe out of the oven my whole kitchen smelled like a fall festival. I wanted a treat that felt nostalgic but a little more grown-up than the boxed kind I grew up eating, so I started playing with pie dough, cinnamon apples, and a sticky caramel drizzle.
After a few tries, I landed on a version that’s flaky, gooey, and ridiculously easy to make at home. Once you taste that warm apple filling oozing out from buttery pastry, I promise you’ll never look at a store-bought pop tart the same way again.
Cooking Time
- Prep Time: 25 minutes
- Cooking Time: 20 minutes
- Total Time: 45 minutes
Ingredients
- 1 batch pie dough or store-bought puff pastry (2 sheets) – the base that gives these tarts their flaky, buttery bite
- 2 cups apples, peeled and diced small (Granny Smith or Honeycrisp work great) – pick a firm apple so it holds its shape instead of turning mushy
- 1/3 cup brown sugar – adds sweetness and that deep caramel-like flavor to the filling
- 1 tablespoon butter – helps soften the apples and enriches the filling
- 1 teaspoon ground cinnamon – the warm spice that makes this filling taste like fall
- 1 tablespoon cornstarch – thickens the juices so the filling stays put instead of leaking out
- 1 tablespoon lemon juice – brightens the apples and keeps them from browning
- 1 egg, beaten (for egg wash) – gives the crust that golden, bakery-style finish
- 1/2 cup soft caramel candies or caramel sauce – the star topping, so use a good-quality one for best flavor
- 1/2 cup powdered sugar – whisked into the glaze for a smooth, sweet finish
- 1–2 tablespoons milk – thins the glaze to the perfect drizzling consistency
Note: This recipe makes about 6-7 pop tarts, enough to serve 6-7 people.
Equipment You Need
- Rolling pin – for rolling the pastry dough into even sheets
- Baking sheet – to hold the pop tarts while they bake
- Parchment paper – prevents sticking and makes cleanup easy
- Small saucepan – for cooking down the apple filling
- Pastry brush – to apply the egg wash for that golden shine
- Fork – for crimping and sealing the edges of each tart
- Mixing bowls – to combine the filling and glaze separately
- Cooling rack – lets air circulate so the bottoms don’t get soggy
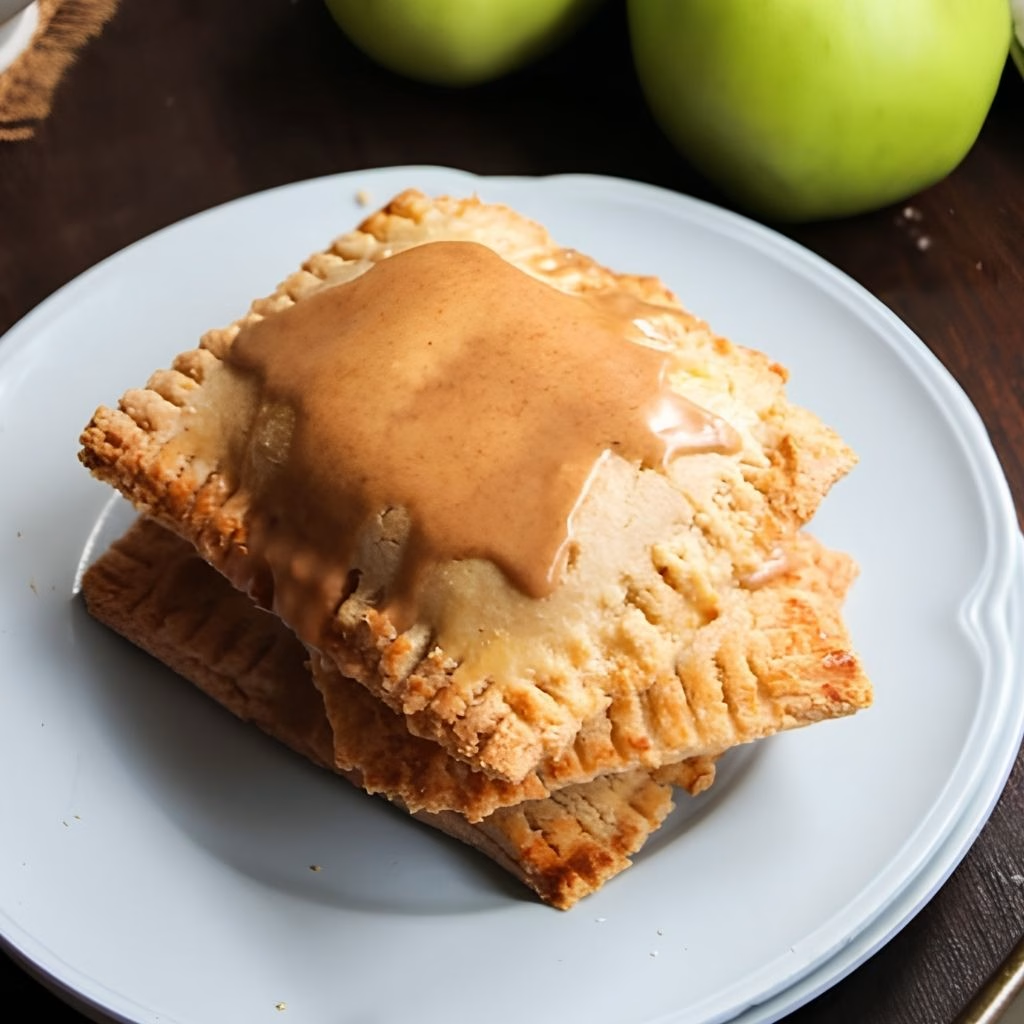
How to Make Caramel Apple Pop Tart Recipe?
Making these caramel apple pop tarts is honestly simpler than it looks, and most of the work happens in stages you can prep ahead. I like to get my filling cooked and cooled first, then move on to rolling and assembling the dough. Follow these steps and you’ll have a tray of golden, gooey pop tarts in under an hour.
Prepare the Apple Filling
In a small saucepan, I combine the diced apples, brown sugar, butter, and cinnamon over medium heat. I let it cook for about 4-5 minutes, stirring often, until the apples just begin to soften. Then I stir in the cornstarch and lemon juice and cook one more minute until the mixture thickens slightly. I set it aside to cool completely before using.
Roll Out the Dough
While the filling cools, I roll my pie dough or puff pastry out on a lightly floured surface until it’s about 1/8-inch thick. I cut it into rectangles roughly 3×4 inches, aiming for an even number since each tart needs a top and a bottom piece. I keep the extra dough covered so it doesn’t dry out while I work.
Assemble the Pop Tarts
I brush a little egg wash around the edges of half the rectangles, then spoon about 1½ tablespoons of the cooled apple filling into the center of each. I place a second piece of dough on top and press the edges together firmly with my fingers before crimping with a fork to seal in all that filling.
Egg Wash and Vent
Before baking, I brush the tops of each tart with the remaining egg wash for that glossy, golden finish. I also poke a few small slits in the top of each tart with a knife so steam can escape while baking, which keeps the pastry from puffing up unevenly or bursting open.
Bake Until Golden
I preheat my oven to 400°F (200°C) and line a baking sheet with parchment paper. I arrange the assembled tarts with space between each one and bake for 18-20 minutes, until the pastry turns a deep golden brown and the edges look flaky and crisp.
Cool and Glaze
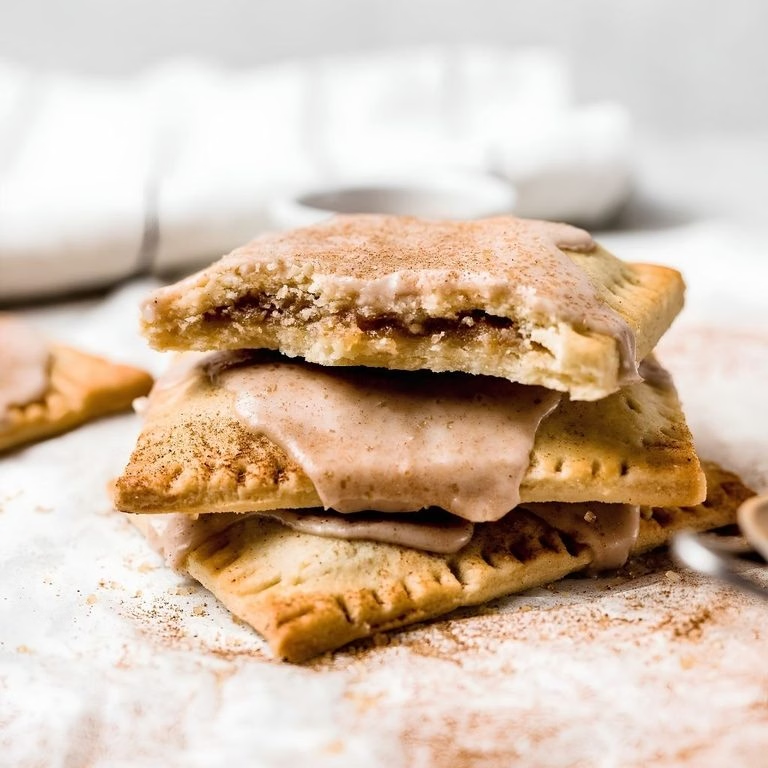
Once out of the oven, I let the tarts cool on the pan for 5 minutes, then transfer them to a rack to cool completely. I whisk powdered sugar with milk until smooth, spread it over each cooled tart, then melt the caramel with a splash of water and drizzle it generously on top before serving.
Additional Tips for Making This Recipe Better
I’ve made this recipe enough times now to know exactly where things can go sideways, so here’s what actually helps.
- I always cool my apple filling completely before assembling, otherwise it melts the dough and makes sealing nearly impossible.
- I like chilling the assembled tarts in the fridge for 10 minutes before baking, since cold dough puffs up flakier in the oven.
- I never skip the egg wash. It’s the difference between a dull crust and one that looks bakery-worthy.
- I keep my caramel glaze slightly warm when drizzling so it flows smoothly instead of clumping on top.
- I dice my apples small and uniform so they cook evenly and don’t leave hard bits inside the filling.
Common Mistakes to Avoid
I’ve made a few of these mistakes myself, so let me save you the trouble.
- Overfilling the tarts: I learned the hard way that more filling means more leaking. I stick to about 1½ tablespoons per tart.
- Skipping the vent slits: Without them, I’ve had steam build up and burst the pastry open during baking.
- Not sealing the edges well: If I rush the crimping step, the filling seeps out and burns on the pan.
- Rolling the dough too thin: When I go too thin, the tarts turn out dry instead of flaky, so I aim for about 1/8-inch thickness.
- Glazing while still warm: I once glazed a tart straight from the oven, and the icing just slid right off — patience really does pay off here.
How to Serve Caramel Apple Pop Tarts?
I love serving these warm with an extra drizzle of caramel and a light dusting of cinnamon on top for that bakery-display look. A scoop of vanilla ice cream on the side turns them into a full dessert, while a simple plate stacked with a few tarts and a dusting of powdered sugar works beautifully for a fall brunch spread.
If you’re hosting, I’ll sometimes serve these alongside other comforting bites like the ones on this page apple pie since apple desserts always seem to disappear fast at a gathering.
Variations
- Dairy-free: I swap the butter in the filling for a plant-based alternative and use a dairy-free caramel sauce.
- Sugar-free: I use a sugar substitute in place of brown sugar and choose a sugar-free caramel option.
- Caramel apple cheesecake pop-tarts: I add a spoonful of sweetened cream cheese into the center before sealing for a cheesecake twist.
- Apple cinnamon pop tarts: I skip the caramel glaze entirely and finish with a simple cinnamon-sugar dusting instead.
- Apple butter pop tarts: I replace half the diced apple filling with apple butter for an even richer, spiced flavor.
- Nutty crunch: I sprinkle chopped pecans or walnuts over the caramel glaze before it sets for extra texture.
Nutritional Information
Here’s a rough idea of what one caramel apple pop tart offers, though this can vary depending on your exact ingredients:
- Calories: 290 kcal
- Protein: 3g
- Carbohydrates: 42g
- Fat: 12g
Make Ahead and Storage
I often make the apple filling a day ahead and store it in the fridge in an airtight container, which saves time on baking day. The unbaked, assembled tarts also freeze well. I lay them flat on a tray until firm, then transfer to a freezer bag for up to 2 months, baking straight from frozen with a few extra minutes added.
Once baked, I keep leftover tarts in an airtight container at room temperature for up to 2 days, or in the fridge for up to 5 days. To reheat, I pop them in a toaster oven or regular oven at 350°F for about 5 minutes so the crust crisps back up instead of going soft.
Why You’ll Love This Recipe?
There’s a reason this caramel apple pop tart recipe has become one of my go-to fall bakes, and I think you’ll feel the same way once you try it.
- Easy to make: The steps are simple enough that I can pull these together on a weeknight without much fuss.
- Cozy fall flavor: The combination of warm cinnamon apples and buttery caramel just tastes like autumn in every bite.
- Customizable: I can switch up the filling, glaze, or toppings depending on what I’m craving that day.
- Great for sharing: These are perfect for brunches, potlucks, or lunchbox treats, and they always get devoured fast.
- Better than store-bought: Once you taste a homemade version, I promise the boxed kind just won’t compare anymore.
FAQs
Can I use puff pastry instead of pie dough?
Yes, I’ve made these with store-bought puff pastry plenty of times, and it bakes up even flakier than traditional pie dough.
Why did my filling leak out during baking?
This usually happens if the edges weren’t sealed well enough or the tarts were overfilled, so I always crimp firmly with a fork.
Can I make these pop tarts ahead of time?
Absolutely, I assemble mine the night before, refrigerate them unbaked, and pop them straight into the oven the next morning.
What apples work best for this recipe?
I reach for Granny Smith or Honeycrisp since they hold their shape well and balance out the sweetness of the caramel.
Can I freeze baked pop tarts?
I don’t recommend freezing them after baking since the texture suffers, but freezing the unbaked assembled tarts works great.
If you enjoy playing with apple-based bakes, you might also like browsing through more comforting dessert ideas over at apple crumble for another cozy option to add to your rotation.

Caramel Apple Pop Tart Recipe
Ingredients
Method
- In a small saucepan, I combine the diced apples, brown sugar, butter, and cinnamon over medium heat. I let it cook for about 4-5 minutes, stirring often, until the apples just begin to soften. Then I stir in the cornstarch and lemon juice and cook one more minute until the mixture thickens slightly. I set it aside to cool completely before using.
- While the filling cools, I roll my pie dough or puff pastry out on a lightly floured surface until it’s about 1/8-inch thick. I cut it into rectangles roughly 3×4 inches, aiming for an even number since each tart needs a top and a bottom piece. I keep the extra dough covered so it doesn’t dry out while I work.
- I brush a little egg wash around the edges of half the rectangles, then spoon about 1½ tablespoons of the cooled apple filling into the center of each. I place a second piece of dough on top and press the edges together firmly with my fingers before crimping with a fork to seal in all that filling.
- Before baking, I brush the tops of each tart with the remaining egg wash for that glossy, golden finish. I also poke a few small slits in the top of each tart with a knife so steam can escape while baking, which keeps the pastry from puffing up unevenly or bursting open.
- I preheat my oven to 400°F (200°C) and line a baking sheet with parchment paper. I arrange the assembled tarts with space between each one and bake for 18-20 minutes, until the pastry turns a deep golden brown and the edges look flaky and crisp.
- Once out of the oven, I let the tarts cool on the pan for 5 minutes, then transfer them to a rack to cool completely. I whisk powdered sugar with milk until smooth, spread it over each cooled tart, then melt the caramel with a splash of water and drizzle it generously on top before serving.
Notes
- I always cool my apple filling completely before assembling, otherwise it melts the dough and makes sealing nearly impossible.
- I like chilling the assembled tarts in the fridge for 10 minutes before baking, since cold dough puffs up flakier in the oven.
- I never skip the egg wash. It’s the difference between a dull crust and one that looks bakery-worthy.
- I keep my caramel glaze slightly warm when drizzling so it flows smoothly instead of clumping on top.
- I dice my apples small and uniform so they cook evenly and don’t leave hard bits inside the filling.