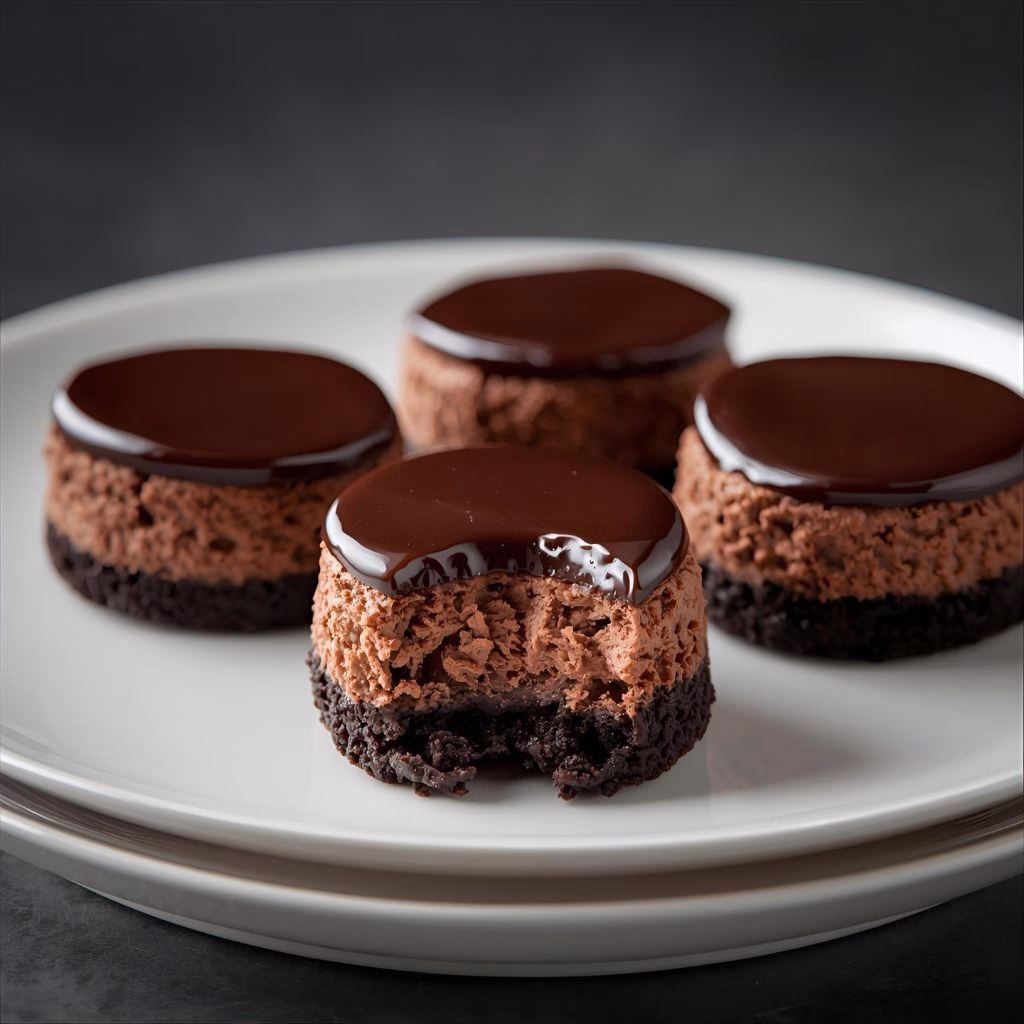
Mini Chocolate Cheesecakes Recipe: Creamy Bite-Sized Dessert
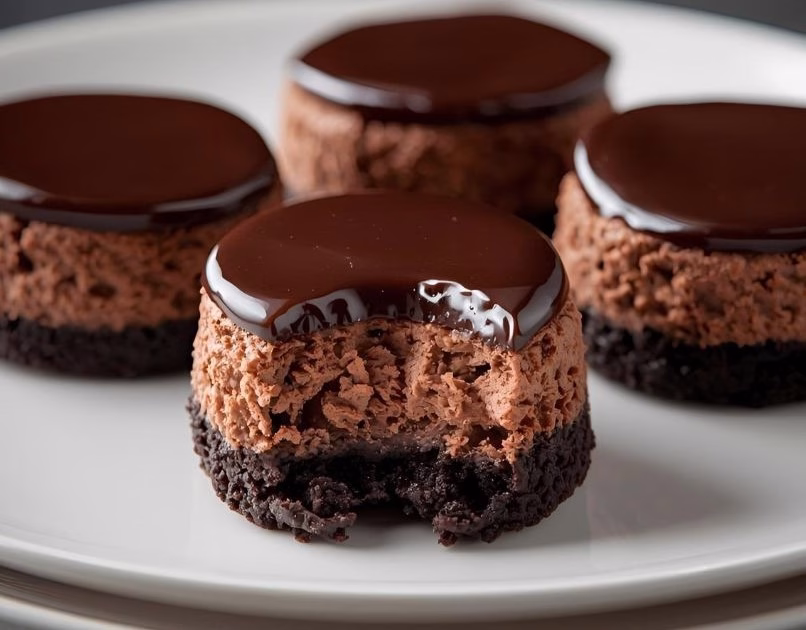
If there’s one dessert I could eat every day, it’s Mini Chocolate Cheesecakes Recipe! I made these last weekend, and wow, they were the perfect little indulgence. Each bite was a heavenly mix of creamy chocolate, rich Oreo crust, and a dollop of whipped cream on top. They were surprisingly simple to make, yet they looked so impressive.
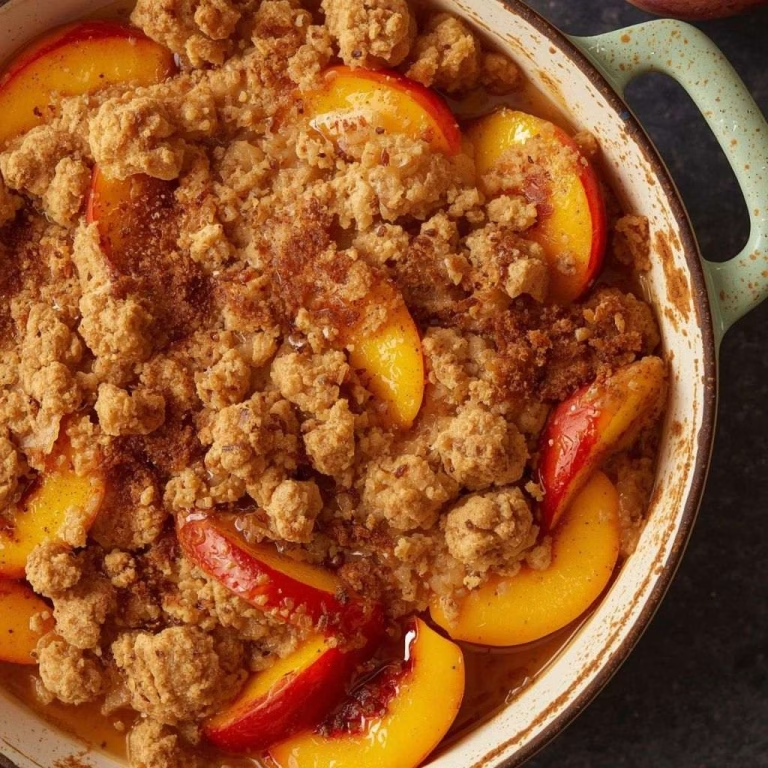
My friends couldn’t believe they weren’t from a bakery! You can also enjoy other cozy desserts like this baked cinnamon apples recipe for a warm, comforting treat. The best part is, they’re portion-sized, so no slicing required, and you can personalize them with your favorite toppings.
Whether you’re making them for a special occasion or just craving something decadent, these cheesecakes are bound to impress. I love that you can whip them up ahead of time, too, making them ideal for parties (or late-night chocolate emergencies). Trust me, once you make them, they’ll be your go-to dessert for every gathering!

Why You’ll Love This Recipe?
There are plenty of reasons to add this recipe to your dessert rotation.
1. Simple and Effortless
This recipe is surprisingly easy, even if you’re new to baking. With just a muffin tin and basic ingredients, you’ll have beautiful, professional-looking mini cheesecakes in no time. No water bath or complicated tools required—just mix, bake, and chill.
2. Rich Chocolate Flavor
If you love chocolate (who doesn’t?), these cheesecakes deliver big! From the Oreo crust to the creamy cocoa filling and optional ganache topping, every bite screams chocolate goodness. They taste like a decadent dessert from a fancy bakery.
3. Great for Any Occasion
Small, portable, and visually impressive, these cheesecakes are perfect for everything from holidays to casual dinners. They’re just the right mix of fancy and fun! Pack them in treat boxes for parties or gifts.
4. Customizable Toppings
Top these treats your way! Add whipped cream, sprinkles, caramel, fresh fruit, or even crushed candy canes for a festive twist. The possibilities are endless! Let guests create their own topping combos for an interactive dessert bar.
5. Make-Ahead Friendly
Save yourself some time! These cheesecakes can be prepared in advance and stored in the fridge until it’s time to serve. It’s stress-free entertaining at its finest. Just add your favorite toppings right before serving for the freshest look.
Cooking Time
Here’s how long it’ll take to create these heavenly mini cheesecakes.
- Prep Time: 25 minutes
- Cooking Time: 15 minutes
- Total Time: 40 minutes
Ingredients
You’ll need simple and accessible ingredients for this indulgent dessert.
For the Oreo Crust:
- 1 cup Oreo crumbs
- 3½ tablespoons unsalted butter, melted
For the Cheesecake Filling:
- 8 ounces cream cheese, room temperature
- ½ cup granulated sugar
- ¼ cup cocoa powder
- 1 teaspoon vanilla extract
- ¼ cup sour cream, room temperature
- ¼ cup heavy cream, room temperature
- 1 large egg
- 1 egg yolk
- 3½ ounces semi-sweet or dark chocolate, melted
For the Whipped Cream Topping:
- 1 cup heavy whipping cream, chilled
- ¼ cup powdered sugar
- ½ teaspoon vanilla extract
Optional Chocolate Ganache:
- ½ cup semi-sweet chocolate chips
- ¼ cup heavy cream
Variations
Looking to customize? Here’s how you can make these cheesecakes your own.
- Dairy-Free Option: Use plant-based cream cheese and coconut cream in place of dairy.
- Sugar-Free Version: Substitute granulated sugar with a calorie-free sweetener like erythritol or stevia.
- Alternate Crusts: Swap Oreos for graham crackers, chocolate wafers, or even pretzels.
- Flavor Additions: A splash of peppermint extract or crushed toffee can add an unexpected twist. You might also love trying a comforting creamy rice pudding recipe for a classic, custardy dessert alternative.
Equipment You’ll Need:
Prepare your kitchen with these essentials.
- Muffin tin: For even and proportioned mini cheesecakes.
- Cupcake liners: To make serving and cleanup fuss-free.
- Hand mixer: For blending the filling to a creamy perfection.
- Mixing bowls: For blending the crust and filling separately.
- Piping bag (optional): To elegantly pipe whipped cream.
How to Make Mini Chocolate Cheesecakes?
You’re just a few steps away from deliciousness!
Step 1: Prepare the Crust
Preheat your oven to 325°F. Mix Oreo crumbs with melted butter until well blended. Divide evenly among cupcake liners in a muffin pan, pressing firmly into the bottoms. Bake for 5 minutes and allow to cool while preparing the filling.
Step 2: Make the Cheesecake Filling
Combine cream cheese and sugar with a hand mixer until smooth. Add cocoa powder, followed by vanilla extract, sour cream, and heavy cream. Blend until creamy. Mix in the egg, yolk, and melted chocolate last, keeping the speed low to prevent overmixing.
Step 3: Fill and Bake
Spoon the creamy batter into the prepared crusts, nearly filling each cup. Bake at 300°F for 15 minutes, then turn off the oven, leaving the cheesecakes inside for another 5 minutes with the door closed. Cool completely before chilling in the fridge for at least 2 hours.
Step 4: Whip the Cream
Chill a mixing bowl and whisk attachment for 15 minutes. Beat chilled cream, powdered sugar, and vanilla extract until stiff peaks form. Spoon or pipe the whipped cream onto the cheesecakes just before serving.
Step 5: Ganache Topping (Optional)
Heat cream until simmering and pour over chocolate chips. Stir until smooth and slightly cooled, then spread or drizzle over the cheesecakes for an added layer of indulgence.
Tips for Making the Recipe
Enhance your cheesecakes with these helpful tips.
Room Temperature Ingredients: Using softened cream cheese and eggs ensures a silky, lump-free filling. Cold ingredients can lead to a dense texture and uneven mixing.
Compact Your Crusts: Firmly press the crust using the bottom of a jar so it stays intact when serving. A tight, even base helps prevent crumbling when removing from the pan.
Don’t Skip the Chill: Give the cheesecakes enough time to chill and set before adding any toppings.This step guarantees clean slices and perfect texture every time.
How to Serve Mini Chocolate Cheesecakes?
Presentation matters! Here are some creative ways to serve them:
Classic and Simple: Top with a swirl of whipped cream and sprinkle with shaved chocolate or cocoa powder.
Seasonal Twist: Add crushed peppermint candies, toasted nuts, or fresh strawberries for extra flair.
Dessert Platter: Serve alongside other bite-sized treats, like brownies or mini tartlets, on a decorative tray.
Themed Toppings: Match the occasion by garnishing with sprinkles, caramel drizzle, or edible glitter for special events!
Nutritional Information
Each cheesecake packs a perfect punch of flavor. Here’s the approximate nutritional breakdown:
- Calories: 385
- Protein: 5g
- Carbohydrates: 23g
- Fat: 31g
Make Ahead and Storage
Keep these cheesecakes fresh and ready for whenever you need them.
- Refrigeration: Store in an airtight container in the refrigerator for up to 5 days. Wait to add whipped cream until just before serving to maintain its freshness.
- Freezing: Skip the toppings and freeze the plain cheesecakes in a sealed container for up to 2 months. Thaw overnight in the fridge, then top and serve as usual!
These Mini Chocolate Cheesecakes are the answer to decadent yet easy homemade desserts. Perfectly portioned, beautifully topped, and customizable, they’re guaranteed to be the star of any gathering. Make them today, and watch everyone fall in love, one chocolatey bite at a time!
Mini Chocolate Cheesecakes Recipe
Ingredients
Method
- Preheat your oven to 325°F. Mix Oreo crumbs with melted butter until well blended. Divide evenly among cupcake liners in a muffin pan, pressing firmly into the bottoms. Bake for 5 minutes and allow to cool while preparing the filling.
- Combine cream cheese and sugar with a hand mixer until smooth. Add cocoa powder, followed by vanilla extract, sour cream, and heavy cream. Blend until creamy. Mix in the egg, yolk, and melted chocolate last, keeping the speed low to prevent overmixing.
- Spoon the creamy batter into the prepared crusts, nearly filling each cup. Bake at 300°F for 15 minutes, then turn off the oven, leaving the cheesecakes inside for another 5 minutes with the door closed. Cool completely before chilling in the fridge for at least 2 hours.
- Chill a mixing bowl and whisk attachment for 15 minutes. Beat chilled cream, powdered sugar, and vanilla extract until stiff peaks form. Spoon or pipe the whipped cream onto the cheesecakes just before serving.
- Heat cream until simmering and pour over chocolate chips. Stir until smooth and slightly cooled, then spread or drizzle over the cheesecakes for an added layer of indulgence.