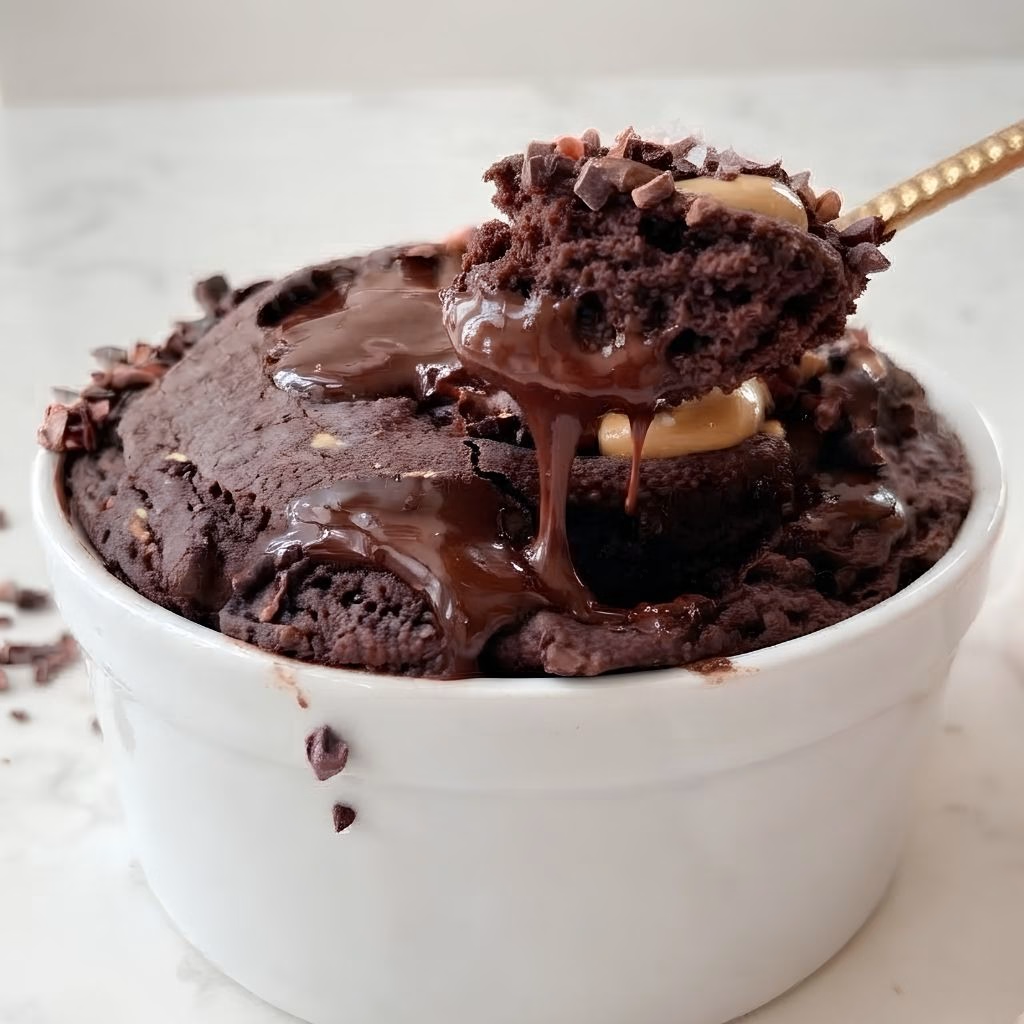
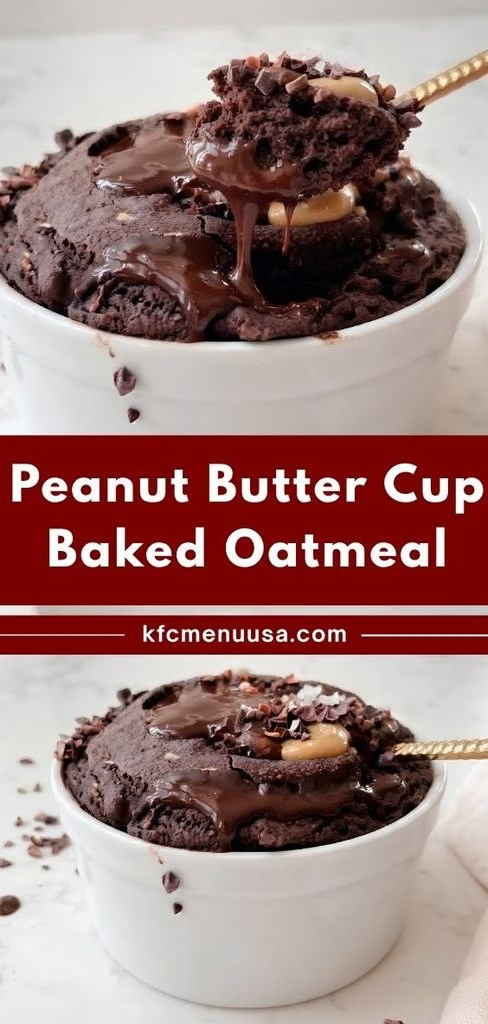
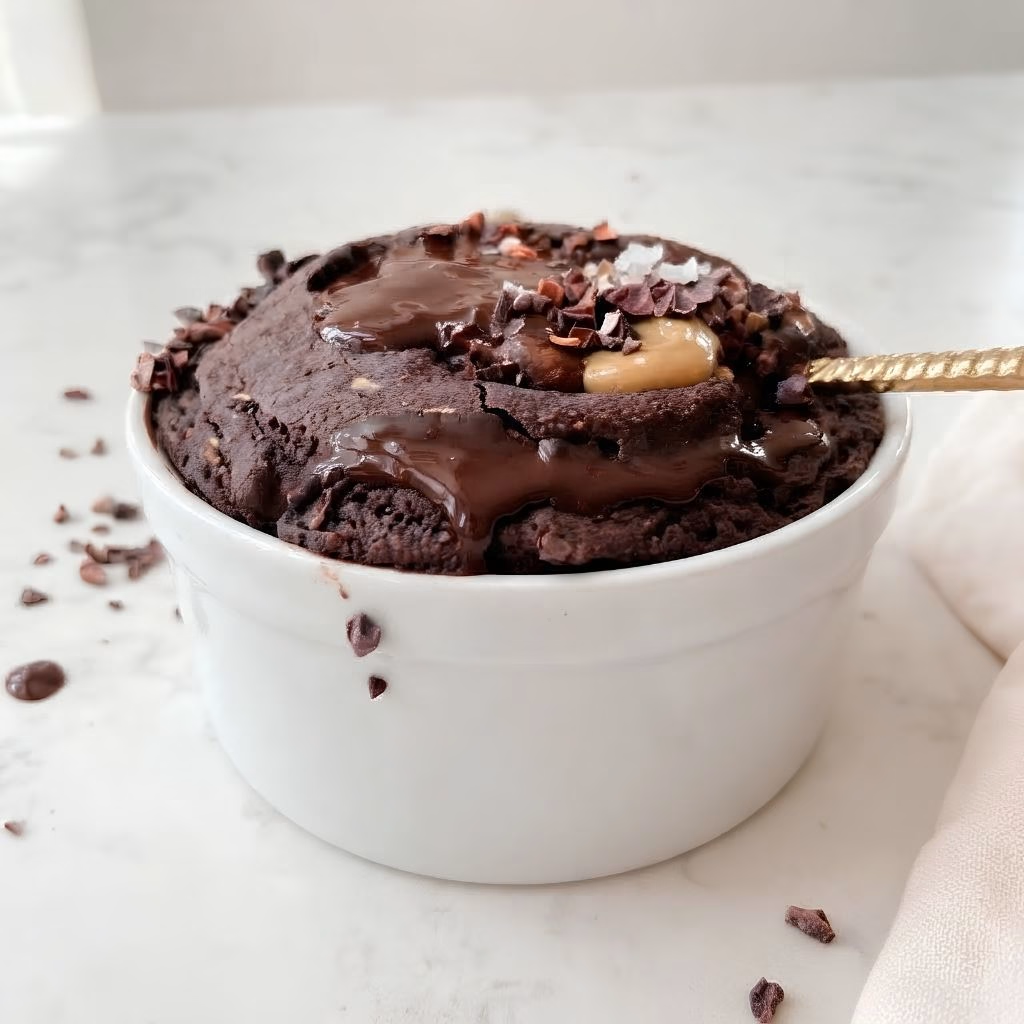
I started making this Peanut Butter Cup Baked Oats Recipe on mornings when I wanted something that felt like dessert but still counted as breakfast. Honestly, the first time I pulled it out of the oven and saw that molten peanut butter center, I knew I’d be making it on repeat.
It comes together in one bowl, uses no eggs and no banana, and somehow tastes like a warm Reese’s cup in cake form. I’ve tweaked it enough times now that I finally feel good sharing my version with you. If you’ve been hunting for a healthy baked peanut butter oatmeal bars alternative that’s actually single-serve, this is it.
Cooking Time
- Prep Time: 5 minutes
- Cooking Time: 22 minutes
- Total Time: 27 minutes
Ingredients
- ⅓ cup rolled oats, ground into a fine flour — this becomes your batter base, so blend it well for a smooth texture
- ½ teaspoon baking powder — gives the oats lift since there’s no egg doing that work here
- 1 tablespoon cocoa powder — adds that fudgy, chocolate-cake flavor without needing melted chocolate
- pinch of salt — balances the sweetness and makes the peanut butter flavor stand out
- ⅓ cup milk of choice — thins the batter so it bakes evenly instead of turning dense
- 1 tablespoon maple syrup — keeps this naturally sweetened with zero refined sugar
- ½ teaspoon vanilla extract — adds warmth and rounds out the chocolate flavor nicely
- 1 to 2 tablespoons peanut butter, for the center — use a well-stirred, drippy kind so it melts easily in the middle
- 1 tablespoon dark chocolate chunks, for the center — go for at least 70% cacao for that rich, not-too-sweet bite
- flaky sea salt, for topping — the finishing touch that makes every bite taste more balanced
Note: this recipe serves 1, but doubles or triples easily for meal prep.
Equipment You Need
- Spice grinder or blender — turns your rolled oats into a fine oat flour
- Mixing bowl — for whisking your batter together
- Whisk or fork — blends the wet and dry ingredients smoothly
- Mini ramekin (about 3.5 inches wide) — the perfect size for a single-serve bake
- Measuring cups and spoons — keeps your ratios accurate every time
- Oven mitts — for handling a hot ramekin straight from the oven
How to Make Peanut Butter Cup Baked Oats Recipe?
This recipe really only needs one bowl and a few minutes of prep before it goes into the oven. I promise it looks far more impressive than the effort it actually takes. Here’s exactly how I put mine together.
Prep the Oven and Ramekin
Preheat your oven to 350°F and lightly grease your mini ramekin with a bit of cooking spray or oil. This step keeps your baked oats from sticking once they’re done and ready to be scooped out or served straight from the dish.
Grind the Oats
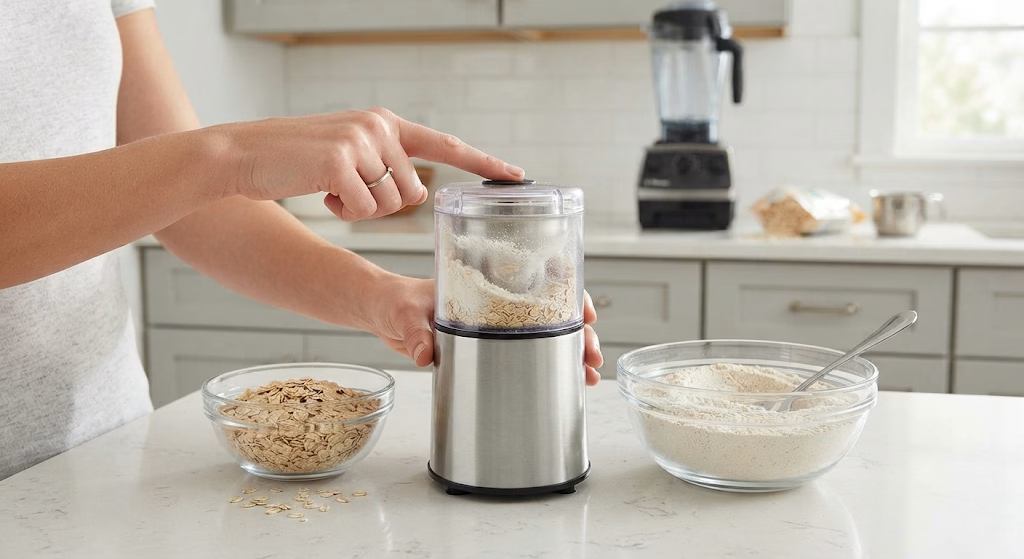
Add your rolled oats to a spice grinder or blender and pulse until they turn into a fine, flour-like texture. If you already have oat flour on hand, you can skip this step entirely and use that instead.
Mix the Batter
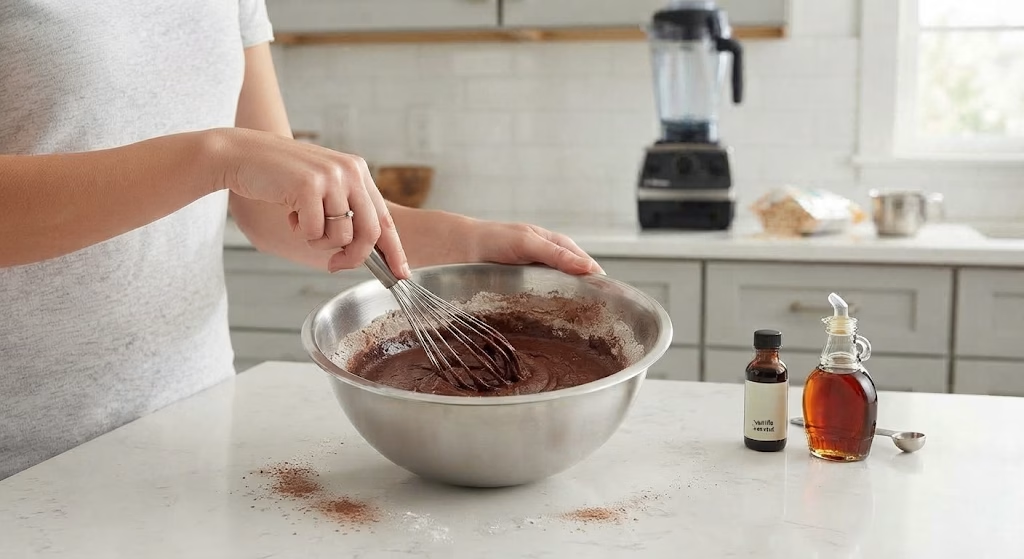
In a mixing bowl, whisk together the oat flour, baking powder, cocoa powder, and salt. Then pour in the milk, maple syrup, and vanilla extract, stirring until you get a smooth, thick batter with no lumps.
Add the Peanut Butter Center
Pour about two-thirds of the batter into your prepared ramekin. Spoon the peanut butter and chocolate chunks right into the center, then cover with the remaining batter so the filling is tucked inside.
Bake and Finish
Bake for 20 to 25 minutes, until the top looks set and a toothpick inserted near the edge comes out clean. Let it cool for a couple of minutes, then finish with a sprinkle of flaky sea salt before digging in.
Additional Tips for Making This Recipe Better
I’ve made this more times than I can count at this point, so here’s what genuinely helps.
- I always use a taller ramekin when I want a more cake-like rise, and I add a few extra minutes of bake time to make up for it.
- I let my peanut butter sit at room temperature before scooping it, since cold peanut butter doesn’t melt into the center as nicely.
- I double the recipe on Sundays and bake two ramekins side by side so I have breakfast ready for the next day too.
- I keep a bag of pre-ground oat flour in my pantry now, which saves me a step every single time I want to make this.
- I always taste my batter before baking to check the sweetness, since maple syrup brands vary quite a bit in intensity.
Common Mistakes to Avoid
- I once used quick oats without grinding them, and the texture came out gritty instead of smooth like real cake batter.
- I forgot to grease my ramekin one morning, and half my baked oats stayed stuck to the dish when I tried to serve it.
- I added cold peanut butter straight from the fridge, and it barely softened in the center even after a full bake.
- I overbaked mine by a few minutes trying to get a firmer top, and it ended up drier than I wanted.
- I skipped the flaky salt thinking it wasn’t necessary, and I really did notice the difference once I started using it.
How to Serve Peanut Butter Cup Baked Oats?
I like serving mine straight out of the ramekin with a spoon, since the whole point is that gooey peanut butter center staying intact. A small drizzle of extra peanut butter or maple syrup on top makes it look even more like a treat.
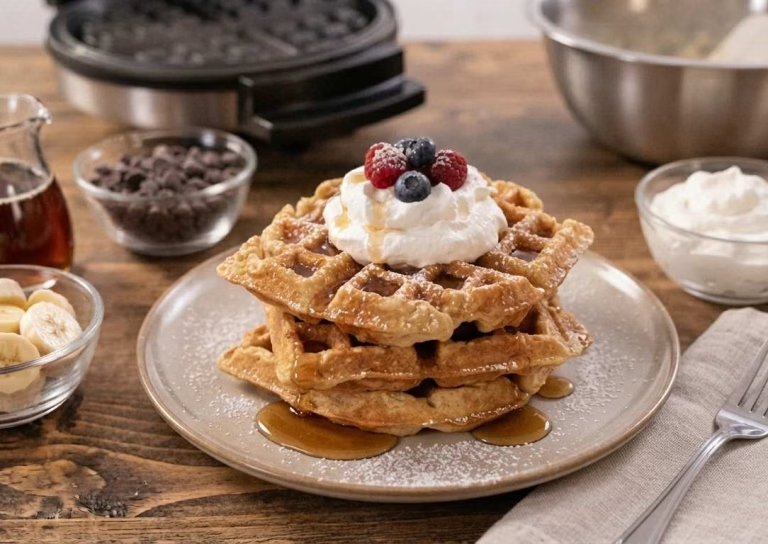
For a bit of contrast, add a few fresh banana slices or a small dollop of Greek yogurt on the side. If you’re setting up a whole cozy breakfast spread, this pairs nicely next to something like a quick, high-protein cottage cheese scrambled eggs recipe for a more filling morning.
Variations
- Skip the chocolate chunks and just use extra peanut butter for a simpler peanut butter baked oats no banana version
- Use a flax egg or an extra tablespoon of milk if your batter feels too thick, keeping it a true peanut butter baked oats no egg recipe
- Swap peanut butter for almond butter for a slightly nuttier, less sweet flavor
- Add mashed banana into the batter if you want a naturally sweeter, fluffier texture, turning it into peanut butter banana baked oatmeal bars in spirit
- Stir in a scoop of protein powder for an extra boost, perfect for anyone chasing a peanut butter baked oatmeal healthy upgrade
- Bake it in a wider dish and cut into squares if you’d rather have peanut butter baked oatmeal bars instead of a single ramekin
Nutritional Information
Here’s an approximate breakdown for one full serving, though it can shift slightly depending on your exact ingredients.
- Calories: 340 kcal
- Protein: 12 g
- Carbohydrates: 34 g
- Fat: 18 g
Make Ahead and Storage
You can mix the dry ingredients ahead of time and store them in a small jar, so all you need to do each morning is add the wet ingredients and bake.
Once baked, store leftovers covered in the fridge for up to 4 days, and reheat in the microwave for about 30 seconds before eating.
For longer storage, let it cool completely, wrap tightly, and freeze for up to 2 months, thawing overnight in the fridge before reheating.
Why You’ll Love This Recipe?
This has become one of my most-made breakfasts, and here’s exactly why I think it deserves a spot in your rotation too.
- It’s ready in under 30 minutes: From mixing to baking, this comes together fast enough for even a busy weekday morning.
- It’s naturally sweetened: With no refined sugar and no added oils, you get that treat-like flavor without the usual guilt.
- It’s perfect for meal prep: Since it’s a peanut butter baked oats single serving recipe, it’s incredibly easy to double or triple for the week ahead.
- It’s endlessly customizable: Whether you want it egg-free, banana-free, or protein-boosted, the base batter adapts to whatever you’re craving.
- It tastes like dessert: That warm, gooey peanut butter and chocolate center genuinely feels indulgent, even though it’s made from simple pantry staples.
FAQs
Can I make this recipe without a ramekin?
Yes, you can use any small oven-safe dish, just keep an eye on the bake time since a wider or shallower dish will cook faster.
Can I microwave this instead of baking it?
Yes, microwaving works well too, just heat it for about 2 to 3 minutes until the top puffs up and a toothpick comes out clean.
Why is my baked oats texture gritty instead of smooth?
This usually means the oats weren’t ground finely enough, so pulse them a little longer next time until they resemble a soft flour.
Can I use oat flour instead of grinding my own oats?
Absolutely, store-bought oat flour works perfectly and saves you a step, just note the exact measurement can vary slightly from freshly ground oats.
Is this recipe gluten-free?
Yes, as long as you use certified gluten-free oats, since regular oats can sometimes be processed in facilities with wheat.
If you’re looking for more quick, protein-forward breakfasts to rotate alongside this one, my 5-minute breakfast recipe is another one I lean on constantly for busy mornings.

Peanut Butter Cup Baked Oats Recipe
Ingredients
Method
- Preheat your oven to 350°F and lightly grease your mini ramekin with a bit of cooking spray or oil. This step keeps your baked oats from sticking once they’re done and ready to be scooped out or served straight from the dish.
- Add your rolled oats to a spice grinder or blender and pulse until they turn into a fine, flour-like texture. If you already have oat flour on hand, you can skip this step entirely and use that instead.
- In a mixing bowl, whisk together the oat flour, baking powder, cocoa powder, and salt. Then pour in the milk, maple syrup, and vanilla extract, stirring until you get a smooth, thick batter with no lumps.
- Pour about two-thirds of the batter into your prepared ramekin. Spoon the peanut butter and chocolate chunks right into the center, then cover with the remaining batter so the filling is tucked inside.
- Bake for 20 to 25 minutes, until the top looks set and a toothpick inserted near the edge comes out clean. Let it cool for a couple of minutes, then finish with a sprinkle of flaky sea salt before digging in.
Notes
- I always use a taller ramekin when I want a more cake-like rise, and I add a few extra minutes of bake time to make up for it.
- I let my peanut butter sit at room temperature before scooping it, since cold peanut butter doesn’t melt into the center as nicely.
- I double the recipe on Sundays and bake two ramekins side by side so I have breakfast ready for the next day too.
- I keep a bag of pre-ground oat flour in my pantry now, which saves me a step every single time I want to make this.
- I always taste my batter before baking to check the sweetness, since maple syrup brands vary quite a bit in intensity.