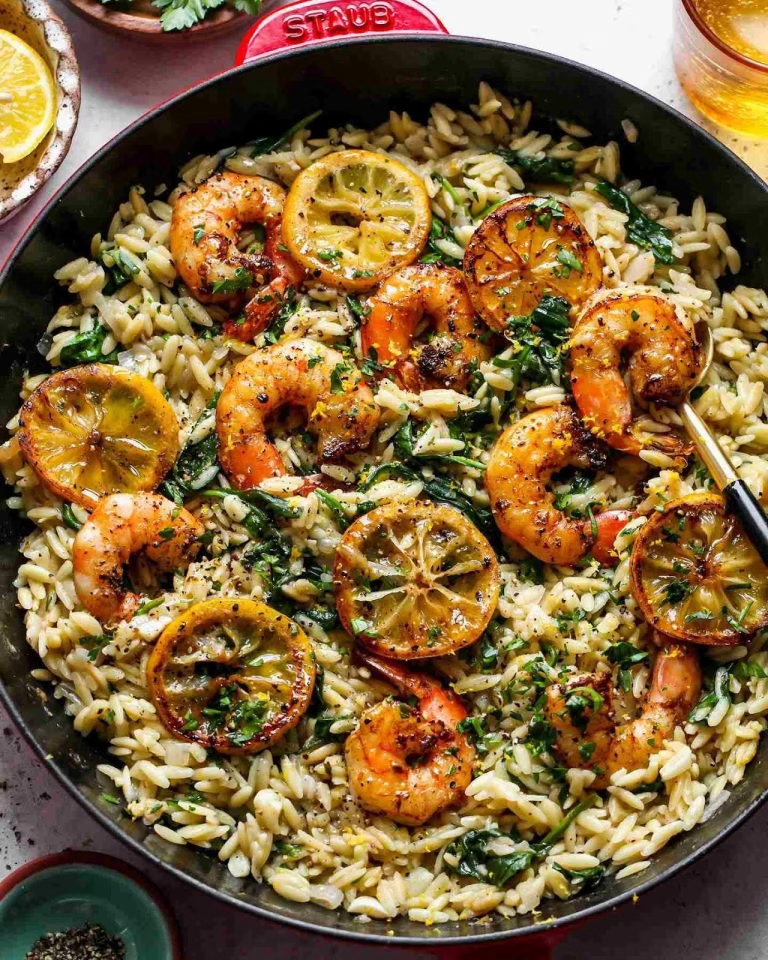
I still remember the first time I put a warm slice of caramelized pear next to a crumble of blue cheese on a piece of toast, and I genuinely couldn’t believe how well those two flavors worked together. So when I decided to turn that combo into a proper tart, I knew I was onto something special.
This pear and blue cheese tart puff pastry recipe has become my go-to for brunches, dinner parties, and lazy weekend treats. It looks fancy, but I promise it comes together with very little fuss. Once you try it, you’ll understand why I make it on repeat every autumn.

Cooking Time
- Prep Time: 10 minutes
- Cooking Time: 30 minutes
- Total Time: 40 minutes
Ingredients
- 1 sheet frozen puff pastry, thawed (about 10×10 inches) – this is your shortcut to a flaky, bakery-style crust with zero effort
- 2 ripe pears – choose pears that give slightly when pressed for the best caramelizing results
- 2 tablespoons unsalted butter – helps create that glossy caramel syrup as the pears cook
- 1/3 cup brown sugar, lightly packed – brings out the natural sweetness and helps the pears caramelize evenly
- A pinch of salt – balances the sweetness and makes the blue cheese pop even more
- 1 egg, lightly beaten – used as an egg wash for a golden, glossy pastry border
- 1/3 to 1/2 cup crumbled blue cheese (I like gorgonzola) – buy it in a block and crumble fresh for the best melt and flavor
- 3 tablespoons walnuts, roughly chopped – toast them briefly for extra crunch and a nuttier taste
Note: This recipe serves 4 as a starter or light lunch.
Equipment You Need
- Baking tray – for baking the individual pastry squares evenly
- Parchment paper – prevents sticking and makes cleanup easy
- Small frying pan or saucepan – for caramelizing the pears in butter and sugar
- Sharp knife – for cutting pastry cleanly without dragging
- Pastry brush – for applying the egg wash to the pastry border
- Cutting board – gives you a stable surface for slicing pears and pastry
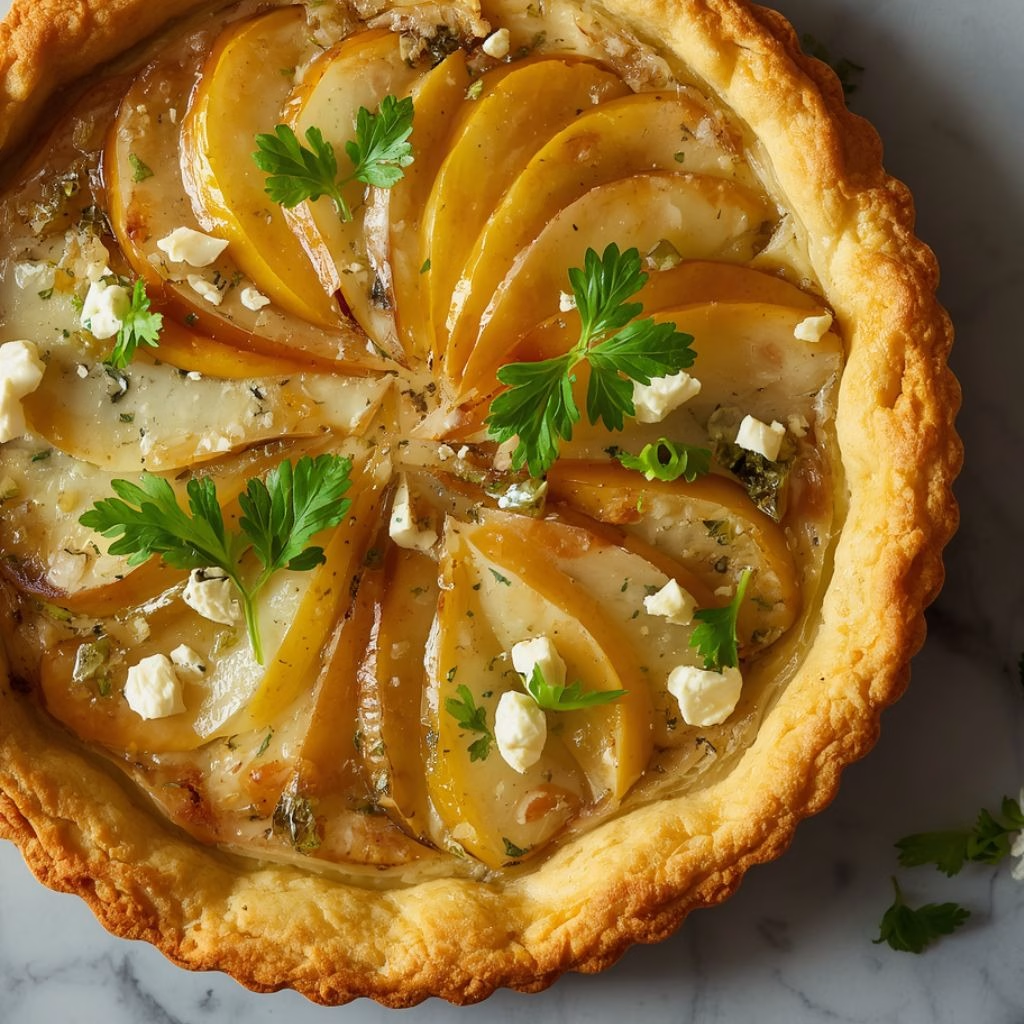
How to Make Pear and Blue Cheese Tart Recipe?
This tart comes together in just a handful of simple stages, and none of them require special skills. I like to prep everything before I turn on the oven so the process flows smoothly from pastry to plate. Here’s exactly how I do it every time.
Prepare the Pastry Base
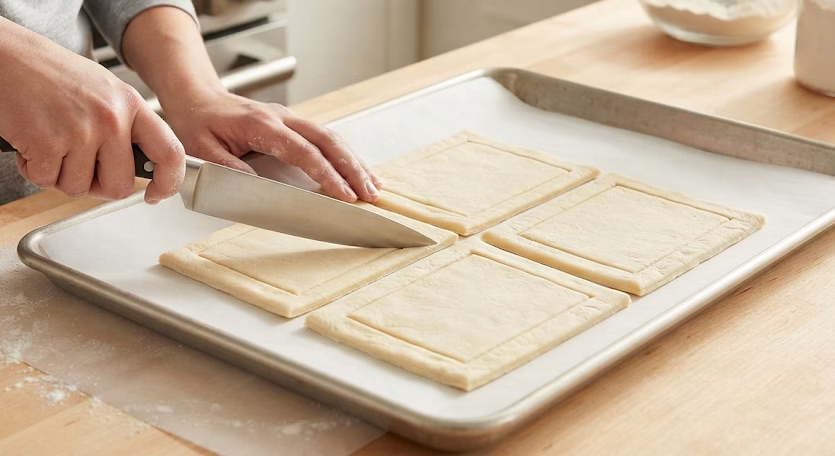
I start by preheating my oven to 350°F and lining a baking tray with parchment paper. Then I cut the thawed puff pastry into four even squares using a sharp knife, pressing straight down instead of dragging it, which keeps the layers from sticking together. I place the squares on the tray and score a small border around each one, about half an inch in, without cutting all the way through.
Caramelize the Pears
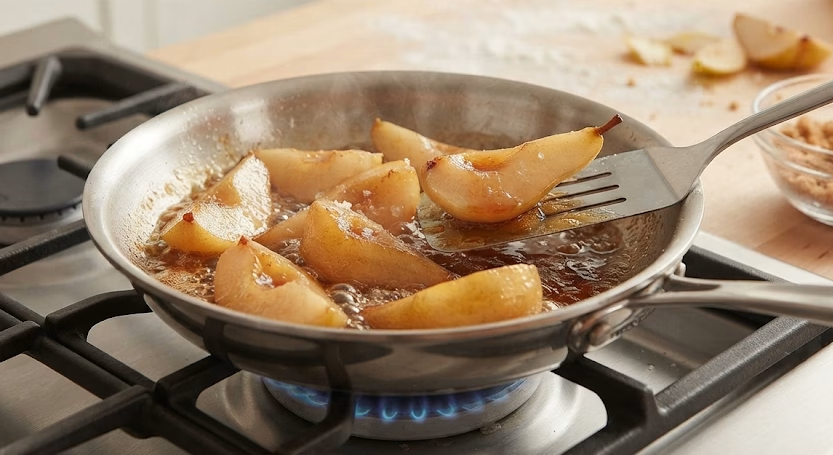
Next, I slice the pears into wedges after removing the cores. I add them to a small pan with the butter, brown sugar, and a pinch of salt, then cook everything over medium-high heat for about five minutes. I stir occasionally until the pears soften and the juices combine with the butter and sugar to form a beautiful syrup. This step is honestly the heart of the recipe, so I never rush it.
Assemble the Tarts
Once the pear mixture has cooled for a few minutes, I brush the scored border of each pastry square with the beaten egg, being careful not to let it drip onto the cut edges. Then I pile the caramelized pears onto the center of each square, staying inside the border, and spoon over a little of that leftover syrup for good measure.
Bake Until Golden
I bake the tarts for 20 to 25 minutes until they’re deeply golden and puffed around the edges. During the final five minutes, I scatter the chopped walnuts onto the tray so they toast alongside the pastry instead of burning separately in a pan.
Finish and Serve
Once the tarts come out of the oven, I let them rest for about five minutes. Then I crumble the blue cheese generously over the top, scatter the toasted walnuts, and drizzle any remaining syrup across the tarts. I serve them warm, ideally right away, while the pastry is still crisp and the cheese is just starting to soften.
Additional Tips for Making This Recipe Better
I’ve made this tart more times than I can count, and here are a few things I’ve picked up along the way that genuinely make a difference.
- I always press straight down when cutting the pastry rather than sawing through it, since dragging the knife seals the layers and stops them from puffing up properly.
- I score the border as deeply as I can without cutting all the way through, because that’s what gives the edges their beautiful lift in the oven.
- I try to keep egg wash off the very outer cut edge, since it acts like glue and can stop the pastry from rising as much as it should.
- I let the caramelized pear mixture cool slightly before topping the pastry, otherwise the heat can start melting the butter into the dough too early.
- I add the blue cheese after baking rather than before, since baking it directly can make it greasy and overpower the delicate pastry.
Common Mistakes to Avoid
I’ve made a few missteps with this recipe myself, so here’s what I watch out for now.
- I used to rush the caramelizing step, and the pears ended up watery instead of syrupy, so now I give them the full five minutes over medium-high heat.
- I once used pastry straight from the freezer without fully thawing it, and it tore instead of cutting cleanly, so I always let it sit out first.
- I learned the hard way that piling the filling all the way to the edge stops the border from puffing, so I keep everything neatly inside the scored line.
- I forgot the walnuts one time and genuinely missed that crunch, so now I set a timer to add them in the last five minutes without fail.
- I tried serving this tart the next day straight from the fridge, and the pastry had gone soft, so I only build the final tart right before eating.
How to Serve Pear and Blue Cheese Tart?
I love serving these tarts warm, straight off the tray, with a small dollop of thick Greek yogurt on the side to cut through the richness. A simple green salad with a light vinaigrette works beautifully alongside, especially if you’re serving this as a starter or light lunch rather than a dessert.
For presentation, I like to arrange the tarts on a wooden board or a simple white platter, letting the golden pastry and purple-veined cheese take center stage. A final drizzle of honey and a few extra walnut pieces scattered around the plate always makes it look a little more special for guests.
The same creamy, tangy combination also works beautifully in a savory breakfast like Poached Eggs with Yogurt, Tomato, Onion & Cumin Chili Oil Recipe. If you’re pairing the with other vegetable-forward dishes, a hearty Ginger Sweet Potato & Coconut Milk Stew with Lentils and Kale Recipe can also make a satisfying addition to the meal.
Variations
- Swap the blue cheese for a softer stilton if you want an old fashioned pear and stilton tart recipe feel with a milder, creamier bite.
- Add thinly sliced caramelized onions to the pastry before the pears for a caramelised onion, pear and blue cheese tart that leans more savory.
- Turn the whole thing into one big pear and blue cheese tarte tatin by caramelizing the pears in an oven-safe pan and topping with a single sheet of pastry before flipping.
- Skip the individual squares and roll out one large sheet, folding the edges over the filling for a rustic pear and blue cheese galette.
- Use a dairy-free blue cheese alternative and a plant-based butter if you want to keep this vegetarian-friendly recipe suitable for lactose-free guests.
- Replace the brown sugar with a natural sweetener like maple syrup if you prefer to keep the sugar content lower.
Nutritional Information
Here’s a rough idea of what you’re working with per serving, though a little cheese really does go a long way here.
- Calories: approximately 371 kcal
- Protein: approximately 8.2g
- Carbohydrates: approximately 37.2g
- Fat: approximately 22.4g
Make Ahead and Storage
This tart truly tastes best fresh out of the oven, so I don’t recommend fully assembling it ahead of time. If I do want to prep in advance, I bake the pastry and pear topping first, then keep the syrup, blue cheese, and walnuts stored separately until serving time.
To reheat, I pop the baked pastry back into a hot oven for a few minutes until warmed through and crisp again, then add the cheese, walnuts, and syrup right before serving. Leftover baked tart keeps in the fridge for about a day, though the pastry does soften over time. I don’t recommend freezing this dish, since the pears and pastry texture don’t hold up well once thawed.
Why You’ll Love This Recipe
This tart hits that perfect sweet spot between impressive and effortless, and here’s exactly why it’s earned a permanent place in my recipe rotation.
- It comes together in just 40 minutes total, which makes it realistic for a weeknight treat or a last-minute gathering.
- The flavor combination of sweet caramelized pear and salty blue cheese feels genuinely special without requiring any advanced technique.
- It’s endlessly adaptable, so you can swap cheeses, add onions, or change the shape entirely depending on your mood or what’s in your fridge.
- Using store-bought puff pastry means you get bakery-quality results without spending hours in the kitchen.
- It works equally well as a starter, a light lunch, or an elegant addition to a brunch spread with friends.
FAQs
Can I make an easy pear and blue cheese tart without caramelizing the pears first?
You technically can use raw sliced pears, but caramelizing them first softens the fruit and creates that syrupy flavor that really makes this tart special.
Do I need puff pastry specifically for a pear and blue cheese tart?
Puff pastry gives the best light, flaky texture, but shortcrust pastry works too if you prefer a sturdier, more tart-like base.
Can I add caramelised onion to my pear and blue cheese tart?
Yes, adding a layer of caramelized onions underneath the pears turns this into a wonderfully savory caramelised onion, pear and blue cheese tart.
What’s the difference between this recipe and a pear and blue cheese tarte tatin?
A tarte tatin caramelizes the pears directly in the pan, then flips the whole thing with pastry on top, giving a denser, upside-down result compared to these individual open tarts.
Can I make this into a pear and blue cheese galette instead?
Absolutely, just use one large sheet of pastry, pile the filling in the center, and fold the edges over for a rustic, free-form galette shape.

Pear and Blue Cheese Tart Recipe
Ingredients
Method
- I start by preheating my oven to 350°F and lining a baking tray with parchment paper. Then I cut the thawed puff pastry into four even squares using a sharp knife, pressing straight down instead of dragging it, which keeps the layers from sticking together. I place the squares on the tray and score a small border around each one, about half an inch in, without cutting all the way through.
- Next, I slice the pears into wedges after removing the cores. I add them to a small pan with the butter, brown sugar, and a pinch of salt, then cook everything over medium-high heat for about five minutes. I stir occasionally until the pears soften and the juices combine with the butter and sugar to form a beautiful syrup. This step is honestly the heart of the recipe, so I never rush it.
- Once the pear mixture has cooled for a few minutes, I brush the scored border of each pastry square with the beaten egg, being careful not to let it drip onto the cut edges. Then I pile the caramelized pears onto the center of each square, staying inside the border, and spoon over a little of that leftover syrup for good measure.
- I bake the tarts for 20 to 25 minutes until they’re deeply golden and puffed around the edges. During the final five minutes, I scatter the chopped walnuts onto the tray so they toast alongside the pastry instead of burning separately in a pan.
- Once the tarts come out of the oven, I let them rest for about five minutes. Then I crumble the blue cheese generously over the top, scatter the toasted walnuts, and drizzle any remaining syrup across the tarts. I serve them warm, ideally right away, while the pastry is still crisp and the cheese is just starting to soften
Notes
- I always press straight down when cutting the pastry rather than sawing through it, since dragging the knife seals the layers and stops them from puffing up properly.
- I score the border as deeply as I can without cutting all the way through, because that’s what gives the edges their beautiful lift in the oven.
- I try to keep egg wash off the very outer cut edge, since it acts like glue and can stop the pastry from rising as much as it should.
- I let the caramelized pear mixture cool slightly before topping the pastry, otherwise the heat can start melting the butter into the dough too early.
- I add the blue cheese after baking rather than before, since baking it directly can make it greasy and overpower the delicate pastry.