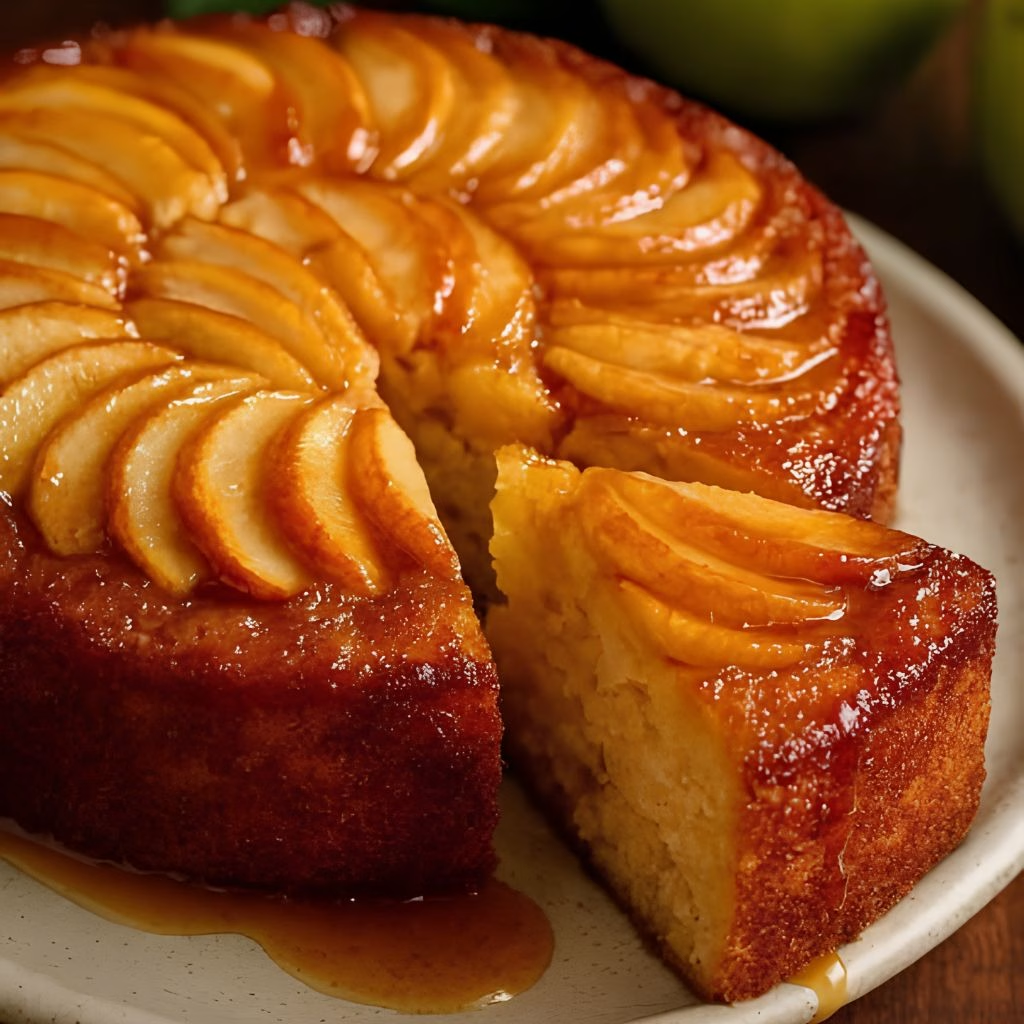
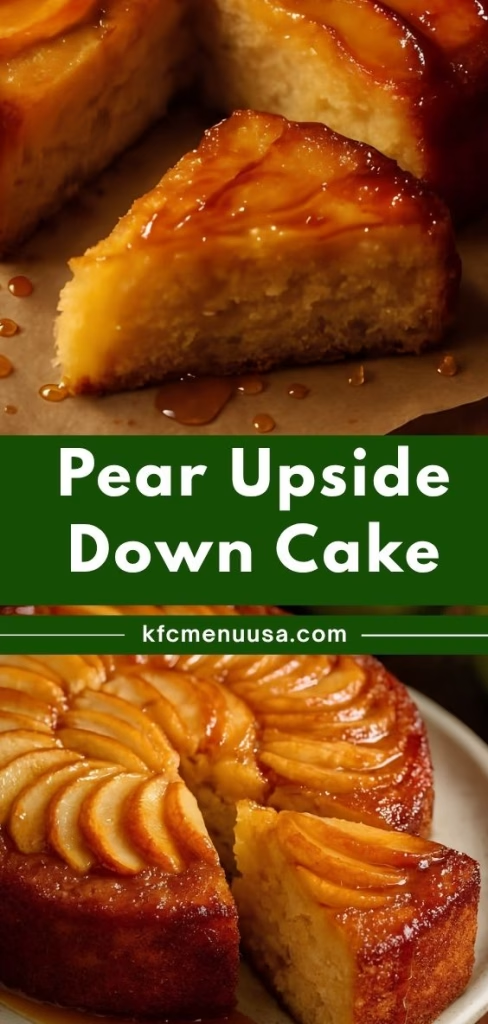
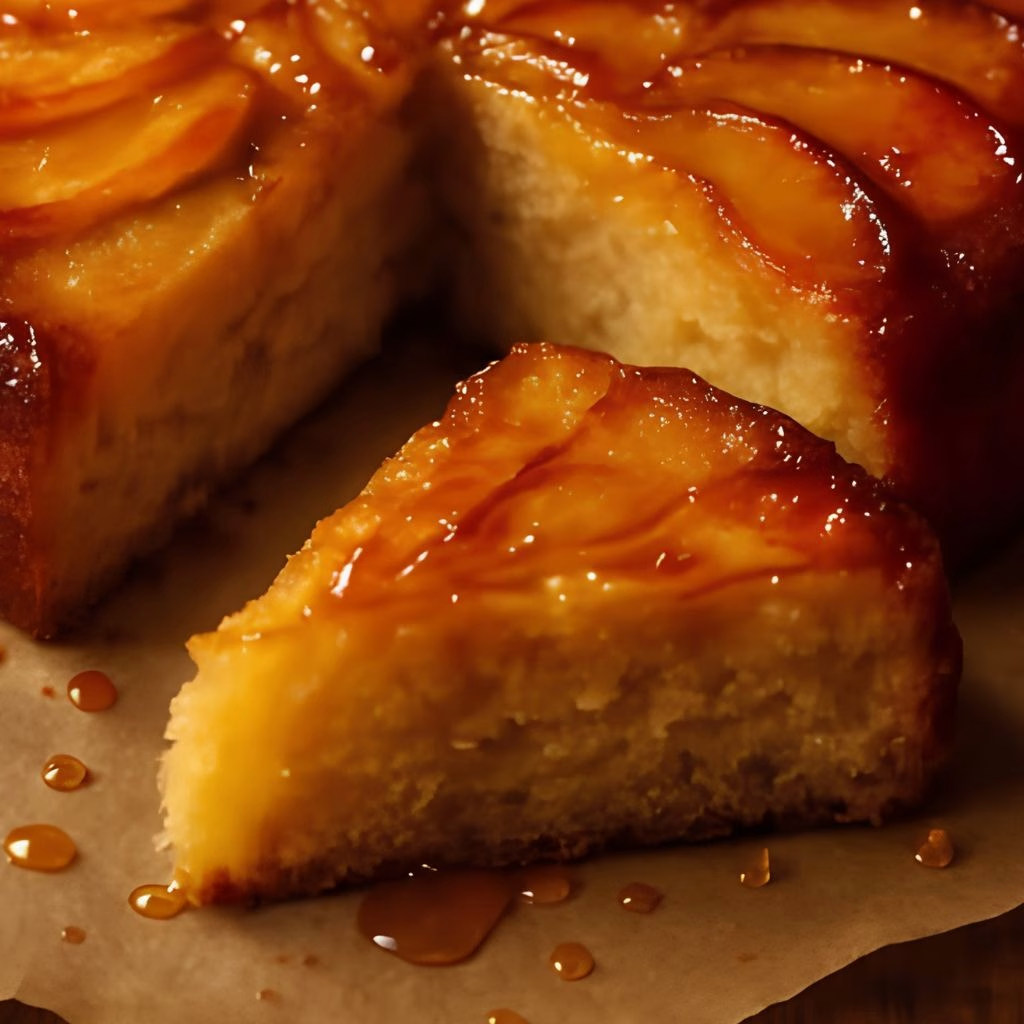
I still remember the first time I flipped this Pear Upside Down Cake Recipe out of the pan and watched that sticky caramel pour down the sides. I honestly gasped a little. I’d made pineapple upside down cake before, but swapping in pears changed the whole game for me.
The fruit turns soft and jammy, the caramel gets deep and buttery, and the crumb underneath stays moist for days. If you’ve never tried a pear version, let me talk you into it.
Cooking Time
- Prep Time: 15 minutes
- Cook Time: 50-60 minutes
- Total Time: About 1 hour 15 minutes
Ingredients
- 1/2 cup butter, melted with the sugar for that glossy caramel base
- 1 cup packed brown sugar, gives the topping its deep, sticky sweetness
- 3 pear halves, fresh or canned, sliced thin so they layer neatly
- 1 and 1/4 cups all-purpose flour, the backbone of a soft, tender crumb
- 1 cup granulated sugar, sweetens the cake without overpowering the caramel
- 1 and 1/2 teaspoons baking powder, gives the cake its gentle rise
- 1/2 teaspoon salt, balances all that sweetness
- 3/4 cup milk, keeps the batter smooth and moist
- 1/3 cup neutral oil, locks in moisture better than butter alone here
- 1 large egg, binds everything together
- 1 teaspoon vanilla extract, rounds out the flavor with warmth
Note: This recipe serves 6 to 8 people from one 9-inch cake.
Equipment You Need
- 9-inch round cake pan, the ideal size for even caramelization
- Medium saucepan, for melting the butter and sugar into caramel
- Two mixing bowls, one for dry ingredients and one for wet
- Whisk or fork, to blend the batter without overworking it
- Wire cooling rack, lets the cake rest before you flip it
- Cookie sheet or baking tray, placed under the pan to catch any caramel drips
- Serving plate, for the big flip moment
How to Make Pear Upside Down Cake Recipe?
I promise this looks fancier than it actually is. Once you’ve made the caramel and arranged your pears, the batter comes together in minutes. Here’s exactly how I do it every time.
Preheat and Prep
Start by setting your oven to 350°F so it’s fully heated by the time your batter is ready. While it warms up, lightly grease your 9-inch round cake pan even though the caramel will coat most of it. This just gives you a little insurance against sticking around the edges.
Make the Caramel Base
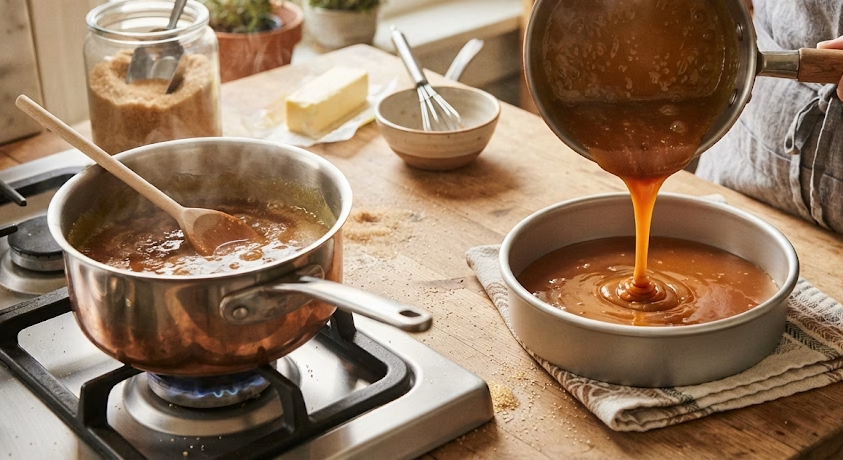
In a saucepan over low heat, melt the butter and brown sugar together, stirring often until it turns smooth and glossy. I’ve microwaved this in 30-second bursts before, but low heat on the stove gives me more control. Pour this warm caramel straight into your prepared cake pan.
Arrange the Pears
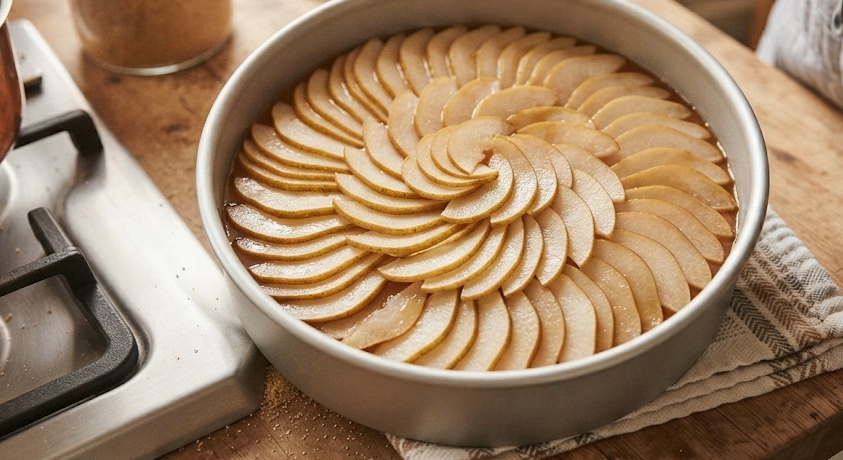
Lay your thin pear slices over the caramel, working from the center outward in a spiral pattern. I like to overlap them slightly so there are no caramel gaps once it bakes. This step is where the cake gets its signature pretty top, so take an extra minute here.
Mix the Dry Ingredients
In a separate bowl, whisk together the flour, sugar, baking powder, and salt. Getting these evenly distributed now means you won’t end up with pockets of baking powder in your finished cake. Set this bowl aside while you work on the wet mixture.
Combine the Wet Ingredients
In a large bowl, whisk the milk, oil, egg, and vanilla until just blended. I don’t overthink this step — a fork works fine if you don’t feel like pulling out a whisk. You just want everything loosely combined before the dry ingredients go in.
Bring the Batter Together
Add the dry mixture into the wet mixture and stir until just incorporated. I always stop as soon as I don’t see streaks of flour anymore. Overmixing here is the fastest way to end up with a dense, rubbery cake instead of a soft one.
Bake the Cake
Pour the batter gently over the pears and caramel, spreading it evenly to the edges. Place the cake on the middle rack with a cookie sheet on the rack below to catch drips. Bake for 50 to 60 minutes, until the top is golden and a toothpick comes out with a few moist crumbs.
Cool and Flip
Let the cake rest on a wire rack for about 10 minutes before flipping it. Any sooner and the topping can slide apart; any later and the caramel may cool and stick to the pan. Place your serving plate over the pan, flip confidently, and lift the pan away.
Additional Tips for Making This Recipe Better
I’ve made this cake more times than I can count, and these are the little things that make a real difference for me.
- I always use a 9-inch pan exactly — anything smaller and the caramel bubbles over the sides.
- I let the caramel cook gently instead of rushing it, since a rushed caramel tends to separate.
- I slice my pears thin and even so they cook at the same rate and layer neatly.
- I never skip the cookie sheet underneath — I learned that lesson the messy way.
- I let the cake cool for the full 10 minutes before flipping, no matter how tempted I am to rush it.
Common Mistakes to Avoid
I’ve made a few of these mistakes myself, so I’m sharing them so you don’t have to repeat them.
- I once flipped the cake too early and half the pear topping stayed stuck in the pan.
- I’ve overmixed the batter before, and it turned out dense instead of light and fluffy.
- I forgot the cookie sheet one time and ended up scrubbing caramel off my oven floor.
- I used a pan that was too small once, and the caramel bubbled over the sides while baking.
- I’ve rushed the caramel on high heat before, and it turned grainy instead of smooth.
How to Serve Pear Upside Down Cake?
I love serving this cake while it’s still slightly warm, right after the flip, when the caramel is at its glossiest. A scoop of vanilla ice cream melting into the warm pear topping is my personal favorite way to enjoy it. For a slightly dressed-up presentation, I’ll add a light dusting of powdered sugar or a drizzle of cream on top.
It also looks beautiful on a simple white cake stand, letting that caramel-pear pattern do all the talking. If you enjoy fruit-forward chicken recipes too, Spanish Chicken in Creamy Mustard Sauce and Creamy French Style Chicken Casserole a la Normande are also flavorful recipes to try.
Variations
- Swap the pears for pineapple rings or peach slices for a classic twist on the same base.
- Use plant-based butter and a dairy-free milk to make this cake fully dairy-free.
- Add a pinch of cinnamon, nutmeg, or ginger to the batter for a warm, spiced flavor.
- Replace half the milk with pear juice from canned pears for a denser, deeper-colored cake.
- Stir chopped walnuts or pecans into the batter for a bit of crunch against the soft pears.
- Try a splash of almond extract alongside the vanilla for a subtle bakery-style flavor.
Nutritional Information
Here’s a rough estimate per slice, based on 8 servings from one cake.
- Calories: Around 280-320 per slice
- Protein: About 3-4 grams per slice
- Carbohydrates: Roughly 45-50 grams per slice
- Fat: Approximately 11-13 grams per slice
Make Ahead and Storage
You can bake this cake a day ahead of time and store it covered at room temperature; the caramel actually settles in nicely overnight. For longer storage, keep it in the fridge for up to 4 days, though I recommend warming individual slices slightly before serving. To freeze, wrap cooled slices tightly and freeze for up to 2 months, then thaw at room temperature or warm gently in the oven before eating.
Why You’ll Love This Recipe?
This cake has earned a permanent spot in my baking rotation, and here’s why I think you’ll feel the same way.
- It’s incredibly simple to make. There’s no fancy technique here, just a caramel base, sliced fruit, and a basic batter that comes together in one bowl.
- It’s endlessly adaptable. I’ve swapped in pineapple, peaches, and even mixed berries when I didn’t have pears on hand, and it always works.
- It looks impressive without much effort. That spiral pear pattern makes it look like you spent hours on presentation.
- It’s a crowd favorite at gatherings. I’ve never brought this to a potluck without someone asking for the recipe.
- It uses pantry staples. Beyond the pears, everything else is likely already in your kitchen.
FAQs
Can I use canned pears instead of fresh ones?
Yes, canned pears work great and actually turn out a bit softer than fresh. Just drain them well before slicing so your batter doesn’t turn watery.
Can I make this into a Jamie Oliver or Mary Berry style version?
Absolutely — you can add spices like cinnamon or ginger, or swap in almond flour for a nuttier, more European-style crumb, similar to versions those chefs are known for.
Can I use a cake mix instead of making the batter from scratch?
Yes, a boxed yellow or vanilla cake mix works well over the pear and caramel layer if you want a quicker, simpler version of this recipe.
Why did my caramel leak out of the pan?
This usually happens if your pan is smaller than 9 inches or if the caramel wasn’t reduced enough. Always place a cookie sheet underneath as a safety net.
Can I turn this into pear muffins instead of a full cake?
Yes, you can spoon a small amount of caramel and a pear slice into the bottom of each muffin cup, then top with batter for a mini, sticky pear muffin version.

Pear Upside Down Cake Recipe
Ingredients
Method
- Start by setting your oven to 350°F so it’s fully heated by the time your batter is ready. While it warms up, lightly grease your 9-inch round cake pan even though the caramel will coat most of it. This just gives you a little insurance against sticking around the edges.
- In a saucepan over low heat, melt the butter and brown sugar together, stirring often until it turns smooth and glossy. I’ve microwaved this in 30-second bursts before, but low heat on the stove gives me more control. Pour this warm caramel straight into your prepared cake pan.
- Lay your thin pear slices over the caramel, working from the center outward in a spiral pattern. I like to overlap them slightly so there are no caramel gaps once it bakes. This step is where the cake gets its signature pretty top, so take an extra minute here.
- In a separate bowl, whisk together the flour, sugar, baking powder, and salt. Getting these evenly distributed now means you won’t end up with pockets of baking powder in your finished cake. Set this bowl aside while you work on the wet mixture.
- In a large bowl, whisk the milk, oil, egg, and vanilla until just blended. I don’t overthink this step a fork works fine if you don’t feel like pulling out a whisk. You just want everything loosely combined before the dry ingredients go in.
- Add the dry mixture into the wet mixture and stir until just incorporated. I always stop as soon as I don’t see streaks of flour anymore. Overmixing here is the fastest way to end up with a dense, rubbery cake instead of a soft one.
- Pour the batter gently over the pears and caramel, spreading it evenly to the edges. Place the cake on the middle rack with a cookie sheet on the rack below to catch drips. Bake for 50 to 60 minutes, until the top is golden and a toothpick comes out with a few moist crumbs.
- Let the cake rest on a wire rack for about 10 minutes before flipping it. Any sooner and the topping can slide apart; any later and the caramel may cool and stick to the pan. Place your serving plate over the pan, flip confidently, and lift the pan away.
Notes
- I always use a 9-inch pan exactly anything smaller and the caramel bubbles over the sides.
- I let the caramel cook gently instead of rushing it, since a rushed caramel tends to separate.
- I slice my pears thin and even so they cook at the same rate and layer neatly.
- I never skip the cookie sheet underneath I learned that lesson the messy way.
- I let the cake cool for the full 10 minutes before flipping, no matter how tempted I am to rush it.