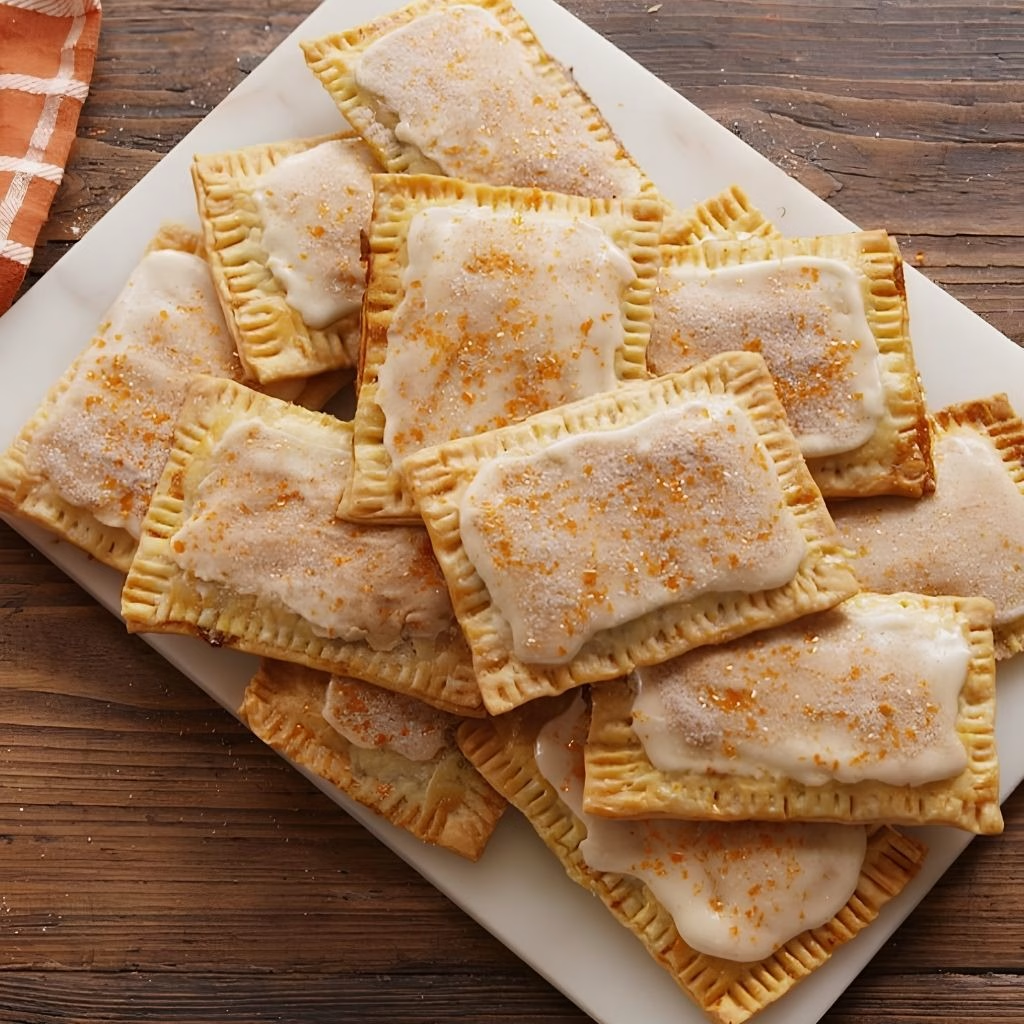
I still remember the first time I pulled a tray of homemade Pumpkin Spice Pop Tarts Recipe out of my oven my whole kitchen smelled like cinnamon, nutmeg, and buttery pastry all at once. I’ve made plenty of fall desserts over the years, but there’s something about a flaky, glazed pop tart stuffed with warm pumpkin filling that feels extra nostalgic to me.
I promise you don’t need any fancy baking skills to pull this off; I kept my version simple enough for a weeknight and pretty enough for a holiday brunch table. If you love pumpkin spice bundt cakes or other cozy fall bakes, this recipe is going to earn a permanent spot in your rotation too. Grab your pie crust and pumpkin puree, and let me walk you through exactly how I make these at home.
Cooking Time
- Prep Time: 20 minutes
- Cook Time: 20-22 minutes
- Total Time: 42 minutes (plus cooling time for the glaze)
Ingredients
- 2 refrigerated pie crusts – the base of every pop tart, and store-bought saves a ton of time
- 1/2 cup pumpkin puree – use pure pumpkin, not pumpkin pie filling, for the right texture
- 2 tablespoons brown sugar – packs in sweetness with a hint of molasses flavor
- 1 teaspoon pumpkin pie spice – the real flavor driver, so don’t skimp on it
- 1/2 teaspoon vanilla extract – rounds out the spices with a warm background note
- 1 large egg, whisked – brushed on the dough to seal edges and give a golden finish
- 1 cup powdered sugar – forms the base of the sweet glaze on top
- 2-3 tablespoons milk – thins the glaze so it spreads smoothly
- 1/4 teaspoon pumpkin pie spice (for glaze) – ties the topping flavor back to the filling
- Cinnamon sugar or sprinkles, optional – adds a festive, crunchy finish
Note: This recipe serves 8, making 8 individual pumpkin spice pop tarts.
Equipment You Need
- Rolling pin – helps flatten and shape the pie crust evenly
- Baking sheet – gives the pop tarts a flat, even surface to bake on
- Parchment paper – prevents sticking and keeps cleanup easy
- Pizza cutter or sharp knife – makes clean, straight cuts through the dough
- Small mixing bowl – for combining the pumpkin filling ingredients
- Fork – seals and crimps the edges of each pop tart
- Pastry brush – spreads the egg wash smoothly over the dough
- Wire rack – lets the pop tarts cool fully before glazing
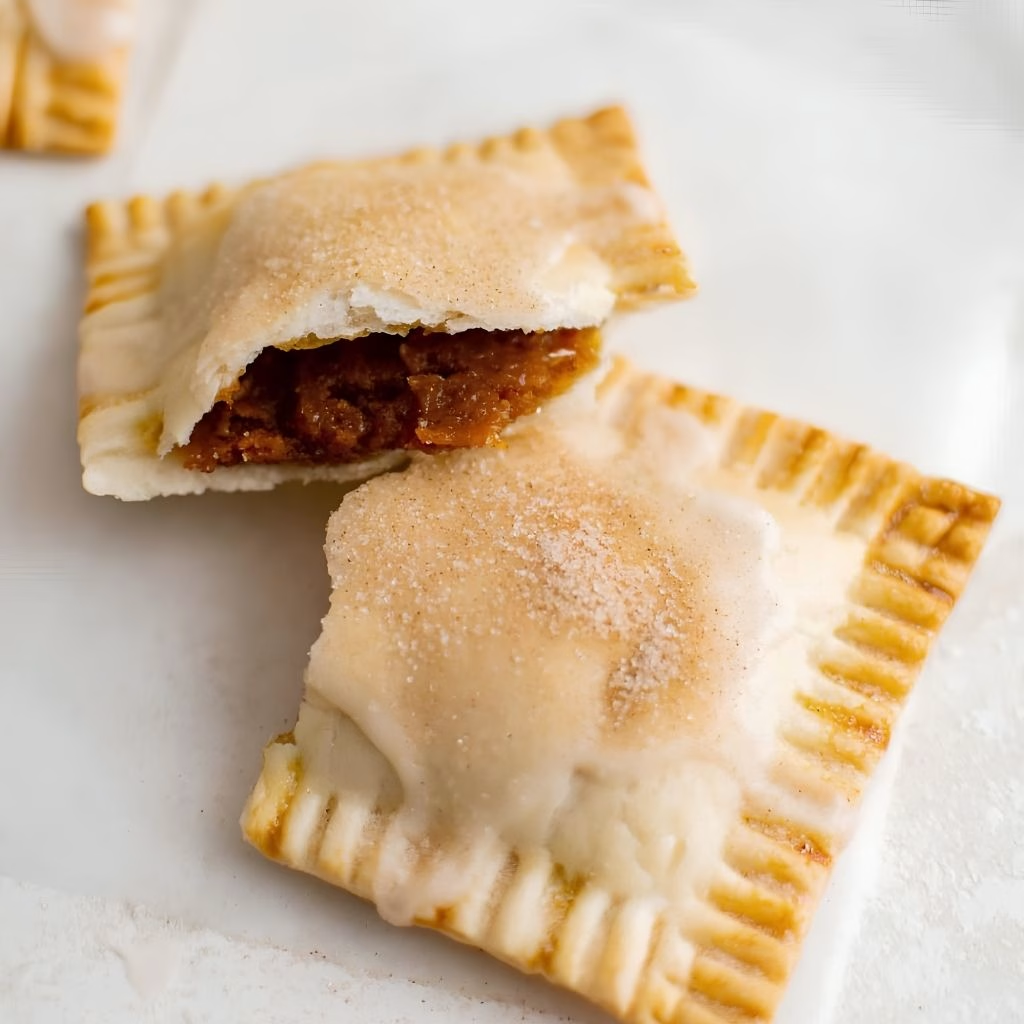
How to Make Pumpkin Spice Pop Tarts Recipe?
I like to keep this process broken into small, manageable stages so nothing feels rushed. Once my filling is mixed and my crust is rolled out, the assembly goes fast. Here’s exactly how I put mine together from start to finish.
Preheat and Prep Your Station
I always start by preheating my oven to 375°F and lining a baking sheet with parchment paper. Getting this step done early means I’m not scrambling once my pastry is filled and ready to bake. It also keeps the crust from sitting out too long and getting warm before it hits the oven.
Mix the Pumpkin Filling
In a small bowl, I stir together the pumpkin puree, brown sugar, pumpkin pie spice, and vanilla extract until smooth. I make sure there are no streaks of sugar left sitting at the bottom. This filling comes together in under two minutes and can sit on the counter while I prep the crust.
Roll and Cut the Pie Crust
I roll each pie crust out slightly on a floured surface, then use a pizza cutter to cut four rectangles from each one, giving me eight total. I try to keep my cuts even so the tops and bottoms match up nicely later. Any dough scraps get set aside or rerolled if needed.
Fill and Seal the Pop Tarts
I spoon about two tablespoons of pumpkin filling onto four of the rectangles, leaving a half-inch border around the edges. Then I brush that border with egg wash before placing the remaining rectangles on top. I press the edges firmly with a fork to seal in the filling and prevent leaks.
Egg Wash and Bake
Before baking, I brush the tops of each pop tart with the remaining egg wash for that golden, bakery-style shine. I poke a couple of small holes in the top of each one to let steam escape. Then they go into the oven for 20 to 22 minutes, until the crust is golden brown.
Cool Completely Before Glazing
Once they’re out of the oven, I move the pop tarts to a wire rack and let them cool all the way down. This step matters more than people think, because a warm pastry will melt the glaze right off. I usually give mine at least 20 to 30 minutes before touching the glaze.
Make the Glaze and Finish
While the pop tarts cool, I whisk powdered sugar, milk, and a pinch of pumpkin pie spice together until it’s smooth and pourable. I spread a spoonful over each cooled pop tart and add a light dusting of cinnamon sugar on top. Letting the glaze set for a few minutes before serving keeps it from sliding off.
Additional Tips for Making This Recipe Better
I’ve made this recipe enough times now to have picked up a few small tricks that make a real difference.
- I always chill my filled pop tarts for 10 minutes in the fridge before baking, since it helps the crust hold its shape better in the oven.
- I use cold pie crust straight from the fridge rather than letting it sit out, because warm dough gets sticky and harder to cut cleanly.
- I double-crimp the edges with my fork if the filling feels a little wet, just for extra insurance against leaks.
- I like brushing a thin second layer of egg wash right before baking for an even richer golden color.
- I never skip the vent holes on top, since steam needs somewhere to escape or the tops can crack unevenly.
Common Mistakes to Avoid
- I once overfilled my pop tarts and ended up with pumpkin oozing out everywhere, so now I stick to about two tablespoons per tart.
- I learned the hard way that skipping the egg wash seal makes the edges pop open in the oven, so I always brush it generously.
- I tried glazing mine while they were still a little warm once, and the glaze just slid right off, so I waited until they’re fully cooled.
- I’ve forgotten to poke vent holes before, and the tops puffed unevenly, so I always poke two or three small holes per pastry.
- I used pumpkin pie filling instead of pure pumpkin puree by mistake once, and it made the filling far too sweet and runny.
How to Serve Pumpkin Spice Pop Tarts
I love setting these out on a wooden board with a light dusting of extra cinnamon sugar for a rustic, fall-market look. A drizzle of extra glaze right before serving makes them look bakery-fresh, and a few candied pecans or a light sprinkle of sea salt on top adds a nice contrast.
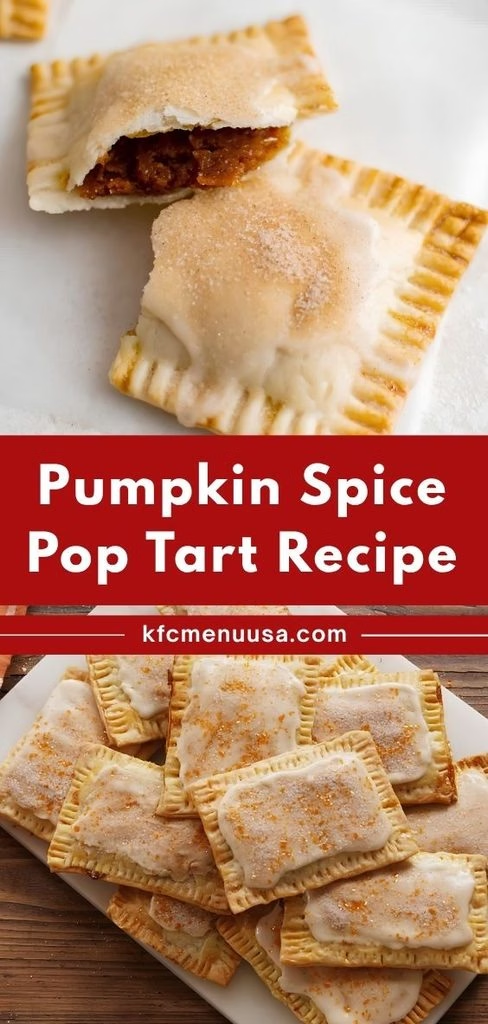
These pair beautifully with a warm mug of coffee or spiced chai in the morning, and they also make a fun addition to a dessert spread alongside other fall-inspired treats like spiced cakes or pumpkin muffins. For parties, I like slicing a few in half so guests can see the filling peeking through.
Variations
- Swap the pumpkin filling for pumpkin butter if you want a smoother, more concentrated flavor.
- Add a layer of softened cream cheese under the pumpkin filling for a pumpkin cream cheese pop tart twist.
- Use a maple glaze instead of the vanilla one for a deeper, cozier fall flavor.
- Try a dairy-free version by using a plant-based milk in the glaze and a dairy-free pie crust.
- Reduce the brown sugar and add a sugar substitute if you’re looking for a lower-sugar version.
- Mix chopped pecans or walnuts into the filling for extra crunch and texture.
Nutritional Information
Here’s a general breakdown per pop tart, though exact numbers will vary based on your specific ingredients.
- Calories: approximately 220-250 kcal
- Protein: approximately 3g
- Carbohydrates: approximately 32g
- Fat: approximately 10g
Make Ahead and Storage
You can prep the filled, unbaked pop tarts a day ahead and store them covered in the fridge until you’re ready to bake. This makes them great for busy mornings when you just want to pop them straight into the oven.
For storage, keep baked and glazed pop tarts in an airtight container at room temperature for up to 2 days, or in the fridge for about 5 days.
To freeze, wrap the baked (unglazed) pop tarts individually and store in a freezer bag for up to 2 months. Reheat from frozen in a toaster oven or regular oven at 300°F until warmed through, then glaze after reheating.
Why You’ll Love This Recipe
This pumpkin spice pop tart recipe checks a lot of boxes for a fall favorite, and here’s why I keep coming back to it.
- Easy to make: With store-bought pie crust, this comes together with minimal hands-on time and no complicated techniques.
- Great for meal prep: You can prep the filling or assemble the pastries ahead of time, which makes busy mornings so much easier.
- Customizable: From maple glaze to a cream cheese layer, there are plenty of ways to make this recipe your own.
- Kid and adult friendly: The familiar pop tart shape combined with cozy pumpkin flavor makes this a hit across every age group.
- Perfect for the season: These capture that classic pumpkin spice flavor everyone craves once the weather turns cooler.
FAQs
Can I use homemade pie crust instead of store-bought?
Yes, homemade pie crust works great here and gives you a slightly flakier texture, though it does add extra prep time.
Why did my pop tart filling leak out during baking?
This usually happens from overfilling or not sealing the edges tightly enough, so stick to about two tablespoons of filling and crimp firmly with a fork.
Can I make these pumpkin spice pop tarts ahead of time?
Yes, you can assemble them a day in advance and refrigerate, or bake them fully and store for a few days before glazing and serving.
What’s the best way to reheat leftover pop tarts?
I recommend a toaster oven or regular oven at a low temperature, since a microwave can make the crust go soft instead of staying flaky.
Can I turn this into mini pumpkin pop tarts?
Absolutely, just cut smaller rectangles from your pie crust and reduce the filling and baking time slightly, checking for golden color around the 12-15 minute mark.

Pumpkin Spice Pop Tarts Recipe
Ingredients
Method
- I always start by preheating my oven to 375°F and lining a baking sheet with parchment paper. Getting this step done early means I’m not scrambling once my pastry is filled and ready to bake. It also keeps the crust from sitting out too long and getting warm before it hits the oven.
- In a small bowl, I stir together the pumpkin puree, brown sugar, pumpkin pie spice, and vanilla extract until smooth. I make sure there are no streaks of sugar left sitting at the bottom. This filling comes together in under two minutes and can sit on the counter while I prep the crust.
- I roll each pie crust out slightly on a floured surface, then use a pizza cutter to cut four rectangles from each one, giving me eight total. I try to keep my cuts even so the tops and bottoms match up nicely later. Any dough scraps get set aside or rerolled if needed.
- I spoon about two tablespoons of pumpkin filling onto four of the rectangles, leaving a half-inch border around the edges. Then I brush that border with egg wash before placing the remaining rectangles on top. I press the edges firmly with a fork to seal in the filling and prevent leaks.
- Before baking, I brush the tops of each pop tart with the remaining egg wash for that golden, bakery-style shine. I poke a couple of small holes in the top of each one to let steam escape. Then they go into the oven for 20 to 22 minutes, until the crust is golden brown.
- Once they’re out of the oven, I move the pop tarts to a wire rack and let them cool all the way down. This step matters more than people think, because a warm pastry will melt the glaze right off. I usually give mine at least 20 to 30 minutes before touching the glaze.
- While the pop tarts cool, I whisk powdered sugar, milk, and a pinch of pumpkin pie spice together until it’s smooth and pourable. I spread a spoonful over each cooled pop tart and add a light dusting of cinnamon sugar on top. Letting the glaze set for a few minutes before serving keeps it from sliding off.
Notes
- I always chill my filled pop tarts for 10 minutes in the fridge before baking, since it helps the crust hold its shape better in the oven.
- I use cold pie crust straight from the fridge rather than letting it sit out, because warm dough gets sticky and harder to cut cleanly.
- I double-crimp the edges with my fork if the filling feels a little wet, just for extra insurance against leaks.
- I like brushing a thin second layer of egg wash right before baking for an even richer golden color.
- I never skip the vent holes on top, since steam needs somewhere to escape or the tops can crack unevenly.