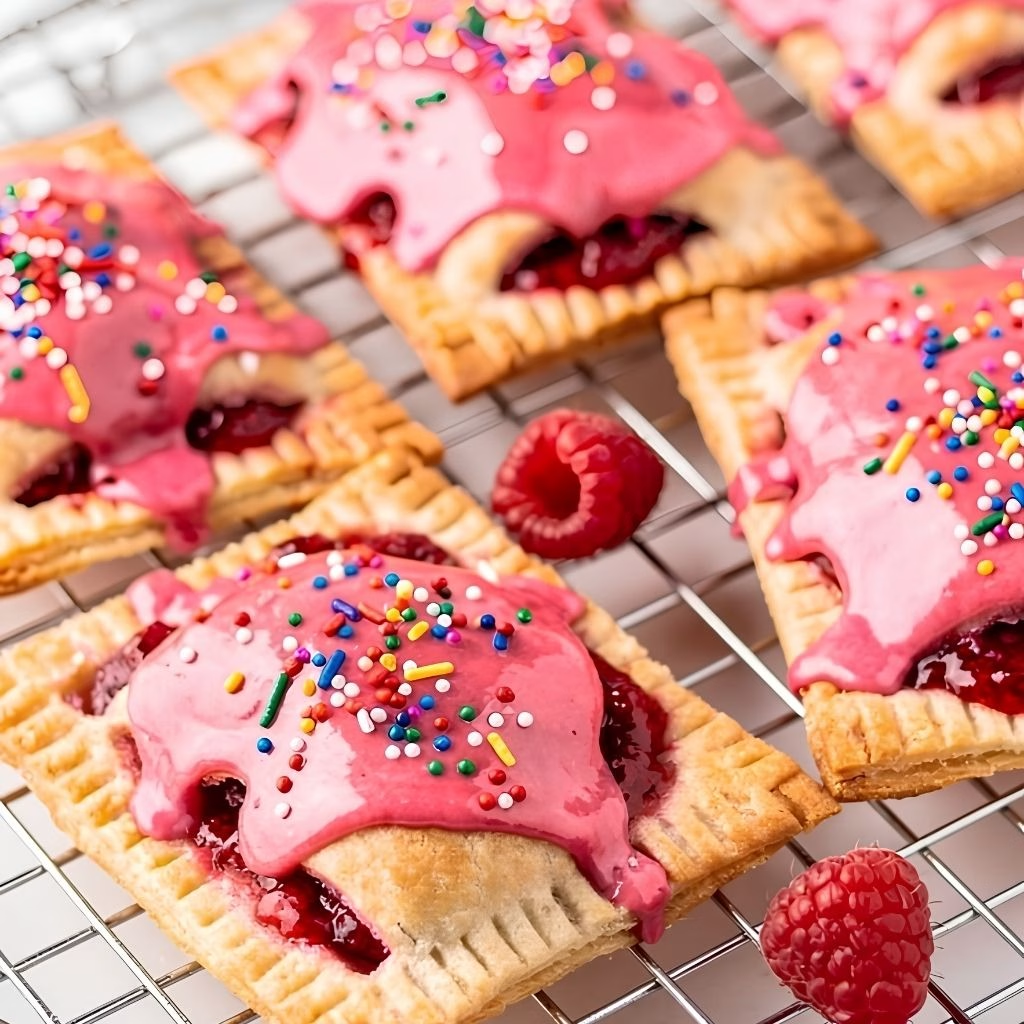
I’ve made a lot of breakfast pastries over the years, but the day I pulled these Homemade Raspberry Pop Tart Recipe out of the oven was the day I stopped buying the boxed kind for good. I still remember standing at the counter, watching the glaze drip down the sides while the jam bubbled ever so slightly through the crimped edges.
There’s something about that flaky, buttery crust wrapped around real raspberry jam that just hits different from anything wrapped in foil. If you’ve ever wondered whether homemade pop tarts are worth the extra effort, I promise this recipe will answer that question for you. Once you taste that first warm bite, you’ll understand exactly why I keep coming back to this one.
Cooking Time
- Prep Time: 30 minutes (plus 30 minutes chilling)
- Cooking Time: 30-35 minutes
- Total Time: About 1 hour 30 minutes
Ingredients
- 1 1/4 cups all-purpose flour – the base of the flaky pastry crust
- 1/2 teaspoon salt – balances the sweetness and boosts flavor
- 1/2 cup unsalted butter, cold and cubed – keep it ice cold for the flakiest layers
- 3-4 tablespoons ice water – just enough to bring the dough together, don’t overdo it
- 1/3 cup raspberry jam – use a good quality jam or homemade for the best fruity punch
- 1 egg, beaten – for the egg wash that gives the crust its golden shine
- 1 cup powdered sugar – forms the base of the sweet glaze
- 2-3 tablespoons milk – thins the glaze to the perfect drizzling consistency
- 1/2 teaspoon vanilla extract – adds warmth and depth to the icing
- Sprinkles, optional – for that classic, nostalgic pop tart look
Note: This recipe makes 3 to 4 pop tarts, but it doubles easily if you want a bigger batch.
Equipment You Need
- Rolling pin – rolls the pastry dough into an even, thin sheet
- Pastry cutter or two knives – cuts cold butter into the flour for a flaky crust
- Baking sheet – holds the pop tarts while they bake evenly
- Parchment paper – keeps the pastries from sticking and makes cleanup easy
- Fork – crimps and seals the edges of each pop tart
- Pastry brush – applies egg wash for that golden, shiny finish
- Cooling rack – lets the pop tarts cool without getting soggy on the bottom
- Small mixing bowl – used to whisk together the glaze
How to Make Raspberry Pop Tart Recipe?
Making these from scratch is honestly simpler than it looks once you break it down into stages. You’ll build a flaky crust first, then fill it with jam, and finish everything off with a sweet glaze. Here’s exactly how I do it every time.
Make the Pastry Dough
I start by whisking the flour and salt together in a large bowl, then cutting in the cold butter until it looks like coarse pea-sized crumbs. Adding ice water a tablespoon at a time helps the dough come together without turning tough. I shape it into a disk, wrap it in plastic, and pop it in the fridge to chill for 30 minutes before rolling.
Roll and Cut the Dough
Once the dough has chilled, I roll it out on a lightly floured surface until it’s about a quarter-inch thick. I trim the edges so they’re neat, then cut it into even rectangles. This step determines how uniform your finished pop tarts look, so I take my time here.
Add the Raspberry Filling
I spoon a small amount of raspberry jam onto half of the rectangles, leaving a clean border around the edges. Too much filling can cause leaks in the oven, so I stick to about a tablespoon per pastry. Less really is more at this stage.
Seal and Crimp the Edges
I brush the borders with egg wash, then place the second piece of dough on top of the filling. Using a fork, I press firmly around all four edges to seal everything in tightly. This crimping step is what keeps the raspberry filling from bubbling out while baking.
Bake Until Golden
After poking a few small vent holes in the top with a fork, I brush the whole pastry with more egg wash and slide the tray into a 350°F oven. I bake them for 30 to 35 minutes, until they’re a deep golden brown and smell absolutely incredible.
Cool and Glaze
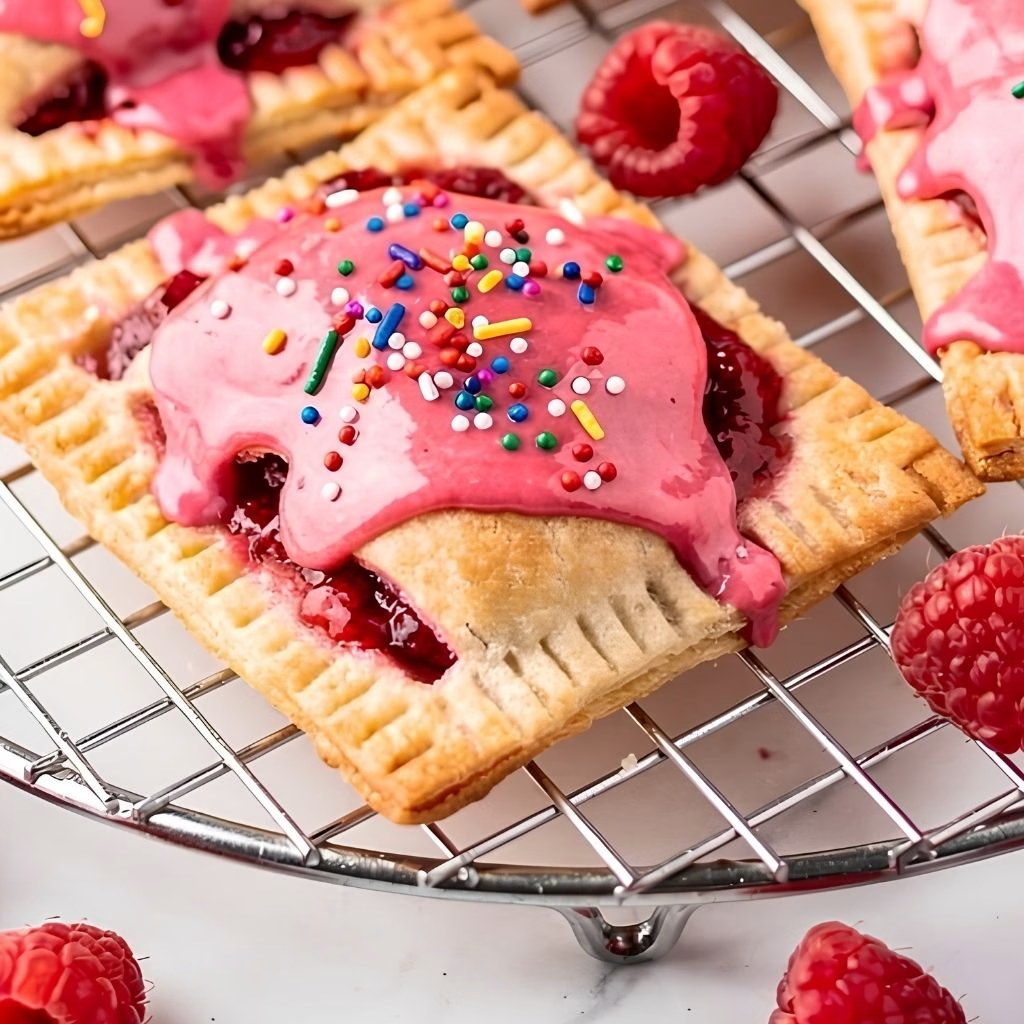
Once they’re out of the oven, I let the pop tarts rest on the baking sheet for about ten minutes before moving them to a cooling rack. While they cool, I whisk together powdered sugar, milk, and vanilla for the glaze, then drizzle or spread it over the top and finish with sprinkles.
Additional Tips for Making This Recipe Better
I’ve made this recipe more times than I can count, and here’s what actually makes a difference in the kitchen.
- I always keep my butter in the fridge until the very last second, since warm butter ruins the flaky layers.
- I like to chill my rolled-out dough for a few minutes if it starts feeling soft or sticky before assembling.
- I never skip the vent holes because steam needs somewhere to escape, or the filling explodes out the sides.
- I use a ruler when cutting my rectangles so all my pop tarts end up the same size and bake evenly.
- I let the glaze set for a good 15 minutes before eating so it doesn’t slide right off.
Common Mistakes to Avoid
- I once overfilled my pop tarts and ended up with raspberry jam all over my baking sheet, so now I stick to a thin, even layer.
- I learned the hard way that skipping the chilling step makes the dough shrink and puff unevenly in the oven.
- I used to frost my pop tarts while they were still warm, and the glaze just melted right off instead of setting.
- I didn’t crimp the edges tightly enough my first time, and the filling leaked out during baking.
- I tried rushing the rolling process once and ended up with cracked, uneven dough that tore when I filled it.
How to Serve Raspberry Pop Tarts?
I love serving these slightly warm with a light dusting of extra powdered sugar on top for a bakery-style finish. A few fresh raspberries scattered on the plate make the presentation pop, especially for a weekend brunch spread.
If you’re setting up a breakfast table, I like pairing them with a category of similar hand-held pastries as a homemade strawberry pop tart recipe, since fruity glazed pastries always look great sitting side by side. A cup of coffee or a cold glass of milk rounds out the whole experience perfectly.
Variations
- Swap raspberry jam for strawberry, blueberry, or cherry preserves for a different fruity twist.
- Use a dairy-free butter substitute and a plant-based milk to make this recipe fully dairy-free.
- Replace powdered sugar with a sugar-free alternative if you’re cutting back on sugar.
- Add a teaspoon of lemon zest to the jam filling for a brighter, tangier flavor.
- Mix crushed freeze-dried raspberries into the glaze for extra color and a stronger raspberry punch.
- Try a chocolate drizzle instead of the classic vanilla glaze for a richer finish.
Nutritional Information
Here’s a rough breakdown per pop tart, though this can vary depending on your exact ingredients and portion sizes.
- Calories: ~320 kcal
- Protein: ~4g
- Carbohydrates: ~48g
- Fat: ~13g
Make Ahead and Storage
You can prepare the pastry dough a day in advance and keep it wrapped tightly in the fridge until you’re ready to roll and bake. Baked, unglazed pop tarts also freeze well for up to two months if you want to have a batch ready to go.
Leftover glazed pop tarts stay fresh in an airtight container at room temperature for up to three days. I recommend reheating them gently in the oven or toaster oven instead of a regular toaster, since the glaze can drip and burn.
Why You’ll Love This Recipe?
There are so many reasons this recipe has become a regular in my kitchen rotation, and I think you’ll feel the same once you try it.
- It’s easier than it looks. The dough comes together with basic pantry staples and doesn’t require any fancy equipment or techniques.
- It’s endlessly customizable. You can swap the raspberry jam for nearly any fruit filling and switch up the glaze flavor too.
- It tastes so much better than store-bought. The crust is flakier, the filling is fresher, and the glaze isn’t overly sweet.
- It works for any occasion. Whether it’s a lazy Sunday breakfast or a fun baking project with kids, these fit right in.
- It reheats beautifully. Unlike a lot of baked goods, these taste just as good the next day with a quick warm-up.
FAQs
Can I use frozen raspberries instead of jam?
Yes, but you’ll want to cook them down first with a little sugar and cornstarch to thicken the mixture so it doesn’t turn watery inside the crust.
Why are raspberry pop-tarts discontinued in stores sometimes?
Store availability changes based on seasonal rotations and regional stocking, which is honestly one more reason I prefer making my own at home whenever I get a craving.
Can I make unfrosted raspberry pop-tarts?
Absolutely, just skip the glaze step entirely. Unfrosted pop tarts are a great option if you’re serving kids or prefer a less sweet breakfast.
How do raspberry pop tarts nutrition facts compare to homemade ones?
Store-bought raspberry pop-tarts calories tend to run higher due to added preservatives and stabilizers, while homemade versions let you control exactly what goes into each bite.
Can I freeze the assembled pop tarts before baking?
Yes, I’ve frozen unbaked, assembled pop tarts on a tray until solid, then transferred them to a bag. You can bake them straight from frozen, just add a few extra minutes to the bake time.
If you’re looking for another quick homemade pop tarts option using a different technique, I’d also point you toward homemade blueberry pop tarts recipe, which is a great diy poptart recipe if blueberries are more your thing than raspberries.

Homemade Raspberry Pop Tart Recipe
Ingredients
Method
- I start by whisking the flour and salt together in a large bowl, then cutting in the cold butter until it looks like coarse pea-sized crumbs. Adding ice water a tablespoon at a time helps the dough come together without turning tough. I shape it into a disk, wrap it in plastic, and pop it in the fridge to chill for 30 minutes before rolling.
- Once the dough has chilled, I roll it out on a lightly floured surface until it’s about a quarter-inch thick. I trim the edges so they’re neat, then cut it into even rectangles. This step determines how uniform your finished pop tarts look, so I take my time here.
- I spoon a small amount of raspberry jam onto half of the rectangles, leaving a clean border around the edges. Too much filling can cause leaks in the oven, so I stick to about a tablespoon per pastry. Less really is more at this stage.
- I brush the borders with egg wash, then place the second piece of dough on top of the filling. Using a fork, I press firmly around all four edges to seal everything in tightly. This crimping step is what keeps the raspberry filling from bubbling out while baking.
- After poking a few small vent holes in the top with a fork, I brush the whole pastry with more egg wash and slide the tray into a 350°F oven. I bake them for 30 to 35 minutes, until they’re a deep golden brown and smell absolutely incredible.
- Once they’re out of the oven, I let the pop tarts rest on the baking sheet for about ten minutes before moving them to a cooling rack. While they cool, I whisk together powdered sugar, milk, and vanilla for the glaze, then drizzle or spread it over the top and finish with sprinkles.
Notes
- I always keep my butter in the fridge until the very last second, since warm butter ruins the flaky layers.
- I like to chill my rolled-out dough for a few minutes if it starts feeling soft or sticky before assembling.
- I never skip the vent holes because steam needs somewhere to escape, or the filling explodes out the sides.
- I use a ruler when cutting my rectangles so all my pop tarts end up the same size and bake evenly.
- I let the glaze set for a good 15 minutes before eating so it doesn’t slide right off.