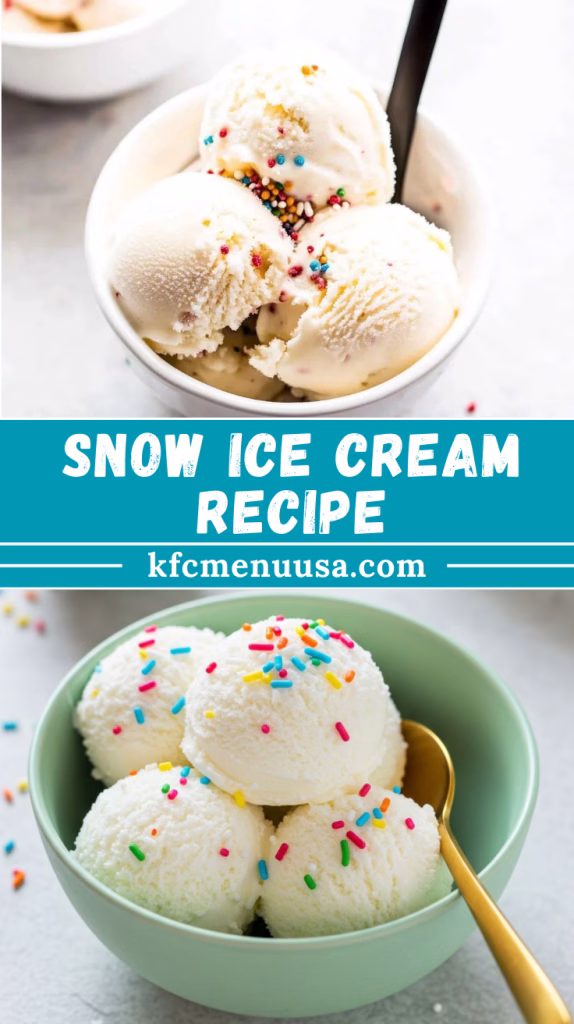
Snow Ice Cream Recipe: Sweet, Fun & Refreshing Dish
I can’t even explain how magical this snow ice cream felt to make—it was pure winter joy in a bowl. Scooping fresh snow and turning it into ice cream instantly brought out my inner child.
The best part? I only needed a few ingredients from my kitchen, and within minutes, I had the creamiest, fluffiest ice cream ever.
No stove, no machine—just nature’s gift and a little sweetness. I know this is now my must-make treat for every snowy day.
Ingredients You’ll Need
Here’s what I used to make my snow ice cream (with a few tips I learned along the way):
- Fresh, clean snow – 8 cups (always scoop untouched, fluffy snow—never old or dirty snow)
- Whole milk – 1 cup (oat or almond milk works well for dairy-free)
- Granulated sugar – 1/3 cup (honey, maple syrup, or stevia are great swaps)
- Vanilla extract – 1 tsp (almond or peppermint extract adds a fun twist)
- Optional toppings – sprinkles, chocolate chips, crushed cookies, caramel drizzle, or fresh fruit
Note: Makes about 4–5 servings.
Variations
You can easily switch things up with these simple ideas:
- Use almond or oat milk for a dairy-free version.
- Swap sugar with honey, maple syrup, or stevia for a lighter option.
- Add cocoa powder to make chocolate snow ice cream.
- Stir in strawberry or mango puree for fruity flavors.
- Mix in nuts, shredded coconut, or mini marshmallows for extra texture.
Cooking Time
- Prep Time: 10 minutes
- Cooking Time: 0 minutes
- Total Time: 10 minute
Equipment You’ll Need
Here’s what helped me make this recipe super smooth:
- Mixing bowl – keeping it chilled helps prevent the snow from melting.
- Whisk or wooden spoon – to mix everything together.
- Measuring cups and spoons – for accuracy.
- Large spoon or ice cream scooper – for serving.
- Freezer-safe container – if you want to store leftovers.
How to Make Snow Ice Cream?
This recipe is all about keeping things quick and simple. Here’s exactly how I made it:
Start with Fresh Snow
I collected about 8 cups of clean, fluffy snow in a big bowl. I made sure to scoop from an untouched area away from sidewalks or streets. To keep it from melting, I left the bowl outside while I prepared the base.
Mix the Sweet Base
In another bowl, I whisked milk, sugar, and vanilla until the sugar fully dissolved. I’ve tried almond extract before and loved the nutty flavor. Condensed milk also works if you want an extra creamy version.
Combine Snow and Mixture
I gently poured the sweetened milk over the snow and folded it together. The key is to mix lightly—overmixing melts the snow too fast and turns it slushy.
Taste and Adjust
I took a quick taste and added a touch more sugar. Sometimes I sprinkle in a tiny pinch of salt—it really makes the vanilla stand out. Cocoa powder or fruit puree works beautifully here too.
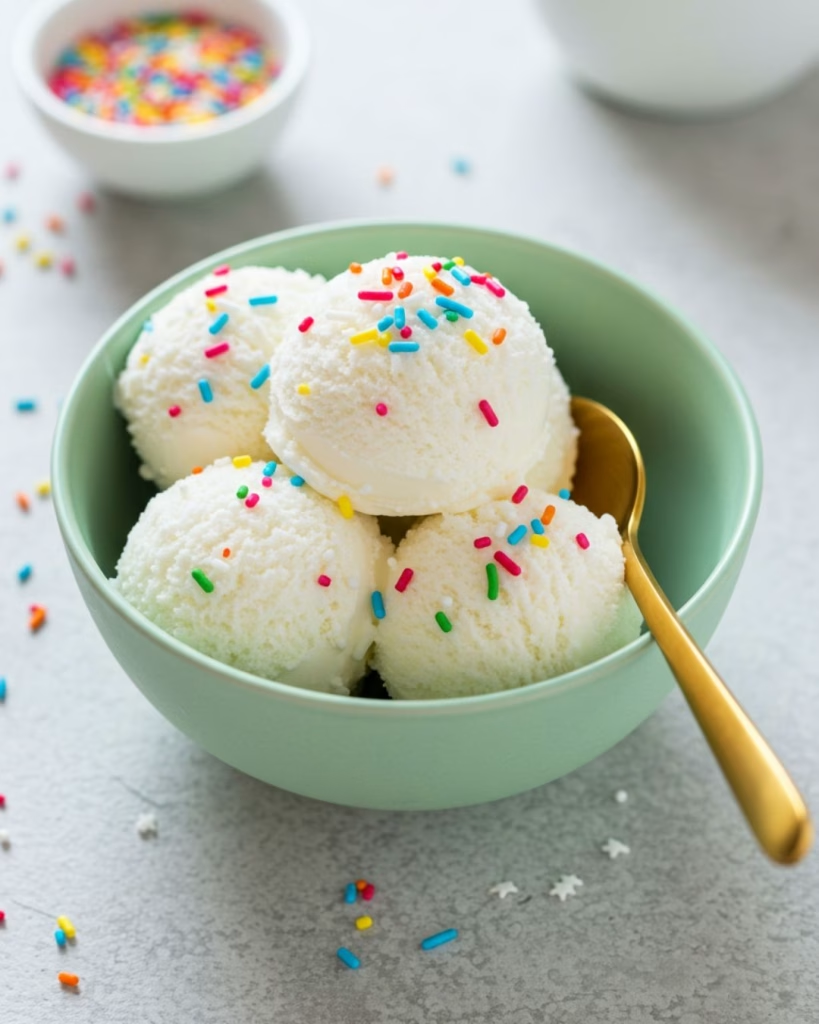
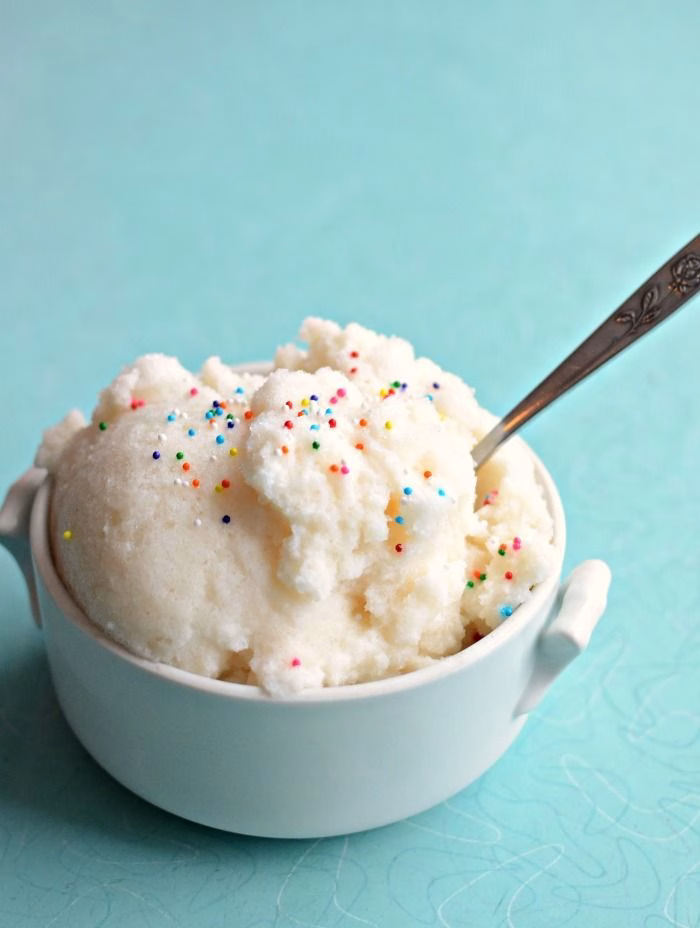
Add Toppings and Serve
I scooped the ice cream into chilled bowls and added chocolate chips and sprinkles. My kids loved caramel drizzle, while I preferred crushed cookies. Since it melts quickly, I always serve it immediately.

Additional Tips for Making This Recipe Better
Here’s what made my snow ice cream turn out even more amazing:
- I always chill my mixing bowl and spoon so the snow doesn’t melt fast.
- Folding gently (not stirring too much) keeps the ice cream light and fluffy.
- I love experimenting with extracts like peppermint or coconut for variety.
- Adding fresh fruit chunks makes it taste refreshing and feel healthier.
How to Serve Snow Ice Cream?
I like making the serving part fun! Sometimes I scoop it into colorful bowls, other times into cones for a classic ice cream vibe. A drizzle of chocolate or caramel instantly makes it look fancy. For holidays, crushed candy canes on top are my go-to. If I want something indulgent, I pair it with warm brownies or pie for that heavenly hot-and-cold combo.
Nutritional Information
Here’s a quick breakdown per serving (about 1 cup, made with whole milk and sugar):
- Calories: 120
- Protein: 2g
- Carbohydrates: 20g
- Fat: 4g
Make Ahead and Storage
Storing
If I have leftovers, I transfer the ice cream to a freezer-safe container, smooth the top, and cover it tightly.
Freezing
It lasts up to 2 days in the freezer, though the original fluffy texture doesn’t stay the same.
Restoring
Before serving again, I leave it out at room temperature for 10–15 minutes until soft enough to scoop.
Why You’ll Love This Recipe?
This is more than just a dessert—it’s a whole experience! Here’s why I think it’s special:
- It’s unbelievably quick—done in just 10 minutes with no cooking.
- It’s customizable—you can change flavors and toppings endlessly.
- It’s kid-friendly—collecting and mixing snow makes it an activity too.
- It’s the perfect winter treat—turns a snowy day into something fun and cozy.
- It’s budget-friendly—uses just a few simple pantry staples plus fresh snow.

Snow Ice Cream Recipe
Ingredients
Method
- I collected about 8 cups of clean, fluffy snow in a big bowl. I made sure to scoop from an untouched area away from sidewalks or streets. To keep it from melting, I left the bowl outside while I prepared the base.
- In another bowl, I whisked milk, sugar, and vanilla until the sugar fully dissolved. I’ve tried almond extract before and loved the nutty flavor. Condensed milk also works if you want an extra creamy version.
- I gently poured the sweetened milk over the snow and folded it together. The key is to mix lightly—overmixing melts the snow too fast and turns it slushy.
- I took a quick taste and added a touch more sugar. Sometimes I sprinkle in a tiny pinch of salt—it really makes the vanilla stand out. Cocoa powder or fruit puree works beautifully here too.
- I scooped the ice cream into chilled bowls and added chocolate chips and sprinkles. My kids loved caramel drizzle, while I preferred crushed cookies. Since it melts quickly, I always serve it immediately.
Notes
- I always chill my mixing bowl and spoon so the snow doesn’t melt fast.
- Folding gently (not stirring too much) keeps the ice cream light and fluffy.
- I love experimenting with extracts like peppermint or coconut for variety.
- Adding fresh fruit chunks makes it taste refreshing and feel healthier.