Thick And Chewy Peanut Butter Butterfinger Cookies Recipe | Sweet & Crunchy Treats
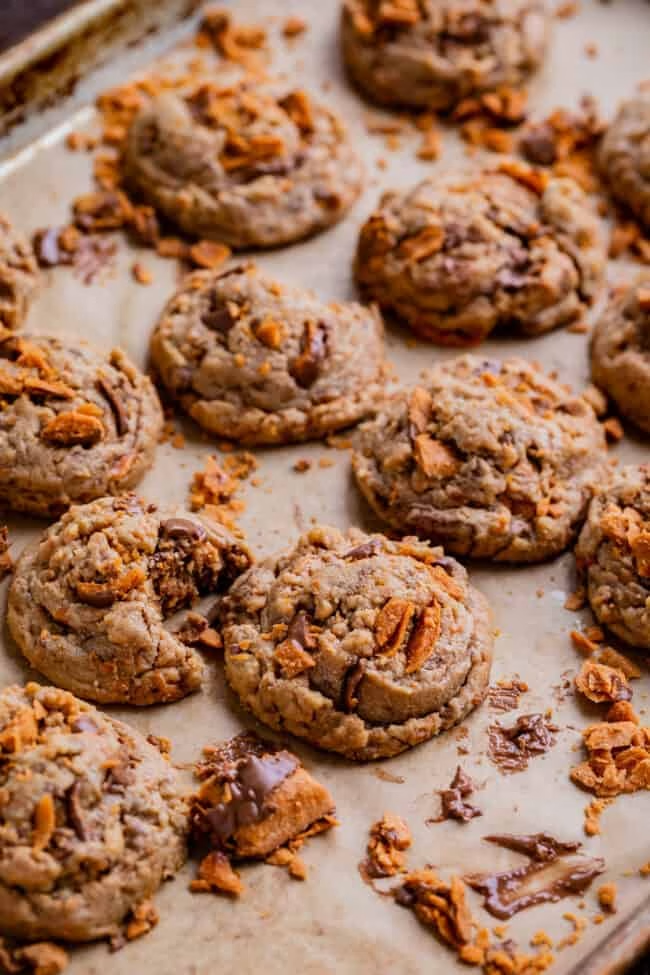
When I baked these thick and chewy peanut butter Butterfinger cookies for the first time, I couldn’t believe how something so simple turned out so extraordinary.
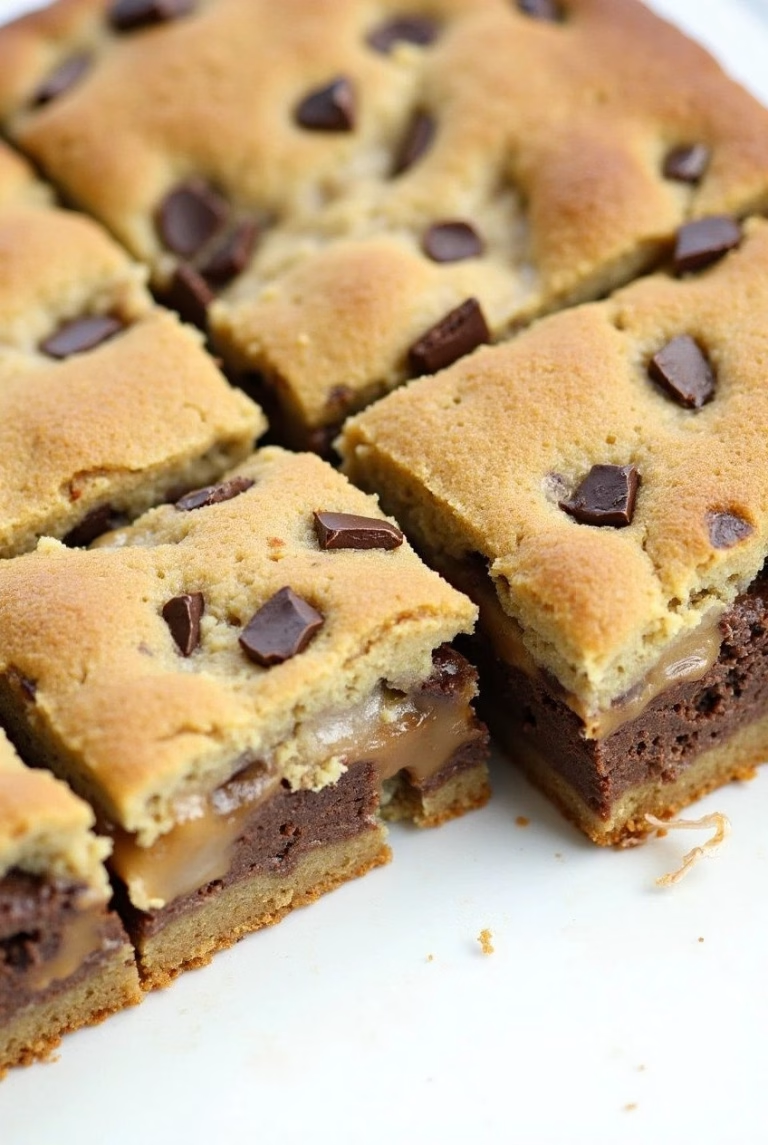
I mixed peanut butter, butter, sugar, and a whole lot of Butterfinger candy bits, and the aroma in my kitchen was enough to make me salivate before the oven even beeped. Every bite has that perfect chew in the center, crispiness from the candy, and a soft peanut-buttery richness.
I find myself sneaking pieces even before everyone else wakes up. If you love peanut butter + candy crunch, you’re going to fall in love with these—or you can also enjoy these amazing pistachio cookies recipe for another nutty treat.

Ingredients
Here’s what you’ll need to make about 25 cookies (2-inch size):
- ¾ cup butter, softened (that’s 1 1⁄2 sticks) — gives richness, helps with chew; softened butter blends better.
- ½ cup granulated sugar — for sweetness and helps with the crisp-edges.
- ½ cup brown sugar, packed — adds moisture and depth of flavor.
- 1 cup peanut butter — regular (non-natural) peanut butter works best; natural can be runnier and alter texture.
- 1 large egg — binds everything together.
- 1½ teaspoons vanilla extract — enhances flavor.
- 1½ cups all-purpose flour, spooned and leveled — too much flour makes cookies dry; spoon & level ensures accuracy.
- ½ teaspoon baking soda — gives lift and helps spread.
- ½ teaspoon baking powder — for extra rise and a lighter interior.
- ¼ teaspoon kosher salt — balances sweetness.
- 16 ounces Butterfinger candy (chopped) — gives the crispety, crunchety texture; use either Butterfinger Bits or chopped candy bars.
Note: several serving — this recipe yields about 25 cookies.
Variations
Want to switch things up? Here are some options I’ve tried or thought about to adjust sweetness, dietary needs, or flavor:
- Use gluten-free all-purpose flour (a 1-to-1 blend) in place of regular flour to make them gluten-free.
- For a dairy-free version, replace the butter with vegan butter and ensure your peanut butter and candy alternatives are dairy-free. The texture may change slightly.
- To make them less sweet, reduce brown sugar by 2 tablespoons or use light brown sugar instead of dark; you can also swap in a sugar substitute for part of the granulated sugar.
- Add-in options: crushed nuts (like peanuts or pecans) for extra crunch; a few chocolate chips or mini-chocolate chunks; or a dash of cinnamon or espresso powder for a deeper flavor.
- To intensify peanut butter flavor, swirl in a bit of peanut butter powder or use flavored peanut butter. For more ideas to satisfy your sweet tooth, browse these delightful dessert recipes that pair perfectly with a cookie platter.
Cooking Time
Here are the time estimates so you can plan:
- Prep Time: 15 minutes
- Cooking Time (baking): 10 minutes per batch
- Total Time (including chilling, baking, cooling): about 40 minutes
Equipment You Need
These are the tools I found helpful when I made them:
- Stand mixer or a large mixing bowl + electric mixer — to cream butter, sugar, peanut butter smoothly.
- Measuring cups and spoons — especially for flour; spooning and leveling matters.
- Cookie scoop (2-inch) — to shape even-sized, thick cookies.
- Parchment paper or silicone baking mat — prevents sticking and gives easy cleanup.
- Baking sheets — for baking; have two if you want to bake two trays at once.
- Wire rack — for cooling cookies so bottoms don’t get soggy.
How to Make Thick and Chewy Peanut Butter Butterfinger Cookies
Here are the step-by-step instructions. I’ve broken them into headings so you can follow easily:
Cream the Butters and Sugars
First, beat together the softened butter with both granulated sugar and packed brown sugar until the mixture is light and fluffy. Scrape down the bowl’s sides so everything mixes evenly. This step adds air and helps with that soft-chewy texture.
Add Peanut Butter, Egg & Vanilla
Next, stir in the peanut butter until smooth, then add the egg and vanilla and mix just until combined. Don’t over-mix or you risk tough cookies. Use a scrape of the spatula to gather the mixture from the sides so everything’s uniformly blended.
Mix in Dry Ingredients
In goes the flour (spooned & leveled), followed by baking soda, baking powder, and salt. Mix gently at first, then more fully but just until the dough comes together. Leave faint streaks of flour early on so you don’t overwork the dough.
Fold in Butterfinger Candy
Once the dough is nearly together, stir in the chopped Butterfinger pieces or Butterfinger Bits until just dispersed. You want good chunks so you get crunchy bits, but not too much so the dough becomes hard to shape.
Chill the Dough
Cover the dough and chill in the fridge for 15 minutes (or up to 24 hours if you plan ahead). Chilling firms up the dough so the cookies don’t spread too thin. I’ve skipped chilling in a pinch, but chilling always gives a better shape.
Shape, Bake, and Cool
Preheat the oven to 350°F (about 175°C); line baking sheets. Scoop 2-inch balls of dough, place them apart to give room for spreading. Bake for about 10 minutes; edges should look set, middle still soft.
If cookies haven’t spread much, gently press down with a spatula after removing from the oven. Let cookies rest on a baking sheet for 5 minutes, then move to a wire rack to cool fully.
Additional Tips for Making This Recipe Better
From my own baking adventures, here are some tweaks and tricks that made these cookies even more amazing:
- I always weigh flour or spoon & level it, because too much flour makes the cookies dry and crumbly.
- I let the dough rest chilled; chilling overnight enhances flavor and helps improve texture.
- Right after taking cookies out of the oven, I sometimes do the “spoon trick” (pressing cookies gently) to get the thick, fudgy center.
- If using Butterfinger bars instead of bits, I chop them to roughly the same size for consistency. These cookies were inspired by the original Butterfinger cookies that started my obsession, so using good-quality candy really matters.
- I bake them in a single layer, and only put 12 per sheet so they don’t crowd; less crowding = more even baking.
How to Serve Thick and Chewy Peanut Butter Butterfinger Cookies
When it’s time to enjoy, presentation matters (because we eat with eyes first right?):
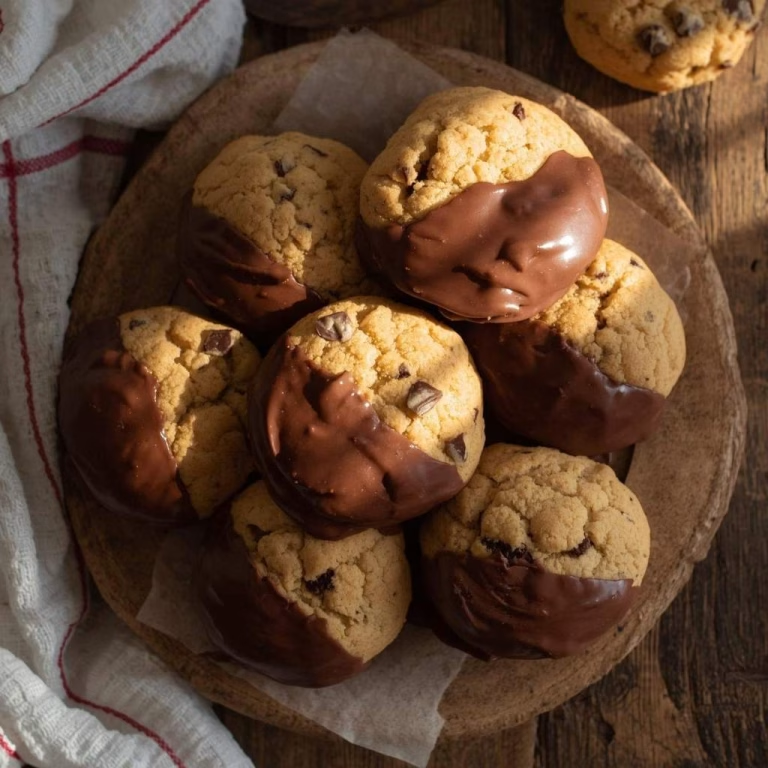
- Serve on a platter lined with parchment paper or a pretty dessert plate. Garnish with extra Butterfinger crumbles on top of each cookie for visual appeal.
- Pair with a glass of cold milk, or coffee for grown-ups — the contrast of warm, sweet cookie and creamy drink is irresistible.
- For a fun twist, cut one cookie in half to show the thick center and candy bits — people love the inside peek when you serve.
- If you’re giving them as gifts, stack 2-3 cookies, wrap with twine or ribbon, maybe slip in a small card with the name. Looks charming.

Nutritional Information
These numbers help if you are tracking your macros or just curious:
- Calories: ~ 169 per cookie
- Protein: ~ 4 g
- Carbohydrates: ~ 19 g
- Fat: ~ 9 g
Make Ahead and Storage
Freezing Prepared Dough or Unbaked Balls
Shape dough into balls and freeze. The dough balls freeze well in ziplock bags for up to 3 months. Bake straight from frozen—just add a minute or two to the bake time.
Storing Baked Cookies
Once baked and cooled completely, store them in an airtight container. They stay fresh for about 3 days at room temperature.
Freezing Baked Cookies
If you have extras, freeze the baked cookies (in a sealed container) for up to 4 weeks. Let them thaw at room temperature while still sealed so moisture doesn’t make them soggy.
Why You’ll Love This Recipe
Here are some of the reasons this cookie recipe becomes a favorite:
- Rich, satisfying flavor combo: Peanut butter + Butterfinger candy = creamy, nutty, sweet, and candy-crunch all in one.
- Thick and chewy texture: Thanks to chilling, correct flour handling, and the right fats, you get a soft center with slightly crisp edges.
- Customization-friendly: You can tweak add-ins, candy types, dietary options (gluten-free, dairy-free), or sweetness level.
- Impressive yet approachable: These look fancy and taste indulgent, but don’t require advanced pastry skills or unusual tools.
- Perfect for gifting or crowd-pleasing: You can make a large batch, freeze dough or baked cookies, and they travel or ship well with minimal mess.
Thick And Chewy Peanut Butter Butterfinger Cookies Recipe
Ingredients
Method
- First, beat together the softened butter with both granulated sugar and packed brown sugar until the mixture is light and fluffy. Scrape down the bowl’s sides so everything mixes evenly. This step adds air and helps with that soft-chewy texture.
- Next, stir in the peanut butter until smooth, then add the egg and vanilla and mix just until combined. Don’t over-mix or you risk tough cookies. Use a scrape of the spatula to gather the mixture from the sides so everything’s uniformly blended.
- In goes the flour (spooned & leveled), followed by baking soda, baking powder, and salt. Mix gently at first, then more fully but just until the dough comes together. Leave faint streaks of flour early on so you don’t overwork the dough.
- Once the dough is nearly together, stir in the chopped Butterfinger pieces or Butterfinger Bits until just dispersed. You want good chunks so you get crunchy bits, but not too much so the dough becomes hard to shape.
- Cover the dough and chill in the fridge for 15 minutes (or up to 24 hours if you plan ahead). Chilling firms up the dough so the cookies don’t spread too thin. I’ve skipped chilling in a pinch, but chilling always gives a better shape.
- Preheat the oven to 350°F (about 175°C); line baking sheets. Scoop 2-inch balls of dough, place them apart to give room for spreading. Bake for about 10 minutes; edges should look set, middle still soft. If cookies haven’t spread much, gently press down with a spatula after removing from the oven. Let cookies rest on a baking sheet for 5 minutes, then move to a wire rack to cool fully.
Notes
- I always weigh flour or spoon & level it, because too much flour makes the cookies dry and crumbly.
- I let the dough rest chilled; chilling overnight enhances flavor and helps improve texture.
- Right after taking cookies out of the oven, I sometimes do the “spoon trick” (pressing cookies gently) to get the thick, fudgy center.
- If using Butterfinger bars instead of bits, I chop them to roughly the same size for consistency. These cookies were inspired by the original Butterfinger cookies that started my obsession, so using good-quality candy really matters.
- I bake them in a single layer, and only put 12 per sheet so they don’t crowd; less crowding = more even baking.