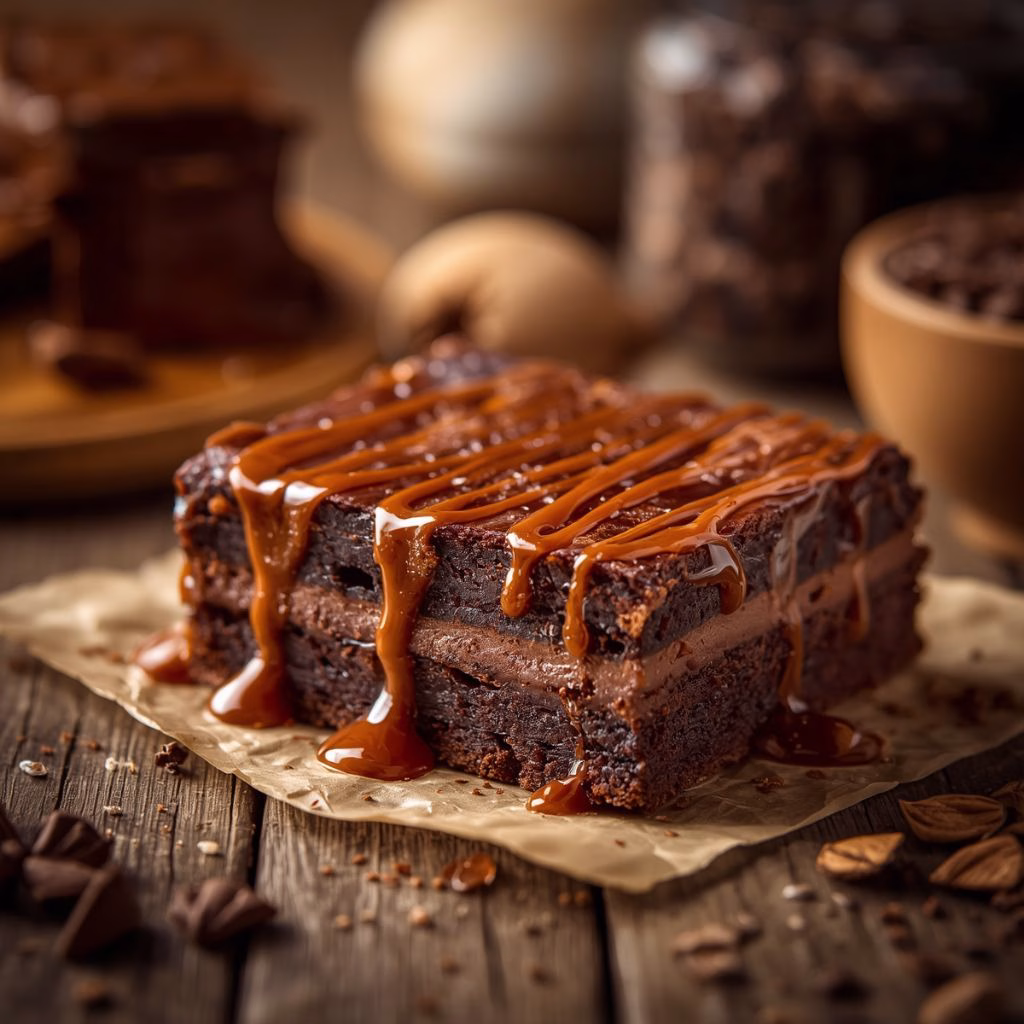
I still remember the first time I pulled a pan of this Salted Caramel Brownies Recipe out of the oven. The smell of melted chocolate and buttery caramel filled my whole kitchen, and I honestly couldn’t wait for them to cool before slicing in.
Since then, I’ve made this recipe more times than I can count, tweaking it here and there until I landed on a version that’s rich, gooey, and perfectly balanced with that hit of flaky salt. If you’re a fan of chocolate desserts with a little something extra, this one is going to become a regular in your rotation too.
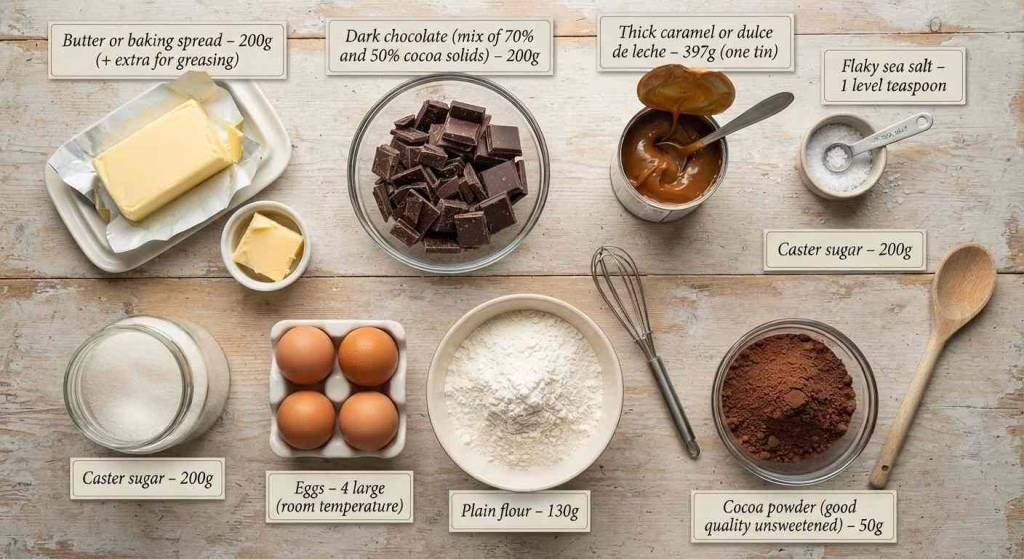
Ingredients
Here’s everything I use to get that deep, fudgy texture with ribbons of caramel running through every bite.
- Butter or baking spread – 200g, plus a little extra for greasing the tin. I like using a spread with a higher fat content since it melts smoothly and keeps the brownies moist.
- Dark chocolate – 200g. I use a mix of 70% and 50% cocoa solids so the flavor isn’t overly bitter or too sweet.
- Thick caramel or dulce de leche – 397g (one tin). This is what gives the brownies that gooey caramel swirl, so don’t skip it or swap it for a thin syrup.
- Flaky sea salt – 1 level teaspoon. This is the ingredient that makes the whole recipe pop, so use a flaky variety rather than fine table salt for the best texture.
- Caster sugar – 200g. Its fine texture dissolves easily into the batter for a smooth, glossy top.
- Eggs – 4 large. Room temperature eggs blend into the batter far more evenly than cold ones straight from the fridge.
- Plain flour – 130g. Just enough to hold the brownies together without making them cakey.
- Cocoa powder – 50g. I go for a good quality unsweetened cocoa since it makes a real difference in flavor.
Note: These quantities make about 18 brownie squares, so it’s a great batch to bring to a party or share with the family over a few days.
Variations
I love how forgiving this recipe is. Here are a few ways I’ve switched it up depending on what I’m in the mood for.
- Dairy-free option: use a plant-based butter alternative and a dairy-free caramel or coconut caramel sauce.
- Nutty crunch: fold in a handful of chopped pecans or walnuts for texture.
- Extra chocolatey: stir in a handful of chocolate chips or chunks before baking.
- Lower sugar version: reduce the caster sugar slightly and use a sugar-free caramel alternative.
- Spiced twist: add a pinch of cinnamon or espresso powder to deepen the chocolate flavor.

Cooking Time
- Prep Time: 25 minutes
- Cooking Time: 30-35 minutes
- Total Time: about 1 hour
Equipment You Need
- Square baking tin (23cm/9in) – holds the batter and shapes the brownies evenly.
- Baking parchment – prevents sticking and makes lifting the brownies out easy.
- Saucepan or microwave-safe bowl – for melting the butter and chocolate together.
- Mixing bowls – you’ll need a couple for combining wet and dry ingredients separately.
- Electric hand mixer or balloon whisk – helps beat the eggs and sugar to the right consistency.
- Skewer – used to marble the caramel through the batter.
How to Make Salted Caramel Brownies?
Making these brownies is easier than it looks, and most of the work happens in just a few bowls. I’ll walk you through exactly how I do it from start to finish.
Step 1: Prep Your Tin and Oven
Preheat your oven to 180°C, or 160°C if you’re using a fan oven, which is Gas Mark 4. Grease your baking tin and line it with parchment paper so the brownies lift out cleanly later.

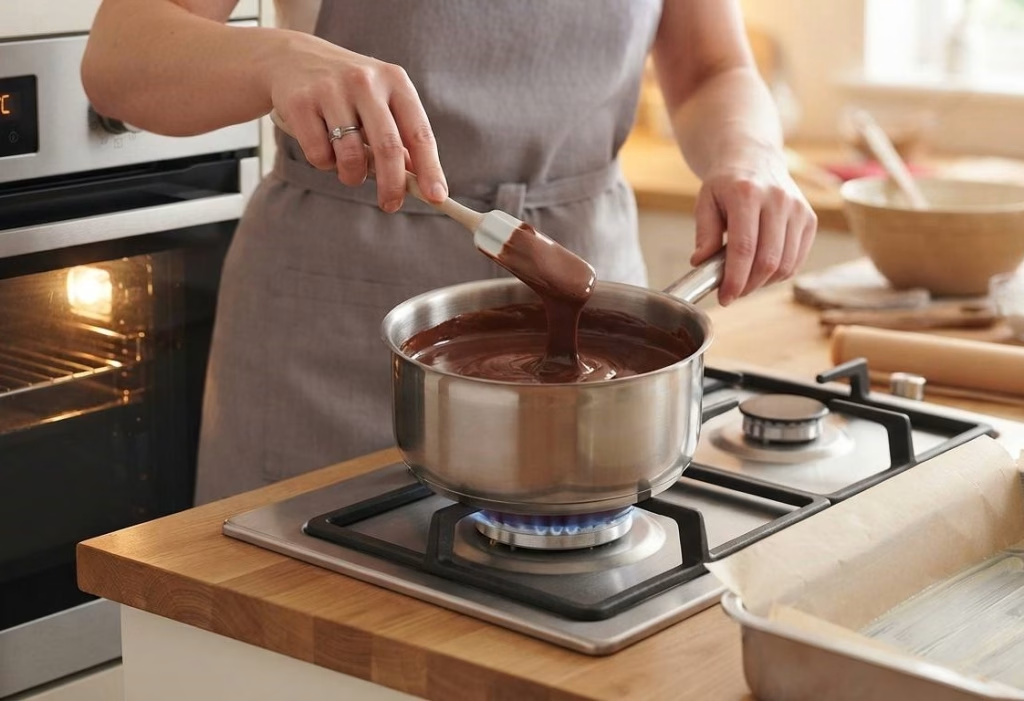
Step 2: Melt the Chocolate and Butter
Combine the butter and dark chocolate in a saucepan over low heat, or melt them in the microwave in short 20-second bursts. Go slowly here, because chocolate can burn quickly if you rush it. Stir until the mixture is completely smooth.
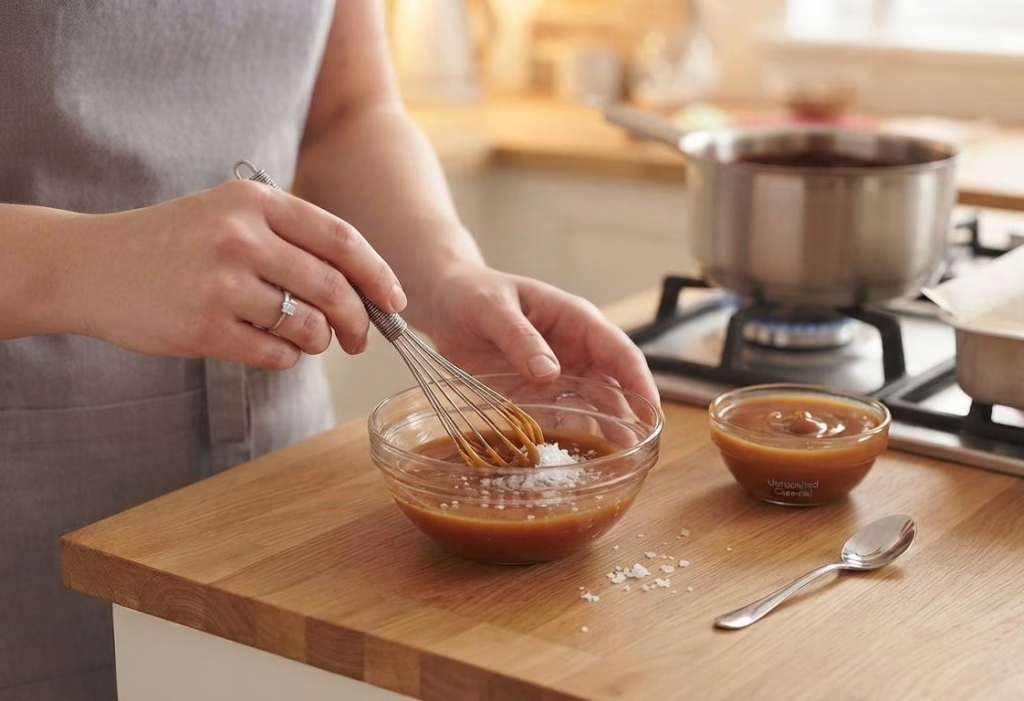
Step 3: Make the Salted Caramel
In a small bowl, mix half of the caramel with the flaky sea salt until it loosens slightly. This salted caramel is what you’ll swirl into the batter later, so set it aside once it’s ready.
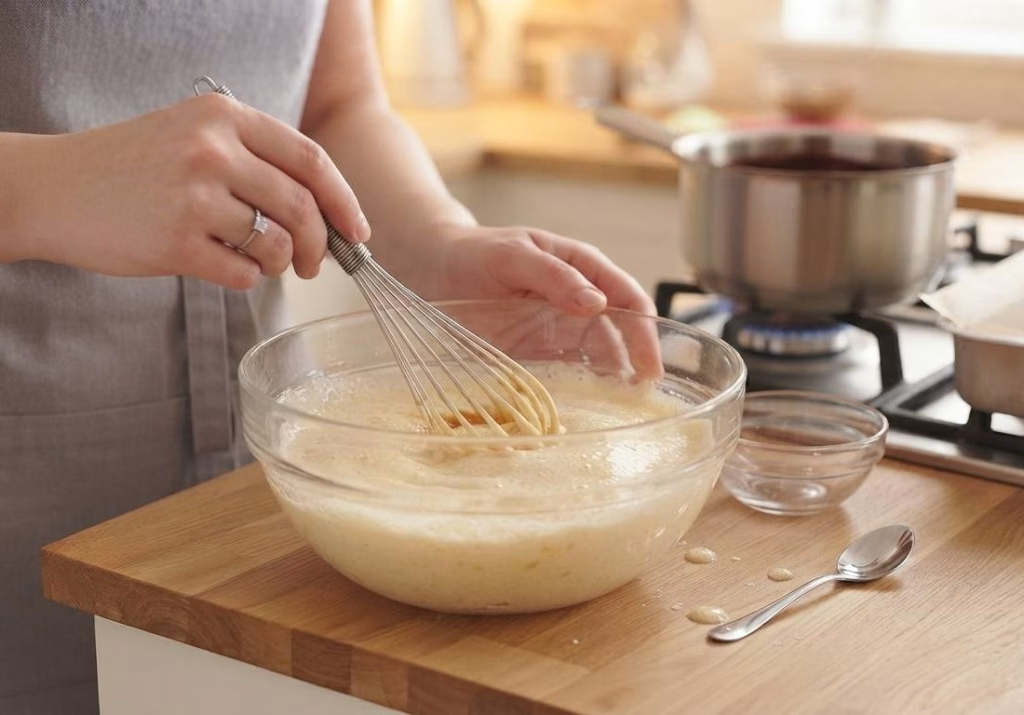
Step 4: Whisk the Eggs and Sugar
In a large bowl, combine the remaining caramel with the sugar and eggs. Beat everything together with an electric mixer or a whisk until it looks pale and slightly fluffy. This step builds the fudgy texture brownies are known for.
Step 5: Bring It All Together
Pour the melted chocolate and butter into the egg mixture and stir until fully combined. In a separate bowl, sift together the flour and cocoa powder, then fold this into the wet ingredients until the batter turns smooth and glossy.
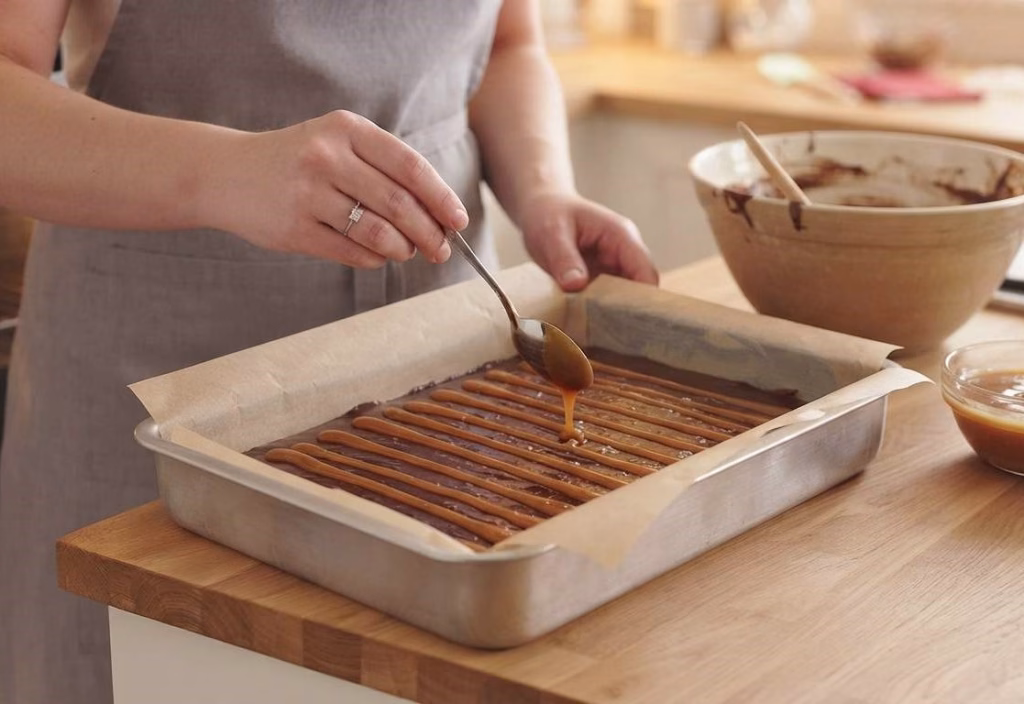
Step 6: Layer the Batter and Caramel
Spread half of the brownie batter into your prepared tin, smoothing it out to the edges. Drizzle half of the salted caramel over the top in long stripes using a teaspoon.
Step 7: Add the Final Layer
Spoon the rest of the batter over the caramel layer and smooth it gently, being careful not to drag the caramel underneath too much. Top with the remaining caramel in stripes across the surface.
Step 8: Marble and Bake
Drag a skewer through the batter in swirling motions to marble the caramel through the brownies. Bake for 30-35 minutes, until the top looks slightly crusty and the center still has a gentle wobble when you shake the tin.
Step 9: Cool and Slice
Let the brownies cool completely in the tin before cutting them into squares. I know it’s tempting to dig in right away, but cooling helps the caramel set so your slices hold together properly.
Additional Tips for Making This Recipe Better
After baking this more times than I can count, here are a few things I’ve learned along the way.
- I always use good quality dark chocolate, since it makes a noticeable difference in the depth of flavor.
- I don’t overbake these. A slight wobble in the center when you take them out means they’ll set into that fudgy texture once cooled.
- I let the brownies cool fully in the tin, otherwise the caramel layer doesn’t have time to firm up and the squares fall apart.
- I use a sharp knife dipped in warm water for cleaner slices, wiping it between each cut.
- I sometimes add a light sprinkle of extra sea salt right after baking for a stronger salty-sweet contrast.
How to Serve Salted Caramel Brownies?
These brownies are delicious on their own, but I love dressing them up a little for guests or special occasions.
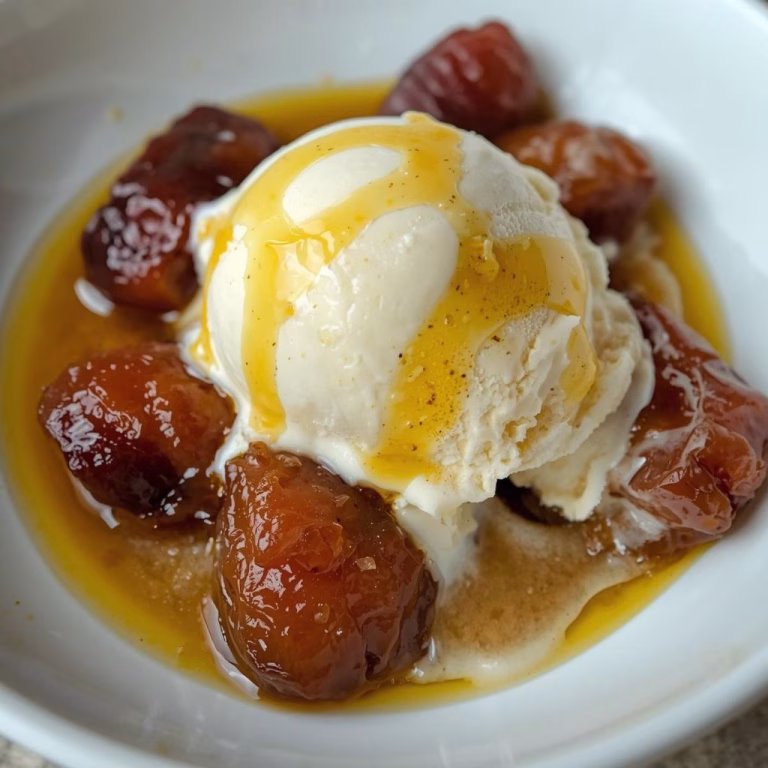
Serve them slightly warm with a small scoop of vanilla ice cream melting on top for the ultimate dessert combo. Fresh raspberries or strawberries add a nice tart contrast to the rich chocolate and caramel. For a more indulgent presentation, drizzle a little extra caramel sauce over each square and finish with a pinch of flaky sea salt right before serving.
Nutritional Information
Here’s a general idea of what one brownie square contains, though this can vary slightly depending on your exact ingredients.
- Calories: around 289 kcal per serving
- Protein: approximately 4g
- Carbohydrates: roughly 33g
- Fat: about 14.5g
Make Ahead and Storage
Storing: Keep the brownies in an airtight container at room temperature for up to 4 days, or in the fridge for about a week if you prefer them extra fudgy and chilled.
Freezing: These freeze really well. Wrap individual squares tightly in cling film, then place them in a freezer bag for up to 3 months.
Reheating: Thaw frozen brownies at room temperature, or warm a square in the microwave for about 10-15 seconds to bring back that gooey caramel center.
Why You’ll Love This Recipe?
There’s a lot to like about this one, and here’s why it’s become one of my go-to bakes.
- It comes together with simple pantry ingredients, so there’s no need for a special shopping trip.
- The combination of fudgy chocolate and gooey caramel makes every bite feel indulgent without being overly sweet.
- It’s easy to customize with mix-ins like nuts or extra chocolate chunks depending on your mood.
- These brownies freeze beautifully, so you can always have a treat ready to go.
- They’re a guaranteed crowd-pleaser, whether it’s a birthday, a bake sale, or just a Tuesday craving.
Salted Caramel Brownies Recipe
Ingredients
Method
- Preheat your oven to 180°C, or 160°C if you’re using a fan oven, which is Gas Mark 4. Grease your baking tin and line it with parchment paper so the brownies lift out cleanly later.
- Combine the butter and dark chocolate in a saucepan over low heat, or melt them in the microwave in short 20-second bursts. Go slowly here, because chocolate can burn quickly if you rush it. Stir until the mixture is completely smooth.
- In a small bowl, mix half of the caramel with the flaky sea salt until it loosens slightly.
- In a large bowl, combine the remaining caramel with the sugar and eggs. Beat everything together with an electric mixer or a whisk until it looks pale and slightly fluffy. This step builds the fudgy texture brownies are known for.
- Pour the melted chocolate and butter into the egg mixture and stir until fully combined. In a separate bowl, sift together the flour and cocoa powder, then fold this into the wet ingredients until the batter turns smooth and glossy.
- Spread half of the brownie batter into your prepared tin, smoothing it out to the edges. Drizzle half of the salted caramel over the top in long stripes using a teaspoon.
- Spoon the rest of the batter over the caramel layer and smooth it gently, being careful not to drag the caramel underneath too much. Top with the remaining caramel in stripes across the surface.
- Drag a skewer through the batter in swirling motions to marble the caramel through the brownies. Bake for 30-35 minutes, until the top looks slightly crusty and the center still has a gentle wobble when you shake the tin.
- Let the brownies cool completely in the tin before cutting them into squares. I know it’s tempting to dig in right away, but cooling helps the caramel set so your slices hold together properly.
Notes
- I always use good quality dark chocolate, since it makes a noticeable difference in the depth of flavor.
- I don’t overbake these. A slight wobble in the center when you take them out means they’ll set into that fudgy texture once cooled.
- I let the brownies cool fully in the tin, otherwise the caramel layer doesn’t have time to firm up and the squares fall apart.
- I use a sharp knife dipped in warm water for cleaner slices, wiping it between each cut.
- I sometimes add a light sprinkle of extra sea salt right after baking for a stronger salty-sweet contrast.