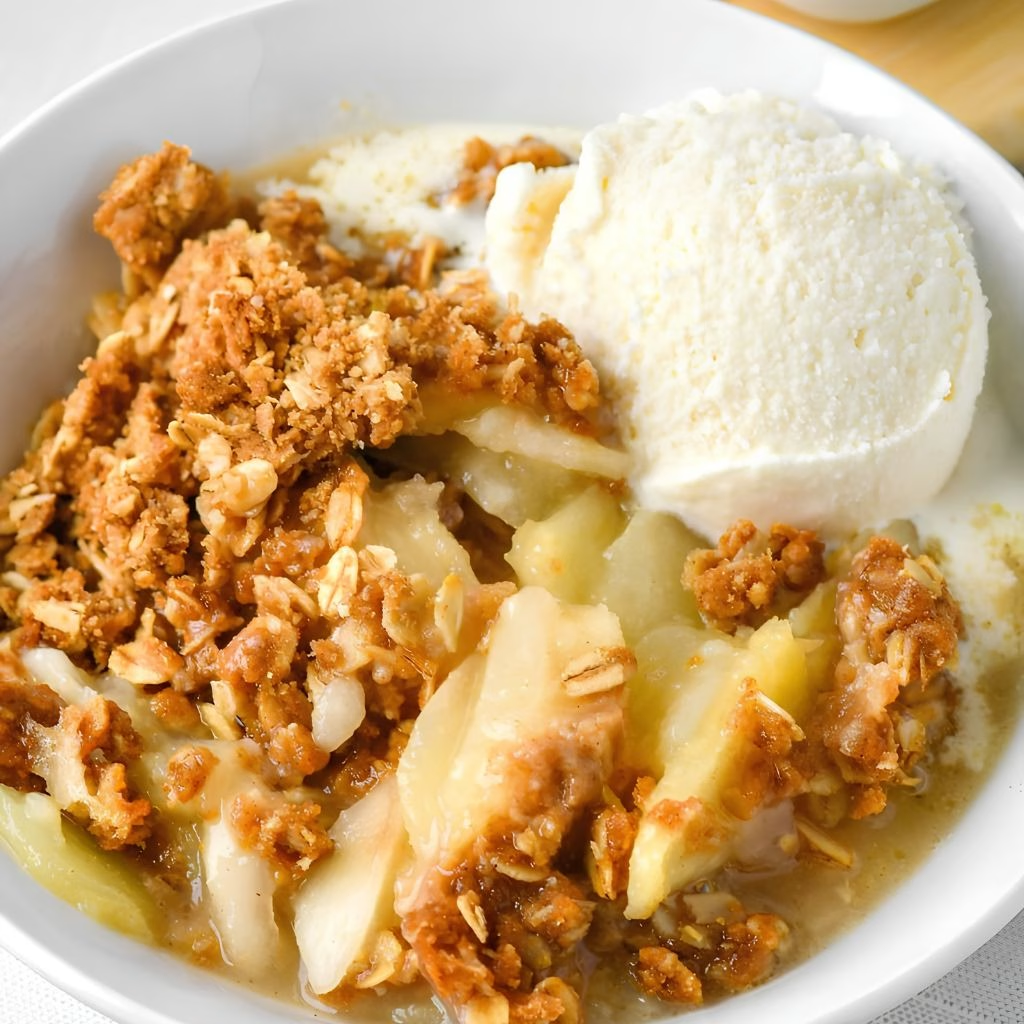
I made this Easy Pear Crisp Recipe on a rainy Sunday afternoon when I had a bowl of pears sitting on my counter with nowhere to go, and it turned out to be one of the easiest desserts I’ve ever pulled together. My kitchen smelled like cinnamon and warm butter within minutes, and I didn’t even need a mixer or fancy equipment.
I love that this recipe forgives little mistakes, so if you’re new to baking, this is a great place to start. It’s the kind of dessert I make when I want something comforting without spending my whole evening in the kitchen. Once you taste that buttery oat topping over soft, spiced pears, you’ll understand why I keep coming back to it.
Cooking Time
- Prep Time: 15 minutes
- Cooking Time: 45 minutes
- Total Time: 1 hour
Ingredients
- 6 cups peeled and sliced pears (about 6-7 medium) – ripe but firm pears hold their shape best while baking
- 1 teaspoon vanilla extract – rounds out the sweetness and adds a warm background flavor
- 1 ½ teaspoons cinnamon – the backbone spice that makes this dessert taste like fall
- ¼ teaspoon nutmeg – just a pinch deepens the flavor without overpowering the pears
- ½ teaspoon salt (divided) – balances the sweetness in both the filling and topping
- ½ cup salted butter, softened – makes the topping rich and helps it turn golden and crisp
- ½ cup all-purpose flour – gives the topping enough structure to clump instead of turning powdery
- ½ cup rolled oats – old-fashioned oats give the best chewy texture, so skip the instant kind
- ½ cup granulated sugar – adds sweetness and helps the topping caramelize
- ½ cup brown sugar – brings moisture and a deeper, molasses-like flavor to the crumble
- ⅓ cup finely chopped pecans – toasts up nicely and adds crunch to every bite
- Vanilla ice cream and caramel sauce, optional – my favorite way to finish it off at serving time
Note: Serves 6.
Equipment You Need
- Large mixing bowl – for tossing the pears with vanilla and spices
- Medium bowl – for mixing the butter, flour, oats, sugar, and pecans into a crumble
- 8-inch square baking dish (or 2-quart dish) – holds the filling and topping while it bakes
- Measuring cups and spoons – for accurate ingredient portions
- Fork or your fingers – to work the butter into the topping until it clumps
- Oven mitts – for safely removing the hot dish once it’s done baking
How to Make an Easy Pear Crisp Recipe?
This recipe comes together in two simple parts: a spiced pear filling and a buttery crumble topping. You don’t need any special baking skills to get this right, and most of the work is just tossing and mixing. Here’s exactly how I put mine together every time.
Step 1: Prep the Pears
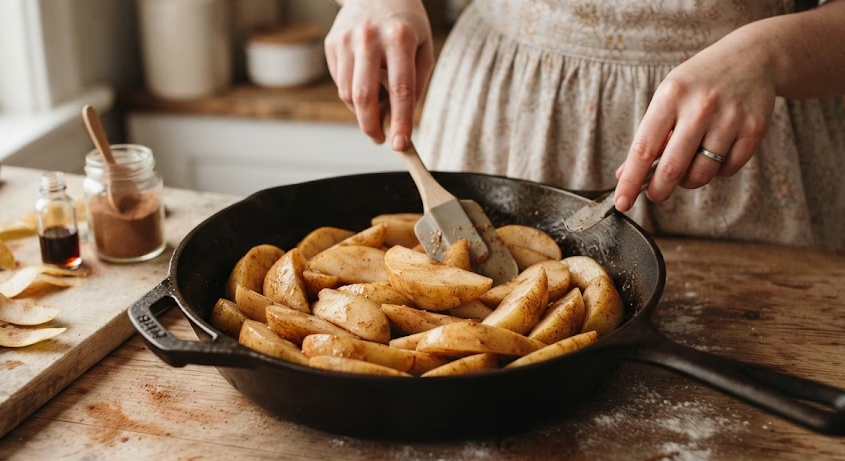
I start by peeling and slicing my pears into pieces that aren’t too thin, since they soften a lot in the oven. I toss them in a bowl with vanilla, cinnamon, nutmeg, and a pinch of salt until every slice is coated. If my pears feel especially juicy, I stir in a spoonful of flour to help thicken things up.

Step 2: Fill the Baking Dish
Once the pears are coated, I spread them evenly into a greased 8-inch square baking dish. A cast iron skillet works well too if that’s what I have on hand. I try to keep the layer fairly even so everything bakes at the same pace.
Step 3: Mix the Crumble Topping
In a separate bowl, I combine softened butter, flour, oats, both sugars, pecans, and a little salt using a fork or my fingers. I’m aiming for clumps rather than fine crumbs, since those little clusters bake up golden and crunchy. Then I scatter the mixture evenly over the pears.
Step 4: Bake Until Golden
I bake the crisp at 350°F for about 45 minutes, until the topping turns deep golden brown and the fruit is bubbling around the edges. Once it’s done, I let it rest for five to ten minutes before serving so the filling has time to set slightly.
Additional Tips for Making This Recipe Better
I’ve made this pear crisp more times than I can count, and here’s what I’ve learned along the way:
- I always reach for Bartlett pears because they’re sweeter and juicier than Bosc or Anjou, which taste a bit flat to me in this dish.
- I like to add a spoonful of cornstarch instead of flour when my pears are extra ripe, since it thickens the juices without changing the flavor.
- I sometimes swap the pecans for walnuts or almonds depending on what I have in my pantry, and it works just as well.
- I’ve found that letting the crisp cool for a few minutes before serving really helps the topping stay crisp instead of getting soggy.
- I like to double the topping when I’m serving a crowd, because in my house the crumble always disappears first.
Common Mistakes to Avoid
- I once sliced my pears way too thin, and they basically dissolved into mush by the time the crisp was done, so now I keep my slices nice and even.
- I learned the hard way that skipping the flour or cornstarch with very juicy pears leaves you with a watery, soupy filling.
- I used to press my topping down too firmly, which made it dense instead of light and crumbly, so now I just scatter it loosely.
- I’ve made the mistake of pulling the crisp out too early, and the topping wasn’t fully golden, so I always wait for that deep brown color.
- I covered leftovers while they were still warm one time, and the topping turned soft and steamy, so I let mine cool completely first.
How to Serve Easy Pear Crisp?
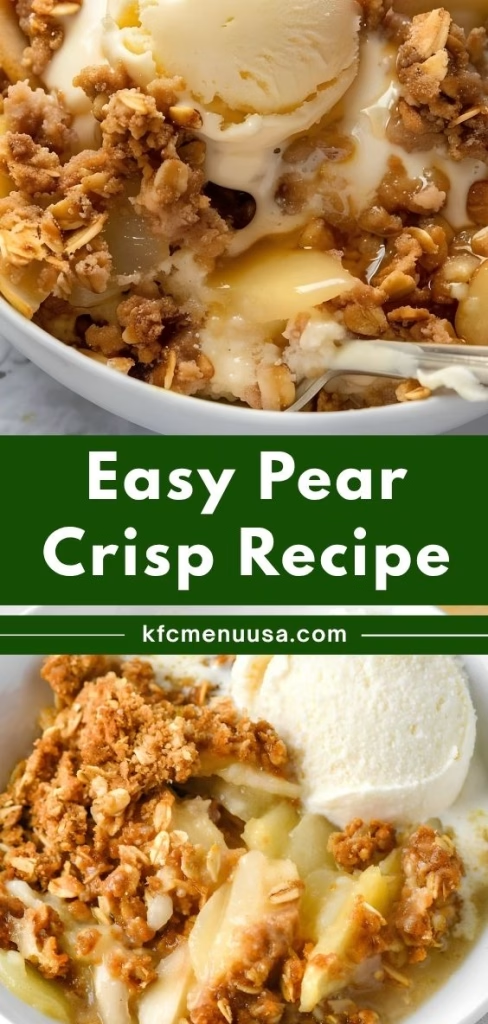
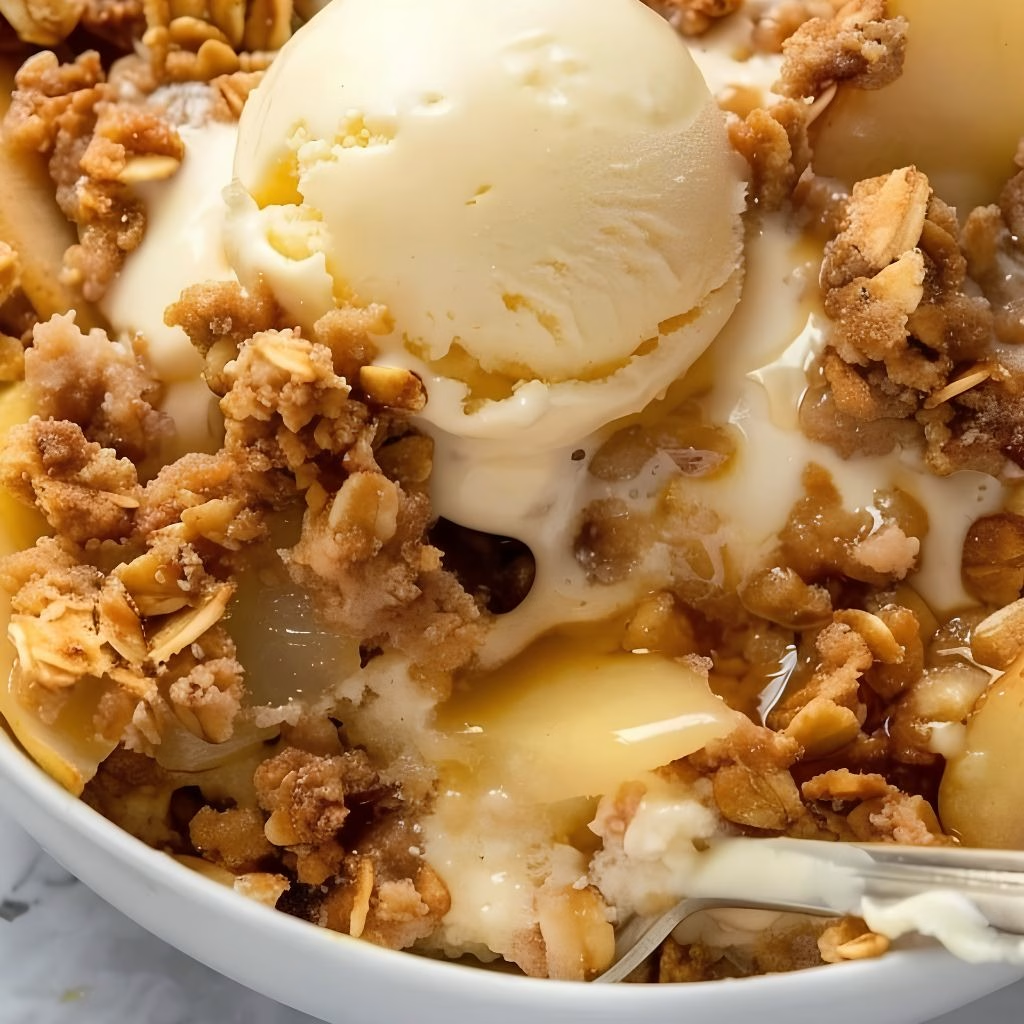
I love serving this crisp warm, straight from the oven, with a generous scoop of vanilla ice cream melting right into the fruit. A drizzle of caramel sauce on top makes it feel a little more special for company. If I want something lighter, I’ll add a dollop of whipped cream or crème fraîche instead.
For presentation, I like serving it in individual bowls so each person gets a good mix of fruit and that golden crumble on top, and a light dusting of cinnamon right before serving adds a nice finishing touch.
For another cozy meal to enjoy alongside seasonal desserts, I also like Crockpot Coconut Chicken Curry with Crispy Shallot Basil Oil Recipe when I’m planning a comforting dinner. When I’m in the mood for something savory and quick instead, Juicy Steak Bites with Miso Ginger Dressing is another easy option that fits that same straightforward approach.
Variations
- Apple Pear Crisp: swap in a mix of apples and pears, keeping the total fruit around 6 cups, and slice the apples a bit thinner so they cook through.
- Dairy-Free Version: use a plant-based butter substitute in the topping for a dairy-free crumble that still turns golden and crisp.
- Nut-Free Option: skip the pecans entirely and add an extra ⅓ cup of oats in their place for texture.
- Gluten-Free Swap: use certified gluten-free oats and a 1:1 gluten-free flour blend in the topping.
- Spiced-Up Version: stir in a little ground ginger, cardamom, or allspice for a warmer, more complex flavor profile.
- Individual Servings: divide the filling and topping into small ramekins for a cute, personal-sized dessert at dinner parties.
Nutritional Information
Here’s roughly what you can expect per serving of this pear crisp:
- Calories: 456 kcal
- Protein: 3g
- Carbohydrates: 75.5g
- Fat: 20.8g
Make Ahead and Storage
Make Ahead: I sometimes bake this crisp up to two days before I need it. Once it’s fully cooled, I cover it and pop it in the fridge until I’m ready to serve.
Storage: If I’m eating it the same day, I just leave it out on the counter. Otherwise, I refrigerate it, and it stays fresh for about two to three days.
Freezing: This crisp freezes well either baked or unbaked. I let it cool completely, wrap it tightly in a double layer of foil, and freeze it for up to three months.
Reheating: If it’s frozen, I thaw it in the fridge overnight first. Then I warm it uncovered in a 300°F oven, or microwave a single serving for about 30 seconds.
Why You’ll Love This Recipe?
This pear crisp has earned a permanent spot in my dessert rotation, and here’s why:
- It’s incredibly easy to make. There’s no rolling out dough or fussing over a pie crust, just toss, sprinkle, and bake.
- It’s endlessly versatile. I can swap in apples, change up the nuts, or adjust the spices depending on what I’m craving.
- It works for casual and special occasions alike. I’ve served it on a random weeknight and also brought it to holiday gatherings.
- It’s easy to make ahead. I can prep it a day or two early, which takes the pressure off when I’m hosting.
- It smells absolutely incredible while it bakes, filling my whole kitchen with warm cinnamon and butter.
FAQs
What’s the best old fashioned pear crisp recipe base?
An old fashioned pear crisp usually sticks to simple pantry staples like butter, flour, oats, and warm spices, which is exactly what this recipe uses. I keep mine classic with cinnamon and nutmeg for that traditional, cozy flavor.
Can I make an easy pear crisp recipe with oats using instant oats instead of rolled oats?
You can, but I prefer rolled oats since they give the topping a heartier, chewier texture. Instant oats can turn a bit mushy, so I’d only use them in a pinch.
How does this compare to a pear crisp recipe allrecipes style?
Most versions you’ll find online, including popular allrecipes-style recipes, follow a similar formula of spiced fruit topped with a buttery crumble. This recipe is my own take, with a slightly higher ratio of topping to fruit for extra crunch.
Is there a good recipe for pear crisp using less sugar?
Yes, I’ve cut the sugar down before without any issues. Just reduce both the granulated and brown sugar by a few tablespoons each, and the crisp still turns out plenty sweet from the pears themselves.
Can I use a canned pear crisp recipe method instead of fresh pears?
I don’t recommend it. Canned pears are already soft and packed in syrup, so the filling turns overly mushy and sweet. I always reach for fresh, ripe pears for the best texture.
What other easy pear recipes pair well with this crisp?
I love pairing this with a simple pear jam or a fresh pear salad on the side. They share the same seasonal ingredient but offer completely different textures and flavors.
Can I make an individual pear crisp instead of one big dish?
Definitely. I’ve divided the filling and topping into small ramekins before, though I keep a close eye on the oven since they bake faster than a full dish.
What makes this the best pear crisp recipe for beginners?
I think it’s the simplicity. There’s no dough to roll, no complicated techniques, and it’s nearly impossible to mess up, which makes it a great starting point if you’re newer to baking.

Easy Pear Crisp Recipe
Ingredients
Method
- I start by peeling and slicing my pears into pieces that aren’t too thin, since they soften a lot in the oven. I toss them in a bowl with vanilla, cinnamon, nutmeg, and a pinch of salt until every slice is coated. If my pears feel especially juicy, I stir in a spoonful of flour to help thicken things up.
- Once the pears are coated, I spread them evenly into a greased 8-inch square baking dish. A cast iron skillet works well too if that’s what I have on hand. I try to keep the layer fairly even so everything bakes at the same pace.
- In a separate bowl, I combine softened butter, flour, oats, both sugars, pecans, and a little salt using a fork or my fingers. I’m aiming for clumps rather than fine crumbs, since those little clusters bake up golden and crunchy. Then I scatter the mixture evenly over the pears.
- I bake the crisp at 350°F for about 45 minutes, until the topping turns deep golden brown and the fruit is bubbling around the edges. Once it’s done, I let it rest for five to ten minutes before serving so the filling has time to set slightly.
Notes
- I always reach for Bartlett pears because they’re sweeter and juicier than Bosc or Anjou, which taste a bit flat to me in this dish.
- I like to add a spoonful of cornstarch instead of flour when my pears are extra ripe, since it thickens the juices without changing the flavor.
- I sometimes swap the pecans for walnuts or almonds depending on what I have in my pantry, and it works just as well.
- I’ve found that letting the crisp cool for a few minutes before serving really helps the topping stay crisp instead of getting soggy.
- I like to double the topping when I’m serving a crowd, because in my house the crumble always disappears first.