I still remember the first Sunday I pulled a perfectly golden waffle off my iron and knew I’d finally cracked the code. It took a few soggy attempts and one slightly burnt batch before I landed on this exact ratio of buttermilk to butter.
Now it’s the only waffle recipe I reach for, whether I’m feeding my family on a lazy weekend or surprising guests with brunch. I love how the edges turn crisp while the inside stays soft and pillowy. Once you try this version, I promise you’ll want to keep it in your regular breakfast rotation too.
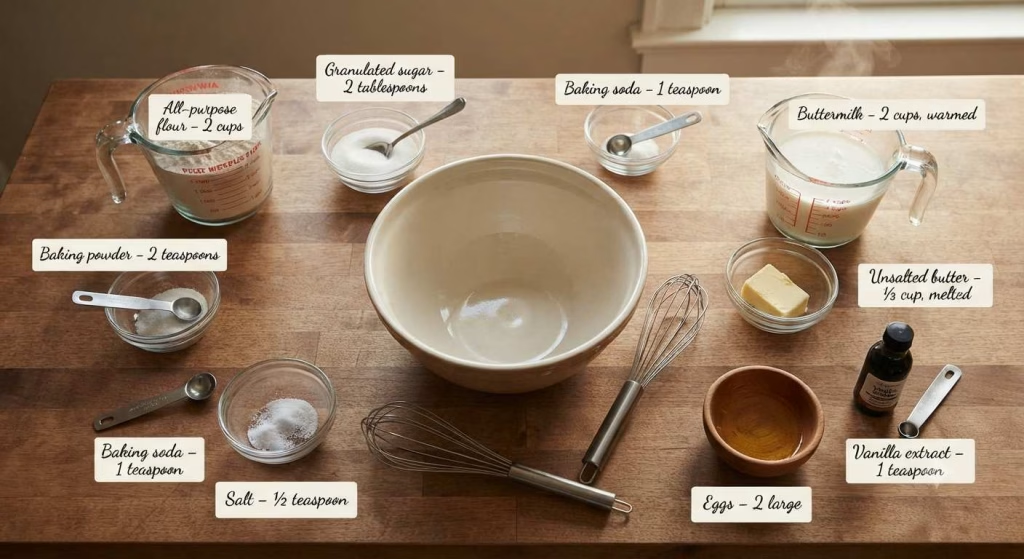
Ingredients
- All-purpose flour – 2 cups: This builds the base structure so your waffles hold together without turning dense or gummy.
- Granulated sugar – 2 tablespoons: A small amount encourages the outside to caramelize into that classic golden-brown crust.
- Baking powder – 2 teaspoons: This is your main leavening agent and gives the batter its light, airy lift.
- Baking soda – 1 teaspoon: It reacts with the acidity in buttermilk to add extra rise and deeper color.
- Salt – ½ teaspoon: Just enough to balance the sweetness and make the other flavors pop.
- Buttermilk – 2 cups, warmed: Fresh buttermilk (not a shortcut substitute) gives the tangy flavor and tender crumb this recipe is known for.
- Unsalted butter – ⅓ cup, melted: Melted butter keeps the batter rich and helps crisp up the edges as it cooks.
- Eggs – 2 large: These bind everything together and add a soft, custardy texture to the interior.
- Vanilla extract – 1 teaspoon: A splash rounds out the flavor with warm, bakery-style aroma.
Note: These ingredient amounts make about 6 servings of waffles, so feel free to double the batch if you’re feeding a bigger crowd or want extras to freeze for later.
Variations
- Dairy-free option: Swap the buttermilk for a plant-based milk mixed with a tablespoon of lemon juice or vinegar, and use melted coconut oil instead of butter.
- Sugar-free option: Skip the sugar entirely or replace it with a small amount of monk fruit sweetener for a lighter, diabetic-friendly waffle.
- Whole wheat twist: Replace half the all-purpose flour with whole wheat flour for a heartier, slightly nutty flavor.
- Flavor boosters: Fold in a handful of chocolate chips, blueberries, or a pinch of cinnamon and nutmeg for a cozy twist.
- Extra crispy version: Add a tablespoon of cornstarch to the dry mix for waffles with an even crunchier exterior.
- Savory spin: Cut the sugar and vanilla, then stir in shredded cheddar and chopped chives for a savory breakfast option.
Cooking Time
- Prep Time: 10 minutes
- Cooking Time: 10 minutes
- Total Time: 20 minutes
Equipment You Need
- Waffle iron: This is the essential tool that shapes and cooks the batter into crisp, golden waffles.
- Two medium mixing bowls: One for the dry ingredients and one for the wet, so everything blends evenly.
- Whisk: Helps combine ingredients smoothly without overworking the batter.
- Measuring cups and spoons: For accurate ingredient portions so the texture turns out right every time.
- Ladle or measuring cup with a spout: Makes pouring batter into the waffle iron neat and mess-free.
- Cooling rack: Keeps finished waffles crisp instead of getting soggy while you cook the rest.
How to Make Buttermilk Waffle Recipe?
Making this batter takes only a few minutes and doesn’t require any fancy equipment. I like to get my dry and wet ingredients ready in separate bowls before combining them. This keeps the process quick and stress-free, especially on busy mornings.
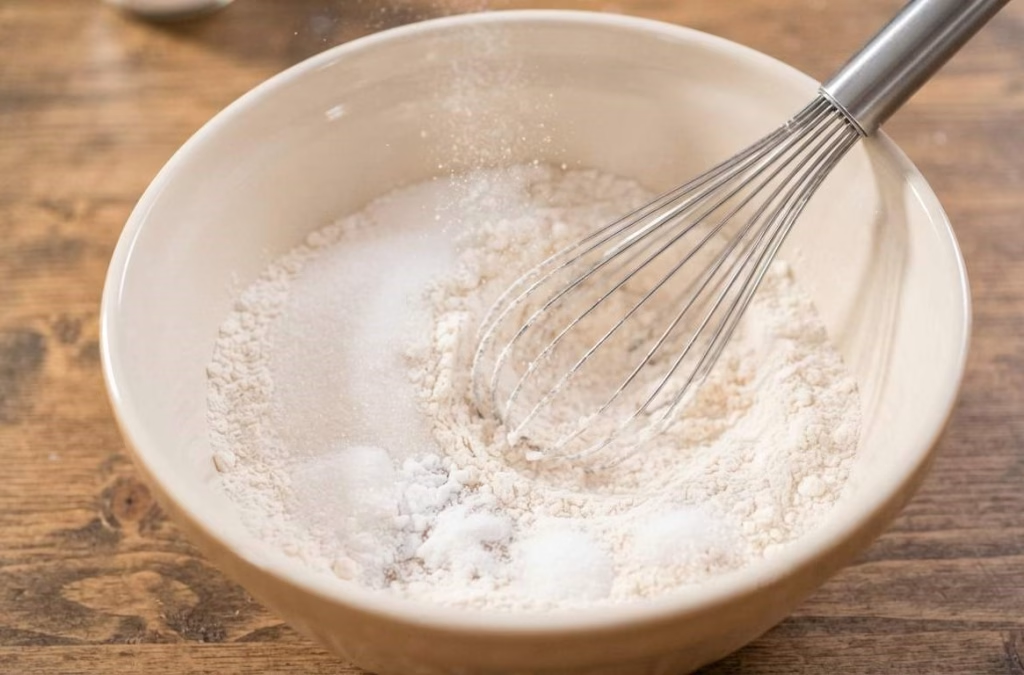
Step 1: Mix the Dry Ingredients
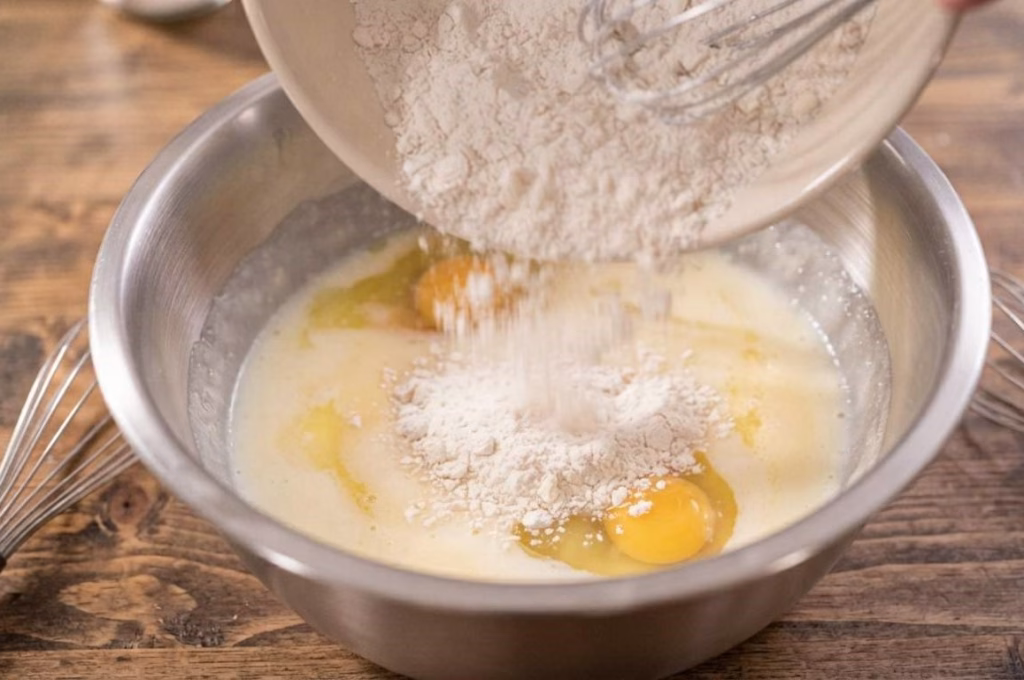
In a medium bowl, whisk together the flour, sugar, baking powder, baking soda, and salt. Make sure everything is evenly distributed so your waffles rise consistently. This only takes about a minute of whisking.
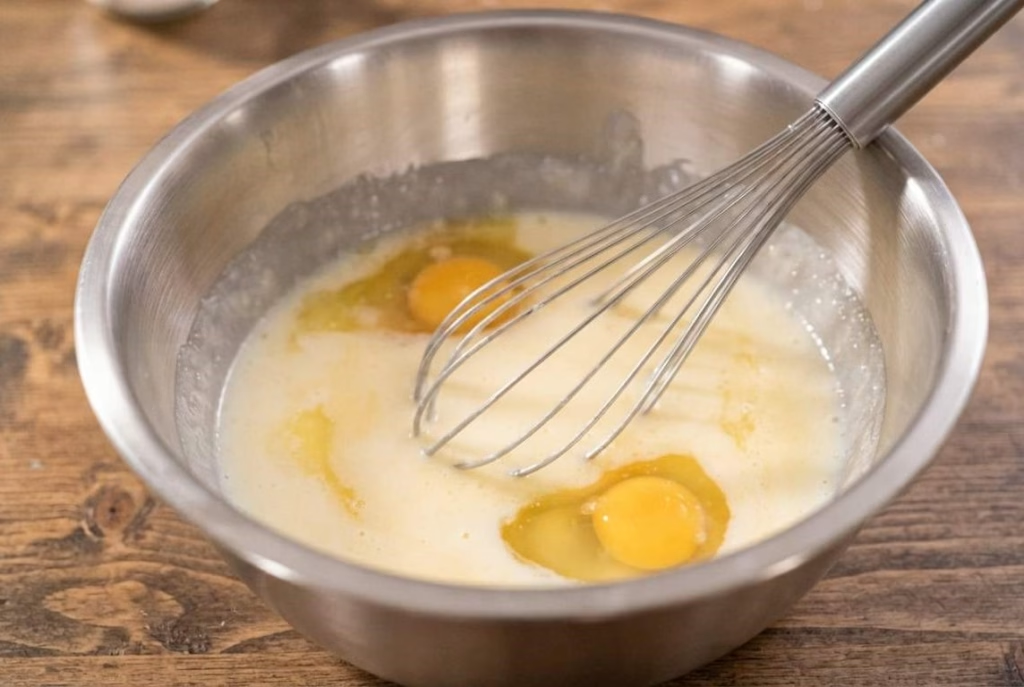
Step 2: Combine the Wet Ingredients
In a separate bowl, whisk the warm buttermilk with the melted butter until smooth. Add in the eggs and stir until fully combined. Warming the buttermilk slightly helps the butter stay melted and blend more evenly.
Step 3: Bring the Batter Together
Pour the dry mixture into the wet ingredients and whisk just until combined. A few small lumps are completely fine and actually help keep the texture tender. Overmixing at this stage is the number one reason waffles turn out tough.
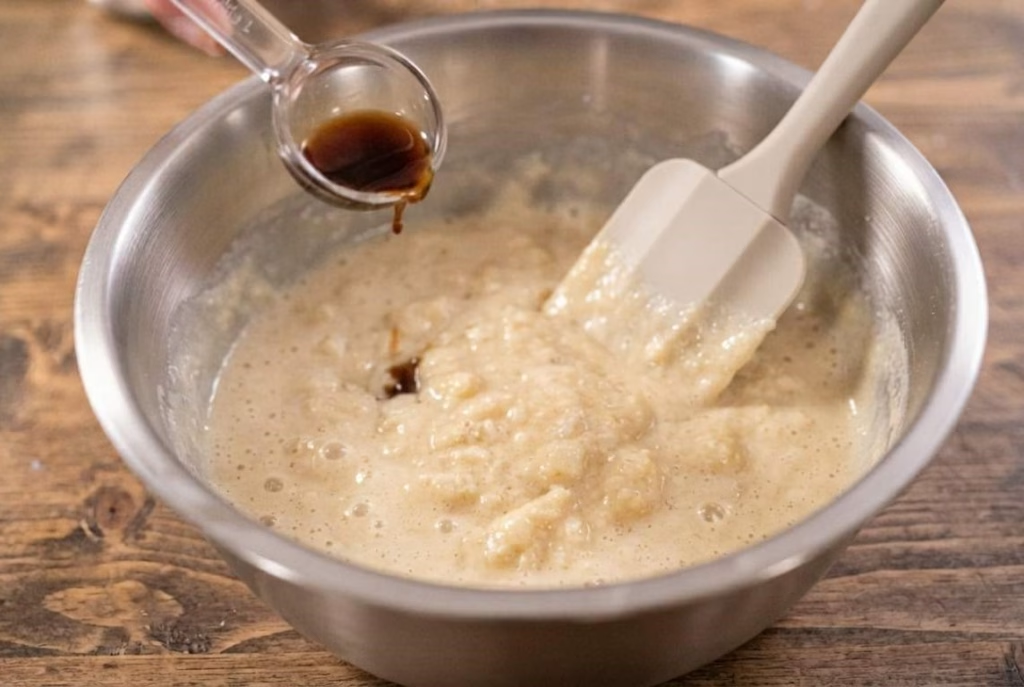
Step 4: Let the Batter Rest
Fold in the vanilla extract, then let the batter sit for about 10 minutes. This resting period allows the flour to hydrate fully and helps the waffles brown more evenly. Don’t skip this step even if you’re in a rush.
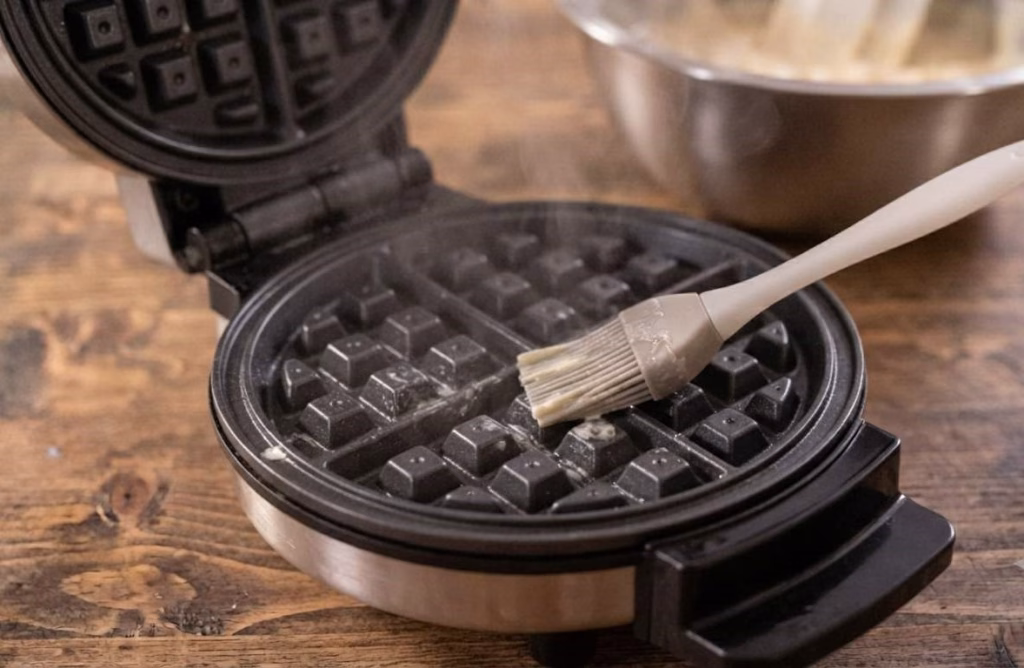
Step 5: Preheat and Grease the Iron
While the batter rests, preheat your waffle iron and lightly grease the plates. A properly heated iron is key to getting crisp, golden edges. Cold or under-heated irons tend to produce pale, soft waffles.
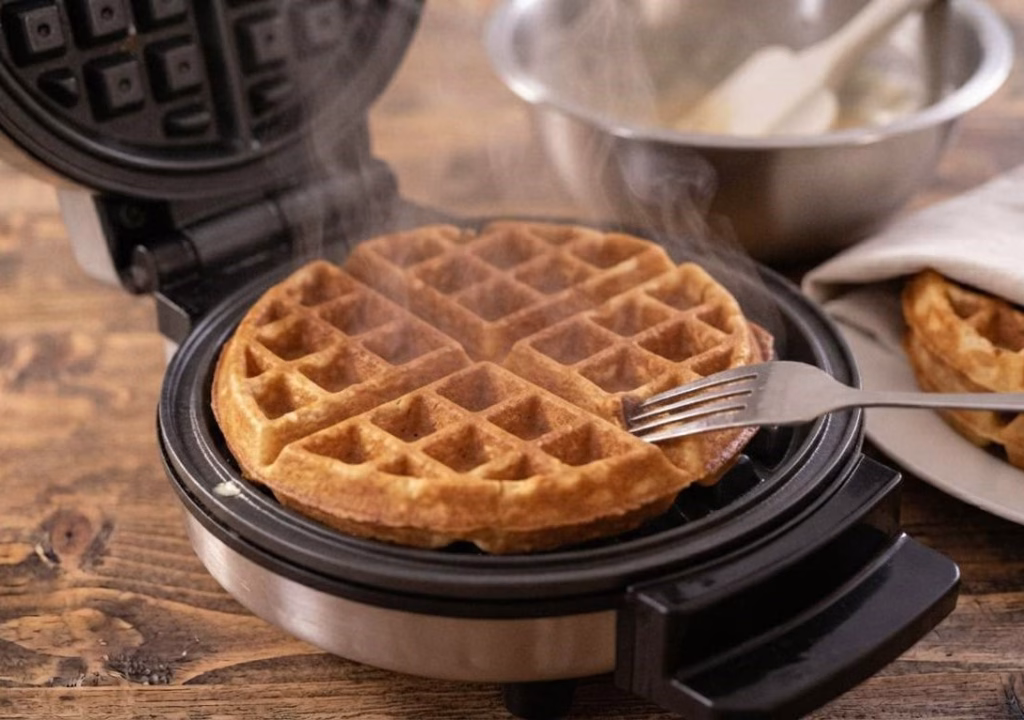
Step 6: Cook the Waffles
Pour about ⅓ to ½ cup of batter onto the hot iron, spreading it just to the edges. Close the lid and cook until the steam slows and the waffle turns deep golden brown. Repeat with the remaining batter, keeping cooked waffles warm as you go.
Additional Tips for Making This Recipe Better
I’ve made this recipe more times than I can count, and these small tweaks have made a real difference for me.
- I always warm my buttermilk slightly before mixing, since cold buttermilk can make the melted butter clump instead of blending smoothly.
- I never skip resting the batter, because I’ve noticed my waffles brown better and taste less “floury” when I let it sit.
- I keep my waffles warm on a wire rack in a low oven instead of stacking them on a plate, since stacking traps steam and makes them soggy.
- I try not to overfill my waffle iron, since batter spilling over the edges creates a mess and uneven cooking.
- I sometimes separate my eggs and whip the whites separately when I want an extra fluffy, lighter waffle for special occasions.
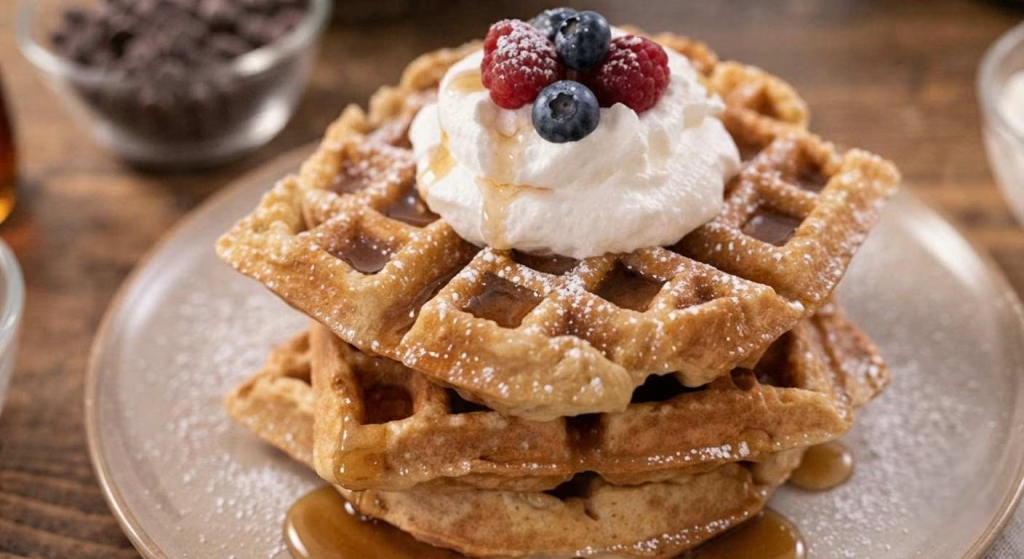
How to Serve Buttermilk Waffle Recipe?
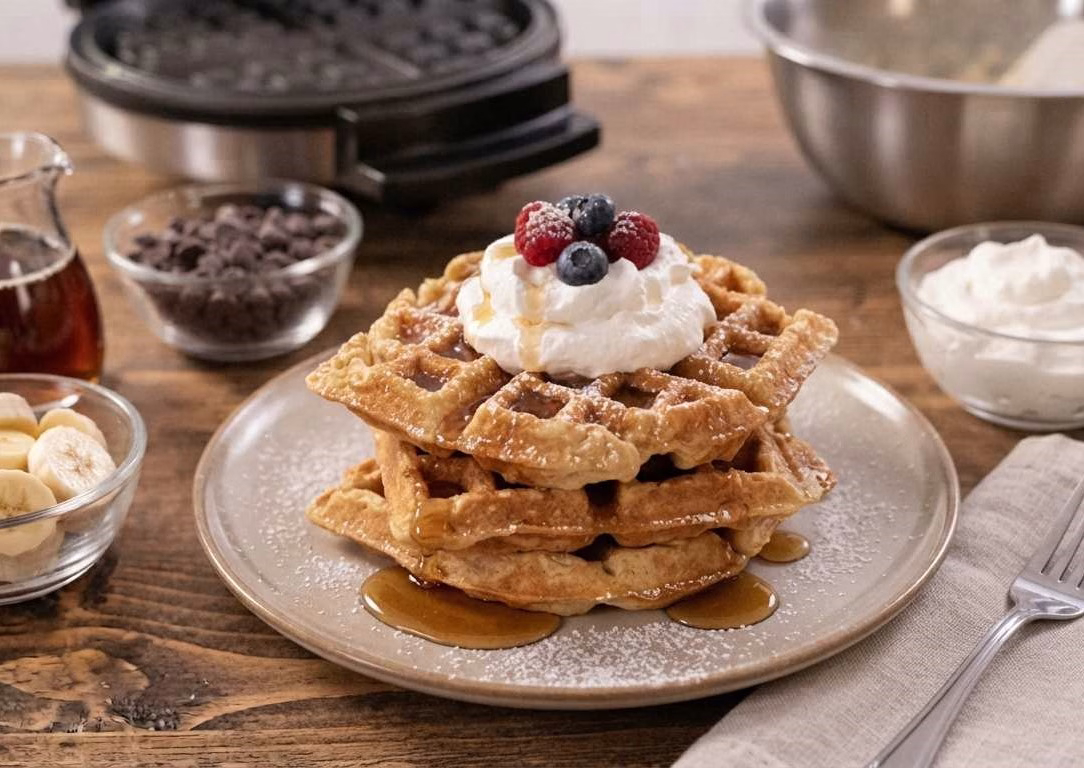
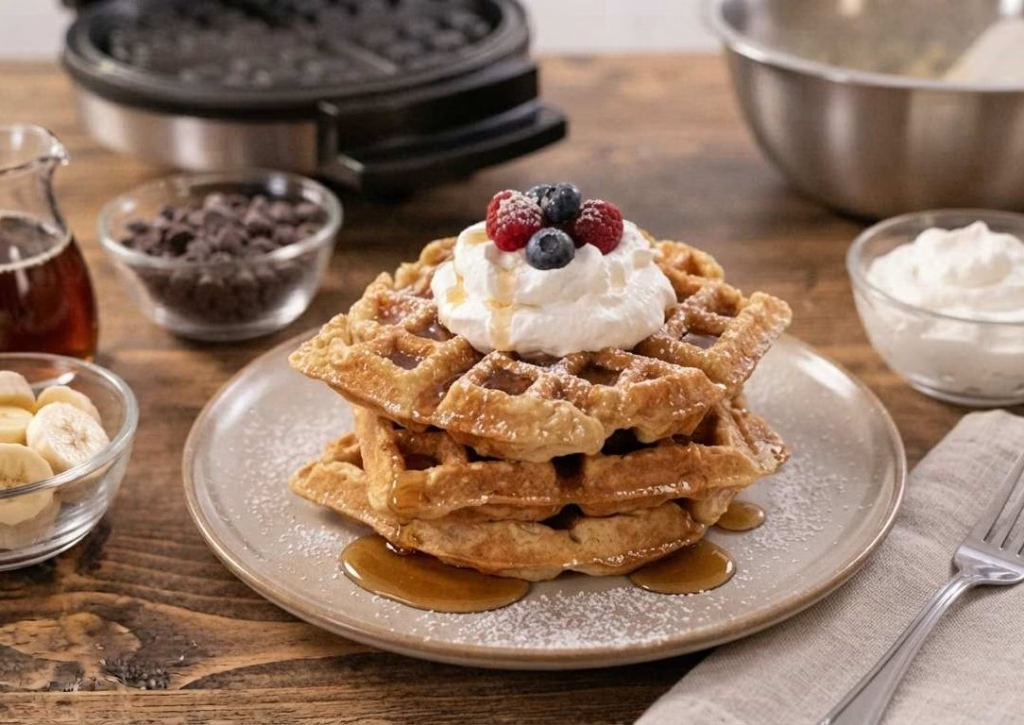
I love serving these waffles warm, straight off the iron, with a generous drizzle of maple syrup or buttermilk syrup on top. For a more special presentation, I stack two or three waffles and add a dollop of whipped cream with fresh berries scattered around the plate.
A light dusting of powdered sugar always makes the stack look bakery-worthy. If I’m feeding a crowd, I set up a toppings bar with syrup, chocolate chips, sliced bananas, and whipped cream so everyone can build their own plate.
Nutritional Information
Here’s a general breakdown of what you can expect per serving of these buttermilk waffles.
- Calories: 331 kcal
- Protein: 8 g
- Carbohydrates: 40 g
- Fat: 14 g
Make Ahead and Storage
Make Ahead
You can mix the batter the night before and store it covered in the fridge. Just let it sit at room temperature for a few minutes and give it a gentle stir before pouring it onto the waffle iron.
Freezing
Let the cooked waffles cool completely, then wrap each one individually in plastic wrap. Store them together in a freezer bag or airtight container for up to 2 to 3 months.
Storage
Cooled waffles keep well in an airtight container in the refrigerator for 3 to 4 days. Just make sure they’re fully cooled before sealing to avoid trapping moisture.
Reheating
Pop refrigerated or frozen waffles straight into the toaster or a 350°F oven until warmed through and crisp again. This brings back that just-made texture without any sogginess.
Why You’ll Love This Recipe
There are so many reasons this waffle recipe has earned a permanent spot in my kitchen.
- It’s incredibly easy to make. With just a few pantry staples and 20 minutes, you can have a warm breakfast on the table without any complicated steps.
- It’s endlessly versatile. You can dress it up with fruit and whipped cream or keep it simple with a drizzle of syrup, depending on the occasion.
- It works for special diets. With a few easy swaps, you can make it dairy-free, sugar-free, or even add whole grains without losing the fluffy texture.
- It’s freezer-friendly. Making a double batch means you always have a quick breakfast ready to reheat on busy mornings.
- It’s a guaranteed crowd-pleaser. Kids and adults alike love the crisp edges and soft center, making it a reliable go-to for family breakfasts or weekend brunch.
Buttermilk Waffle Recipe
Ingredients
Method
- In a medium bowl, whisk together the flour, sugar, baking powder, baking soda, and salt. Make sure everything is evenly distributed so your waffles rise consistently. This only takes about a minute of whisking.
- In a separate bowl, whisk the warm buttermilk with the melted butter until smooth. Add in the eggs and stir until fully combined. Warming the buttermilk slightly helps the butter stay melted and blend more evenly.
- Pour the dry mixture into the wet ingredients and whisk just until combined. A few small lumps are completely fine and actually help keep the texture tender. Overmixing at this stage is the number one reason waffles turn out tough.
- Fold in the vanilla extract, then let the batter sit for about 10 minutes. This resting period allows the flour to hydrate fully and helps the waffles brown more evenly. Don’t skip this step even if you’re in a rush.
- While the batter rests, preheat your waffle iron and lightly grease the plates. A properly heated iron is key to getting crisp, golden edges. Cold or under-heated irons tend to produce pale, soft waffles.
- Pour about ⅓ to ½ cup of batter onto the hot iron, spreading it just to the edges. Close the lid and cook until the steam slows and the waffle turns deep golden brown. Repeat with the remaining batter, keeping cooked waffles warm as you go.
Notes
- I always warm my buttermilk slightly before mixing, since cold buttermilk can make the melted butter clump instead of blending smoothly.
- I never skip resting the batter, because I’ve noticed my waffles brown better and taste less “floury” when I let it sit.
- I keep my waffles warm on a wire rack in a low oven instead of stacking them on a plate, since stacking traps steam and makes them soggy.
- I try not to overfill my waffle iron, since batter spilling over the edges creates a mess and uneven cooking.
- I sometimes separate my eggs and whip the whites separately when I want an extra fluffy, lighter waffle for special occasions.