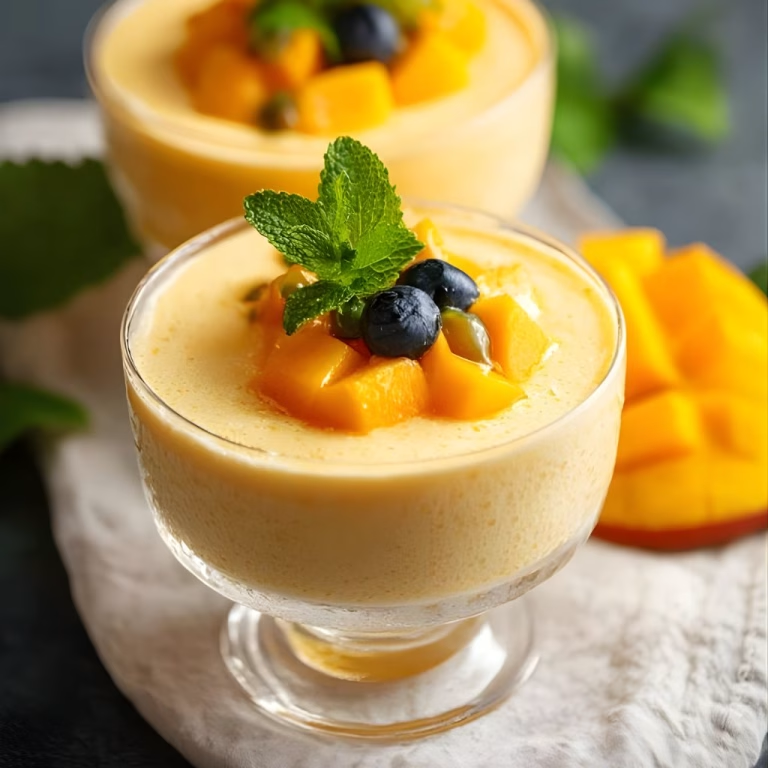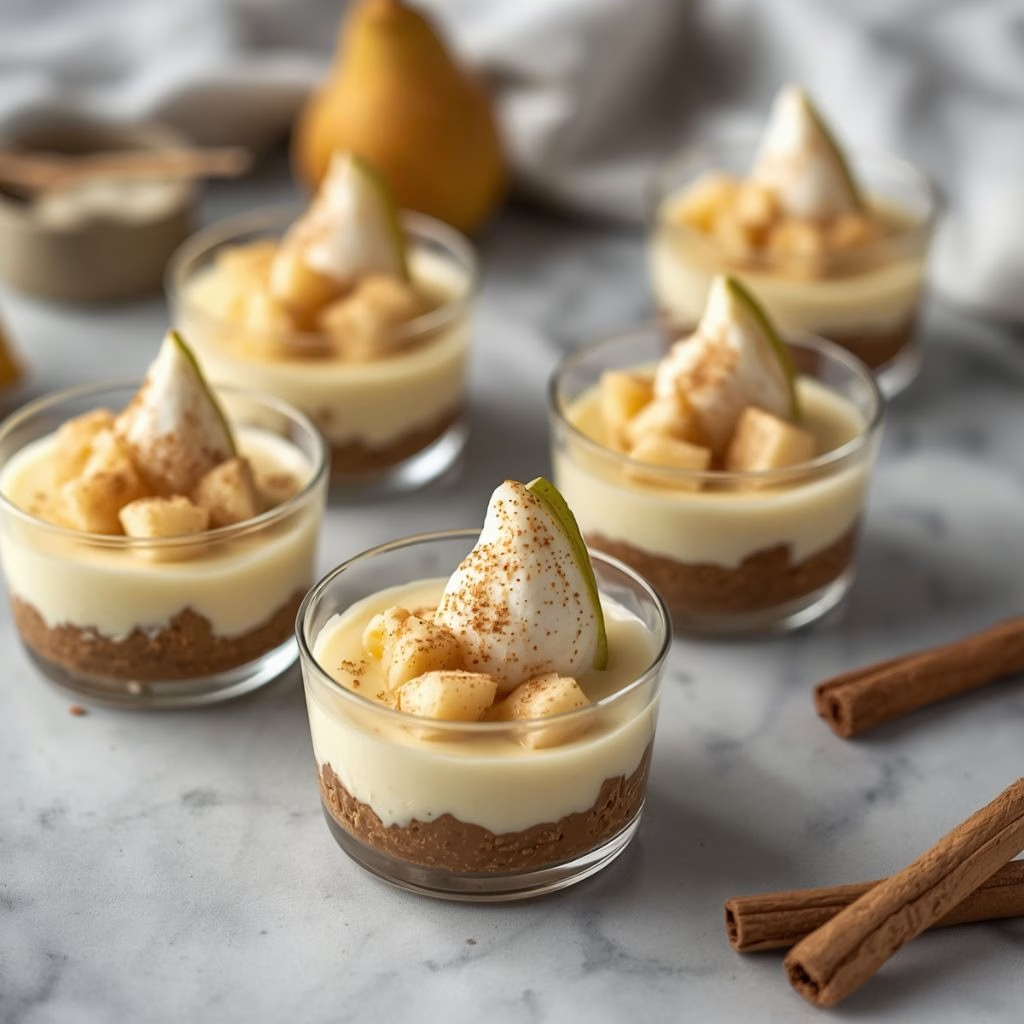
I made this No-Bake Pear Cheesecake Cups Recipe on a hot afternoon when the last thing I wanted was to turn on my oven, and they turned out to be one of the easiest desserts I have ever pulled together.
I folded ripe, juicy pears into a soft, whipped cheesecake filling and layered it over a buttery graham cracker crust, and the whole thing set up beautifully in the fridge while I did something else. There is something so satisfying about a dessert that looks fancy in a glass cup but takes almost no real effort.
I have made this recipe more times than I can count now, tweaking little details until I landed on a version I genuinely love. If you want a creamy, fruity treat that comes together in minutes and never needs the oven, this is the recipe I keep coming back to.
Cooking Time
- Prep Time: 20 minutes
- Chill Time: 2 to 4 hours
- Total Time: 2 hours 20 minutes to 4 hours 20 minutes
Ingredients for No-Bake Pear Cheesecake Cups
Here is everything I use to build these cheesecake cups, along with why each ingredient matters.
- cream cheese, 8 ounces, softened – this is the heart of the filling, so let it soften fully for a smooth blend
- powdered sugar, ½ cup – sweetens the filling gently without leaving any grainy texture
- vanilla extract, 1 teaspoon – rounds out the flavor and keeps the filling from tasting flat
- heavy whipping cream, 1 cup – whipped separately, this is what gives the filling its light, mousse-like texture
- ripe pears, 2 medium, diced – choose pears that give slightly to gentle pressure for the best natural sweetness
- ground cinnamon, ¼ teaspoon – adds a warm note that pairs beautifully with the pears
- graham cracker crumbs, ½ cup – forms the crunchy base layer, so use fresh crumbs rather than stale ones
- unsalted butter, 2 tablespoons, melted – binds the graham crumbs into a crust that holds its shape
Note: This recipe serves 4.
Equipment You Need
- mixing bowls – one for the cream cheese base and one for whipping the cream
- electric hand mixer – makes quick work of beating the cream cheese smooth and whipping the cream to peaks
- rubber spatula – for gently folding the whipped cream and pears into the filling without deflating it
- small glass cups or mason jars – for layering and showing off the pretty cheesecake layers
- measuring cups and spoons – for accurate ingredient portions
- cutting board and knife – for dicing the pears cleanly
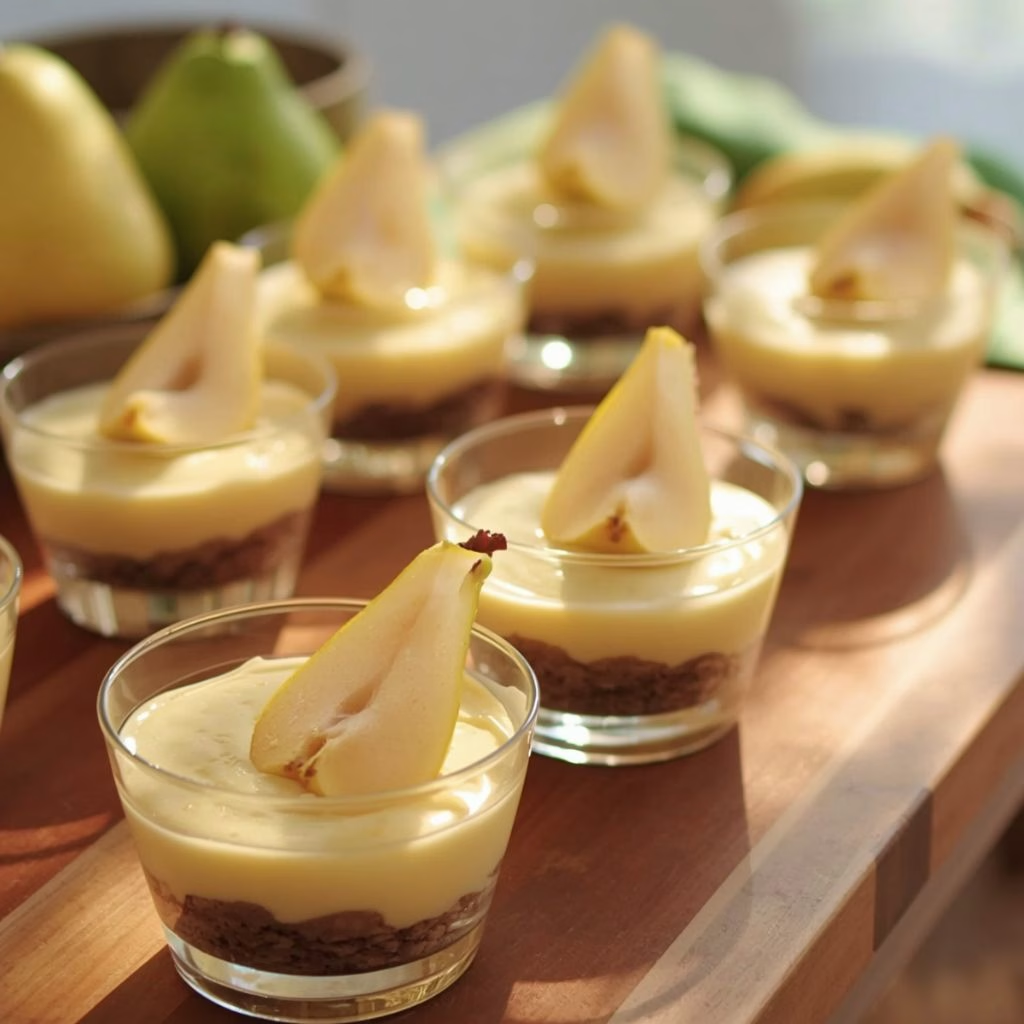
How to Make No-Bake Pear Cheesecake Cups?
I like to think of this recipe in four simple stages: mixing the filling, whipping the cream, layering the cups, and letting everything chill. None of these steps require any special skill, just a little patience while the cups are set. Once you have your ingredients measured out, the whole process moves quickly.
Beat the Cream Cheese Base
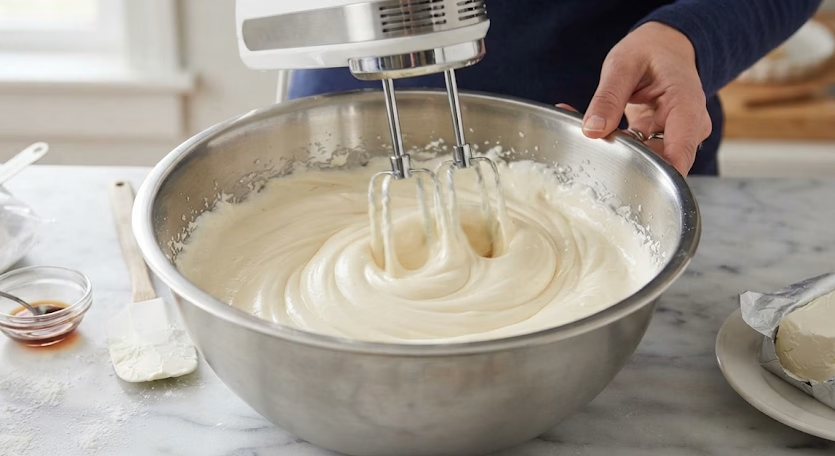
I start by beating the softened cream cheese in a large bowl until it is completely smooth, with no lumps left behind. Then I add the powdered sugar and vanilla extract and mix again until everything is fully combined and silky. This base needs to be smooth before you move on, since any lumps here will show up in the final texture.
Whip the Cream Separately
In a separate bowl, I whip the heavy cream on medium-high speed until soft to medium peaks form. This usually takes a few minutes, and I watch closely so I do not overwhip it into butter. Whipped cream is what gives the filling its light, airy quality, so this step is worth doing carefully.
Fold Everything Together
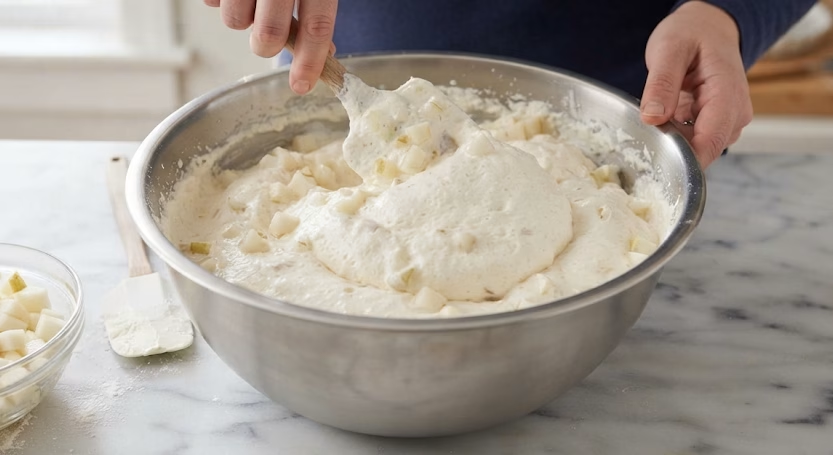
Next, I gently fold the whipped cream into the cream cheese mixture using a rubber spatula, working in broad strokes to keep as much air in the mixture as possible. Once it looks mostly combined, I fold in the diced pears so they are evenly distributed. The filling should look fluffy, pale, and speckled with little pieces of pear throughout.
Layer the Cups
I spoon a layer of graham cracker crumbs into the bottom of each cup, followed by a generous layer of the cheesecake filling, then repeat until the cups are full. I always finish with the cheesecake layer on top so it looks clean and inviting. Pressing the crumbs down lightly with the back of a spoon helps them hold together as a base.
Chill Before Serving
Once the cups are assembled, I cover them and refrigerate for at least 2 hours, though I usually go closer to 4 hours for the best texture. This chilling time lets the filling firm up and the pear flavor settle into the cream cheese base. Skipping this step leaves the filling too soft to hold its shape.
Additional Tips for Making This Recipe Better
I have made enough batches of this dessert to pick up a few tricks that genuinely make a difference.
- I always make sure my cream cheese is fully softened at room temperature before I start, since cold cream cheese leaves stubborn lumps.
- I dice my pears fairly small so every spoonful gets a bit of fruit without any oversized chunks.
- I chill my mixing bowl and beaters in the freezer for a few minutes before whipping the cream, which helps it whip up faster and hold its structure.
- I taste my pears before using them, and if they are underripe, I let them sit on the counter for a day or two first.
- I like to build my layers in clear glass cups so the pretty striped layers actually show through.
For another plant-based recipe with a different kind of rich and satisfying texture, you can pair the idea of creamy layers here with Vegan Cacio E Pepe Polenta with Spicy Tofu Recipe.
Common Mistakes to Avoid
These are the slip-ups I have made myself, or watched happen, while putting this recipe together.
- I once used cold cream cheese straight from the fridge and ended up with a lumpy filling, so I always soften it first.
- I overwhipped my cream once and it turned grainy and buttery, so now I stop as soon as soft peaks form.
- I have used underripe, hard pears before and the flavor was disappointingly bland compared to using ripe ones.
- I skipped the full chilling time once because I was in a rush, and the layers slid apart when I tried to serve them.
- I folded the pears in too roughly one time and knocked all the air out of the filling, so I always fold gently now.
How to Serve No-Bake Pear Cheesecake Cups?
I like to serve these cups straight from the fridge in small glass jars or clear dessert cups so the layers are visible from the outside. A light dusting of cinnamon on top always makes them look a little more finished, and a few fresh pear slices fanned across the top add a nice touch of elegance.
For gatherings, I sometimes add a small dollop of whipped cream and a scattering of crushed graham crackers or chopped nuts for extra crunch. These cups also make a lovely individual dessert for dinner parties, since everyone gets their own portion without any cutting or plating required.
Variations
- swap the pears for diced apples, peaches, or berries if that is what you have on hand
- fold in a spoonful of melted dark chocolate for a richer, more indulgent filling
- use a dairy-free cream cheese and coconut whipped cream to make this dessert dairy-free
- add a spoonful of caramel sauce between the layers for extra sweetness
- mix in a pinch of grated fresh ginger for a warm, spiced flavor twist
- use crushed digestive biscuits or vanilla wafers instead of graham crackers for the crust, much like the savory creativity found in Smoky Beans & Greens Tacos with Aji Verde Bliss Recipe
Nutritional Information
Here is a general idea of what one serving of these cheesecake cups looks like.
- Calories: about 350 per serving
- Protein: about 4 grams per serving
- Carbohydrates: about 30 grams per serving
- Fat: about 24 grams per serving
Make Ahead and Storage
I often make these cheesecake cups a full day ahead of when I plan to serve them, since the flavor only gets better after resting overnight in the fridge. Just cover each cup tightly with plastic wrap or a lid so the filling does not pick up any fridge odors.
Stored this way, they stay fresh in the refrigerator for up to 3 to 4 days, though I find the pears are at their best within the first two days. I do not recommend freezing these, since the whipped cream filling tends to separate and turn watery once thawed.
Why You’ll Love This Recipe
I keep coming back to this dessert for a handful of simple reasons.
- It comes together in about 20 minutes of active work, so I can make it even on busy days.
- There is no oven involved, which makes it perfect for warm weather or when I do not want to heat up my kitchen.
- The individual cups make serving effortless, especially when I am hosting guests.
- It is easy to customize with different fruits, mix-ins, or crust options depending on my mood.
- The combination of creamy filling and juicy pears feels indulgent without being heavy.
FAQs
Is this the same as a regular no-bake pear cheesecake?
Yes, this recipe is essentially a no-bake pear cheesecake served in individual portions instead of one large pan, which makes it easier to serve and portion for guests.
Can I make a 3 ingredient no-bake pear dessert with this idea?
You can simplify it down to just cream cheese, whipped topping, and diced pears layered in a cup if you want a quicker, pared-back version.
Can I make a no-bake pear dessert with condensed milk instead?
Yes, sweetened condensed milk can replace the powdered sugar for a richer, denser filling, though you may want to reduce the added vanilla slightly since condensed milk is already quite sweet.
What are some other easy pear dessert recipes I could try?
Pear crisps, poached pears, and simple pear and cream cheese parfaits are all easy options if you enjoy this flavor combination.
How is this different from a no-bake pear pie?
A no-bake pear pie usually has a full pie crust base with a set filling sliced into wedges, while these cups are a lighter, spoonable version served in individual portions.
What makes this a good no-bake cheesecake recipe for beginners?
There is no water bath, no cracking to worry about, and no baking time to monitor, which makes it very forgiving for first-time cheesecake makers.
Can I turn this into a pear crumble cheesecake?
Yes, adding a crumbly streusel topping made from oats, brown sugar, and butter on top of the pear layer gives it a lovely crumble-style finish.
Can I use a cooked pear topping for cheesecake instead of fresh pears?
Absolutely, a lightly simmered pear topping with a touch of sugar and cinnamon works well spooned over the top layer for extra shine and flavor.

No-Bake Pear Cheesecake Cups Recipe
Ingredients
Method
- I start by beating the softened cream cheese in a large bowl until it is completely smooth, with no lumps left behind. Then I add the powdered sugar and vanilla extract and mix again until everything is fully combined and silky. This base needs to be smooth before you move on, since any lumps here will show up in the final texture.
- In a separate bowl, I whip the heavy cream on medium-high speed until soft to medium peaks form. This usually takes a few minutes, and I watch closely so I do not overwhip it into butter. Whipped cream is what gives the filling its light, airy quality, so this step is worth doing carefully.
- Next, I gently fold the whipped cream into the cream cheese mixture using a rubber spatula, working in broad strokes to keep as much air in the mixture as possible. Once it looks mostly combined, I fold in the diced pears so they are evenly distributed. The filling should look fluffy, pale, and speckled with little pieces of pear throughout.
- I spoon a layer of graham cracker crumbs into the bottom of each cup, followed by a generous layer of the cheesecake filling, then repeat until the cups are full. I always finish with the cheesecake layer on top so it looks clean and inviting. Pressing the crumbs down lightly with the back of a spoon helps them hold together as a base.
- Once the cups are assembled, I cover them and refrigerate for at least 2 hours, though I usually go closer to 4 hours for the best texture. This chilling time lets the filling firm up and the pear flavor settle into the cream cheese base. Skipping this step leaves the filling too soft to hold its shape.
Notes
- I always make sure my cream cheese is fully softened at room temperature before I start, since cold cream cheese leaves stubborn lumps.
- I dice my pears fairly small so every spoonful gets a bit of fruit without any oversized chunks.
- I chill my mixing bowl and beaters in the freezer for a few minutes before whipping the cream, which helps it whip up faster and hold its structure.
- I taste my pears before using them, and if they are underripe, I let them sit on the counter for a day or two first.
- I like to build my layers in clear glass cups so the pretty striped layers actually show through.