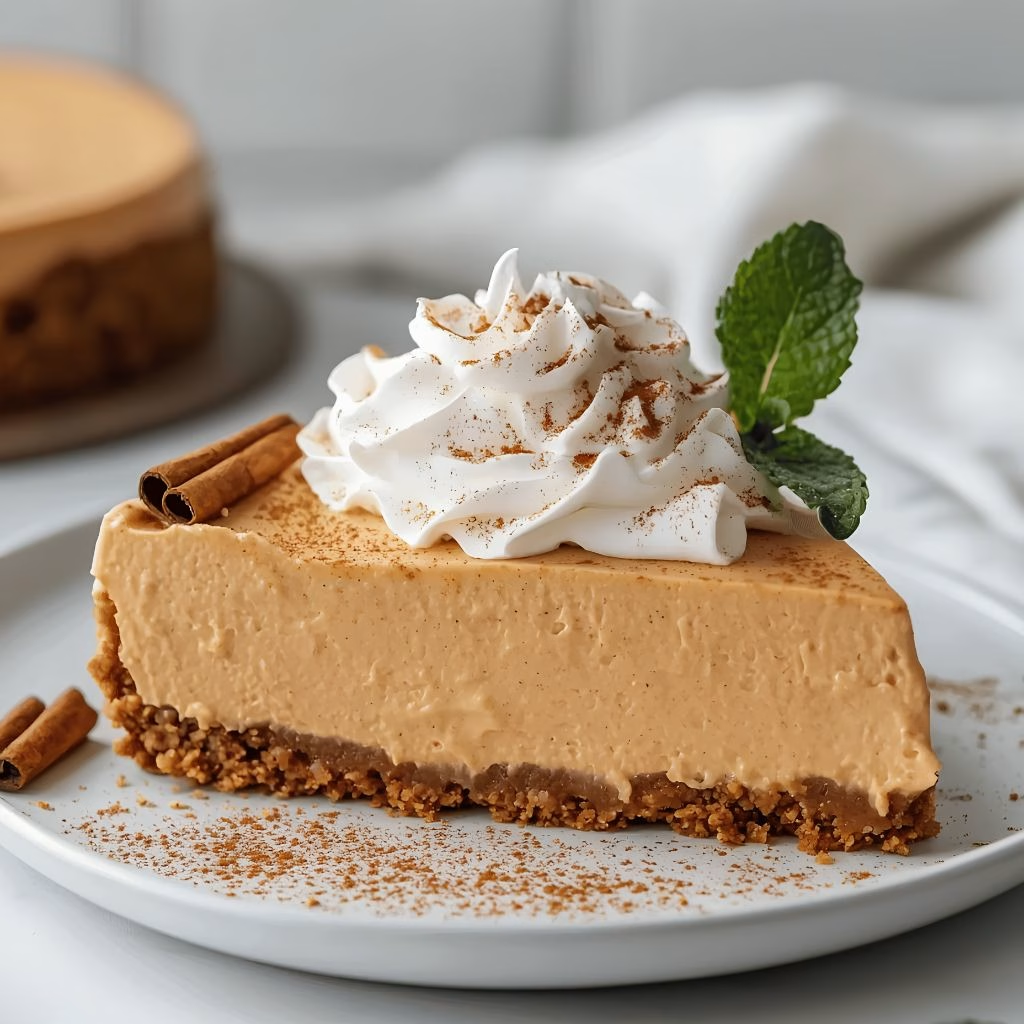
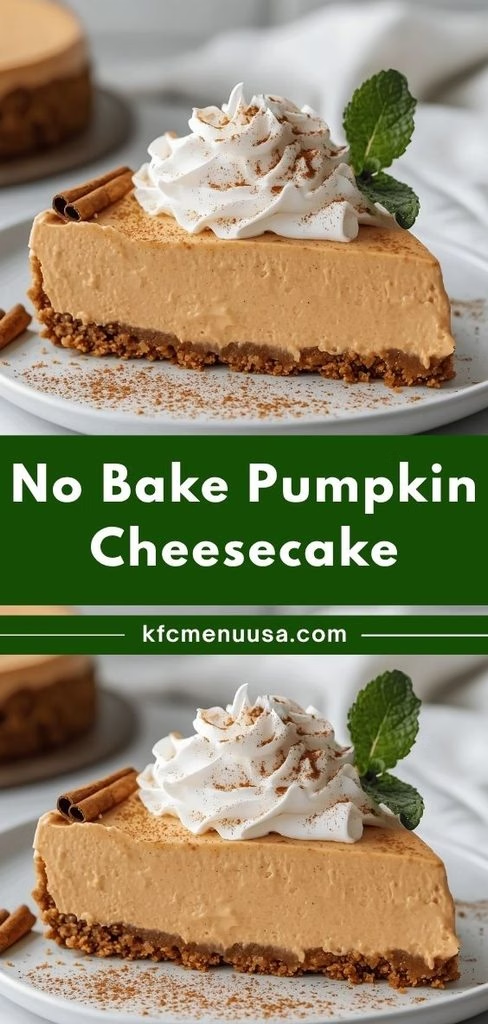
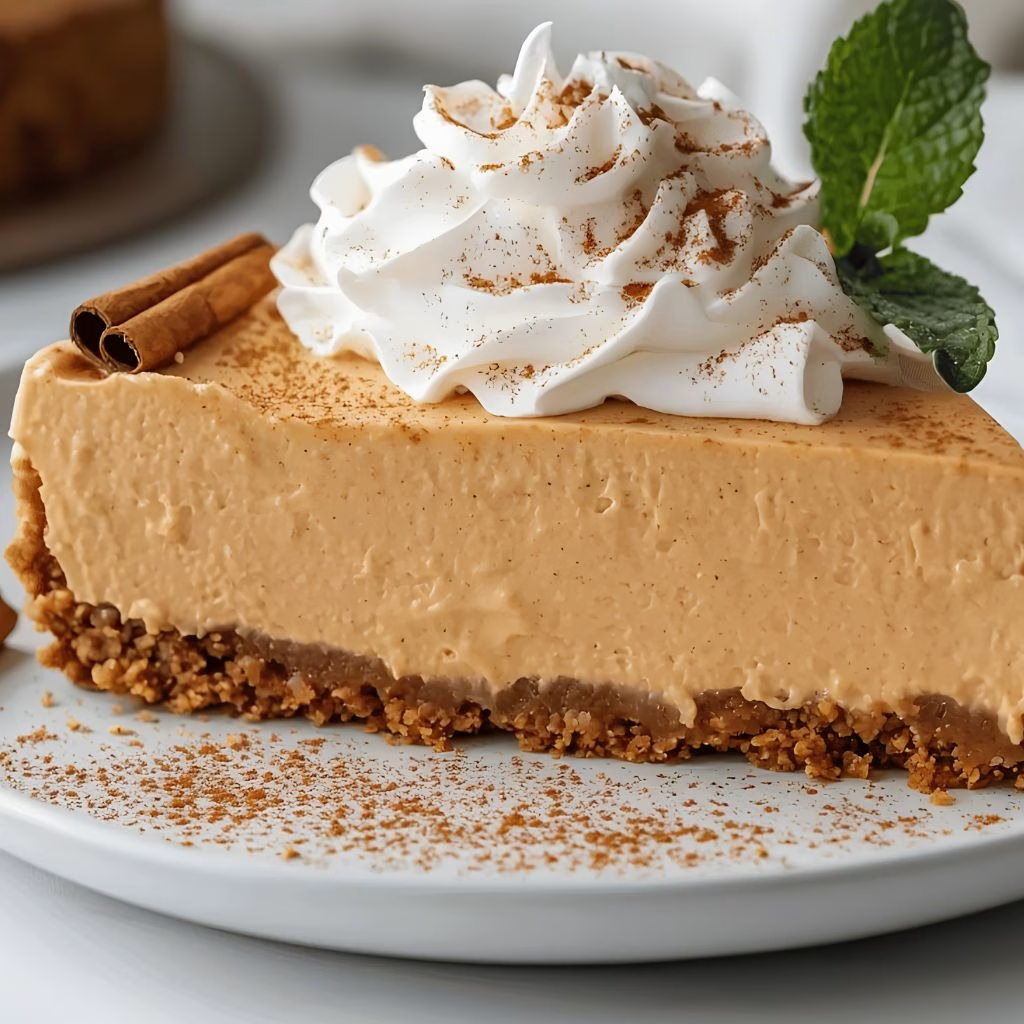
I made this No-Bake Pumpkin Cheesecake Recipe for the first time last fall when my oven was already packed with two casseroles and a turkey, and I honestly didn’t expect it to turn out this good. One bite of that cool, spiced, fluffy filling sitting on a crunchy gingersnap crust and I was hooked.
I’ve made it at least six times since then, tweaking little things along the way until I landed on a version that sets up perfectly every single time. If you love pumpkin pie but dread turning on the oven, this recipe is about to become your new favorite. Let me walk you through exactly how I make it.
Cooking Time
- Prep Time: 25 minutes
- Cook Time: 0 minutes (no oven needed!)
- Total Time: 8 hours 25 minutes (mostly hands-off chilling time)
Equipment You Need
- Springform pan (9 or 10-inch) – gives you clean, tall slices and an easy release
- Hand mixer or stand mixer – whips the cream and beats the filling smooth
- Mixing bowls (at least two) – one for whipped cream, one for the pumpkin mixture
- Food processor or ziplock bag and rolling pin – crushes the gingersnap cookies into fine crumbs
- Silicone spatula – folds the whipped cream in gently without deflating it
- Offset spatula – smooths the filling into an even, bakery-style top
- Plastic wrap or foil – covers the cheesecake while it sets in the fridge
Ingredients
For the Crust
- 2 cups gingersnap cookie crumbs – pick a dry, crunchy store-bought brand so the crust holds together
- 1/4 teaspoon ground ginger – deepens the spiced, cookie-crust flavor
- 1/4 teaspoon ground cinnamon – warms up the crust to match the filling
- 6 tablespoons unsalted butter, melted – binds the crumbs into a solid base
- 1/4 cup granulated or brown sugar – adds a touch of sweetness and helps the crust set
For the Filling
- 1 cup cold heavy cream – whips into stiff peaks and is the real secret to this cheesecake holding its shape
- 16 ounces full-fat block cream cheese, softened – gives the filling its classic tang and structure, don’t use the spreadable tub kind
- 1 cup pumpkin puree (canned, not fresh) – fresh puree is too watery and will keep the cheesecake from setting
- 3/4 cup confectioners’ sugar – sweetens the filling while keeping it silky smooth
- 1/4 cup packed brown sugar – adds a rich, caramel-like undertone
- 1 teaspoon pure vanilla extract – rounds out the pumpkin spice flavor
- 2 teaspoons pumpkin pie spice – the backbone of that classic fall taste
- 1/2 teaspoon ground cinnamon – extra warmth on top of the pie spice
- 1/8 teaspoon salt – balances the sweetness so nothing tastes flat
Optional Toppings
- Whipped cream and salted caramel drizzle – for serving
Note: this recipe serves 10-12 people.
How to Make No-Bake Pumpkin Cheesecake Recipe?
This whole dessert comes together in two easy stages: a pressed cookie crust and a whipped pumpkin filling. There’s zero baking involved, so the only thing you really need is a little patience while it chills. Here’s exactly how I put mine together, step by step.
Step 1: Build the Gingersnap Crust
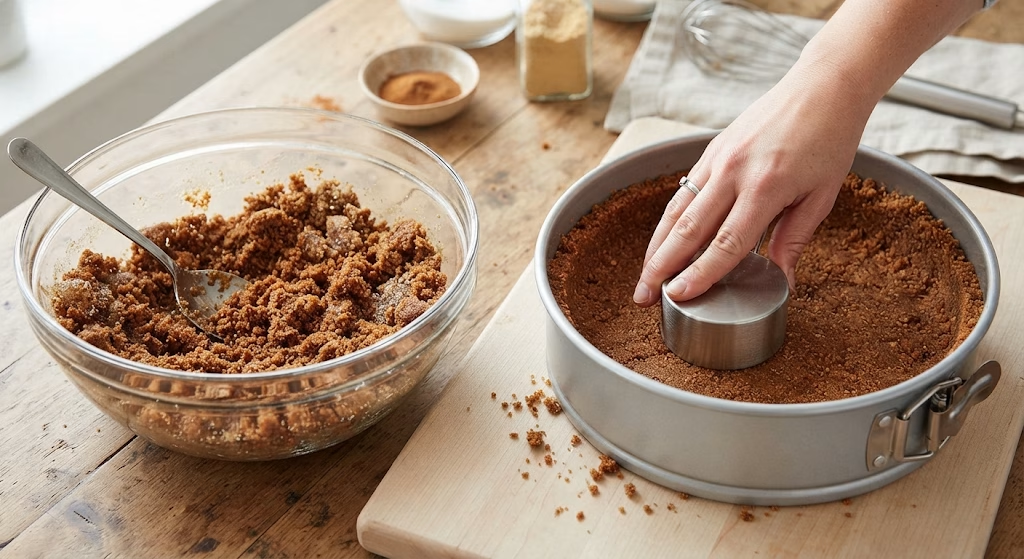
Stir the crushed gingersnap crumbs, ginger, cinnamon, melted butter, and sugar together in a bowl until everything looks like damp sand. Press the mixture firmly into the bottom and up the sides of your springform pan using the flat base of a measuring cup. The tighter you pack it, the cleaner your slices will look later. Pop the pan in the freezer while you make the filling.
Step 2: Whip the Heavy Cream
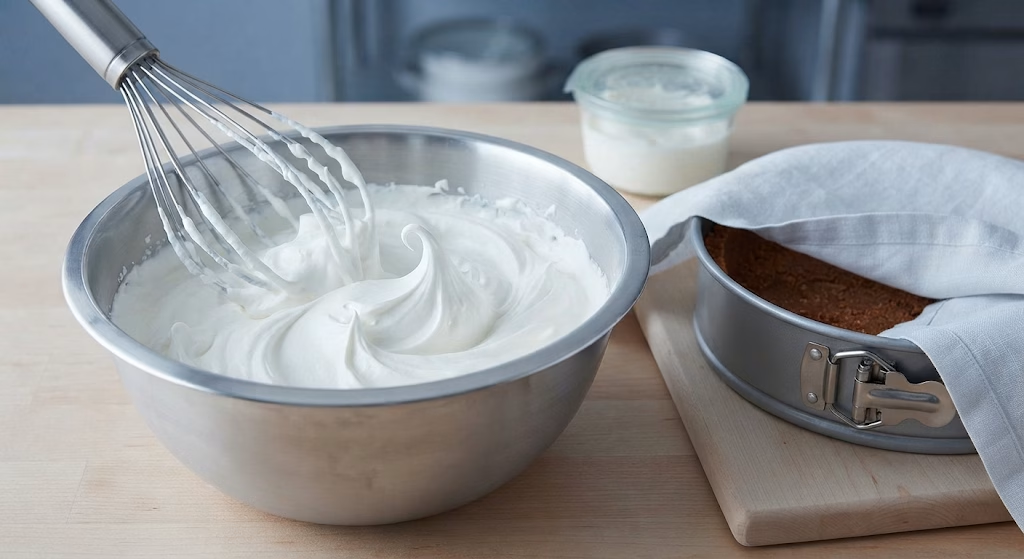
In a clean bowl, beat the cold heavy cream on medium-high speed until stiff peaks form, about 4 minutes. This step is the single most important part of the whole recipe, since the whipped air is what helps the cheesecake set without any baking. Set the bowl aside in the fridge so it stays cold and firm.
Step 3: Mix the Pumpkin Cheesecake Base
Beat the softened cream cheese alone first until it’s completely smooth with no lumps. Add the pumpkin puree, confectioners’ sugar, and brown sugar, then mix again until fully combined. Finish with the vanilla, pumpkin pie spice, cinnamon, and salt, scraping the bowl so everything blends evenly.
Step 4: Fold in the Whipped Cream
Gently fold the whipped cream into the pumpkin cheesecake base using a silicone spatula, not the mixer. Work slowly in wide strokes so you don’t knock the air out of the cream. This fluffy air pocket is exactly what gives the filling its light, mousse-like texture once it sets.
Step 5: Fill, Smooth, and Chill
Pull the crust from the freezer and spoon the filling on top, spreading it evenly with an offset spatula. Cover the pan tightly with plastic wrap and refrigerate for at least 8 hours, though I always aim for 12 or more. This long chill time is what firms everything up and lets the spiced flavor really settle in.
Step 6: Slice and Serve
Run a thin knife around the edge of the pan before releasing the springform sides. Wipe your knife clean between each cut for neat, bakery-style slices. Top with whipped cream or a caramel drizzle right before serving for the best presentation.
Additional Tips for Making This Recipe Better
I’ve made enough mistakes with this cheesecake to know exactly what actually moves the needle, so here’s what I do differently now.
- I always use full-fat block cream cheese straight from the fridge, then let it soften on the counter for about 30 minutes this keeps the filling thick instead of runny.
- I whip my heavy cream to true stiff peaks, meaning it holds its shape when I lift the beaters, since soft peaks leave the filling too soft to slice.
- I freeze my crust for a full 15-20 minutes before adding the filling, which stops it from crumbling when I cut into it later.
- I give myself a full 24 hours in the fridge whenever I have the time, because the flavor and texture are noticeably better on day two.
- I skip fresh homemade pumpkin puree entirely and stick with canned, since fresh puree carries too much water for this filling to set properly.
Common Mistakes to Avoid
I’ve had a slice or two flop on me, so here’s what I watch out for now before it ruins the whole dessert.
- I don’t use spreadable or whipped tub cream cheese, since it has too much moisture and keeps the filling from firming up.
- I never rush the chilling time, because pulling it out early always leaves me with a soft, droopy slice instead of a clean one.
- I avoid over-mixing once the whipped cream goes in, since stirring too hard knocks out the air that helps the cheesecake hold its shape.
- I don’t swap in fresh pumpkin puree, no matter how tempting it seems, because the extra water content stops the filling from setting right.
- I make sure I’m not skimping on whipping time for the heavy cream, since under-whipped cream is one of the most common reasons this dessert turns out too soft.
How to Serve No-Bake Pumpkin Cheesecake?
I like to pipe swirls of fresh whipped cream around the edge of each slice right before it hits the table, then finish with a light dusting of cinnamon or a drizzle of salted caramel for a bit of shine. A few crushed gingersnap crumbs scattered over the top add extra crunch and make each plate look intentional.
For a fall-themed table, I’ll set the whole cheesecake on a cake stand surrounded by small pumpkins or autumn leaves for a cozy, seasonal centerpiece. If you’re hosting a bigger crowd this season, this dessert pairs beautifully alongside other holiday-friendly recipes that lean into warm, spiced flavors.
Variations
This recipe is easy to bend around your pantry, your dietary needs, or just what you’re craving that day. Here are a few swaps I’ve tried myself.
- Dairy-free version: swap the cream cheese and heavy cream for plant-based alternatives, and use dairy-free butter in the crust for a version everyone at the table can enjoy.
- No bake pumpkin cheesecake recipe with cool whip: replace the whipped heavy cream with about 2 cups of thawed Cool Whip, and cut back slightly on the sugar since it’s already sweetened.
- No bake pumpkin cheesecake recipe with condensed milk: stir in a few tablespoons of sweetened condensed milk for an extra creamy, slightly denser filling with a richer sweetness.
- 3 ingredient no bake pumpkin cheesecake: for the simplest version, blend just cream cheese, canned pumpkin, and a pre-made graham crust, skipping the extra spices and sugars.
- Philadelphia no bake pumpkin cheesecake with pudding mix: fold in a small box of instant vanilla or cheesecake pudding mix for a firmer set and a slightly different texture.
- Crust swap: no gingersnaps on hand? A classic graham cracker crust, like the one I use in my no-bake cheesecake recipe, works just as well here.
FAQs
Can I bake pumpkin cheesecake without whipped cream?
You need some form of whipped cream or a whipped substitute like Cool Whip, since the air it holds is what lets the filling set without baking.
How long does no pumpkin cheesecake last in the fridge?
It stays fresh, covered, in the refrigerator for up to 5 days, and honestly tastes even better after the first full day of chilling.
Can I freeze this cheesecake?
Yes, wrap the whole pan tightly in plastic wrap and then foil, and it will keep well in the freezer for up to 3 months; thaw it overnight in the fridge before slicing.
Why didn’t my cheesecake set properly?
This almost always comes down to under-whipped cream, spreadable cream cheese instead of block-style, or not chilling it long enough, so double-check those three things first.
Can I use fresh pumpkin instead of canned?
I don’t recommend it, since fresh pumpkin puree holds too much water and tends to keep the filling from firming up the way canned pumpkin does.
If you’re looking for more cozy, make-ahead desserts this season, this no bake pumpkin cheesecake delight is proof that skipping the oven doesn’t mean skipping on flavor. It’s creamy, perfectly spiced, and honestly easier to pull off than a traditional baked pumpkin cheesecake recipe. Give it a try for your next gathering, and I promise it’ll disappear fast.

No-Bake Pumpkin Cheesecake Recipe
Ingredients
Method
- Stir the crushed gingersnap crumbs, ginger, cinnamon, melted butter, and sugar together in a bowl until everything looks like damp sand. Press the mixture firmly into the bottom and up the sides of your springform pan using the flat base of a measuring cup. The tighter you pack it, the cleaner your slices will look later. Pop the pan in the freezer while you make the filling.
- In a clean bowl, beat the cold heavy cream on medium-high speed until stiff peaks form, about 4 minutes. This step is the single most important part of the whole recipe, since the whipped air is what helps the cheesecake set without any baking. Set the bowl aside in the fridge so it stays cold and firm.
- Beat the softened cream cheese alone first until it’s completely smooth with no lumps. Add the pumpkin puree, confectioners’ sugar, and brown sugar, then mix again until fully combined. Finish with the vanilla, pumpkin pie spice, cinnamon, and salt, scraping the bowl so everything blends evenly.
- Gently fold the whipped cream into the pumpkin cheesecake base using a silicone spatula, not the mixer. Work slowly in wide strokes so you don’t knock the air out of the cream. This fluffy air pocket is exactly what gives the filling its light, mousse-like texture once it sets.
- Pull the crust from the freezer and spoon the filling on top, spreading it evenly with an offset spatula. Cover the pan tightly with plastic wrap and refrigerate for at least 8 hours, though I always aim for 12 or more. This long chill time is what firms everything up and lets the spiced flavor really settle in.
- Run a thin knife around the edge of the pan before releasing the springform sides. Wipe your knife clean between each cut for neat, bakery-style slices. Top with whipped cream or a caramel drizzle right before serving for the best presentation
Notes
- I always use full-fat block cream cheese straight from the fridge, then let it soften on the counter for about 30 minutes this keeps the filling thick instead of runny.
- I whip my heavy cream to true stiff peaks, meaning it holds its shape when I lift the beaters, since soft peaks leave the filling too soft to slice.
- I freeze my crust for a full 15-20 minutes before adding the filling, which stops it from crumbling when I cut into it later.
- I give myself a full 24 hours in the fridge whenever I have the time, because the flavor and texture are noticeably better on day two.
- I skip fresh homemade pumpkin puree entirely and stick with canned, since fresh puree carries too much water for this filling to set properly.