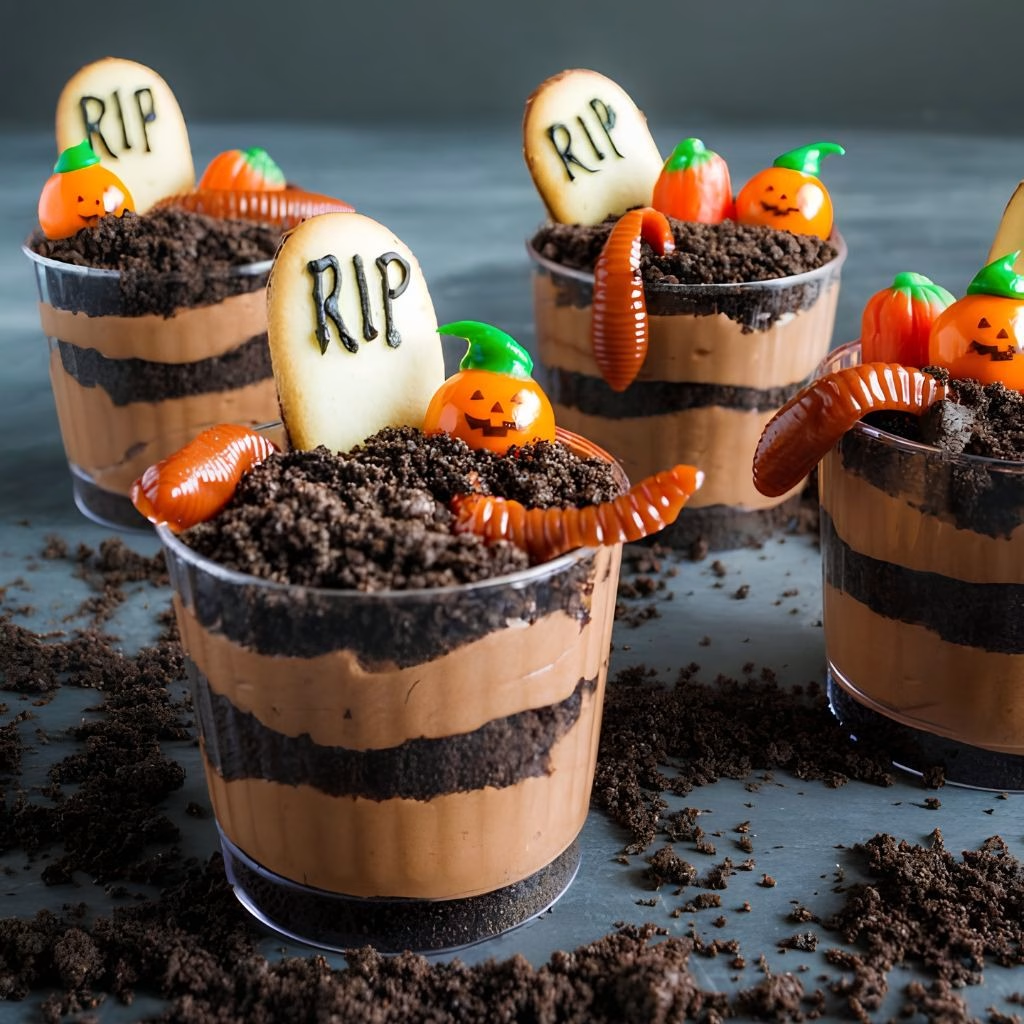
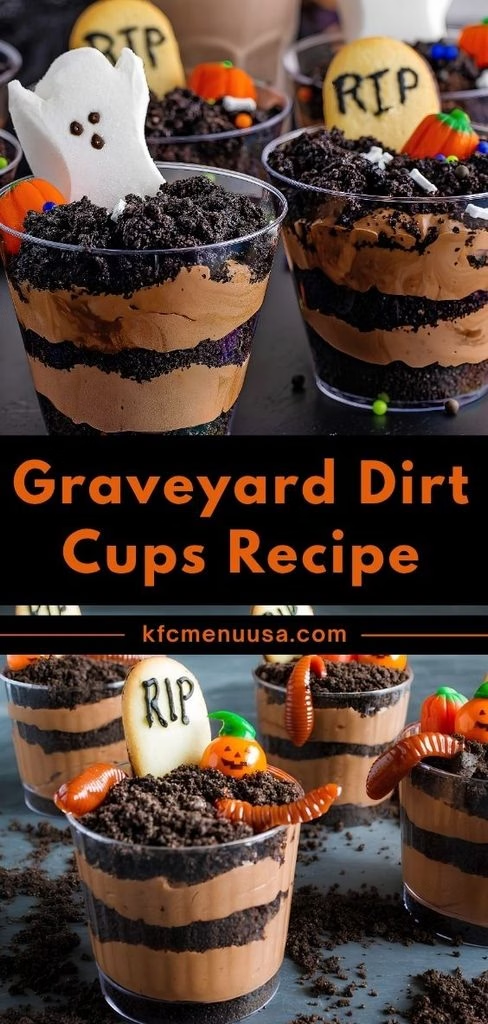
The first time I made Graveyard Dirt Cups Recipe, I was hunting for a Halloween dessert that looked impressive but wouldn’t chain me to the kitchen for hours. I layered crushed cookies with a fluffy chocolate pudding mixture, and by the time I stuck a few gummy worms and cookie tombstones on top, my kids were already begging to dig in.
Since then, this has become my go-to for school parties and family fright nights because it takes almost no effort but always steals the show. If you’ve ever made an easy apple crisp recipe for a cozy fall dessert, this is the spookier cousin you didn’t know you needed. I’m sharing exactly how I make it, along with every tip I’ve picked up from trial and error.
Cooking Time
- Prep Time: 20 minutes
- Cooking Time: 0 minutes (no-bake recipe)
- Total Time: 20 minutes, plus at least 1 hour to chill
Ingredients
- 36 chocolate sandwich cookies (Oreos work great) – these become your “dirt,” so don’t skip crushing a portion extra fine.
- 2 cups cold milk – whole milk gives the pudding a richer texture than skim.
- 2 boxes (3.9 oz each) instant chocolate pudding mix – instant is key since cook-and-serve pudding needs time you don’t have.
- 8 oz whipped topping, thawed – fold it in gently so the mousse stays light instead of dense.
- 2 tablespoons chocolate syrup – swirl it in for a darker, fudgier ribbon through the pudding.
- Halloween candy for decorating (gummy worms, candy pumpkins, ghost-shaped marshmallows) – add these last so they don’t get soggy.
- Mini cookies or wafers for tombstones – a dab of icing turns them into tiny “RIP” markers.
Note: this recipe serves 8 to 10 people, depending on cup size.
Equipment You Need
- Food processor or zip-top bag and rolling pin – for crushing the cookies into fine crumbs.
- Medium mixing bowl – for whisking the pudding and milk together.
- Whisk – to blend the pudding mixture until smooth and thick.
- Rubber spatula – for folding in the whipped topping without deflating it.
- Clear plastic or glass cups – so the layered “dirt” effect actually shows.
- Piping bag or spoon – for neatly layering pudding into each cup.
How to Make Graveyard Dirt Cups Recipe?
This recipe comes together in three simple stages: crushing the cookies, mixing the filling, and layering everything into cups. None of it requires cooking, so the hardest part is waiting for it to chill. Here’s exactly how I put mine together every time.
Crush the Cookies
Start by breaking the sandwich cookies into chunks and pulsing them in a food processor until they resemble coarse soil. I like to keep a portion slightly chunkier for texture and grind the rest into fine crumbs. If you don’t have a food processor, a zip-top bag and a rolling pin do the job just as well.
Make the Pudding Base
Whisk the cold milk and instant pudding mix together in a bowl for about two minutes, until it starts to thicken. Let it sit for a few minutes so it fully sets before you move to the next step. This is the base that gives your dirt cups that creamy, moussey texture everyone loves.
Fold in the Whipped Topping
Once the pudding has set, gently fold in the whipped topping using a rubber spatula. Work in slow, sweeping motions so you don’t knock the air out of it. The goal is a light, fluffy mousse that still holds its shape when spooned into cups.
Layer the Cups
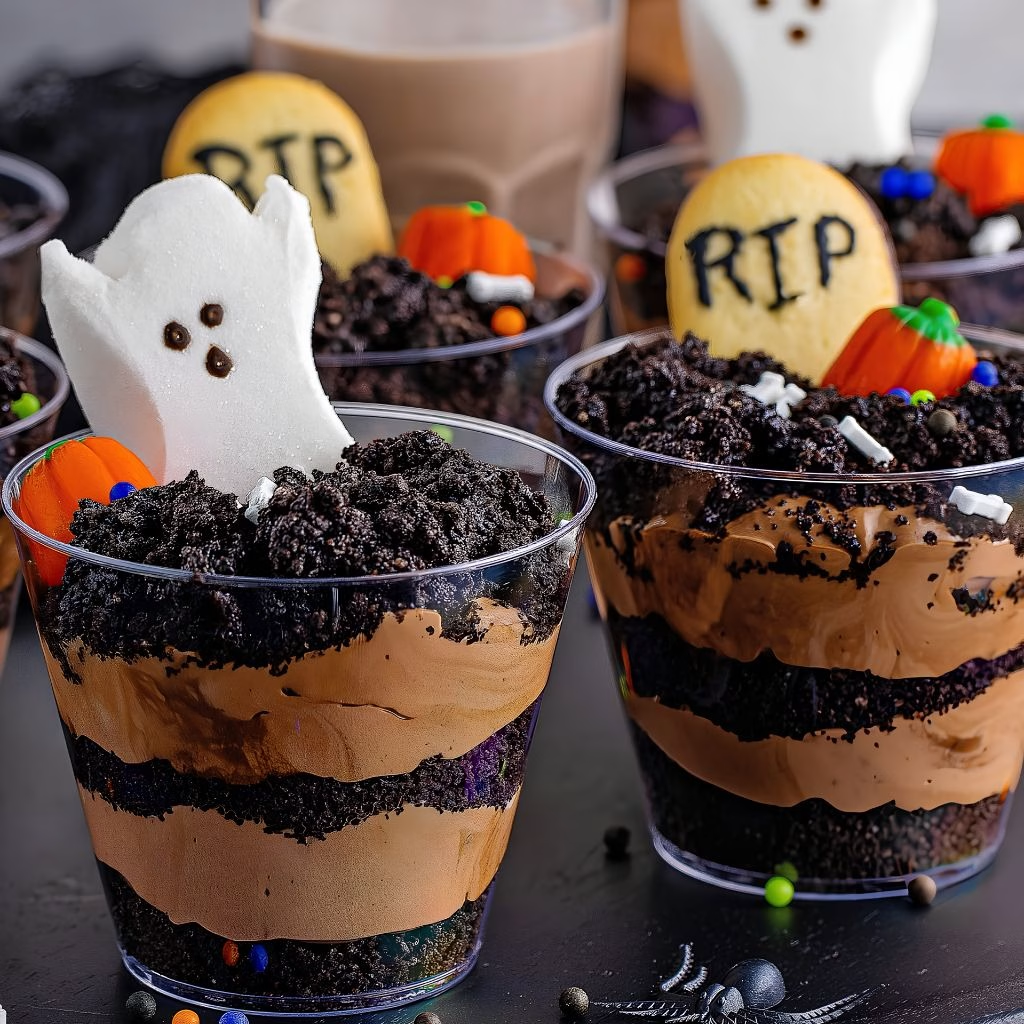
Spoon a layer of cookie crumbs into the bottom of each clear cup, followed by a layer of the pudding mousse. Repeat the layers until you reach the top, finishing with a generous coating of cookie crumbs so it looks like fresh dirt. Drizzle a little chocolate syrup between layers if you want a darker, fudgier swirl.
Decorate and Chill
Top each cup with gummy worms, candy pumpkins, or cookie tombstones pressed halfway into the crumbs. Cover the cups and refrigerate for at least an hour so the layers set and the flavors meld together before serving.
Additional Tips for Making This Recipe Better
I’ve made these dirt cups more times than I can count, and a few small habits have made a real difference for me.
- I always use clear cups instead of bowls, because the layered look is half the fun and it disappears in an opaque dish.
- I chill my mixing bowl for ten minutes before folding in the whipped topping, since it helps the mousse stay fluffier longer.
- I hold back a spoonful of fine cookie crumbs to sprinkle on top right before serving, so the “dirt” always looks fresh.
- I keep the candy decorations in a separate bag until party time instead of adding them the night before.
- I make a double batch of the fine crumbs, since they get used up faster than I expect once decorating starts.
Common Mistakes to Avoid
- I once used cook-and-serve pudding instead of instant, and it never set properly in time for the party, so I always double-check the box now.
- I learned the hard way that overmixing the whipped topping deflates the mousse, so I fold it in slowly instead of stirring hard.
- I used to add gummy worms and other candy the day before, and they turned rubbery and dull from sitting in the fridge too long.
- I skipped chilling the cups once because I was in a rush, and the layers never firmed up enough to hold their shape when served.
- I crushed all my cookies into fine powder one time and missed the chunkier texture that makes the “dirt” look convincing.
How to Serve Graveyard Dirt Cups?
I like setting these out on a dark tray or a piece of black fabric so the clear cups really pop against the background. A few plastic spiders or fake moss scattered around the tray adds to the graveyard theme without much extra work.
For an easy dessert spread, I’ll often serve these alongside a caramel apple cheesecake recipe, since the two flavors balance each other out nicely on a Halloween dessert table. Right before guests arrive, I press a cookie tombstone into each cup at an angle so it looks like it’s sinking into the dirt, which always gets a laugh.
Variations
- Swap the chocolate pudding for a cream cheese and pudding blend if you want a tangier, richer filling.
- Use crushed graham crackers instead of chocolate cookies for a lighter colored “dirt” that pairs well with vanilla pudding.
- Make it dairy-free by using plant-based milk, dairy-free pudding mix, and coconut whipped topping.
- Go sugar-free with a sugar-free pudding mix and sugar-free whipped topping for a lighter version.
- Turn them into zombie dirt cups by adding green food coloring to the whipped topping and gummy body parts on top.
- For a Christmas twist, swap the Halloween candy for crushed peppermint and red-and-green sprinkles.
- Add crushed peanut butter cups or mini chocolate chips between layers for extra flavor and crunch.
Nutritional Information
Here’s a general breakdown per serving, though exact numbers will vary based on the brands you use.
- Calories: approximately 320 per cup
- Protein: approximately 4 grams
- Carbohydrates: approximately 45 grams
- Fat: approximately 14 grams
Make Ahead and Storage
You can assemble the pudding and cookie layers up to a day in advance and keep them covered tightly in the refrigerator. I recommend holding off on the candy toppings until a few hours before serving so gummy worms and marshmallow ghosts stay fresh instead of turning sticky or soft.
These dirt cups will keep well in the fridge for up to three days when covered. I don’t recommend freezing them, since the whipped topping and pudding mixture tend to separate and turn watery once thawed.
Why You’ll Love This Recipe
This dessert has earned a permanent spot in my Halloween rotation for a few simple reasons.
- It’s incredibly easy to make. There’s no oven involved, and even a beginner can pull this off in under half an hour.
- It’s endlessly versatile. You can dress it up for Halloween, tone it down for a birthday, or reskin it entirely for Christmas.
- It works for picky eaters and dietary needs. Dairy-free and sugar-free swaps mean almost anyone at the party can enjoy a cup.
- It’s a guaranteed crowd-pleaser for kids. The candy toppings and spooky theme make it feel like part dessert, part craft project.
- It travels well. Since everything is portioned into individual cups, it’s simple to transport to a potluck or school event without any mess.
FAQs
Can I make an Oreo dirt cup recipe without cream cheese?
Yes, this version skips cream cheese entirely and relies on instant pudding and whipped topping for its creamy texture.
What’s the best dirt cup recipe for a big group?
Stick with this layered pudding and cookie method, then simply multiply the ingredients based on how many cups you need to fill.
Can I make dirt cups without Cool Whip?
Yes, you can substitute homemade whipped cream or a dairy-free whipped topping and still get a similarly fluffy texture.
Are dirt cups for adults different from the kid-friendly version?
Not really, though some adults like adding a splash of coffee liqueur or Irish cream to the pudding mixture for extra flavor.
How far in advance can I prep this Halloween dirt cake dessert?
You can assemble the pudding and cookie layers up to a day ahead, then add the candy decorations closer to serving time.

Graveyard Dirt Cups Recipe
Ingredients
Method
- Start by breaking the sandwich cookies into chunks and pulsing them in a food processor until they resemble coarse soil. I like to keep a portion slightly chunkier for texture and grind the rest into fine crumbs. If you don’t have a food processor, a zip-top bag and a rolling pin do the job just as well.
- Whisk the cold milk and instant pudding mix together in a bowl for about two minutes, until it starts to thicken. Let it sit for a few minutes so it fully sets before you move to the next step. This is the base that gives your dirt cups that creamy, moussey texture everyone loves.
- Once the pudding has set, gently fold in the whipped topping using a rubber spatula. Work in slow, sweeping motions so you don’t knock the air out of it. The goal is a light, fluffy mousse that still holds its shape when spooned into cups.
- Spoon a layer of cookie crumbs into the bottom of each clear cup, followed by a layer of the pudding mousse. Repeat the layers until you reach the top, finishing with a generous coating of cookie crumbs so it looks like fresh dirt. Drizzle a little chocolate syrup between layers if you want a darker, fudgier swirl.
- Top each cup with gummy worms, candy pumpkins, or cookie tombstones pressed halfway into the crumbs. Cover the cups and refrigerate for at least an hour so the layers set and the flavors meld together before serving.
Notes
- I always use clear cups instead of bowls, because the layered look is half the fun and it disappears in an opaque dish.
- I chill my mixing bowl for ten minutes before folding in the whipped topping, since it helps the mousse stay fluffier longer.
- I hold back a spoonful of fine cookie crumbs to sprinkle on top right before serving, so the “dirt” always looks fresh.
- I keep the candy decorations in a separate bag until party time instead of adding them the night before.
- I make a double batch of the fine crumbs, since they get used up faster than I expect once decorating starts.