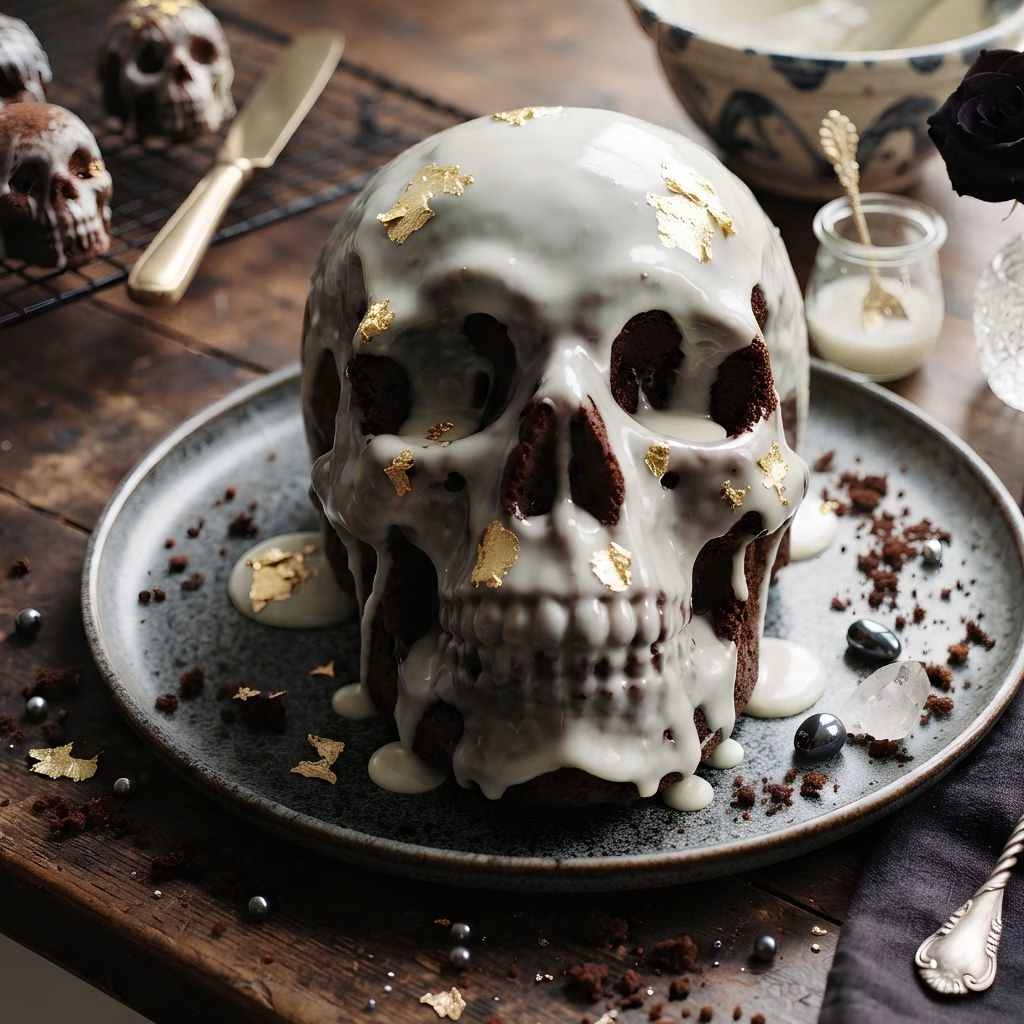
I made this Skeleton Chocolate Cake Recipe for the first time last Halloween, and it completely stole the show at my party. I wanted something that looked dramatic without being complicated, and this dark, dense chocolate skull cake delivered on both fronts.
Between the black cocoa base, the crushed cookie filling, and the glossy glaze dripping down the sides, it looks like it came from a professional bakery. Once I figured out the right way to bake and assemble the two halves, I knew this would become my go-to Halloween dessert. If you love skull cake ideas that actually taste as good as they look, this one is for you.
Cooking Time
- Prep Time: 30 minutes
- Cooking Time: 45 minutes
- Total Time: 2 hours 30 minutes (includes cooling and chilling)
Ingredients
- All-purpose flour – gives the cake its structure, so measure it by spooning and leveling rather than scooping
- Black cocoa powder – this is what gives the cake its deep, almost black color, don’t swap it for regular cocoa if you want that dramatic look
- Natural cocoa powder – balances the bitterness of the black cocoa and keeps the flavor rounded
- Granulated sugar – sweetens the batter and keeps the crumb tender
- Baking soda – helps the cake rise evenly inside the detailed skull mold
- Baking powder – adds a little extra lift so the cake fills every crevice of the pan
- Salt – sharpens the chocolate flavor so the cake doesn’t taste flat
- Buttermilk – keeps the crumb moist and adds a subtle tang, use full-fat for the richest texture
- Vegetable oil – locks in moisture better than butter alone in this type of dense cake
- Eggs – bind everything together, let them sit out until room temperature before mixing
- Vanilla extract – rounds out the chocolate flavor, use real extract instead of imitation if you can
- Hot coffee or hot water – blooms the cocoa powder and intensifies the chocolate taste without adding a coffee flavor
- Crushed chocolate sandwich cookies – folded into the buttercream filling for that cookies and cream crunch, crush them by hand so you keep some texture
- Unsalted butter – the base for the buttercream filling, make sure it’s softened, not melted
- Powdered sugar – sweetens and thickens the buttercream filling
- Heavy cream – loosens the buttercream to a spreadable consistency
- White chocolate or vanilla candy melts – melted down for the glaze that gets poured over the finished cake
- Milk – thins the glaze so it pours smoothly and drips down the sides
Note: This recipe fills a standard 3D skull cake pan and serves about 10 to 12 people.
Equipment You Need
- 3D skull cake pan (nordicware skull cakelet pan works perfectly) – shapes the two halves of the cake into a realistic skull
- Large mixing bowls – one for dry ingredients, one for wet, to keep the batter smooth
- Hand or stand mixer – makes quick work of the buttercream filling
- Pastry brush – helps coat every detail of the skull cake mold with baking spray
- Wire cooling rack – lets air circulate under the cake so it cools evenly
- Wooden skewers – add internal support so the two cake halves hold together
- Offset spatula – smooths the buttercream filling along the seam
- Microwave-safe bowl – for melting the glaze ingredients
How to Make a Skeleton Chocolate Cake Recipe?
This cake comes together in two simple stages: baking the two skull halves, then filling, stacking, and glazing them into one dramatic dessert. None of the steps are difficult, but a little patience during chilling makes the final assembly much easier. Here’s exactly how I do it from start to finish.
Preheat and Prep the Pan
Set your oven to 350°F and place a rack in the lower third. Coat every detail of the skull cake mold with baking spray that contains flour, using a pastry brush to reach the deeper grooves. This step matters more than people expect, since skipping it is the main reason cakes stick and lose their skull shape when unmolded.
Mix the Batter
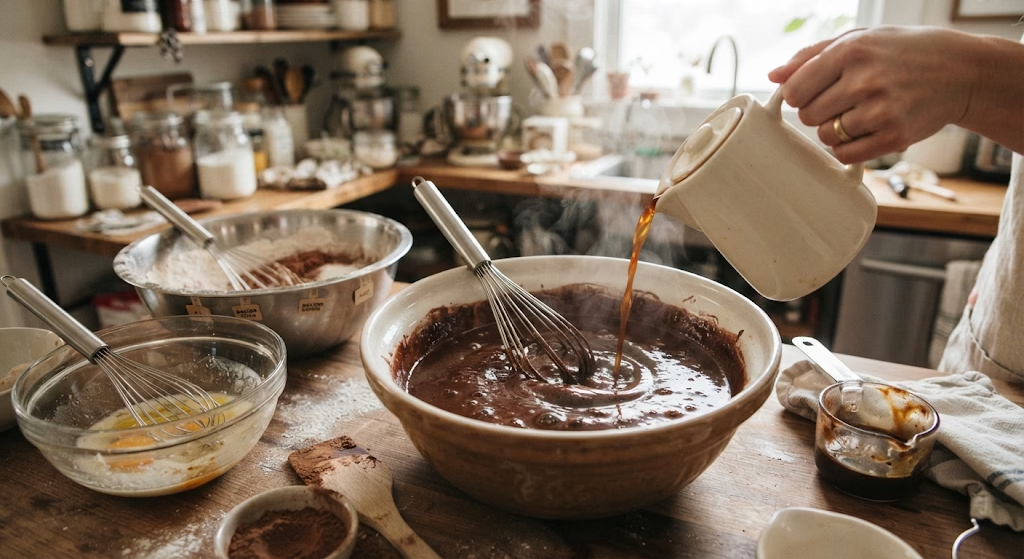
Whisk the flour, both cocoas, sugar, baking soda, baking powder, and salt in one bowl. In another, whisk the buttermilk, oil, eggs, and vanilla. Combine the two, then stir in the hot coffee last. The batter will look thin, but that’s exactly what gives this cake its dense, fudgy texture once baked.
Bake the Two Halves
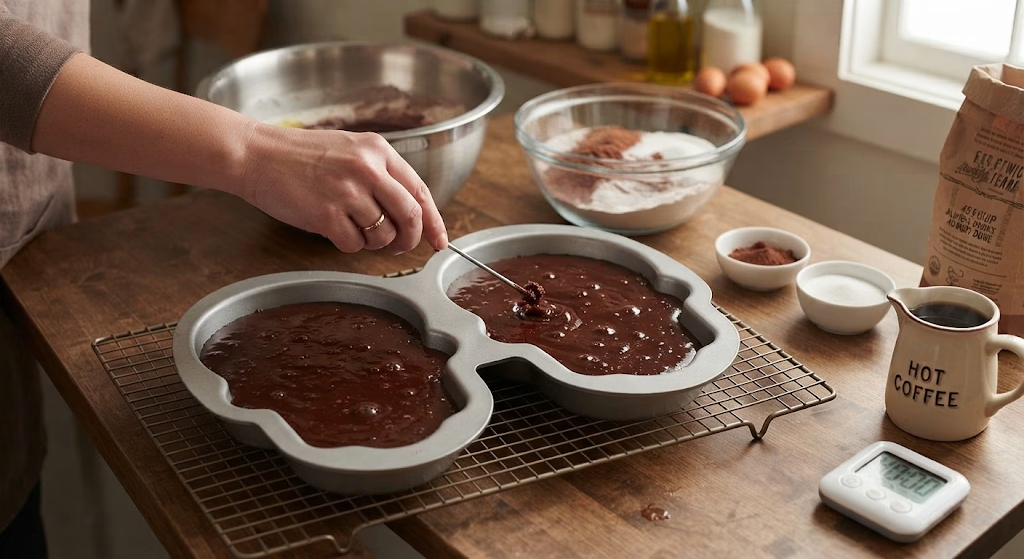
Divide the batter evenly between both sides of the skull pan, filling each about three-quarters full. Bake for 40 to 45 minutes, checking with a skewer near the thickest part of the skull. Let the cakes cool in the pan for 15 minutes before turning them out onto a wire rack to cool completely.
Make the Buttercream Filling
Beat the softened butter until fluffy, then gradually add powdered sugar and a splash of heavy cream. Fold in the crushed cookies once the buttercream is smooth. This filling goes between the two skull halves, so keep it thick enough to hold everything together without oozing out the sides.
Assemble the Skull
Spread the buttercream filling generously over the flat side of one cake half, then press the second half on top to form the full 3D skull shape. Insert a skewer through the base and another near the back for stability, then smooth any visible seam with an offset spatula.
Chill Before Glazing
Wrap the assembled cake loosely in plastic and refrigerate for at least 30 minutes. This firms up the buttercream so it won’t melt or shift once the warm glaze goes on, and it makes the final glazing step far less messy.
Glaze and Serve
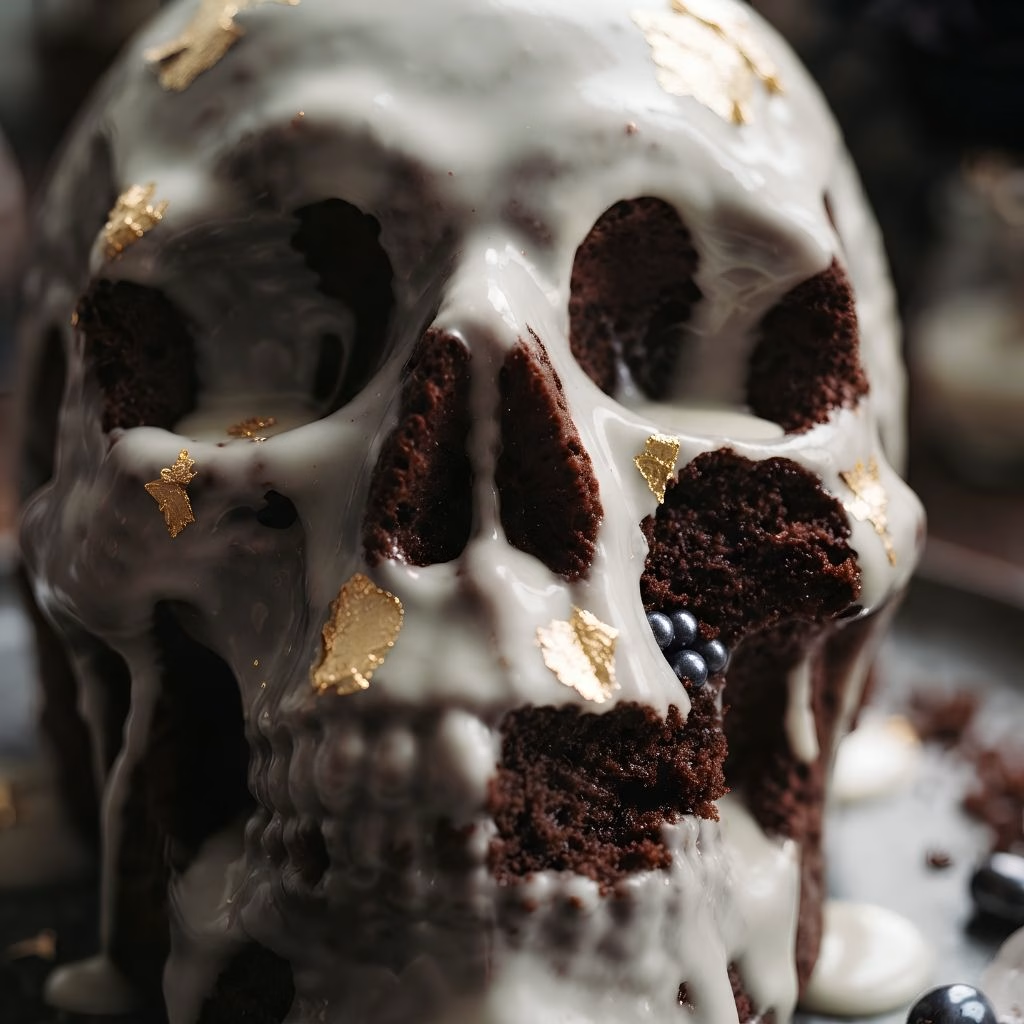
Melt the white chocolate or candy melts with milk until smooth and pourable. Set the chilled cake on a wire rack over a sheet pan, then pour the glaze slowly over the top, letting it drip naturally down the sides and into every eye socket and groove.
Additional Tips for Making This Recipe Better
- I always chill my cake halves in the freezer for 15 minutes before assembling, since firmer cake is much easier to handle without crumbling
- I brush the pan with a little extra baking spray around the nose and eye details, since those areas stick the most
- I like adding a pinch of espresso powder to the batter, since it deepens the chocolate flavor without making the cake taste like coffee
- I never rush the glaze step, since pouring it too fast leaves bald patches instead of an even drip
- I keep my glaze slightly warm while working, since it thickens fast and gets harder to pour smoothly
Common Mistakes to Avoid
- Not greasing the pan thoroughly enough. I learned the hard way that missing even one small detail in the mold means part of the skull face stays behind in the pan.
- Overbaking the cake halves. I always start checking a few minutes early, since black cocoa cakes look done on top before the center actually is.
- Skipping the chill time before glazing. I tried rushing this once and ended up with buttercream sliding right out from between the layers.
- Using cold glaze straight from the fridge. It seizes up fast, so I always work with it while it’s still warm and pourable.
- Forgetting the skewers. Without them, the two halves can shift apart once you start slicing.
How to Serve Skeleton Chocolate Cake?
I like placing the finished cake upright on a plate with a small mound of buttercream underneath to anchor it, then scattering crushed cookies around the base like dark soil. A few sugar skull cake toppers or plastic spiders around the plate make it feel even more festive for a Halloween table.
Slicing it at the table always gets a reaction, since guests can see the dense, dark layers and the cookies and cream filling inside for the first time. If you’re serving a crowd, pairing it with something bright, like a chilled fruit punch, helps balance out the richness of the chocolate.
Variations
- Dairy-free version – swap the buttermilk for a plant-based milk with a splash of vinegar, and use dairy-free butter and cream in the filling
- Sugar-free version – use a granulated sugar substitute and sugar-free candy melts for the glaze
- Extra crunch – add crushed cookies directly into the cake batter, not just the filling
- Colored glaze – tint the white glaze with gel food coloring for orange or green skull cake ideas around Halloween
- Mini version – if you own a smaller cakelet mold, this batter also works well for individual skull cake ideas for adults at a dinner party
Nutritional Information
Here’s a rough breakdown per slice, based on a cake cut into 12 servings.
- Calories: approximately 420 per slice
- Protein: approximately 5 grams per slice
- Carbohydrates: approximately 52 grams per slice
- Fat: approximately 22 grams per slice
Make Ahead and Storage
Storing in the Refrigerator
Once glazed, the cake keeps well in the refrigerator for up to 4 days. Cover it loosely so the glaze doesn’t get sticky, and let it sit at room temperature for about 20 minutes before serving so the texture softens back up.
Freezing the Cake
You can freeze the unglazed, assembled cake for up to 2 months. Wrap it tightly in plastic wrap and foil, then thaw it overnight in the refrigerator before adding the glaze fresh.
Reheating a Slice
This cake is best served at room temperature rather than warmed, since the buttercream filling can melt under heat. If you do want it slightly warm, a few seconds in the microwave is plenty.
Why You’ll Love This Recipe?
This cake checks every box for a Halloween centerpiece, and here’s why it’s become one of my favorites to make every year.
- Dramatic presentation – the 3D skull shape makes a bigger impact than any regular sheet cake, without requiring cake decorating skills
- Make-ahead friendly – you can bake and freeze the cake halves days in advance, then glaze it fresh the day of your party
- Customizable flavor – between the coffee boost, the cookie filling, and the colored glaze options, you can adjust it to fit your taste
- Great for groups – one skull easily serves a dozen people, making it ideal for parties instead of individual treats
- Beginner friendly – despite how impressive it looks, the actual steps are no harder than making a standard layer cake
FAQs
Can I use a different skull cake mold?
Yes, any similarly sized 3D skull pan works, though bake times may vary slightly depending on the thickness of the mold.
Do I have to use black cocoa powder?
You can use all natural cocoa powder instead, but the cake won’t have that same deep, almost black color that makes this dessert stand out.
Can I make this cake without the cookie filling?
Absolutely, plain vanilla or chocolate buttercream works fine if you’d rather skip the crushed cookies.
How far in advance can I bake the cake halves?
You can bake and freeze them up to 2 months ahead, then thaw, fill, and glaze the day you plan to serve it.
Why did my glaze turn out too thick or too thin?
Add milk a teaspoon at a time if it’s too thick, or a little more melted chocolate if it’s too thin, until it reaches a smooth, pourable consistency.
If you’re looking for more festive chocolate desserts to round out your Halloween spread, my easy mummy brownie recipe is another crowd favorite that comes together just as easily. And if you want something a little lighter to serve alongside the skull cake, my Halloween pumpkin cupcakes recipe is a great addition to the same dessert table.

Skeleton Chocolate Cake Recipe
Ingredients
Method
- Set your oven to 350°F and place a rack in the lower third. Coat every detail of the skull cake mold with baking spray that contains flour, using a pastry brush to reach the deeper grooves. This step matters more than people expect, since skipping it is the main reason cakes stick and lose their skull shape when unmolded.
- Whisk the flour, both cocoas, sugar, baking soda, baking powder, and salt in one bowl. In another, whisk the buttermilk, oil, eggs, and vanilla. Combine the two, then stir in the hot coffee last. The batter will look thin, but that’s exactly what gives this cake its dense, fudgy texture once baked.
- Divide the batter evenly between both sides of the skull pan, filling each about three-quarters full. Bake for 40 to 45 minutes, checking with a skewer near the thickest part of the skull. Let the cakes cool in the pan for 15 minutes before turning them out onto a wire rack to cool completely.
- Beat the softened butter until fluffy, then gradually add powdered sugar and a splash of heavy cream. Fold in the crushed cookies once the buttercream is smooth. This filling goes between the two skull halves, so keep it thick enough to hold everything together without oozing out the sides.
- Spread the buttercream filling generously over the flat side of one cake half, then press the second half on top to form the full 3D skull shape. Insert a skewer through the base and another near the back for stability, then smooth any visible seam with an offset spatula.
- Wrap the assembled cake loosely in plastic and refrigerate for at least 30 minutes. This firms up the buttercream so it won’t melt or shift once the warm glaze goes on, and it makes the final glazing step far less messy.
- Melt the white chocolate or candy melts with milk until smooth and pourable. Set the chilled cake on a wire rack over a sheet pan, then pour the glaze slowly over the top, letting it drip naturally down the sides and into every eye socket and groove.
Notes
- I always chill my cake halves in the freezer for 15 minutes before assembling, since firmer cake is much easier to handle without crumbling
- I brush the pan with a little extra baking spray around the nose and eye details, since those areas stick the most
- I like adding a pinch of espresso powder to the batter, since it deepens the chocolate flavor without making the cake taste like coffee
- I never rush the glaze step, since pouring it too fast leaves bald patches instead of an even drip
- I keep my glaze slightly warm while working, since it thickens fast and gets harder to pour smoothly