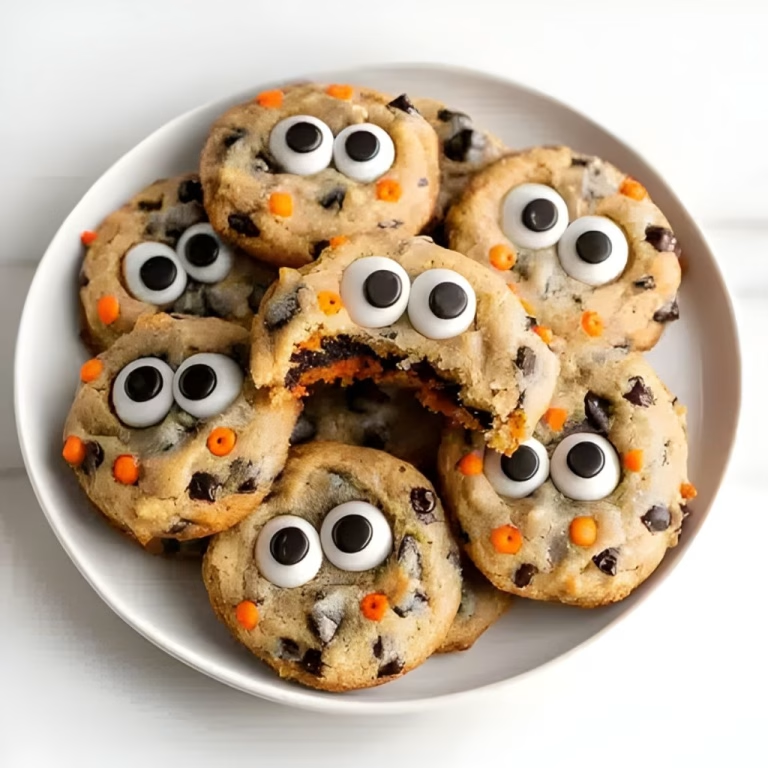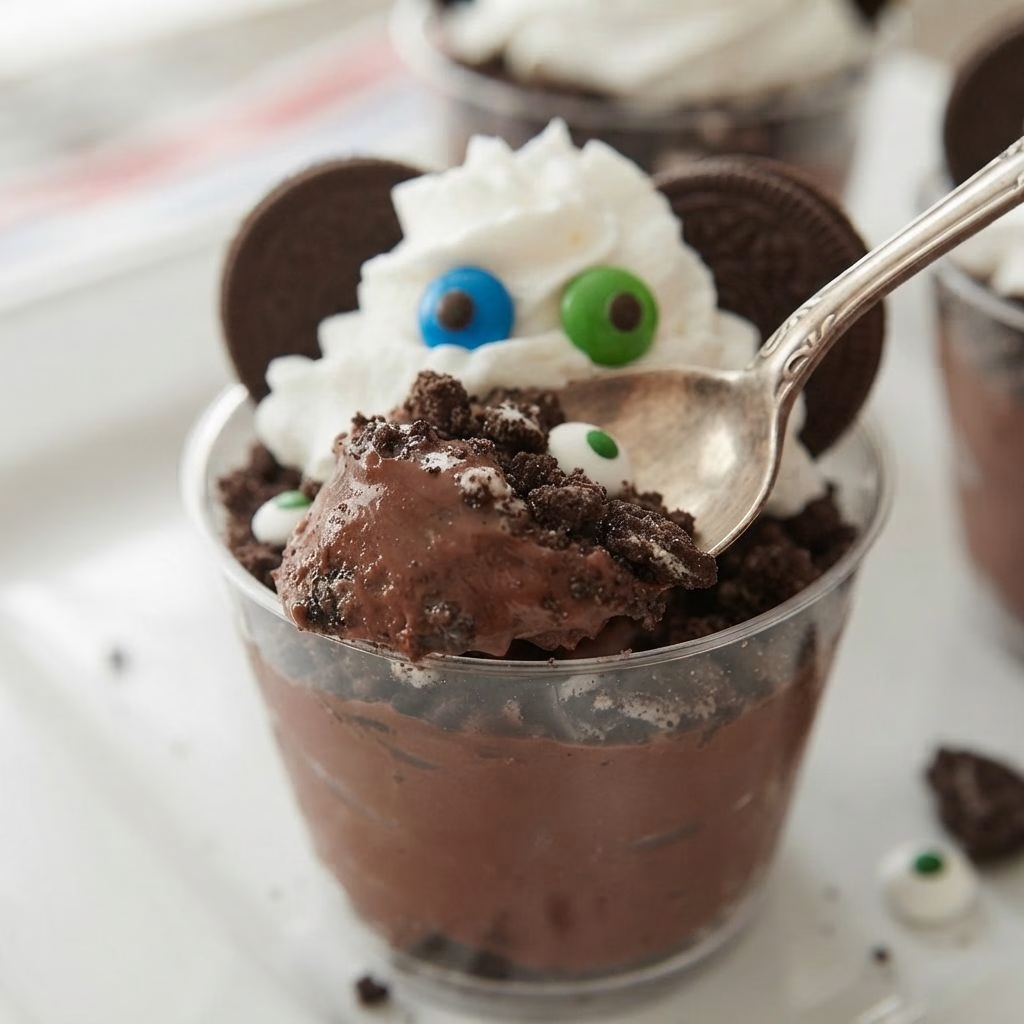
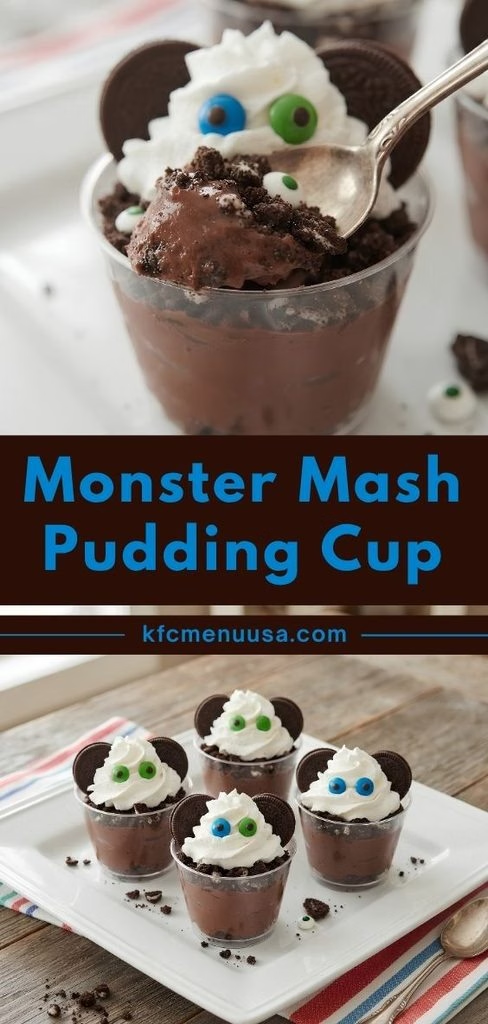
I made a batch of these for my kids last October, and I honestly wasn’t expecting the mess of “help me stir” hands crowding around my counter within minutes. This Monster Mash Pudding Cups Recipe is one of those rare treats that comes together in under 15 minutes but still gets oohs and aahs at the Halloween party table.
I love that there’s no oven involved, no fancy tools, and the kids can build their own little “monster” however they want. If you’re looking for a no-fuss, no-bake dessert that turns basic pudding into pure Halloween magic, this is it.
Cooking Time
- Prep Time: 10 minutes
- Cooking Time: 0 minutes (no-bake recipe)
- Total Time: 15-20 minutes (includes short chill time)
Ingredients
- 1 box (3.9 oz) instant chocolate pudding mix – this is your monster’s “body,” and instant pudding sets fast without any stovetop cooking
- 2 cups cold milk – cold milk helps the pudding thicken properly, so skip room-temperature milk
- 6-8 chocolate sandwich cookies, crushed – crushed cookies mixed right into the pudding add crunch and a “dirt” texture kids love
- 1 cup whipped cream or Cool Whip – this becomes the fluffy monster “head” on top of each cup
- 12 candy-coated chocolates (like M&Ms) – two per cup for those classic googly monster eyes
- Extra chocolate sandwich cookies, halved – these become the ears or horns, so it’s your call which one your monster gets
- Green or purple food coloring (optional) – a couple drops turns plain pudding into true “monster” green for extra spooky flair
Note: This recipe serves 6 people (makes 6 individual pudding cups).
Equipment You Need
- Mixing bowl – for whisking the pudding and milk together
- Whisk – to mix the pudding smoothly without lumps
- Small bowls or clear plastic cups – to portion out and display each monster cup
- Measuring cups – to get the milk quantity accurate
- Spoon or piping bag – for adding whipped cream neatly on top
- Refrigerator – to chill the pudding cups until they’re set
How to Make Monster Mash Pudding Cups Recipe?
This recipe really is as simple as mix, pour, and decorate. I like laying all my ingredients out on the counter first so the kids can jump straight into the fun part. Here’s exactly how I put mine together every single time.
Step 1: Whisk the Pudding
Pour the cold milk into a large mixing bowl, then add the instant chocolate pudding mix. Whisk continuously for about two minutes until the mixture starts to thicken. If you’re using food coloring for a green “monster” look, stir it in now so the color spreads evenly.
Step 2: Add the Cookie Crumbles
Crush 6-8 chocolate sandwich cookies into small pieces, either in a food processor or by hand in a sealed bag with a rolling pin. Fold the crumbs into the pudding mixture so every spoonful has that classic “dirt cup” crunch running through it.
Step 3: Portion Into Cups
Divide the pudding mixture evenly among 6 small bowls or clear plastic cups. Fill each one about three-quarters full, leaving space at the top for the whipped cream “head” you’ll add later.
Step 4: Chill to Set
Place the filled cups in the refrigerator for 5-10 minutes. This short chill firms up the pudding just enough to hold its shape when you start decorating on top.
Step 5: Build the Monster Face
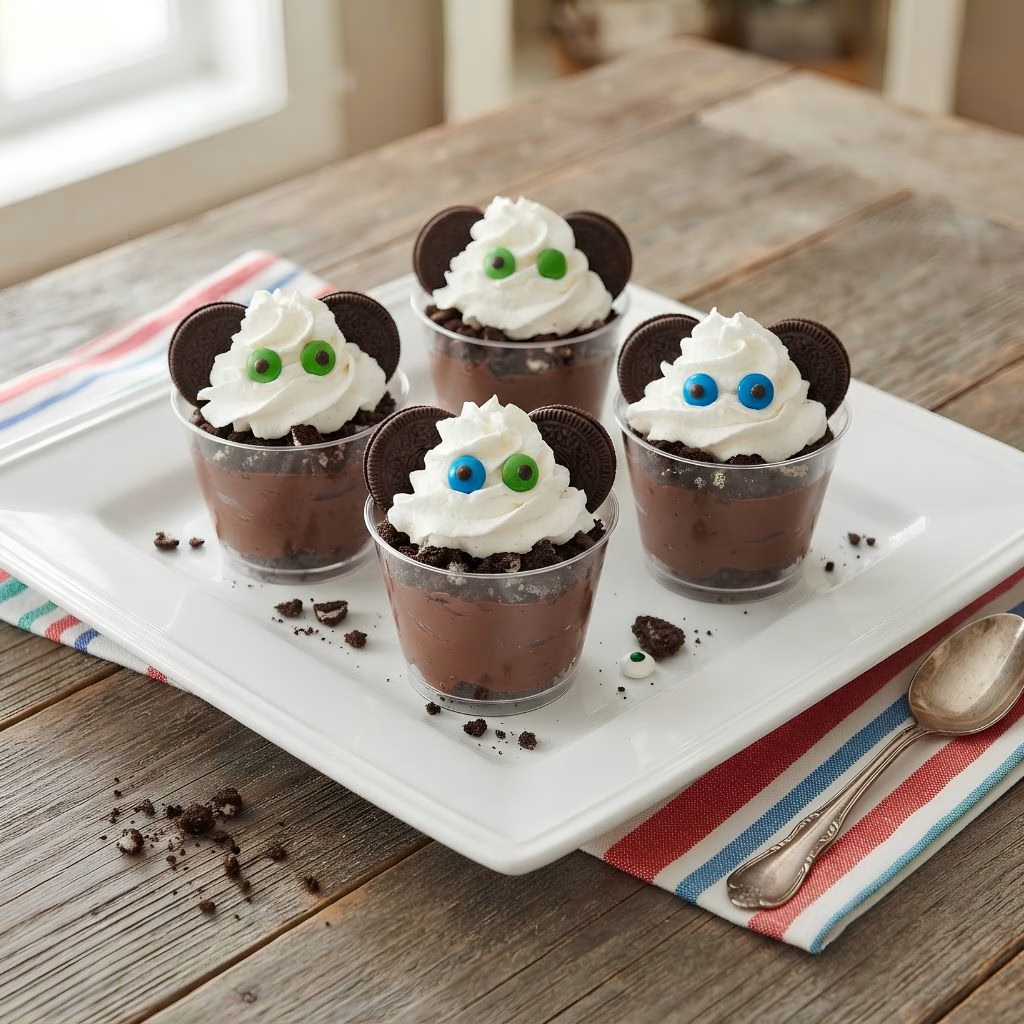
Once chilled, top each cup with a generous swirl of whipped cream or Cool Whip for the head. Add two candy-coated chocolates for eyes, then tuck two cookie halves into the whipped cream for ears or horns. Serve right away and watch the monsters disappear.
Additional Tips for Making This Recipe Better
I’ve made this monster mash pudding cup recipe more times than I can count, and these are the little things that make it turn out better every time.
- I always use cold milk straight from the fridge because it helps the pudding set faster and firmer.
- I like crushing the cookies by hand in a bag instead of a food processor when the kids want to help; it’s safer and just as effective.
- I found that chilling the pudding a touch longer than 10 minutes, closer to 15, gives a firmer base that holds the toppings better.
- I always add the whipped cream right before serving so it stays fluffy instead of melting into the pudding.
- I like setting out extra candy and cookie pieces so everyone can customize their own monster face.
Common Mistakes to Avoid
I’ve had a few pudding cup fails along the way, so here’s what I watch out for now.
- I used to add the food coloring too late, and it never mixed in evenly; I always stir it in while whisking the pudding, not after.
- I once used warm milk by accident, and the pudding never thickened properly; cold milk really does matter here.
- I overfilled my cups the first time I made these, and there was no room left for the whipped cream face; I now stop at three-quarters full.
- I skipped the chilling step once to save time, and the toppings just sank into the pudding; even 5 minutes in the fridge makes a difference.
- I crushed my cookies too finely once and lost that fun chunky texture; I pulse them just a few times so some bigger pieces remain.
How to Serve Monster Mash Pudding Cups?
I love setting these out on a Halloween-themed tray lined with black or orange tissue paper for extra contrast against the pudding cups. Serving them in clear plastic cups lets the chocolate cookie “dirt” layers show through, which always gets a reaction from guests.
For a party spread, I like pairing these with other Halloween treats, and they sit really well next to a batch of Halloween-inspired cupcakes on the same dessert table. A few extra gummy worms peeking out of the whipped cream or a dusting of orange sprinkles around the rim of the cup also makes for a fun, spooky presentation kids love to dig into.
Variations
- Dairy-free option: swap the milk for almond or oat milk and use a dairy-free whipped topping.
- Sugar-free option: use a sugar-free instant pudding mix and a light whipped topping.
- Flavor twist: try vanilla pudding with green food coloring for a classic “Frankenstein” look instead of chocolate.
- Extra crunch: mix in mini chocolate chips or chopped nuts along with the crushed cookies.
- Gummy add-ins: press a few gummy worms into the pudding before chilling for a creepy-crawly surprise.
- Cookie swap: use chocolate wafer cookies or graham crackers if sandwich cookies aren’t on hand.
Nutritional Information
Here’s a rough estimate per pudding cup, based on standard ingredients used in this recipe.
- Calories: approximately 180-220 kcal
- Protein: approximately 3-4 g
- Carbohydrates: approximately 28-32 g
- Fat: approximately 7-9 g
Make Ahead and Storage
You can prepare the pudding base up to a day in advance and store it covered in the refrigerator without the whipped cream topping. Add the whipped cream, candy eyes, and cookie horns just before serving so everything stays fresh and doesn’t get soggy.
These pudding cups keep well in the fridge for up to 3 days when covered tightly with plastic wrap or a lid. I don’t recommend freezing this recipe, since pudding and whipped cream both change texture and turn watery once thawed.
Why You’ll Love This Recipe?
This monster mash pudding cup recipe has become one of my go-to Halloween desserts, and here’s why I keep coming back to it every year.
- It’s incredibly quick: with no baking required, I can have a full batch ready in about 15 minutes, even with kids helping.
- It’s endlessly customizable: everyone can build their own monster face, so no two cups ever look exactly the same.
- It works for any group size: the recipe scales up easily if you’re hosting a bigger Halloween party.
- It’s budget-friendly: instant pudding, milk, and a few basic toppings are all you need, and most are pantry staples.
- It’s a hit with kids and adults alike: the playful presentation makes it just as fun for grown-up Halloween gatherings as it is for a classroom party, similar to how a batch of chocolate chip cookies disappears fast at any get-together.
FAQs
Can I use vanilla pudding instead of chocolate?
Yes, vanilla pudding works great, especially if you want to tint it green or purple for a classic monster look.
How far in advance can I make these?
You can make the pudding base a day ahead, but I recommend adding the whipped cream and toppings right before serving.
Can I make this recipe dairy-free?
Yes, swap the milk for a plant-based option and use a dairy-free whipped topping to keep the texture similar.
Do I need to bake anything for this recipe?
No, this is a completely no-bake dessert, so there’s no oven or stovetop cooking involved at any step.
What can I use instead of chocolate sandwich cookies?
Chocolate wafer cookies, graham crackers, or even chocolate cake crumbs all work well as a substitute.

Monster Mash Pudding Cups Recipe
Ingredients
Method
- Pour the cold milk into a large mixing bowl, then add the instant chocolate pudding mix.
- Crush 6-8 chocolate sandwich cookies into small pieces, either in a food processor or by hand in a sealed bag with a rolling pin. Fold the crumbs into the pudding mixture so every spoonful has that classic “dirt cup” crunch running through it.
- Divide the pudding mixture evenly among 6 small bowls or clear plastic cups. Fill each one about three-quarters full, leaving space at the top for the whipped cream “head” you’ll add later.
- Place the filled cups in the refrigerator for 5-10 minutes. This short chill firms up the pudding just enough to hold its shape when you start decorating on top.
- Once chilled, top each cup with a generous swirl of whipped cream or Cool Whip for the head. Add two candy-coated chocolates for eyes, then tuck two cookie halves into the whipped cream for ears or horns. Serve right away and watch the monsters disappear.
Notes
- I always use cold milk straight from the fridge because it helps the pudding set faster and firmer.
- I like crushing the cookies by hand in a bag instead of a food processor when the kids want to help; it’s safer and just as effective.
- I found that chilling the pudding a touch longer than 10 minutes, closer to 15, gives a firmer base that holds the toppings better.
- I always add the whipped cream right before serving so it stays fluffy instead of melting into the pudding.
- I like setting out extra candy and cookie pieces so everyone can customize their own monster face.