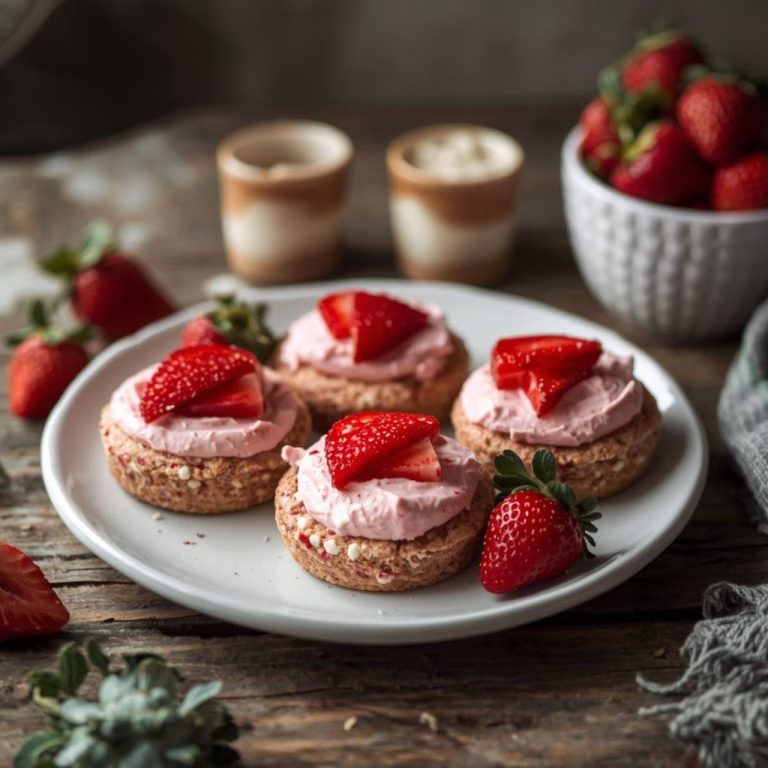
Holiday Cookies Recipe: The Ultimate Guide to Festive Baking
I just finished baking a batch of these holiday cookies, and my kitchen smells like pure happiness. I love how simple the recipe is, yet the results feel bakery-quality.
For me, these cookies aren’t just a treat—they’re part of my holiday tradition. I enjoy decorating them with family, sneaking in taste-tests, and sharing them as gifts.
Trust me, once you bake these, you’ll find yourself making them year after year.

Ingredients You’ll Need
Here’s everything I used to make these festive cookies, along with helpful tips for the best results:
- All-purpose flour – 2 ¾ cups (swap with almond flour for a gluten-free version)
- Baking soda – 1 tsp (helps the cookies rise just right)
- Salt – ½ tsp (balances sweetness)
- Unsalted butter – 1 cup, softened (coconut oil works for dairy-free)
- Granulated sugar – 1 ½ cups (you can mix with coconut sugar or stevia for a lighter version)
- Eggs – 2 large, room temperature (important for better mixing)
- Vanilla extract – 1 tsp (always use pure vanilla for richer flavor)
- Almond extract – 1 tsp, optional (adds a lovely holiday twist)
- Chocolate chips – 1 cup (dark or semi-sweet both work well)
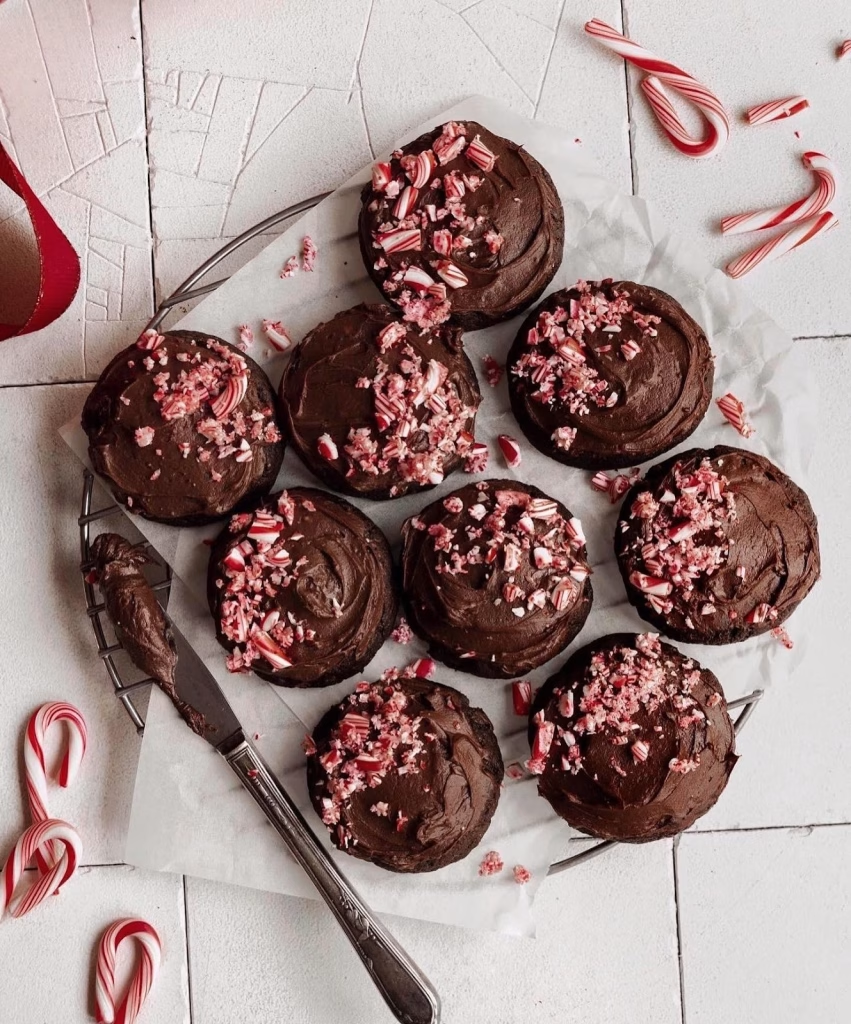
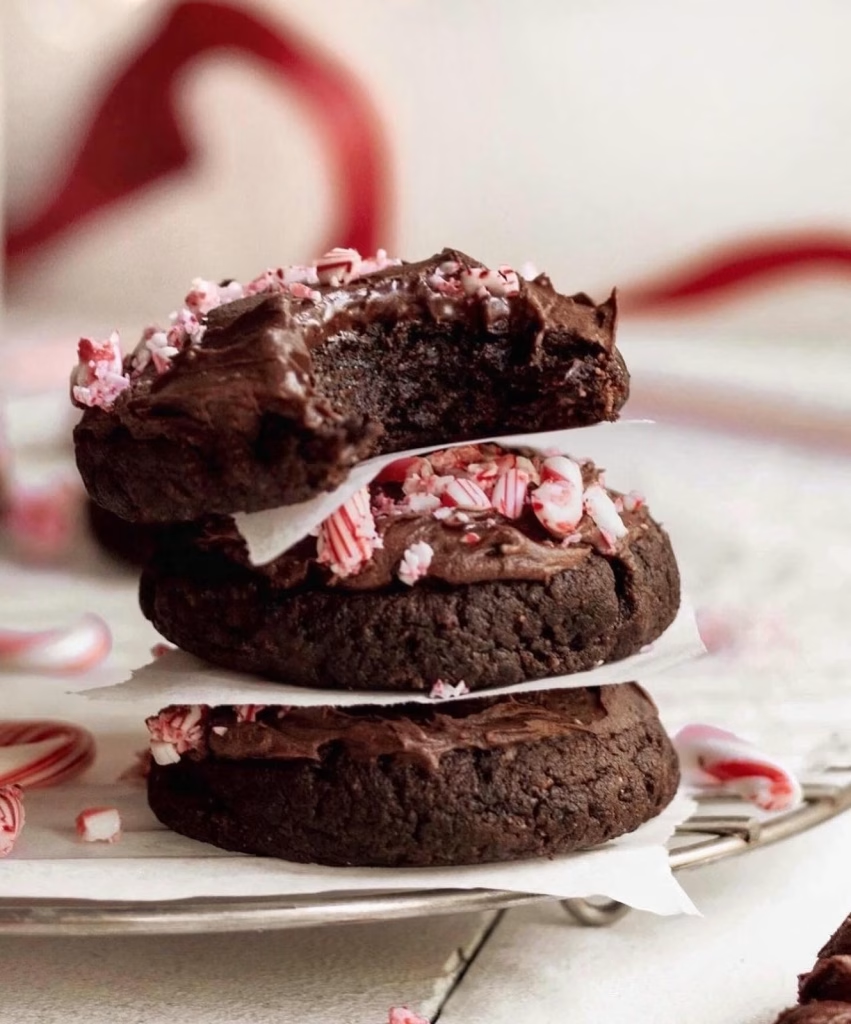
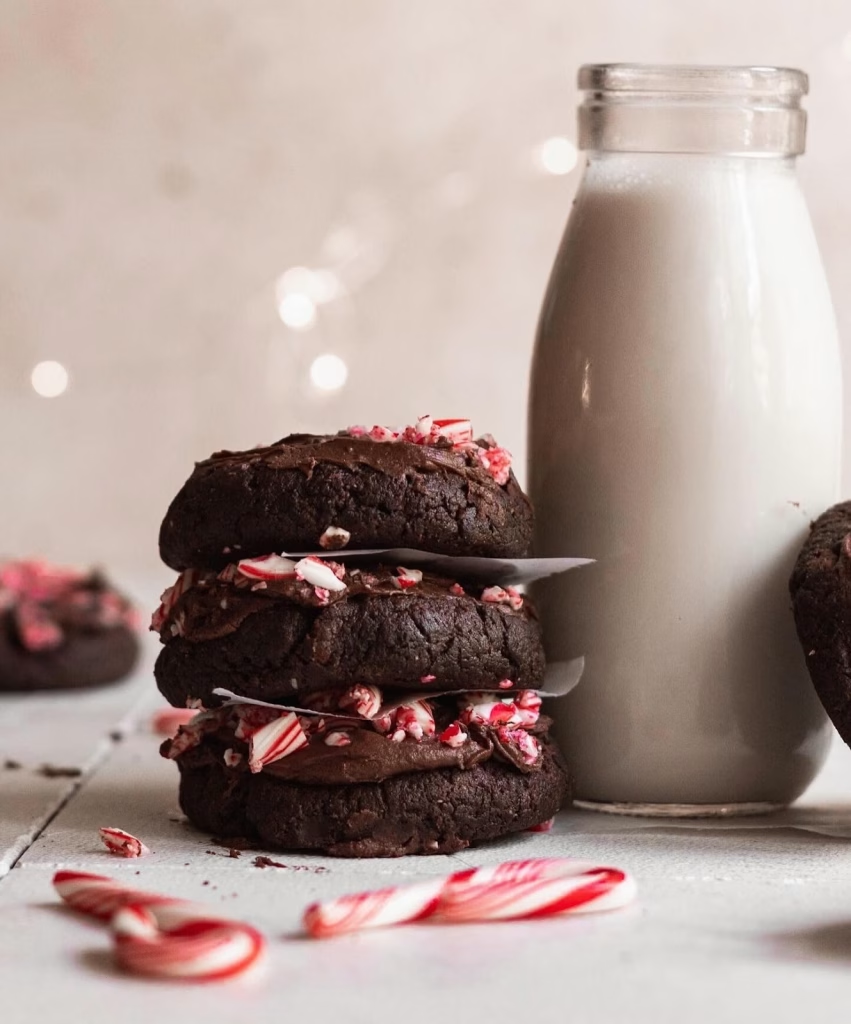
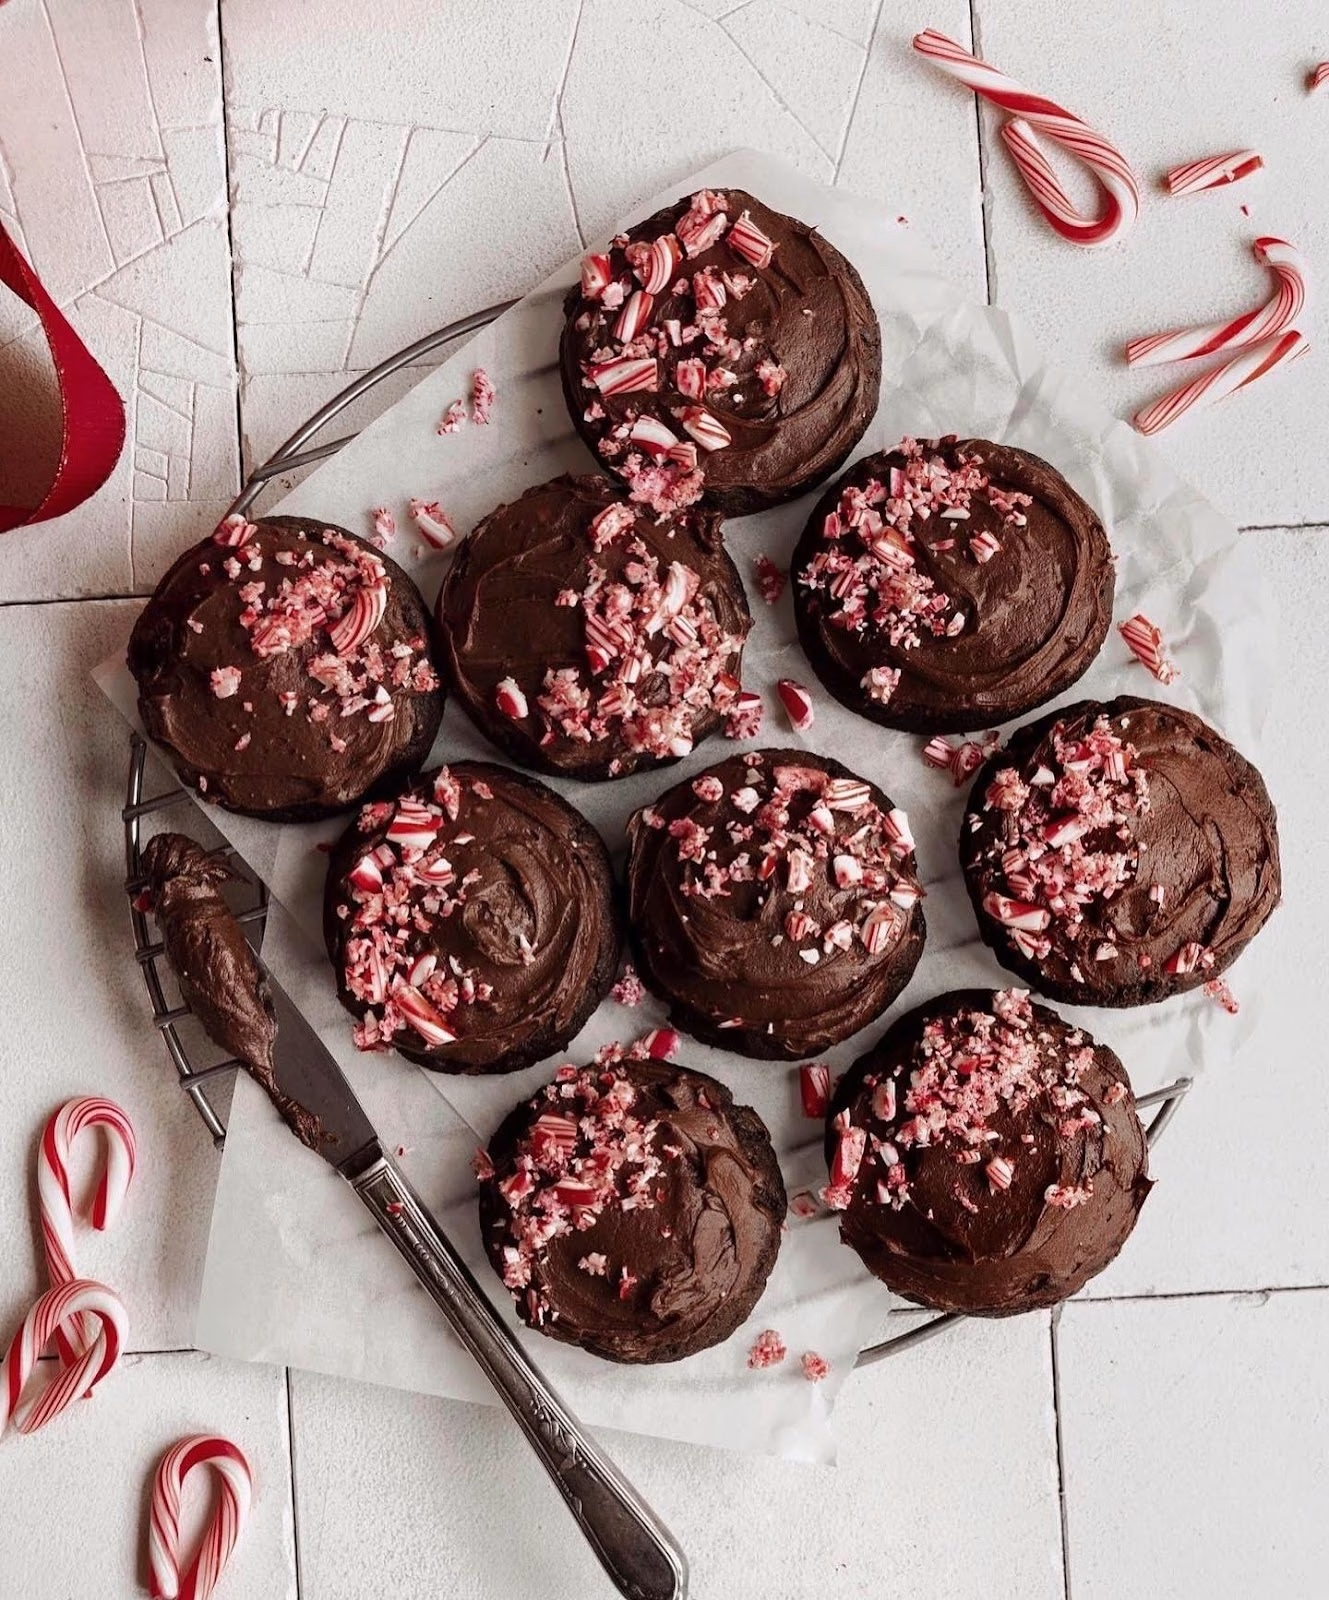
- Crushed candy canes – ½ cup (adds festive crunch and flavor)
- Chopped nuts – ¾ cup, optional (pecans or walnuts add texture)
- Colored sprinkles – for decorating and extra cheer
Note: Makes around 24–28 cookies depending on size.
Variations
Want to make them your own? Here are some fun swaps I tried:
- Use whole wheat flour for a nutty flavor and added fiber.
- Add a pinch of cinnamon or nutmeg for warm, spiced cookies.
- Skip the chocolate chips and use dried cranberries or white chocolate.
- Make it vegan with dairy-free butter and egg replacers.
Cooking Time
- Prep Time: 15 minutes
- Chilling Time: 30 minutes (optional but makes the cookies chewier)
- Baking Time: 10–12 minutes per batch
- Total Time: 55–60 minutes
Equipment You’ll Need
- Mixing bowls – for wet and dry ingredients separately.
- Electric mixer – to cream butter and sugar easily.
- Measuring cups and spoons – for accuracy.
- Baking sheets – non-stick or lined with parchment paper.
- Silicone baking mat or parchment paper – for even baking.
- Wire cooling rack – to cool cookies without getting soggy.
- Cookie cutters – if you want festive shapes.
- Rolling pin – handy for cut-out cookies.
How to Make Holiday Cookies Recipe?
Holiday baking is easier than it looks. Once I set everything out, the process flowed beautifully. Here’s how I did it:
Preheat the Oven
I preheated my oven to 350°F (175°C) and lined baking sheets with parchment paper. This step made sure my cookies baked evenly and didn’t stick.
Mix the Dry Ingredients
In a bowl, I whisked together the flour, baking soda, and salt. Mixing them first kept the leavening even and prevented clumps later.
Cream the Butter and Sugar
Using my mixer, I beat the softened butter with sugar until it turned light and fluffy. This took about 2–3 minutes and made the cookies soft and tender inside.
Add the Wet Ingredients
I cracked in the eggs one at a time, mixing well after each. Then I added vanilla and almond extract. The almond extract gave these cookies a subtle festive note I loved.
Combine the Ingredients
I slowly added the dry mix into the wet mix, stirring gently. Then came the fun part—folding in chocolate chips, candy canes, and nuts. The dough smelled amazing already!
Chill the Dough
I wrapped the dough and let it chill for 30 minutes. This step made the cookies puffier and gave the flavors more depth.
Shape and Bake
I rolled the dough into little balls and placed them on the baking sheet, leaving space in between. Baking them for 11 minutes gave me golden edges and soft centers.
Cool and Decorate
Once they cooled on a wire rack, I decorated some with sprinkles and a drizzle of chocolate. They looked as festive as they tasted.
Additional Tips for Making This Recipe Better
When I made these cookies, here’s what really worked for me
- Always chill the dough—it keeps cookies chewy and stops spreading.
- Don’t overbake; take them out when the edges just start to turn golden.
- Use high-quality vanilla—it makes a huge difference in flavor.
- For extra fun, let kids help with decorating.
How to Serve Holiday Cookies Recipe?
I like serving these cookies on a big holiday platter alongside other treats like brownies and gingerbread men. They pair perfectly with a warm mug of hot cocoa or coffee. For gifts, I wrap them in clear bags tied with red ribbons. A sprinkle of crushed candy canes on top makes them look festive and extra special.
Nutritional Information
Here’s an approximate breakdown per cookie (traditional version):
- Calories: ~150
- Protein: 2g
- Carbohydrates: 18g
- Fat: 7g
Make Ahead and Storage
Refrigerating
I stored mine in an airtight container at room temperature for 5 days, and they still tasted great.
Freezing
I froze both baked cookies and unbaked dough balls for up to 3 months. The frozen dough baked perfectly straight from the freezer.
Reheating
To freshen up baked cookies, I warmed them for 10 seconds in the microwave. It made the chocolate chips melty again!
Why You’ll Love This Recipe?
If you’re wondering why these cookies are worth mking, here’s why I keep coming back:
- Quick and simple—even for beginner bakers.
- Flexible—you can swap flavors, add-ins, and decorations.
- Perfectly festive—holiday colors and flavors in every bite
- Great for gifting—beautiful presentation with minimal effort.
- Guaranteed crowd-pleaser—everyone loves a classic holiday cookie.
Holiday Cookies Recipe
Ingredients
Method
- I preheated my oven to 350°F (175°C) and lined baking sheets with parchment paper. This step made sure my cookies baked evenly and didn’t stick.
- In a bowl, I whisked together the flour, baking soda, and salt. Mixing them first kept the leavening even and prevented clumps later.
- Using my mixer, I beat the softened butter with sugar until it turned light and fluffy. This took about 2–3 minutes and made the cookies soft and tender inside.
- I cracked in the eggs one at a time, mixing well after each. Then I added vanilla and almond extract. The almond extract gave these cookies a subtle festive note I loved.
- I slowly added the dry mix into the wet mix, stirring gently. Then came the fun part—folding in chocolate chips, candy canes, and nuts. The dough smelled amazing already!
- I wrapped the dough and let it chill for 30 minutes. This step made the cookies puffier and gave the flavors more depth.
- I rolled the dough into little balls and placed them on the baking sheet, leaving space in between. Baking them for 11 minutes gave me golden edges and soft centers.
- Once they cooled on a wire rack, I decorated some with sprinkles and a drizzle of chocolate. They looked as festive as they tasted.
Notes
- Always chill the dough—it keeps cookies chewy and stops spreading.
- Don’t overbake; take them out when the edges just start to turn golden.
- Use high-quality vanilla—it makes a huge difference in flavor.
- For extra fun, let kids help with decorating.